A friendly, step-by-step tutorial for sewing quilt binding by machine from start to finish, including perfect mitered corners and a clean, durable finish.
The Quilt Mark
October 22, 2026
Your First Patchwork Quilt
Make your first quilt with confidence. Learn fabric choices, simple cutting math, beginner-friendly piecing, and an easy finish for a classic patchwork square quilt.

Clara Jenkins
Clara Jenkins is an avid quilter and fabric enthusiast who has been designing and piecing together quilts for over twenty years. She shares her passion for color coordination, block design, and practical sewing techniques to help makers of all skill levels create beautiful, lasting heirlooms. Through Quiltmark, Clara aims to make the timeless art of quilting accessible, joyful, and deeply rewarding for everyone.
Updated October 22, 2026
The first quilt I ever made was a baby quilt, and it was wonderfully imperfect. Some seams wobbled, a few squares were… ambitious, and the colors absolutely did not “match” in the way I thought they should. But it was warm, it was sturdy, and it taught me the single most important quilting lesson: you do not need perfection to make something beautiful.
This guide walks you through a simple patchwork square quilt from start to finish. No tricky blocks, no fussy templates, no complicated math. Just straightforward cutting, calm piecing, and a finish you will be proud to curl up under.
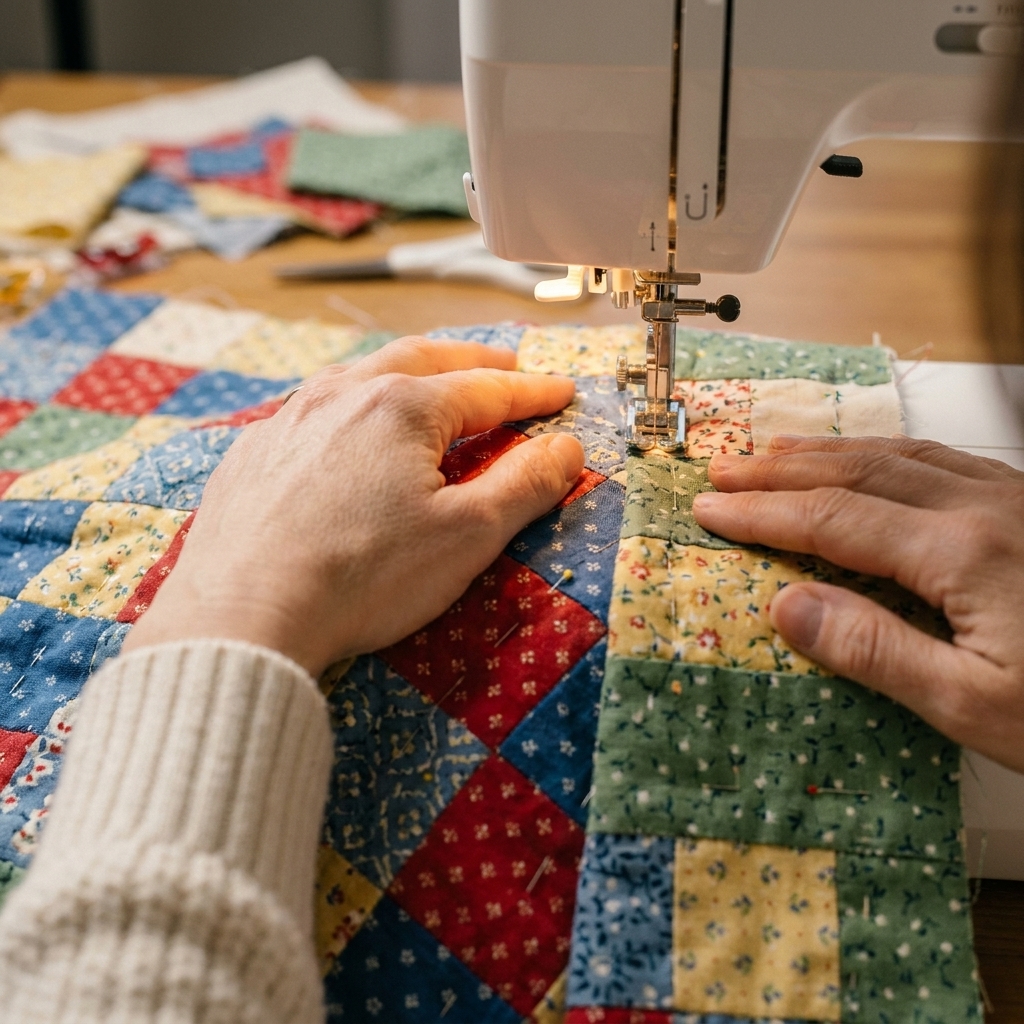
Project overview
Quilt style: patchwork squares (grid layout)
Finished size: throw quilt, about 60 x 72 inches (great couch size)
Skill level: true beginner
Techniques you will practice: accurate cutting, consistent seam allowance, pressing, simple quilting, binding
Time estimate: a relaxed weekend for the top, plus another day for quilting and binding (your pace is the right pace)
Supplies and tools
Fabric
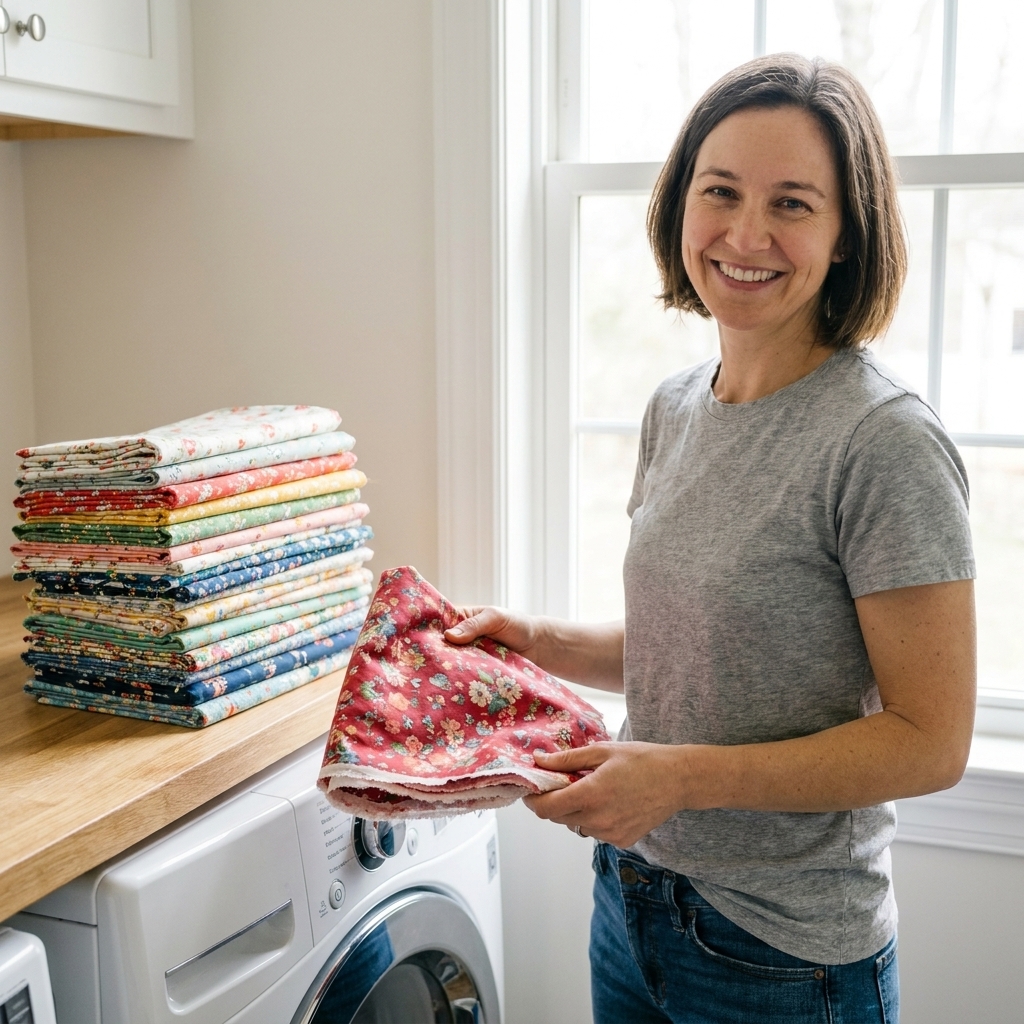
- Patchwork (top): about 3.75 to 4 yards total of 44-inch wide quilting cotton in a mix of prints and solids (this gives you enough for squaring up and beginner-friendly wiggle room)
- Precut option: you can use 10-inch squares, but you will need 120 squares total for this pattern. Since each 10-inch square only yields one 6.5-inch cut square, plan on three 40-piece packs (or the equivalent) if you want to go fully precut.
- Background (optional): if you want a calmer look, include 1 to 1.5 yards of a single light or medium solid to mix in
- Backing: 4.5 yards of 44-inch wide quilting cotton, or 2 yards of 108-inch wide wideback. Note: with standard 44-inch fabric, you will piece the backing, and yardage can vary a bit if you are matching a pattern or working with a directional print.
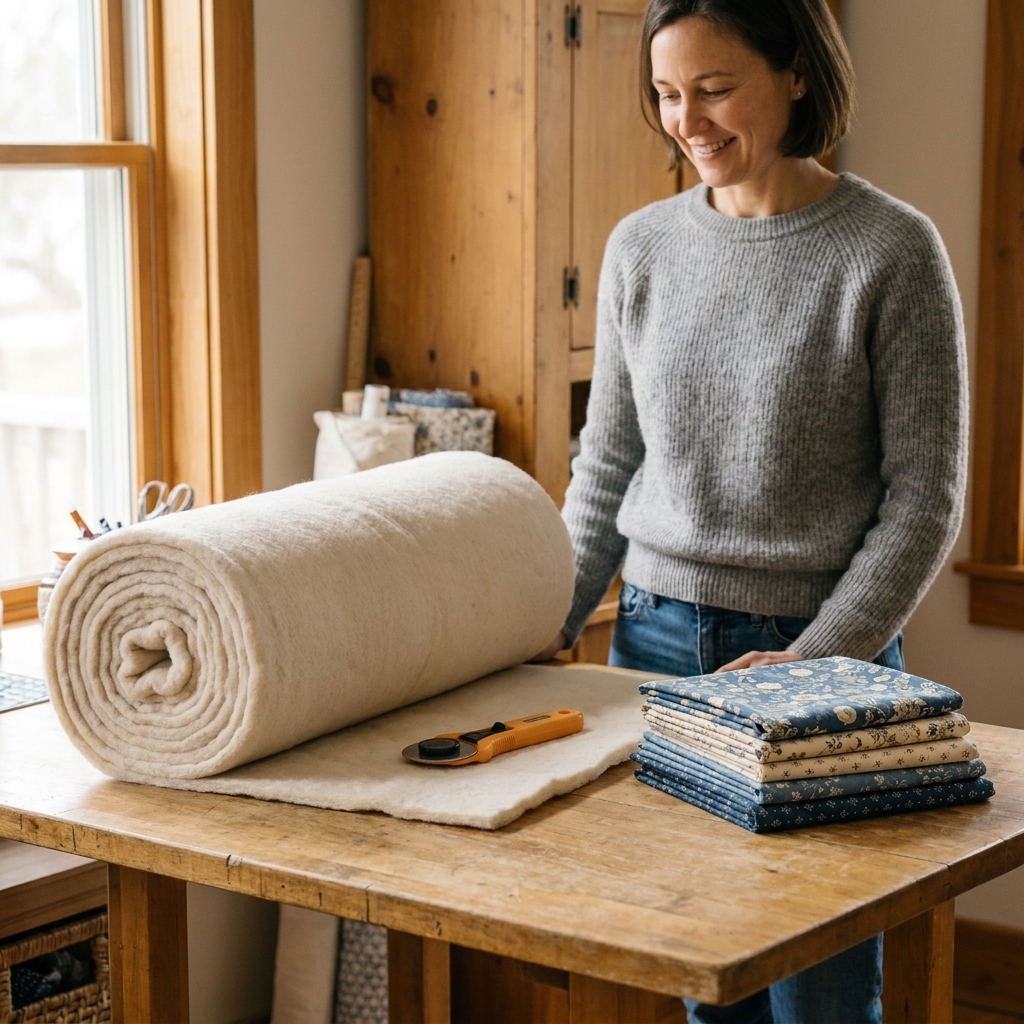
- Batting: 1 piece at least 68 x 80 inches (choose cotton or cotton blend for easy handling)
- Binding: 2/3 yard (or make scrappy binding from leftovers)
Notions and equipment
- Rotary cutter (45 mm is a good all-purpose size)
- Cutting mat
- Quilting ruler (at least 6 x 24 inches is very helpful)
- Sewing machine in good working order
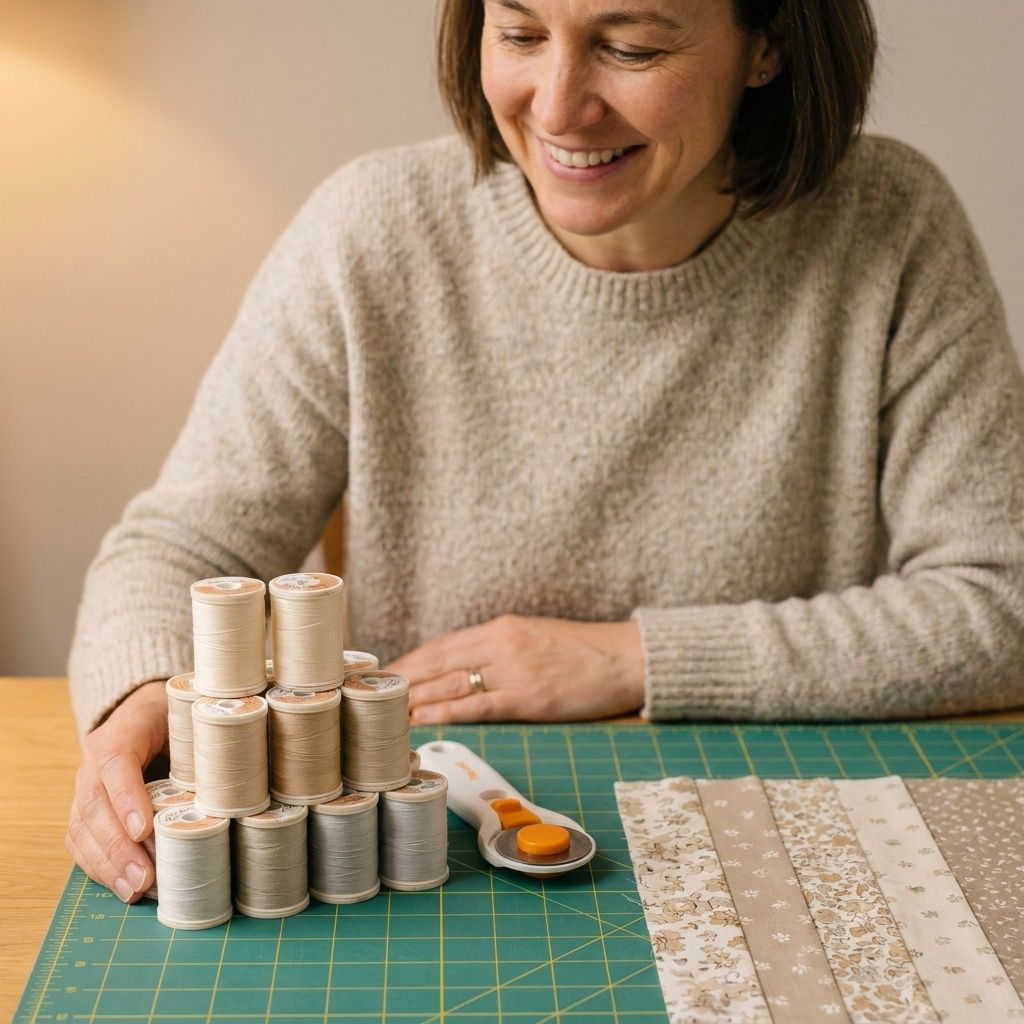
- Thread: 50 wt cotton or polyester in a neutral (light gray is forgiving)
- Needle: a fresh 80/12 is a great starting point (move up to 90/14 if you are quilting through a thicker batting or your machine likes it better)
- Iron and ironing surface
- Safety pins for basting (or basting spray if you prefer)
- Seam ripper (a badge of honor, not a failure)
- Walking foot for straight-line quilting (recommended, not required)
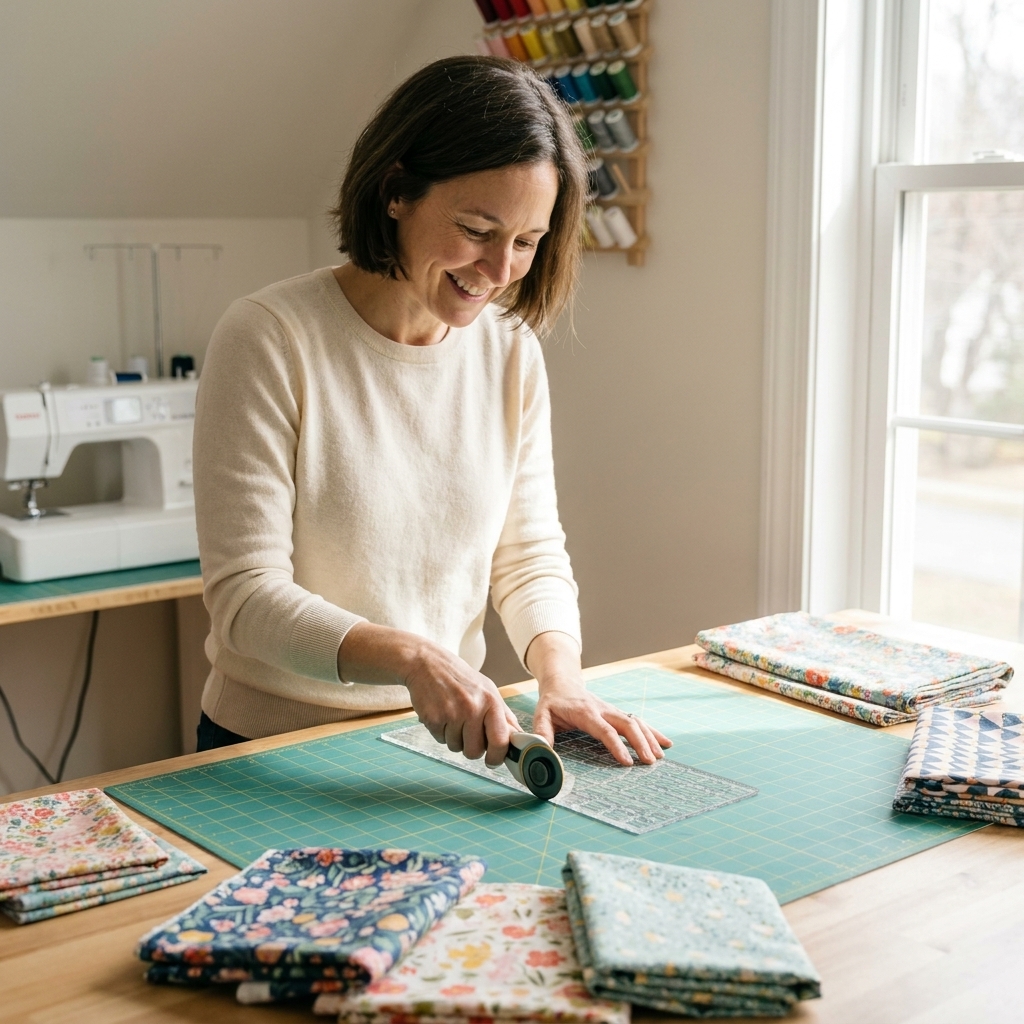
Choose fabrics that play nicely
If fabric shopping makes you freeze up, here is my beginner-friendly approach: pick one “anchor” fabric you love, then choose supporting fabrics that repeat something from it. That could be a color, a mood, or a scale of print.
A simple recipe
- Lights: 25% (creams, pale grays, soft pastels)
- Mediums: 50% (most prints live here)
- Darks: 25% (navy, charcoal, deep florals)
This mix gives your patchwork contrast so the squares do not blur together.
Stress-free color tips
- Mix print sizes: include a few small “blenders,” some medium prints, and a couple larger prints to keep it lively.
- Limit your loudest fabrics: if a print shouts, use it once or twice and let it shine.
- Take a phone photo in black and white: it instantly shows whether you have enough light and dark contrast.
Square size and easy math
We are making a 60 x 72 inch throw quilt using 6-inch finished squares. That means you will cut 6.5-inch squares (the extra 0.5 inch accounts for seam allowances).
Layout plan
- Across: 10 squares x 6 inches = 60 inches
- Down: 12 squares x 6 inches = 72 inches
- Total squares: 10 x 12 = 120 squares
If you want to go smaller, try a baby quilt: 8 x 10 squares makes about 48 x 60 inches with the same 6-inch finished blocks.
| You want this | Finished square | Cut square |
|---|---|---|
| Fast, fewer seams | 7 inches | 7.5 inches |
| Classic patchwork look | 6 inches | 6.5 inches |
| More scrappy, more seams | 5 inches | 5.5 inches |
Prep your fabric
Should you prewash?
There is no single “right” answer. Here is my practical take:
- Prewash if: you are using very dark reds or navies, you are mixing unknown fabrics, or the quilt will be washed constantly (baby quilts, pet quilts).
- Skip prewash if: you want the classic crinkly quilted texture after the first wash and your fabrics are all similar quilting cottons.
Either way, press your fabric before cutting. Flat fabric is accurate fabric.
Grain and squaring up
Fold your fabric neatly, align selvages, and straighten one clean edge before you start cutting strips. If the fabric is a little skewed off the bolt, that first squaring cut saves so much frustration later.
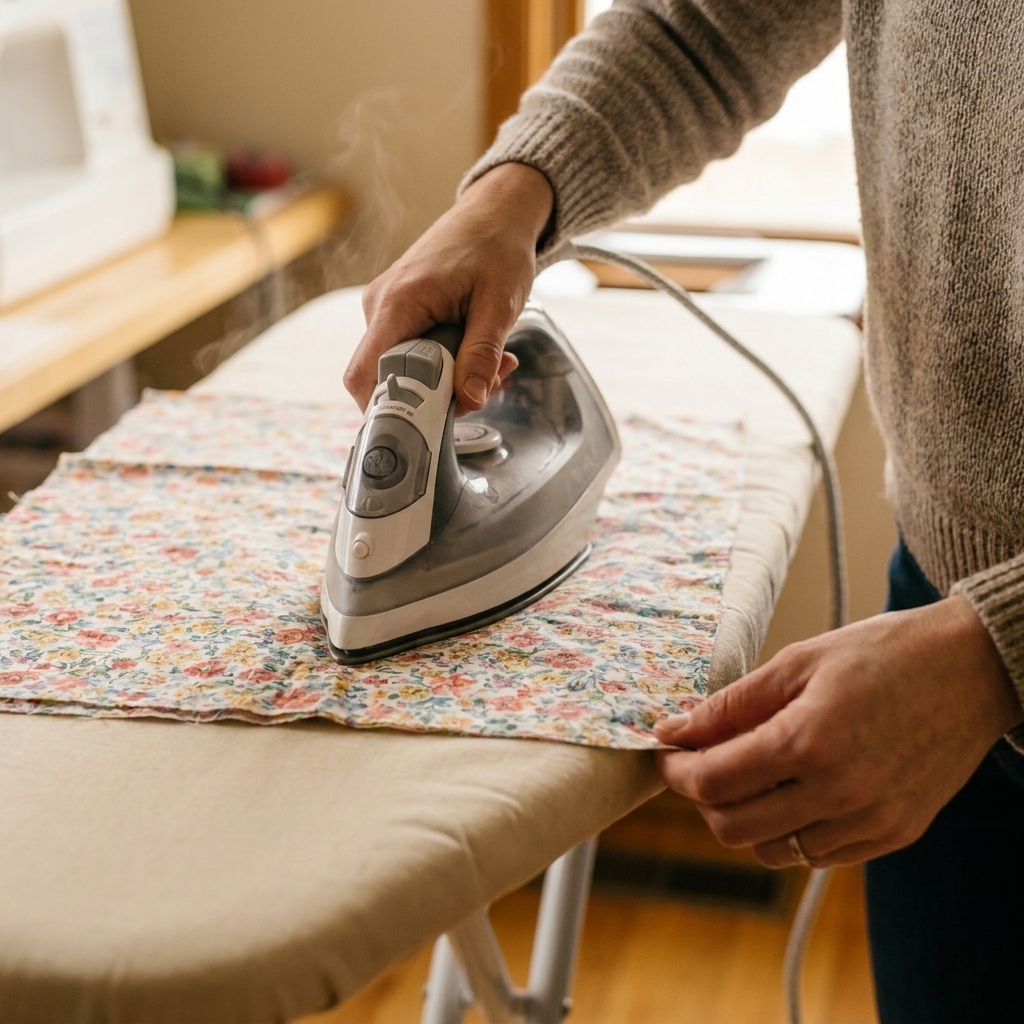
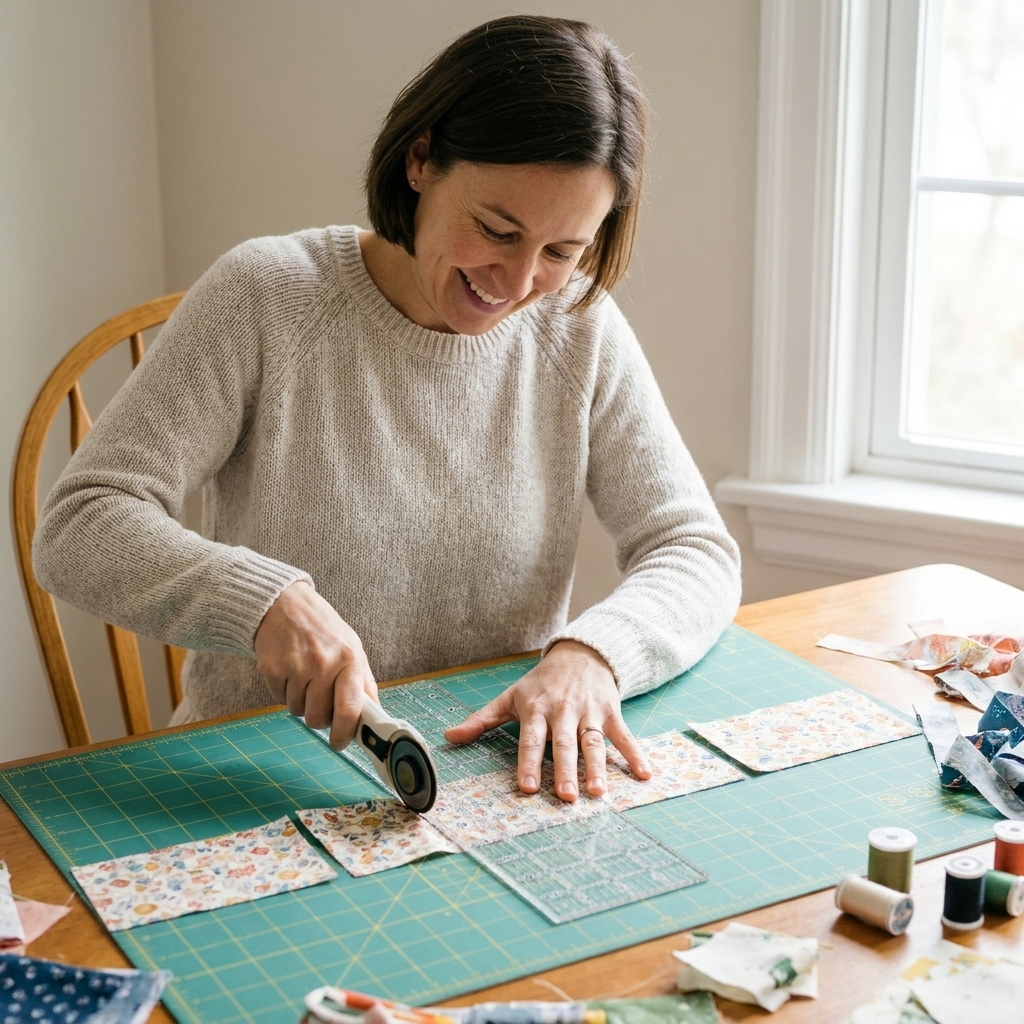
Cutting: 120 squares
We are cutting 6.5-inch squares. The calmest way to do this is strip cutting.
Step-by-step method
- Cut strips: from each fabric, cut one or more strips 6.5 inches wide. (Example: from a fat quarter, you may only get one 6.5-inch strip, and that is perfectly fine.)
- Subcut squares: stack a couple strips (if your ruler and cutter feel steady) and subcut into 6.5-inch squares.
- Keep them organized: I like little piles by color family. It makes layout much easier.
Safety and accuracy reminders
- Replace your rotary blade if you have to push hard. Dull blades cause slips.
- Line up the ruler’s measurement marks, not the ruler edge you “think” is straight.
- Cut with your shoulder relaxed. Tension shows up as wobbly cuts.
Plan your layout
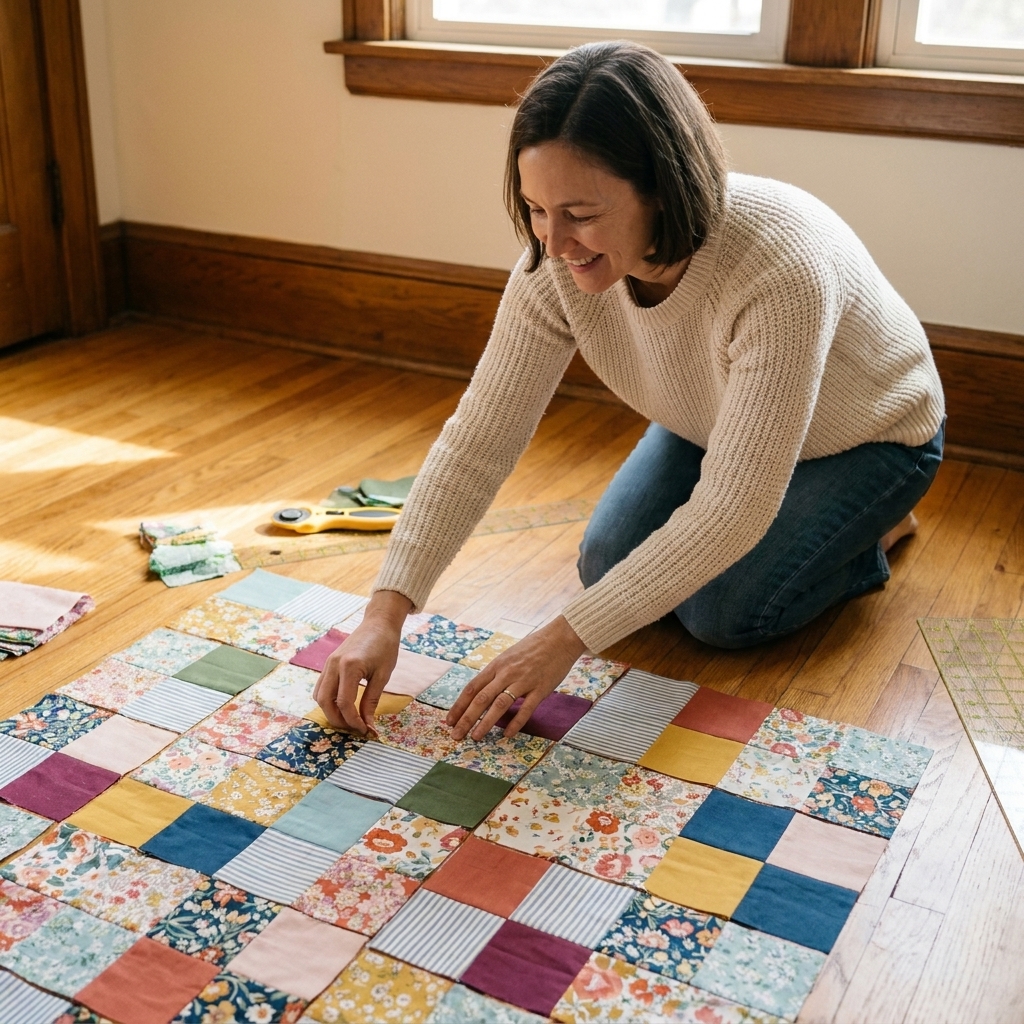
Before you sew, lay out your squares in a 10 by 12 grid. Step back. Squint. Take a photo. This is where you gently nudge the colors so they feel balanced.
Two easy options
- True scrappy grid: mix everything evenly, no repeats touching if you can help it.
- Controlled scrappy: alternate a “busy” square with a calmer solid or blender for breathing room.
If a few squares land next to each other in the same print, it is not a disaster. It is personality. Still, if one corner looks noticeably darker or louder, swap a few squares around until your eye relaxes.
Piece the quilt top
We are going to sew the quilt into rows, then sew the rows together. This is the simplest, most beginner-friendly workflow.
Set up your machine
- Seam allowance: aim for a consistent 1/4 inch. Many quilt patterns are written for a scant 1/4 inch, which is just a hair narrower than a true 1/4. For this simple grid, consistency matters most. If your seams tend to make blocks come out small, try a scant 1/4.
- Stitch length: 2.0 to 2.5 is a good default for quilting cotton.
- Thread: neutral thread helps your seams look tidy even if your stitching is learning.
Step 1: Sew the rows
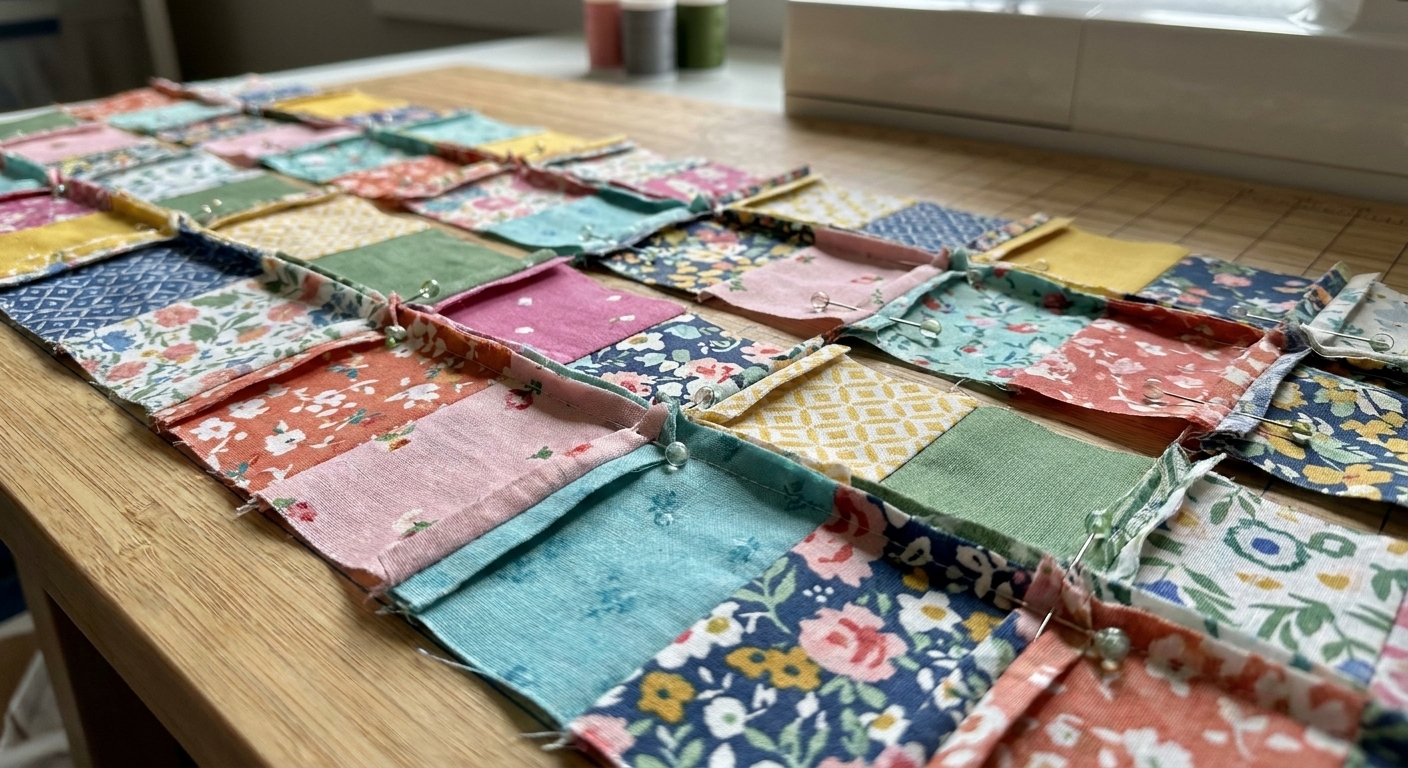
Starting with the first row, take the first two squares, place them right sides together, and stitch down one side with a 1/4-inch seam. Add the next square to the growing row, and keep going until the row is complete. Repeat for all rows. If you keep feeding pieces through without cutting threads between them, you are chain piecing, and it is as satisfying as it sounds.
Step 2: Press your seams
Pressing is not just making it pretty. It makes piecing accurate. My best pressing habit is:
- Press the seam closed first (this sets the stitches).
- Then press the seam allowance to one side.
For patchwork rows, press the seam allowances in alternating directions for each row. Row 1 to the right, row 2 to the left, row 3 to the right, and so on. That way, when you sew rows together, the seams “nest” and your corners line up more easily.
Step 3: Sew rows together
Pin at seam intersections first. If the seams are nesting nicely, you will feel them lock together under your fingers. Sew the first two rows together, press, then add the next row.
Beginner permission slip: If your corners do not match perfectly, your quilt will still be loved. Aim for “mostly lined up,” then keep moving.
Square up the top
Once your top is pieced, give it a good press. Then trim the outer edges so they are straight and the corners are square.
How to do it
- Lay the quilt top on a large surface.
- Use a long ruler to trim one straight edge first.
- Rotate, then trim the next edge at a right angle.
- Repeat for all sides, taking off as little as possible.
Do not worry if you lose a skinny sliver. Squaring up makes the quilting and binding so much smoother.
Backing and batting
Step 1: Prepare the backing
Your backing should be at least 4 inches larger than the quilt top on all sides. For a 60 x 72 inch top, aim for about 68 x 80 inches or larger.
If you are using 44-inch wide fabric, you will likely need to seam two lengths together. Trim selvages off first, then sew with about a 1/2-inch seam (or your preferred sturdy seam) and press the seam open for a flatter finish.
If your backing print is directional, decide which way you want it to run before you cut. Directional prints can bump up the needed yardage because you may not be able to rotate pieces.
Step 2: Layer it up
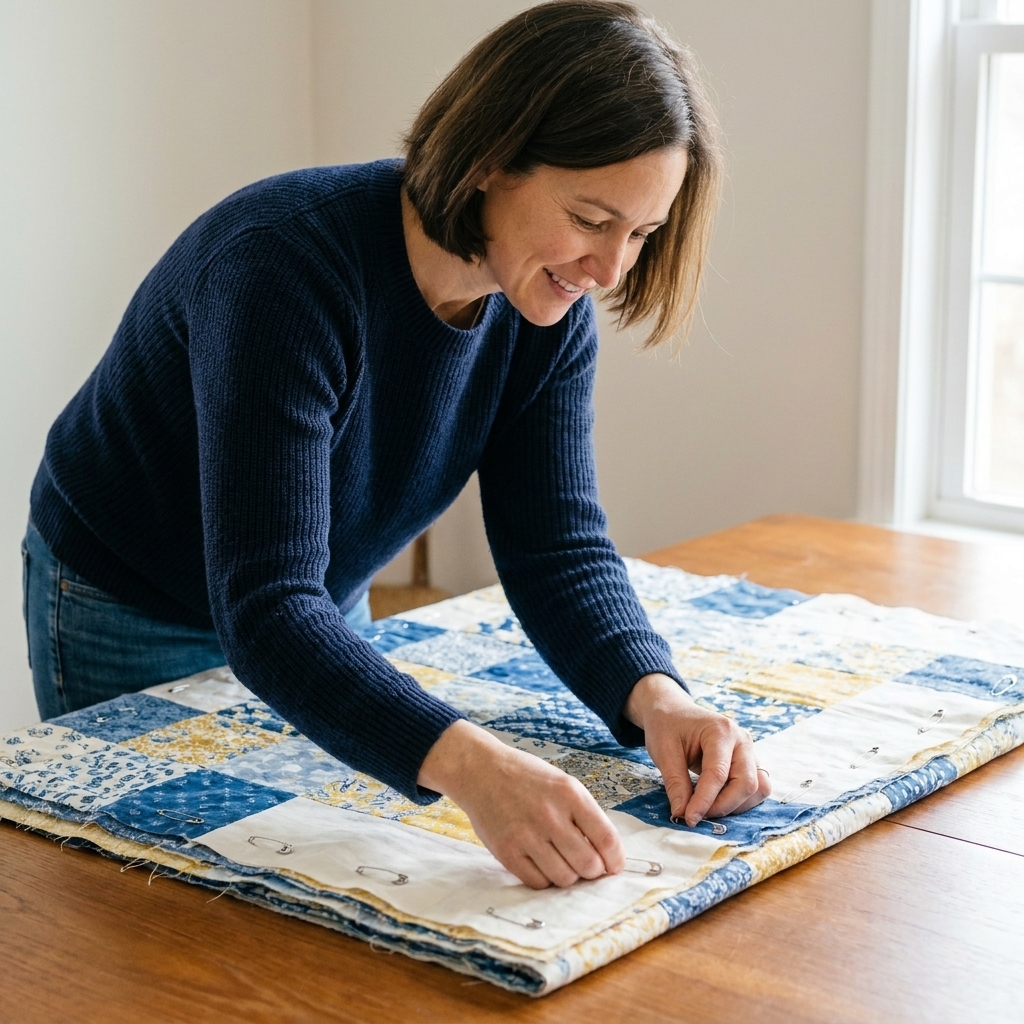
- Backing wrong side up, smoothed and taped or clipped down if possible.
- Batting on top, smoothed gently.
- Quilt top right side up, centered.
Step 3: Baste
Use safety pins every 3 to 4 inches, starting in the center and working outward. The goal is no puckers and no shifting.
Quilting: simple lines
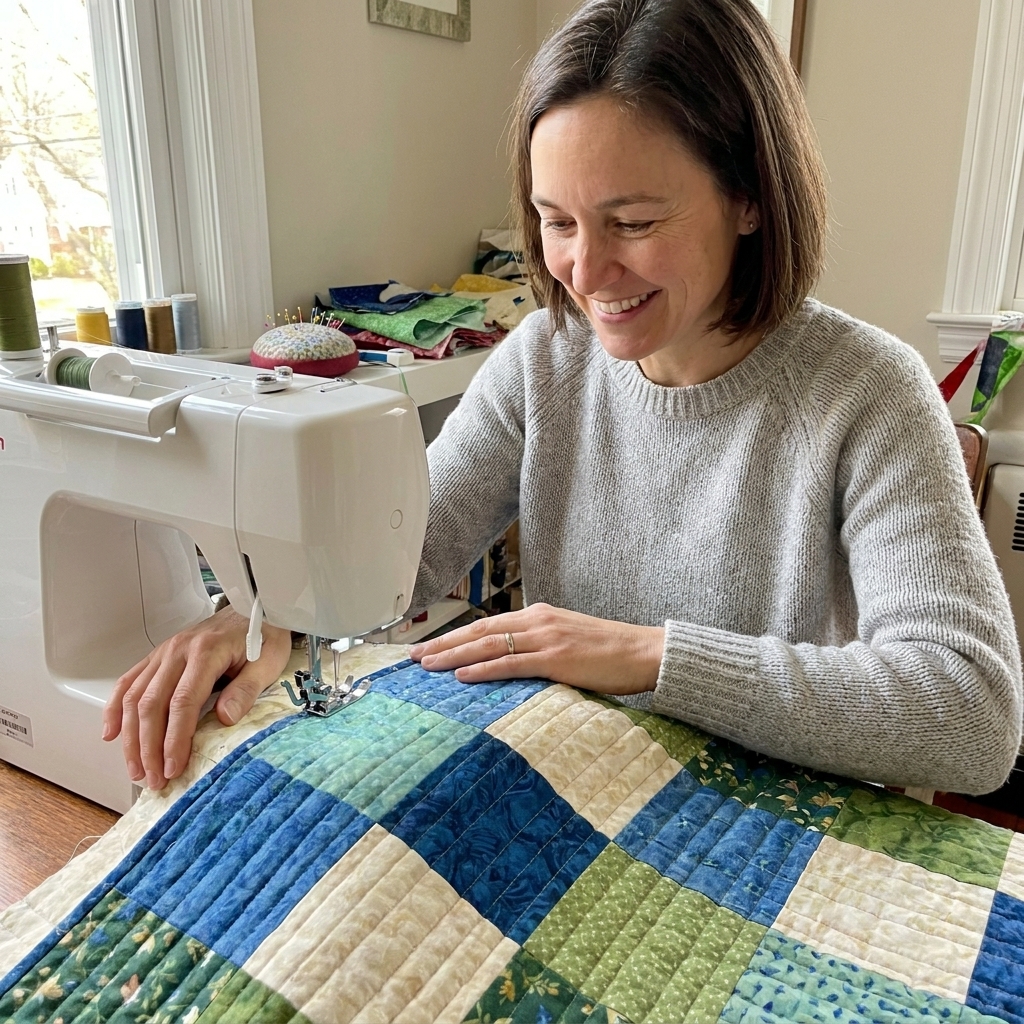
For your first quilt, I recommend straight-line quilting with a walking foot. It is steady, forgiving, and classic.
Easy quilting plan
- Stitch in the ditch: quilt along some of the seam lines, right next to the seams.
- Or quilt evenly spaced lines: pick a direction and quilt lines every 2 to 3 inches across the whole quilt.
Tips to avoid puckers
- Start quilting near the center and work outward.
- Support the weight of the quilt so it does not drag off your table.
- Use a slightly longer stitch length for quilting, around 3.0.
After quilting, trim the batting and backing flush with the quilt top edges.
Binding
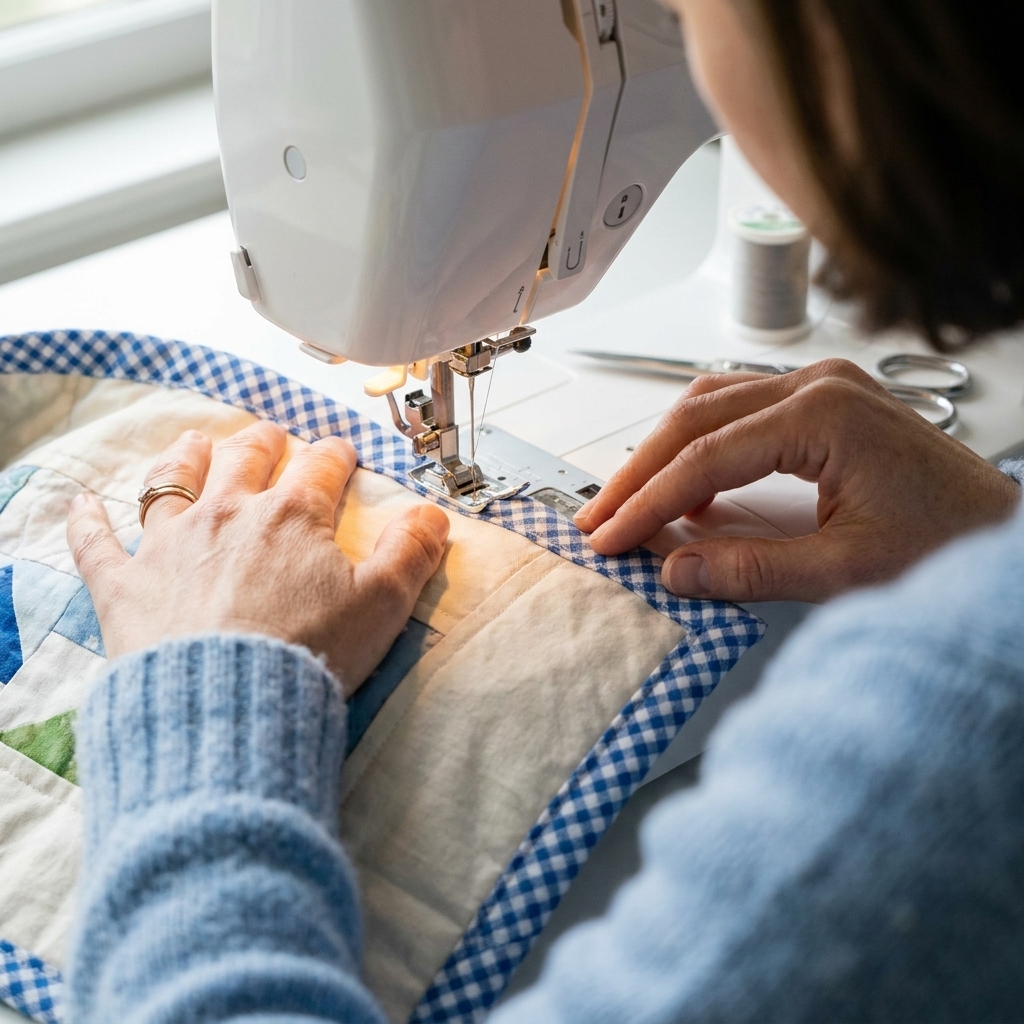
Binding can feel mysterious, but it is just a fabric frame that wraps around the raw edges. We will use double-fold binding, which is durable and beginner-friendly.
Cut binding strips
Cut 2.5-inch wide strips from your binding fabric. For this throw size, you typically need about 260 to 270 inches of binding length, which is usually 7 strips of standard width fabric. If your fabric is a narrow usable width after removing selvages, or you simply want extra margin, cut 8 strips.
Join strips
Join strips with diagonal seams for less bulk. Press seams open, then press the binding in half lengthwise, wrong sides together.
Attach binding to the front
- Align raw edges of binding with the raw edge of the quilt.
- Stitch with a 1/4-inch seam, leaving a tail at the start.
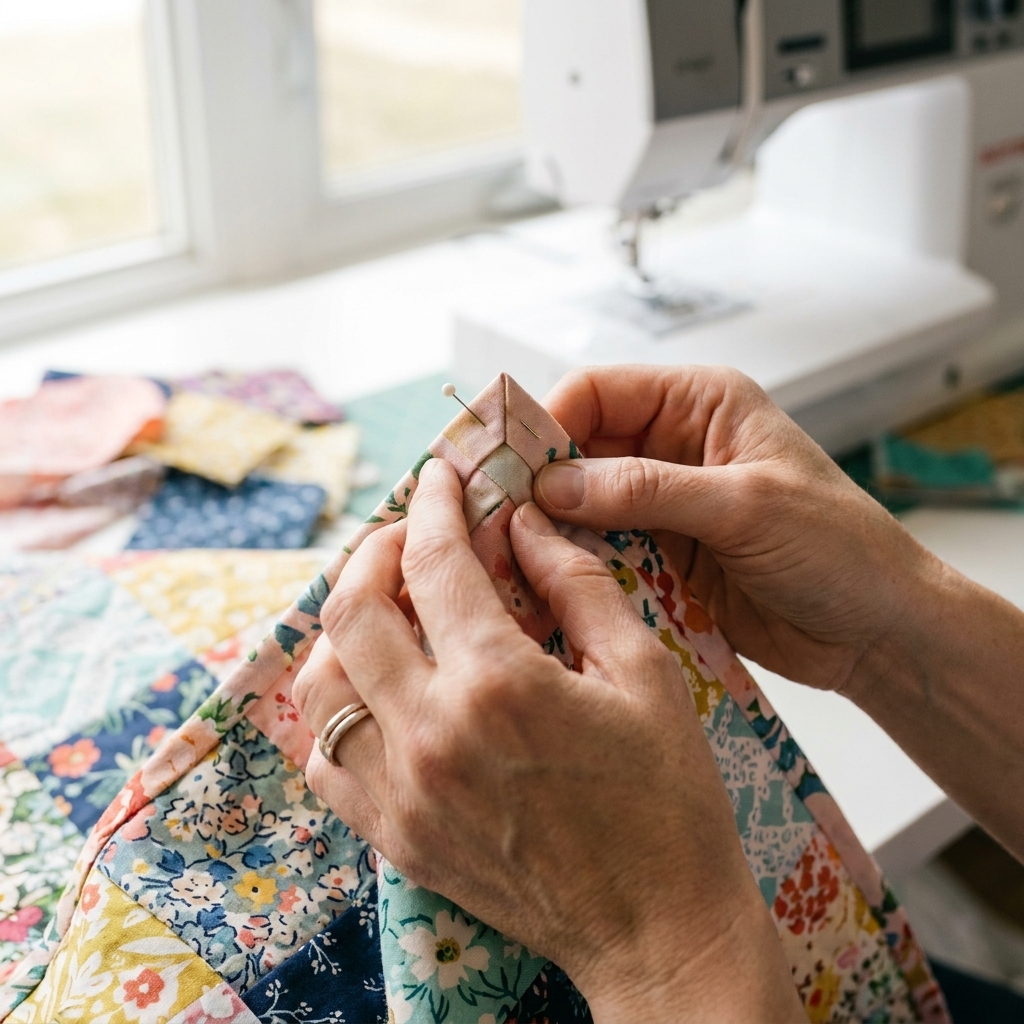
- Miter corners as you turn each corner.
- Join the ends, then finish stitching.
Wrap and stitch down
Fold binding to the back, covering the stitching line. You can hand stitch for a traditional finish or machine stitch close to the edge for a sturdy, quick finish.
Final steps
Clip any stray threads, give your quilt a final press, then wash it gently to let the quilting relax into that soft, puckery crinkle we all secretly want. If you used high-contrast fabrics, toss in a color catcher sheet for the first wash.
Then do the most important step: use it. Quilts become heirlooms by living real life.
Troubleshooting
My seams are not lining up
- Check your seam allowance consistency. A scant 1/4 inch versus a true 1/4 inch adds up fast.
- Pin at intersections and sew a little slower over those spots.
- Press alternating rows in opposite directions so seams nest.
My quilt top is wavy
- Too much pressing back and forth can stretch fabric. Lift and press instead of ironing like you are scrubbing.
- Square up the top before basting.
I got a pleat on the backing
- It happens. If it is small and near an edge, you may decide it is fine.
- If it is big and bugs you, unpick that area and re-quilt. Your seam ripper is part of the toolkit.
My quilting stitches look uneven
- Lengthen the stitch a bit and use a walking foot if you have one.
- Reduce drag by supporting the quilt on a table, not letting it pull to the left.
Quick checklist
- Cut 120 squares at 6.5 inches
- Layout 10 x 12
- Piece rows, then piece rows together
- Square up quilt top
- Back and batting at least 68 x 80 inches
- Baste well
- Straight-line quilt
- Bind with 2.5-inch strips
FAQ
Do I need a special quilting machine?
No. A regular home sewing machine can make a beautiful quilt. A walking foot helps, but patient straight-line quilting works on almost any machine.
What is the best fabric for a first quilt?
Quilting cotton is the easiest to cut and sew accurately. It presses well, behaves predictably, and comes in an endless range of colors and prints.
How much fabric do I need if I am using scraps?
For this throw quilt, aim to collect the equivalent of about 3.75 to 4 yards total for the top. If your scraps are small, you can absolutely still do it. It just means more piecing and more variety.
Should I use spray baste or pins?
Either works. Pins are inexpensive and reliable. Spray basting is fast and smooth, but use it in a well-ventilated area and follow the product instructions closely.