A friendly, step-by-step tutorial for sewing quilt binding by machine from start to finish, including perfect mitered corners and a clean, durable finish.
The Quilt Mark
October 22, 2026
Minky Quilt Backing Without Puckers
Use plush minky or cuddle fabric on the back of your quilt without ripples, shifting, or tucks. Learn cutting, basting, quilting, and binding tips that actually work.

Clara Jenkins
Clara Jenkins is an avid quilter and fabric enthusiast who has been designing and piecing together quilts for over twenty years. She shares her passion for color coordination, block design, and practical sewing techniques to help makers of all skill levels create beautiful, lasting heirlooms. Through Quiltmark, Clara aims to make the timeless art of quilting accessible, joyful, and deeply rewarding for everyone.
Updated October 22, 2026
Minky is the quilt backing that makes everyone say, “Oh wow,” the second they touch it. It is also the backing that can make a calm sew day spiral into puckers, creeping layers, and a quilt sandwich that seems to grow its own opinions.
The good news is that minky is not “hard,” it is just different. It has stretch, a nap, and a slickness that does not behave like quilting cotton. Once you prep it correctly and baste like you mean it, you can get a smooth, luxurious back with a whole lot less drama.
Quick note on terms: “Cuddle” is a common brand/type of minky. In this article, I use minky as the catch-all for plush polyester cuddle fabrics.
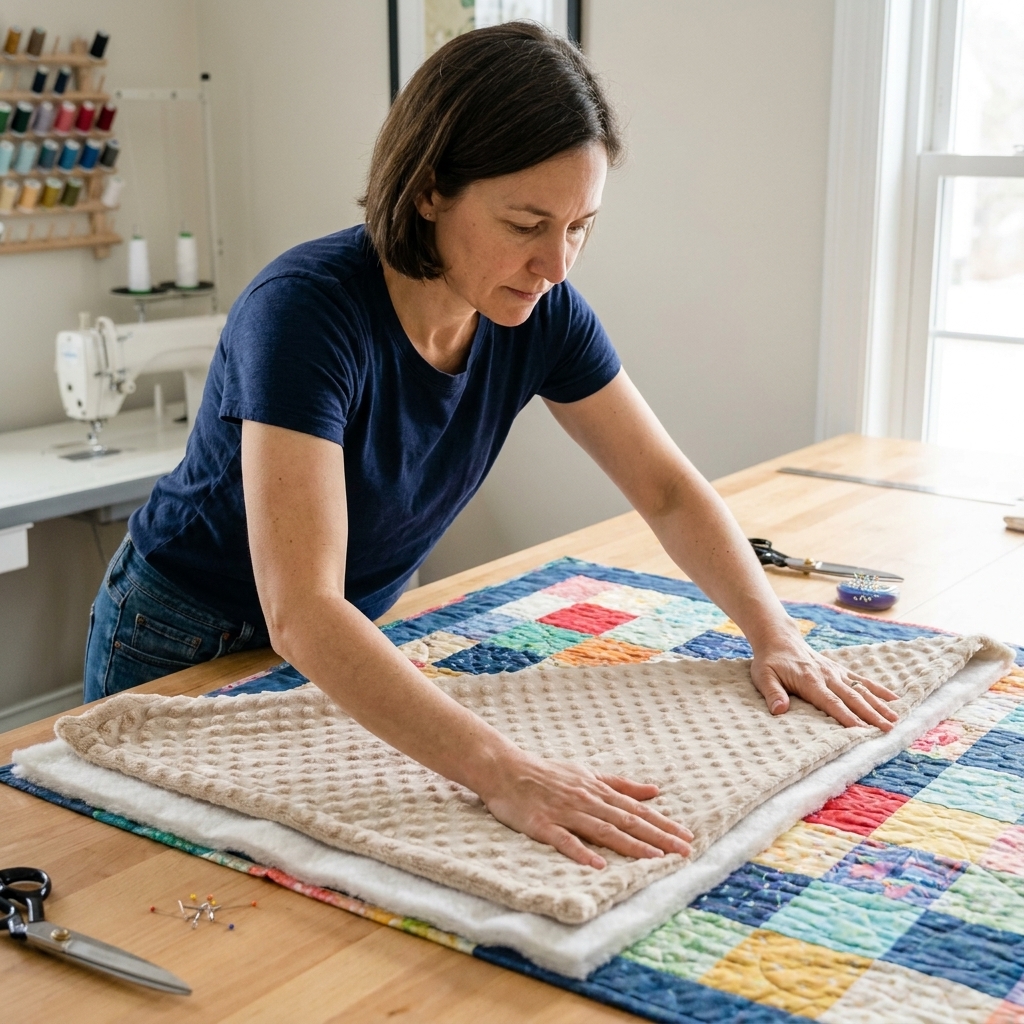
Why minky puckers and shifts
If you understand what minky wants to do, it gets much easier to stop fighting it.
- Stretch plus weight: Minky can stretch on the crosswise grain and sometimes lengthwise too. The pile adds weight, so it can “relax” and grow while you handle it.
- Slick surface: The plush pile does not grab batting the way cotton does, so layers slide during quilting.
- Nap and drag: When the nap runs against the direction you are feeding through the machine, it can subtly resist and cause creeping.
- Heat sensitivity: High heat can permanently crush or melt some minky, and high dryer heat can change the hand and pile. That limits pressing tricks that work on cotton.
Pick the right minky (and buy a little extra)
Not all minky behaves the same. A stable, lower-stretch cuddle fabric is friendlier than ultra-stretchy, high-pile versions.
What to look for
- Lower stretch: If it feels like it wants to bounce back like a knit, plan on extra basting.
- Shorter pile: “Cuddle” and “smooth minky” tend to shift less than shaggy or very lofty piles.
- Good recovery: Gently tug and release. If it stays distorted, it is likely to grow as you quilt.
How much to buy
Give yourself breathing room. I like 4 to 6 inches extra on each side beyond your quilt top size. If your minky is extra stretchy or your quilt is large, go closer to 6 inches.
Stretch direction matters
Before you cut, give your minky a gentle tug in both directions and notice which way stretches more. If you can, orient the greatest stretch left to right across the quilt. It can help reduce that sneaky top-to-bottom growth that shows up as ripples later.
Prepping minky: what to do (and what to skip)
Should you prewash?
Most minky is polyester and usually does not shrink much. The bigger issues are shedding, distortion from handling, and heat damage.
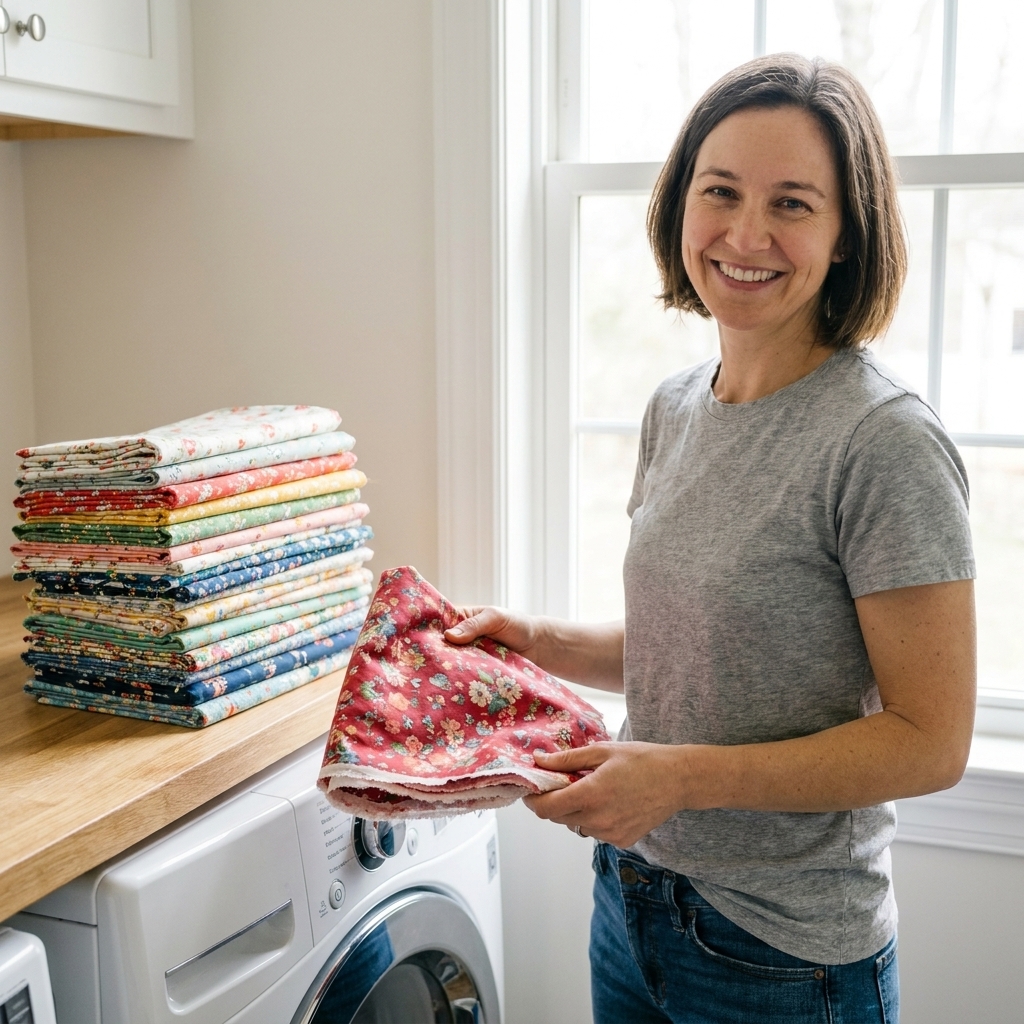
- If you want maximum predictability, prewash on cold and tumble dry low (or air dry). Keep the heat low. High heat can change the pile and feel.
- If you skip prewashing, that is fine too. Just plan to wash the finished quilt soon and expect some initial lint.
Tame the fuzz before it takes over your sewing room
If you have ever cut minky and found fluff in your tea an hour later, you know.
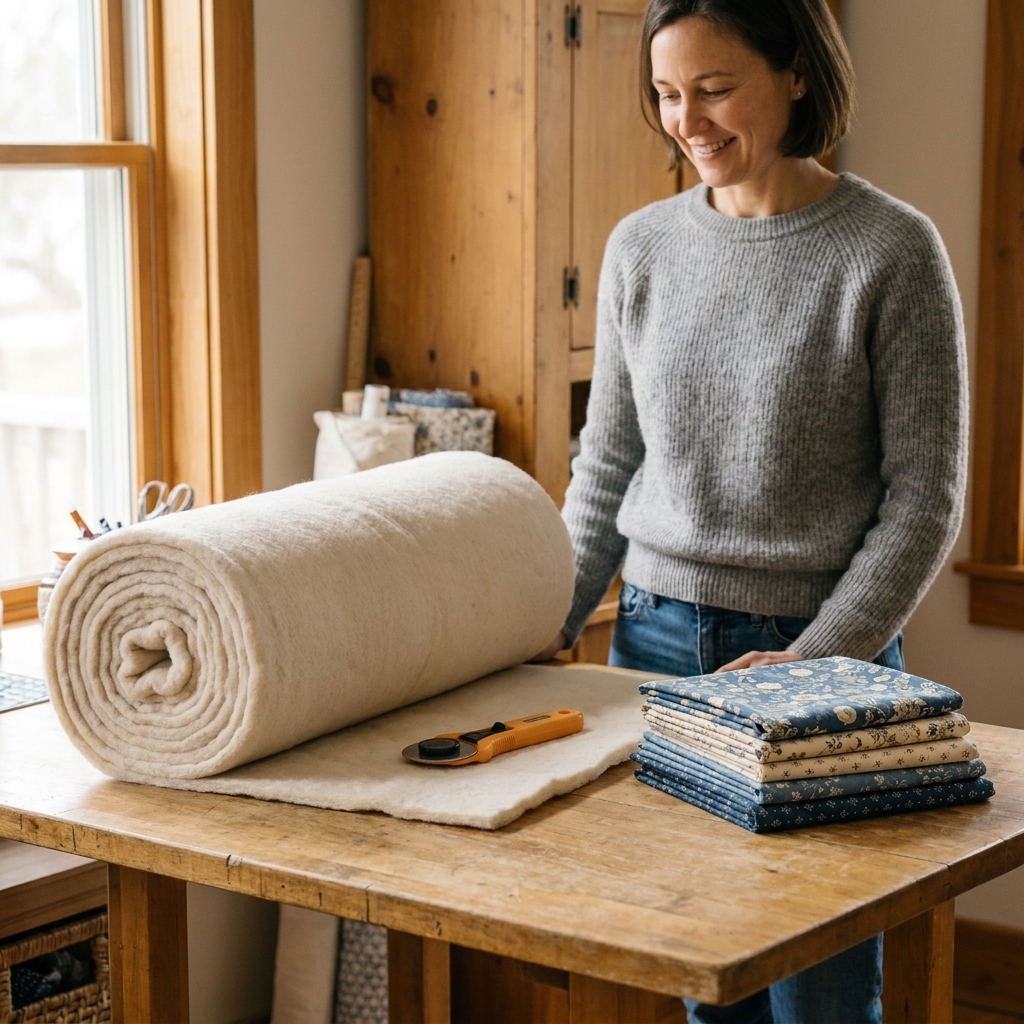
- Use a rotary cutter with a fresh blade to reduce shedding.
- Cut on one layer if possible. Folding can distort the grain and invite waves.
- Vacuum as you go, or keep a lint roller handy for your table and clothes.
Pressing rules
Do not iron minky directly with high heat. Pressing from the plush side can crush the pile and leave permanent shiny spots. If you must flatten a crease, use very low heat, a pressing cloth, and test a corner first. Often, simply smoothing by hand and basting well is safer than pressing.
Marking minky
Minky can be fussy about marks. Chalk can disappear into the pile and some pens can ghost. When in doubt, use pins, clips, or a few big basting stitches where you need a reference.
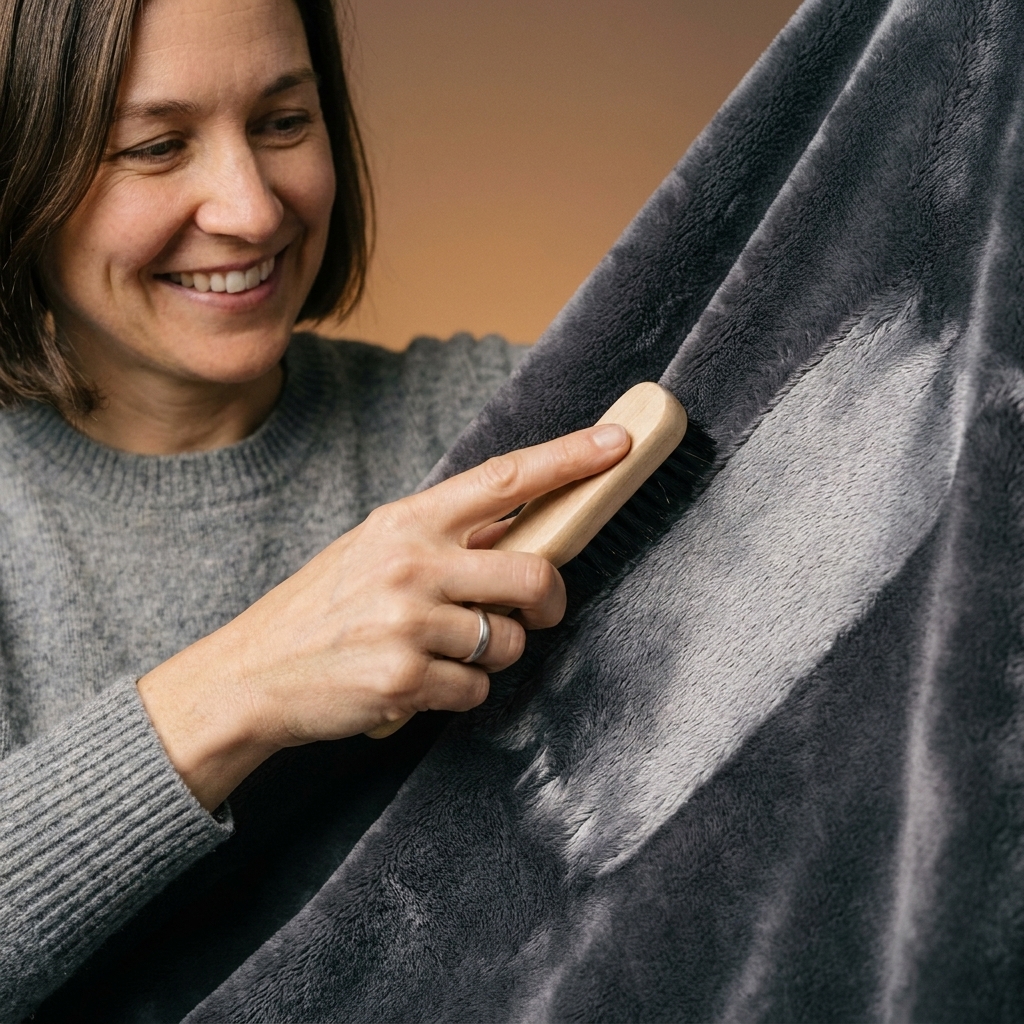
Tools that make minky behave
You can absolutely back a quilt with minky on a regular sewing machine. A few small tool swaps help a lot.
Needles and thread
- Needle: Start with a new 90/14 universal or 90/14 topstitch. If you get skipped stitches, try a 90/14 stretch (or jersey) needle. Microtex can be great for crisp wovens, but on some plush minkies its extra-sharp point can make skipping worse.
- Thread: Quality 40 wt or 50 wt polyester works beautifully for quilting and holds up to washing.
Walking foot and feed help
- Walking foot: My top recommendation. It keeps the layers feeding evenly.
- Even-feed plus grip: If your machine bed is slick, a silicone sheet or a grippy table surface can keep the quilt from pulling.
- Longer stitch length: For basting, go long. For quilting lines, a slightly longer stitch can look nice on minky.
Best basting supplies
Choose one of these approaches:
- Spray baste + pins: My favorite for minky because it reduces sliding immediately.
- Pin basting only: Works, but use a lot of pins, closer than you would on cotton backing.
- Thread basting: Excellent for very large quilts, or if you do not use spray.
Step-by-step: baste minky so it stays put
This is the heart of a pucker-free minky backing. Give yourself time here. The quilting part gets so much easier.
1) Square up the quilt top first
If the top is wavy or out of square, minky will not magically fix it. Press your top well, trim stray threads, and measure.
2) Lay minky right side down and smooth, do not stretch
Find the nap direction you like. Most people prefer the nap running top to bottom so it feels smooth when you stroke downward.
Tape the edges to the floor or a large table if you can, just enough to keep it flat. Use painter’s tape or another low-tack tape so you do not distort the knit backing or leave residue. The key is flat, not stretched. Stretching while taping is a classic way to get ripples later.
3) Add batting and “pet” it into place
Place batting on top and smooth with open hands. I tell beginners to “pet” the layers, not push them. Gentle pressure keeps the minky from scooting around.
4) Add the quilt top and align the center first
Fold the top in half to find center, then match it to the batting and backing centers. Work outward from the middle like you are smoothing frosting.
5) Baste from the center out
However you baste, the direction matters. Always start in the center and move outward.
- Spray baste method: Peel back half the quilt top, spray batting lightly, lay the top back down and smooth. Repeat for the other half. Then flip the whole sandwich (carefully). If flipping makes you nervous, roll the quilt onto a pool noodle or a board like a scroll, then unroll it after the flip to keep layers from shifting. Repeat between batting and minky if needed, working in sections.
- Pin basting method: Use curved safety pins every 3 to 4 inches across the quilt, and closer in the center area where your hands will tug the most.
- Thread basting method: Use big running stitches in a grid, about 4 inches apart. This is slower up front, but incredibly stable.
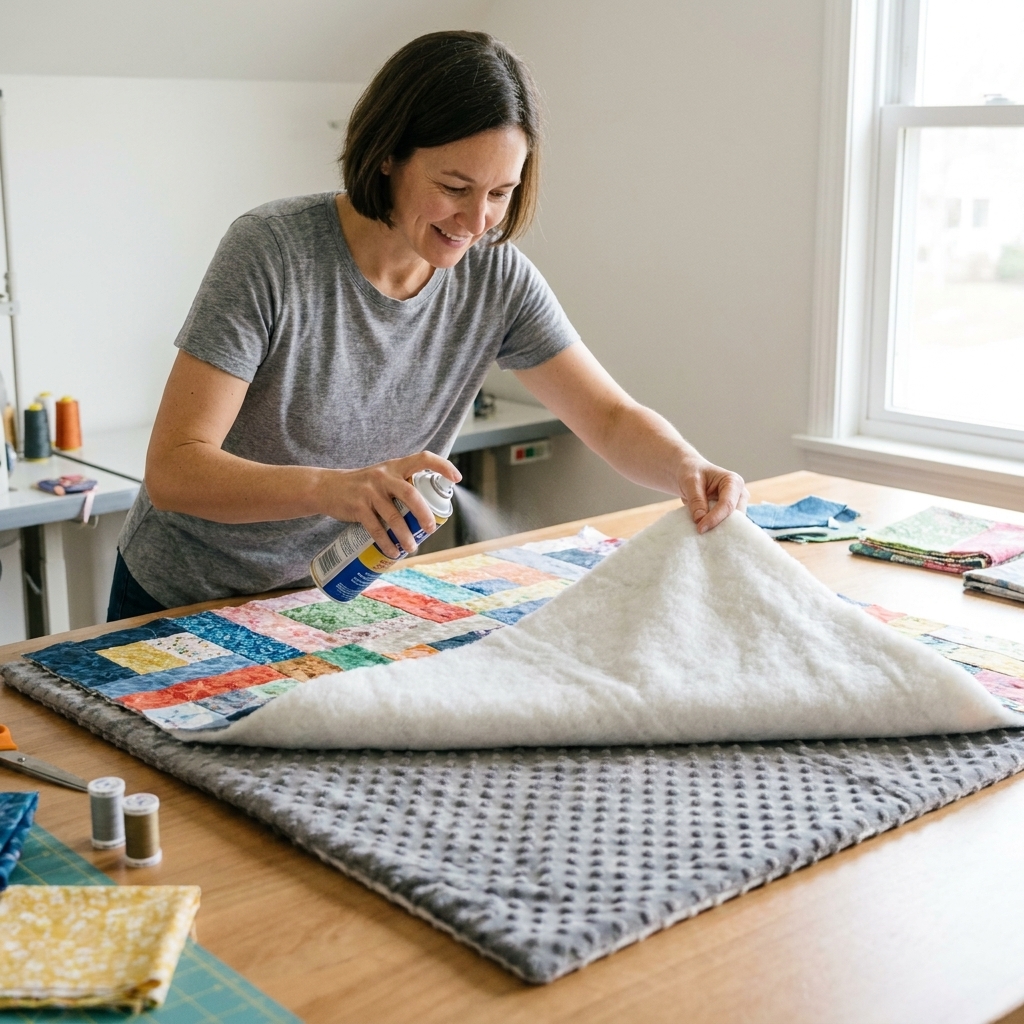
Quilting plans that reduce puckers
Minky forgives a lot, but it loves consistent, even quilting. Big empty areas can allow the backing to bubble.
Choose a supportive quilting density
- Allover walking-foot lines: Straight or gently wavy lines are a dream pairing with minky.
- Moderate spacing: Aim for lines about 2 to 4 inches apart for many throw-size quilts, or closer if your batting requires it. Always follow your batting’s maximum quilting distance.
- Stitch-in-the-ditch only: Usually not enough support for minky on its own, especially on larger quilts.
Quilt from the center outward
Start near the center and work toward the edges, rotating the quilt so it stays supported on the table. This pushes any tiny excess out toward the perimeter where it can be trimmed away.
Reduce drag at the machine
- Support the quilt’s weight with an extension table or a second surface beside you.
- Roll or accordion-fold the quilt so it is not pulling against the needle area.
- Keep your hands flat and guiding, not gripping and tugging.
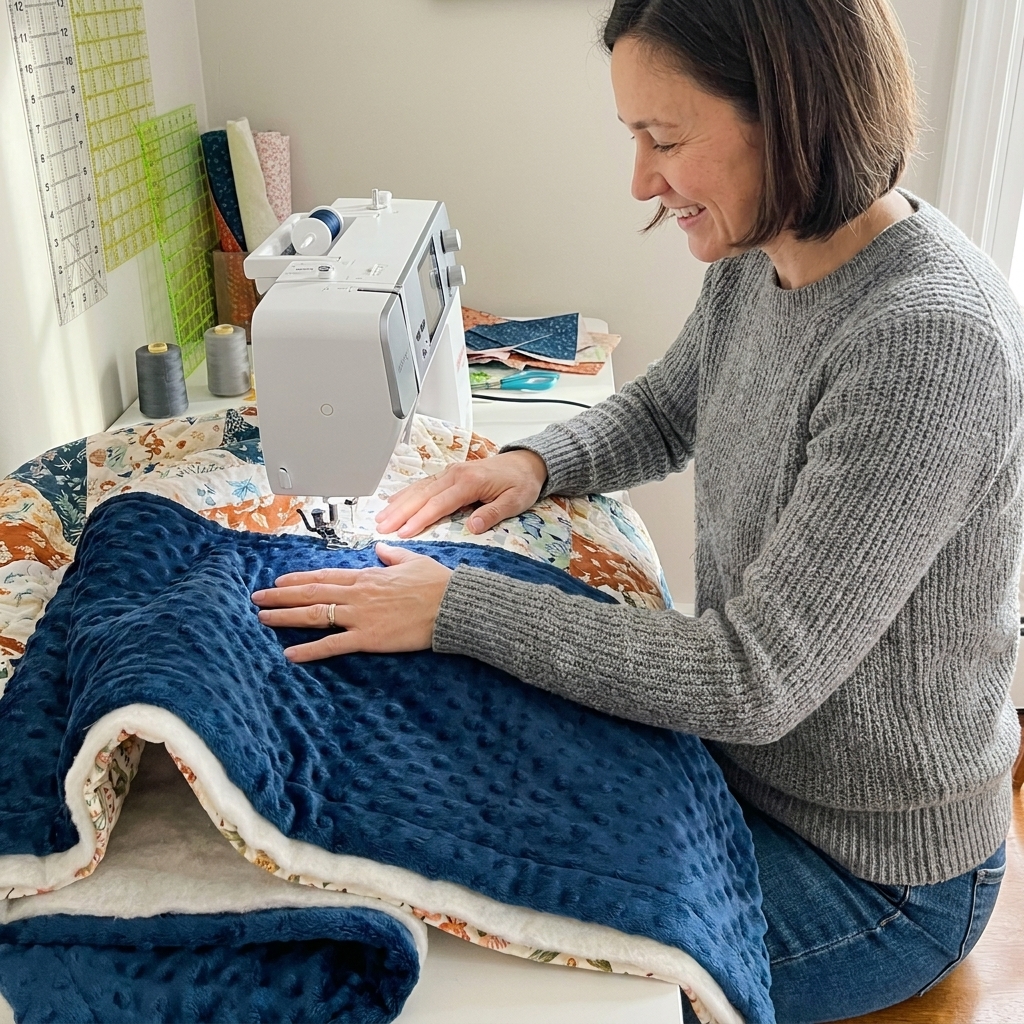
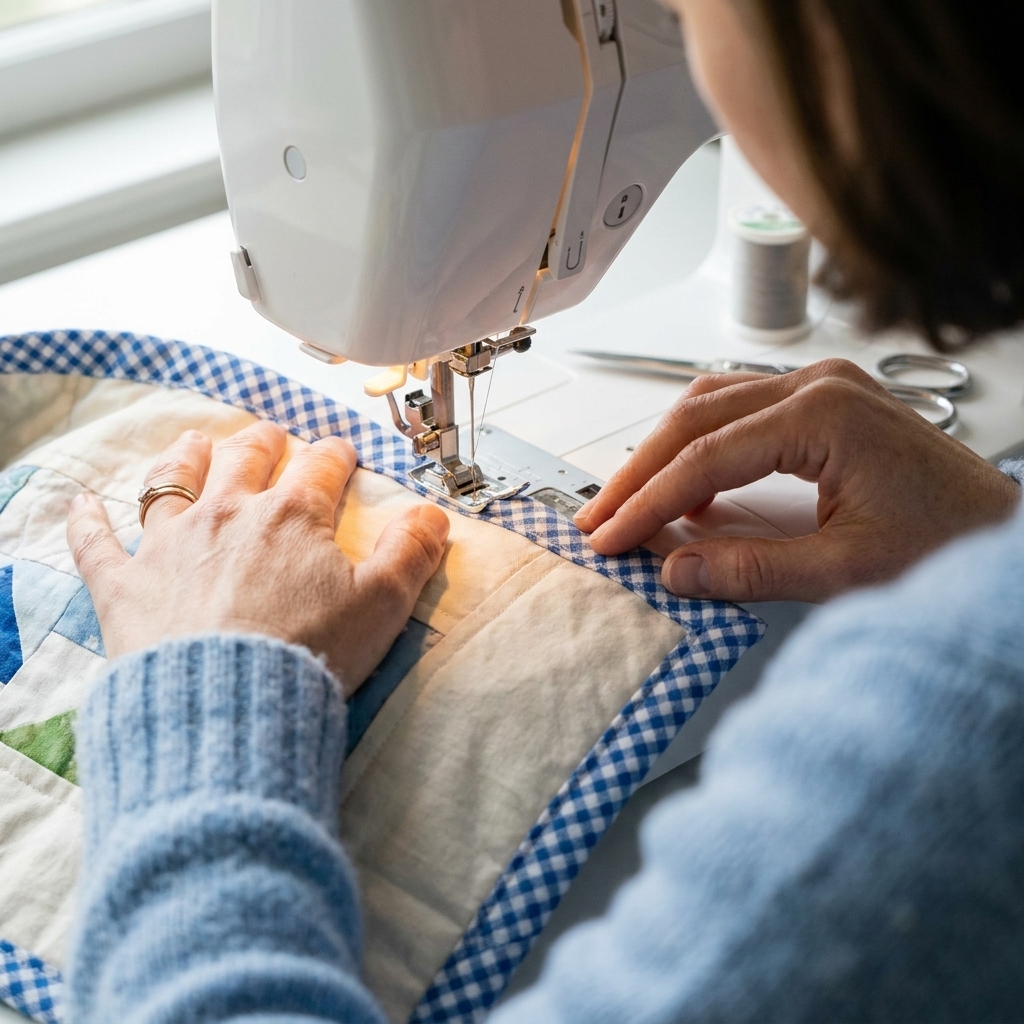
Binding with minky on the back
Once quilting is done, minky can make the edges feel thick and springy. A few choices keep your binding crisp.
Trim and square carefully
Square the quilt on a large surface. Use a long ruler and trim in stages. If the minky relaxed during quilting, you will likely trim away a bit more than usual. That is normal and honestly, satisfying.
Consider a slightly wider binding
A 2.5 inch binding strip is standard, but a hair wider can help the binding roll cleanly over the plush edge. If you like a fuller binding, try 2.75 inches and see how it feels on your quilt’s thickness.
Grade the bulk if needed
If the edge feels extra beefy, you can reduce bulk by trimming a little batting (and even a whisper of minky pile) from the seam allowance area before binding. You are not changing the quilt size, you are just taking down the thickness so the binding sits flatter.
Skip pressing directly on minky
Press the binding on the cotton side as usual. On the minky side, finger-press and clip. If you press, use low heat and a pressing cloth.
Fixes for common minky backing problems
“My backing has little tucks after quilting.”
- Cause: Not enough basting, or quilting started at an edge and pushed fullness inward.
- Fix: If the tuck is small and near the edge, you can often hide it in the binding allowance. If it is in the middle, you may need to unpick that area and re-baste tighter, then re-quilt from the center outward.
“The quilt top looks fine, but the back has ripples.”
- Cause: Backing grew, or the layers slid on the minky pile.
- Fix: Add more quilting lines to stabilize the area. More quilting can calm ripples dramatically, especially with a walking foot.
“My needle is skipping stitches on minky.”
- Cause: Needle is dull, wrong type, or the plush pile is interfering with stitch formation.
- Fix: Change to a fresh 90/14 needle. Try a topstitch or stretch needle if skipping continues. Slow down and check that the presser foot pressure is not too high if your machine allows adjustment.
“My machine feels like it is fighting the bulk.”
- Cause: Thick layers, drag from the quilt weight, or too-small throat space for the project size.
- Fix: Use a walking foot, support the quilt fully, and reduce speed. If it is a very large quilt, quilting it in sections with a domestic machine can be tough. In that case, there is no shame in sending it to a longarmer.
A simple minky backing checklist
- Buy extra backing, 4 to 6 inches larger on each side.
- Check stretch direction and, if possible, place the greatest stretch left to right.
- Cut with a rotary cutter and minimize handling.
- Keep minky flat, never stretched, during basting.
- Baste from the center outward, closer than usual.
- Quilt from the center outward with good table support.
- Use a walking foot and a fresh 90/14 needle (universal or topstitch are great starters).
- Plan enough quilting density to prevent bubbles, based on your batting.
When you get it right, minky backing feels like the coziest secret on the underside of your quilt. And the best part is that it does not require perfection. It just requires a steady setup, a patient baste, and permission to go slow.
FAQ
Do I need a special foot to quilt minky?
You do not need one, but a walking foot makes a big difference because it evens out how the layers feed. If you free-motion quilt, focus on excellent basting and good quilt support so the backing does not shift.
What side of minky faces out on the back?
The plush side faces out as the quilt back. When you build the quilt sandwich, lay the minky right side down, then batting, then quilt top right side up.
Is spray basting safe for minky?
Yes, as long as you use a quilting basting spray and apply light, even coats. Always test on a scrap if you are nervous, and let it get tacky before smoothing layers together.
Can I use minky with cotton batting?
Absolutely. Cotton batting can sometimes “grab” a bit better than very slick battings, which helps, but it depends on the exact batting and whether it has a scrim. Follow the batting’s quilting distance recommendations, especially if it is cotton or a cotton blend.