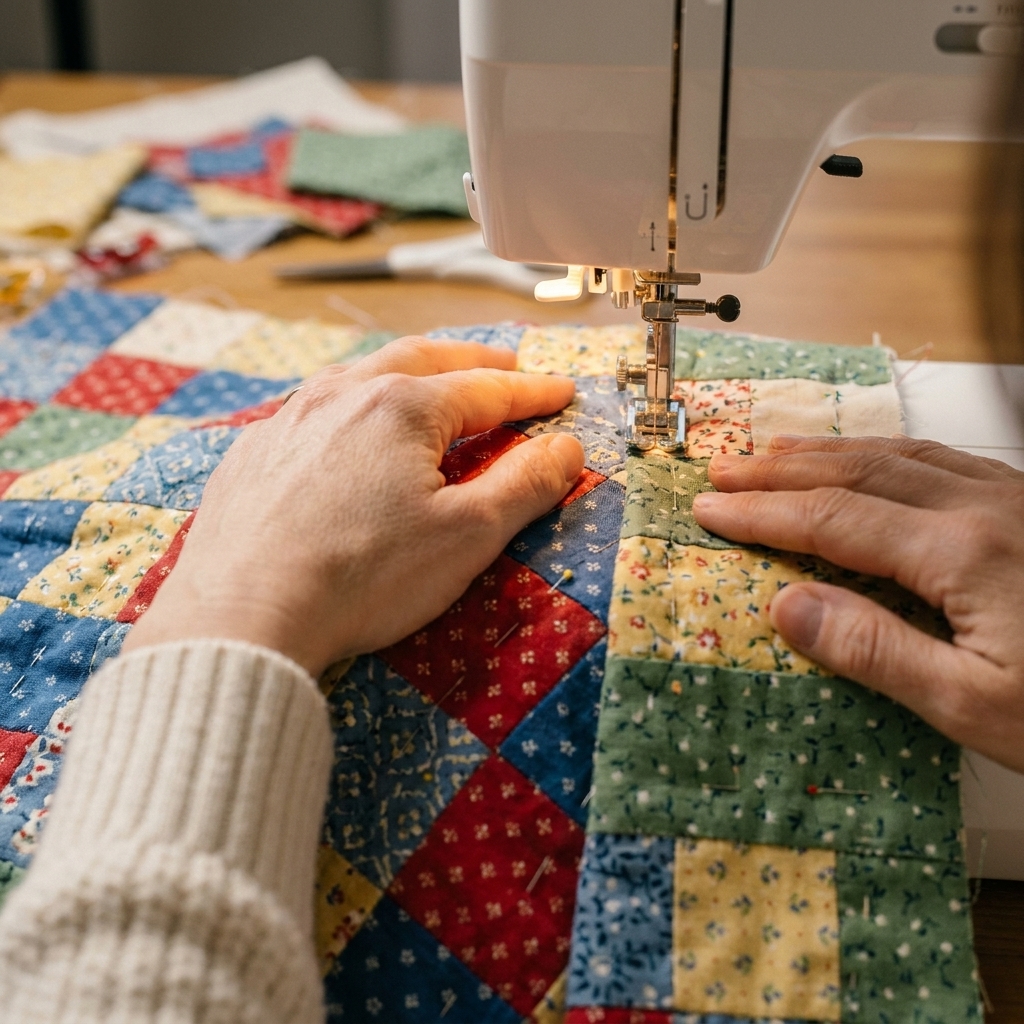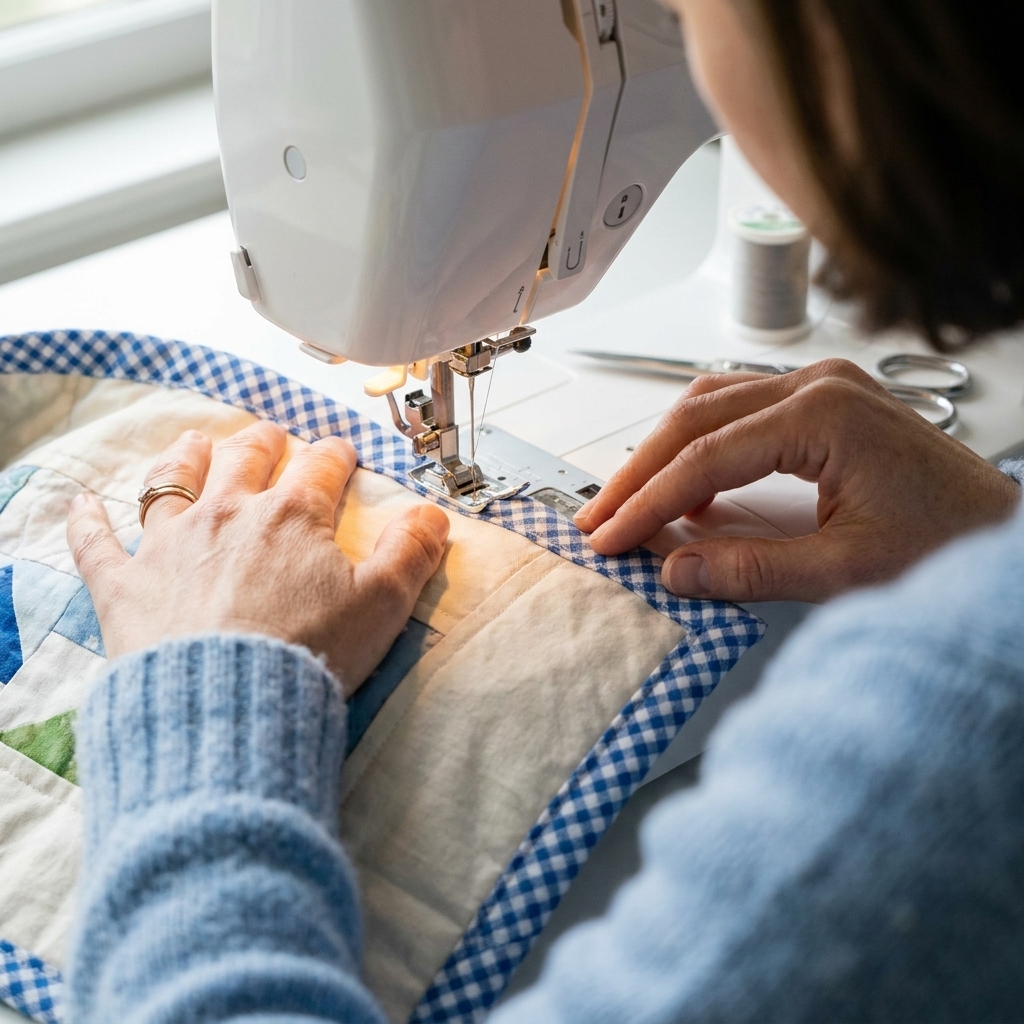
A friendly, step-by-step tutorial for sewing quilt binding by machine from start to finish, including perfect mitered corners and a clean, durable finish.
The Quilt Mark
October 22, 2026
Quilt As You Go on a Standard Machine
Learn Quilt As You Go (QAYG) step by step: quilt large projects in manageable sections on a domestic machine, then join them with clean sashing or low-profile seams.

Clara Jenkins
Clara Jenkins is an avid quilter and fabric enthusiast who has been designing and piecing together quilts for over twenty years. She shares her passion for color coordination, block design, and practical sewing techniques to help makers of all skill levels create beautiful, lasting heirlooms. Through Quiltmark, Clara aims to make the timeless art of quilting accessible, joyful, and deeply rewarding for everyone.
Updated October 22, 2026
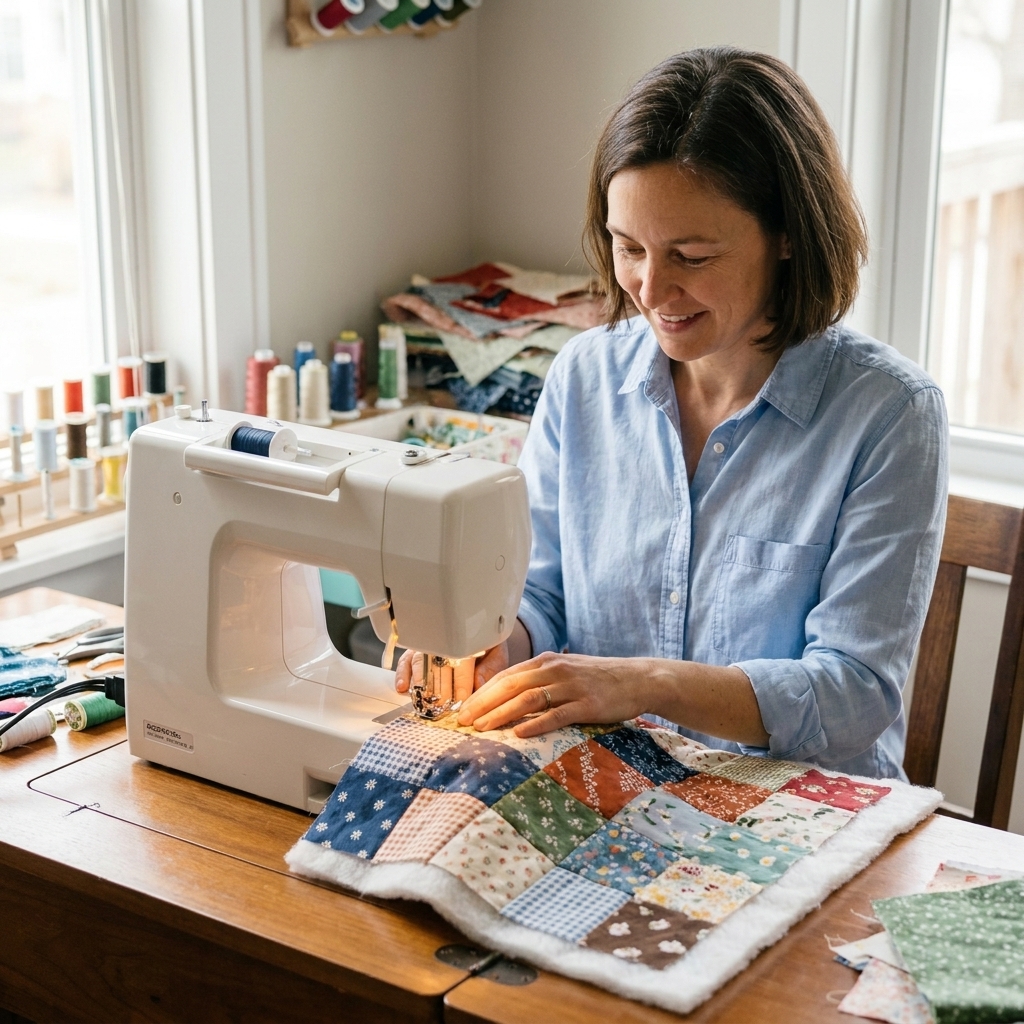
There is a moment in every quilter’s life when the quilt top is gorgeous, the backing is pressed, the batting is fluffy, and then you try to shove the whole quilt sandwich through the throat of a regular sewing machine. That is the moment Quilt As You Go, usually shortened to QAYG, feels like a small miracle.
QAYG lets you quilt your project in sections, one block or panel at a time, and then join those quilted sections into a finished quilt. You still get a fully quilted, fully finished piece, but you never have to wrestle a king-size blanket roll under your presser foot. In this tutorial, I’ll walk you through two reliable, beginner-friendly QAYG methods you can do on a standard domestic machine, plus the small choices that make the final quilt lie flat and look polished.
What QAYG means
In classic quilting, you make a top, layer it with batting and backing, quilt the whole sandwich, then bind. In QAYG, you quilt smaller sandwiches first, then join the quilted units together.
There are a lot of QAYG variations. Two common approaches for standard machines are:
- Block or panel QAYG with sashing: Each block is quilted to its own batting and (often) backing, then the blocks are connected with sashing strips. This is forgiving and tidy.
- “As you go” joining with a low-profile seam: You quilt sections, then join them with a seam that is finished on the front and back. This can look more like a traditional quilt top, but it is a little fussier.
Both methods work beautifully for large quilts, scrap quilts, and anything you want to finish on your home machine without stress.
Supplies and setup
Materials
- Quilt top fabric (blocks or panels)
- Batting (low loft is easiest for QAYG joins)
- Backing fabric (either one piece for the full quilt, or smaller pieces per block depending on method)
- Thread for quilting and piecing
- Binding (standard binding works for most QAYG quilts)
Tools that make QAYG smoother
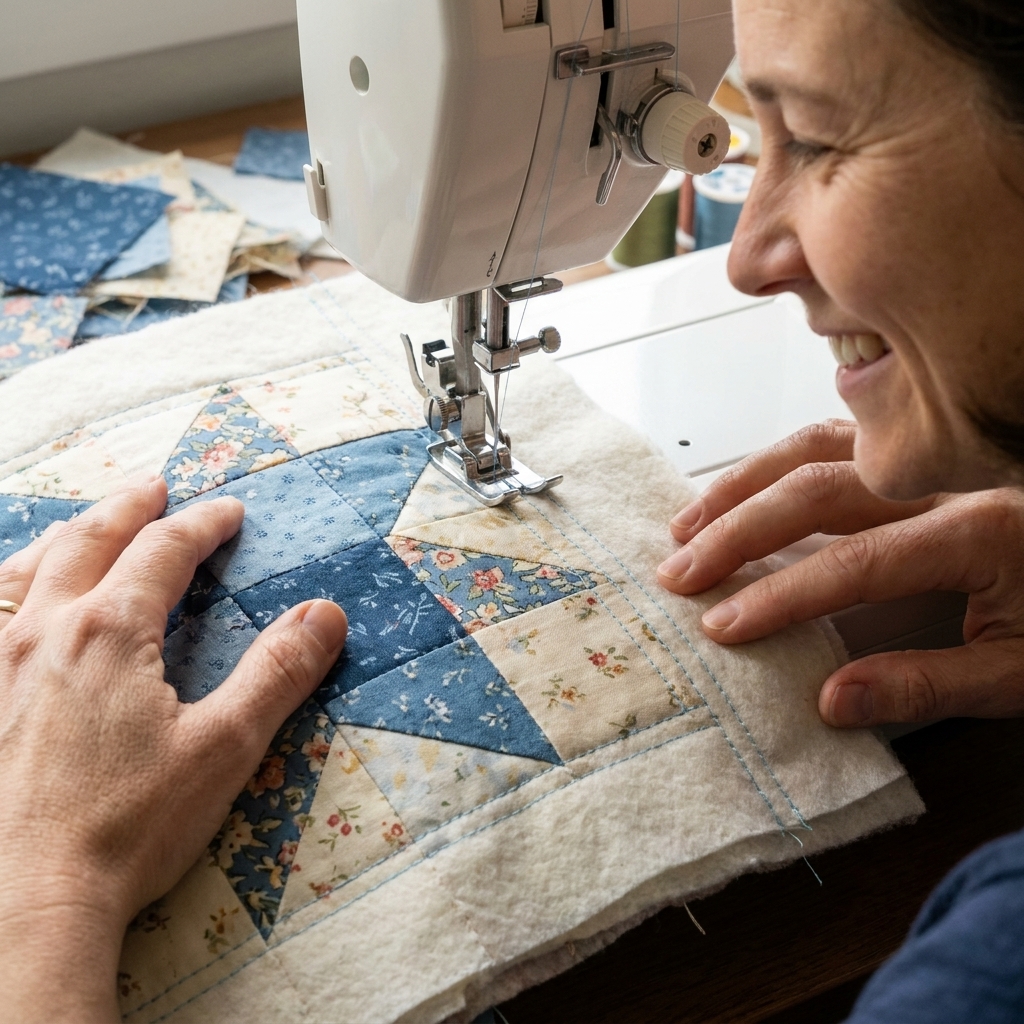
- Walking foot for straight-line quilting
- Free motion foot if you want to doodle and swirl
- Spray baste or washable glue stick (especially helpful for small sandwiches)
- Wonder Clips or quilting clips (bulk-friendly)
- Hera marker or chalk for quilting lines
- A sharp rotary blade (joining quilted pieces is harder on dull blades)
Machine settings I reach for most
- Stitch length: 2.5 to 3.0 for piecing and joining
- Quilting: slightly longer stitches look smoother on thick layers
- Needle: 90/14 quilting needle is a great default; go to 100/16 for dense quilting or thicker thread
- Pressing: a good press between steps is half the “magic” of QAYG
Before you start
QAYG works best when your sections are consistent and your joining plan is decided before you quilt yourself into a corner.
Choose a section size
On most domestic machines, sections around 12 to 18 inches square are very manageable. You can absolutely do larger panels, but try one test piece first to see how it feels under your hands.
Plan for seam allowances
When you quilt a block to batting, you are adding thickness. If you plan to join with traditional 1/4 inch seams, keep that seam allowance free of bulky quilting whenever possible. It helps the join press flatter and stitch more cleanly.
Decide trimming strategy
This is the part that saves your sanity later:
- After quilting, trim each unit square. I like to trim the quilted block so the top, batting, and backing (if used) are all flush and stable.
- Do not “eyeball” matching sizes. Pick a final measurement and trim every single unit to it.
- Leave yourself something to trim. Cutting batting and backing slightly oversize is fine as long as you trim after quilting.
Quilt direction matters
If you are quilting straight lines, decide whether you want the lines to continue across joins. With sashing, you do not have to match anything perfectly. With low-profile joins, you will be happiest if your quilting is simple and repeatable.
Quilting density and batting rules
Batting packages usually list a maximum distance between quilting lines (for example, “quilt up to X inches apart”). With QAYG, that still applies. If your sections are quilted sparsely and your joins are far apart, make sure you are still meeting your batting’s spacing guidelines, especially near joins and edges.
Method 1: Blocks with sashing
This is the most beginner-friendly QAYG method and it scales up beautifully. You quilt each block (or panel) as its own little quilt sandwich, then connect them with sashing that is sewn and finished like a tidy bridge.
Step 1: Make blocks and square up
Piece your quilt blocks as usual. Press well. Square each block to the exact same size. This is one of those moments where “close enough” becomes a headache later, so be kind to your future self.
Step 2: Cut batting per block
Cut batting pieces the same size as your blocks, or up to 1/2 inch larger. If you cut larger, you will trim after quilting.
Step 3: Decide how you want the backing
You have two options:
- Back each block now: Make mini sandwiches of backing, batting, and block top. When everything is joined, the back will show the “grid” of joins, which many people find charming and perfectly acceptable.
- Hybrid option: add one full backing later: Quilt block tops to batting only, join the quilted top, then add a single backing and do a final quilting pass. This final pass is what attaches the backing across the entire quilt, so plan on it. The tradeoff is a more traditional-looking back, but you will handle more bulk at the end.
If you are brand new to QAYG, I recommend backing each block. It makes the process feel complete in your hands.
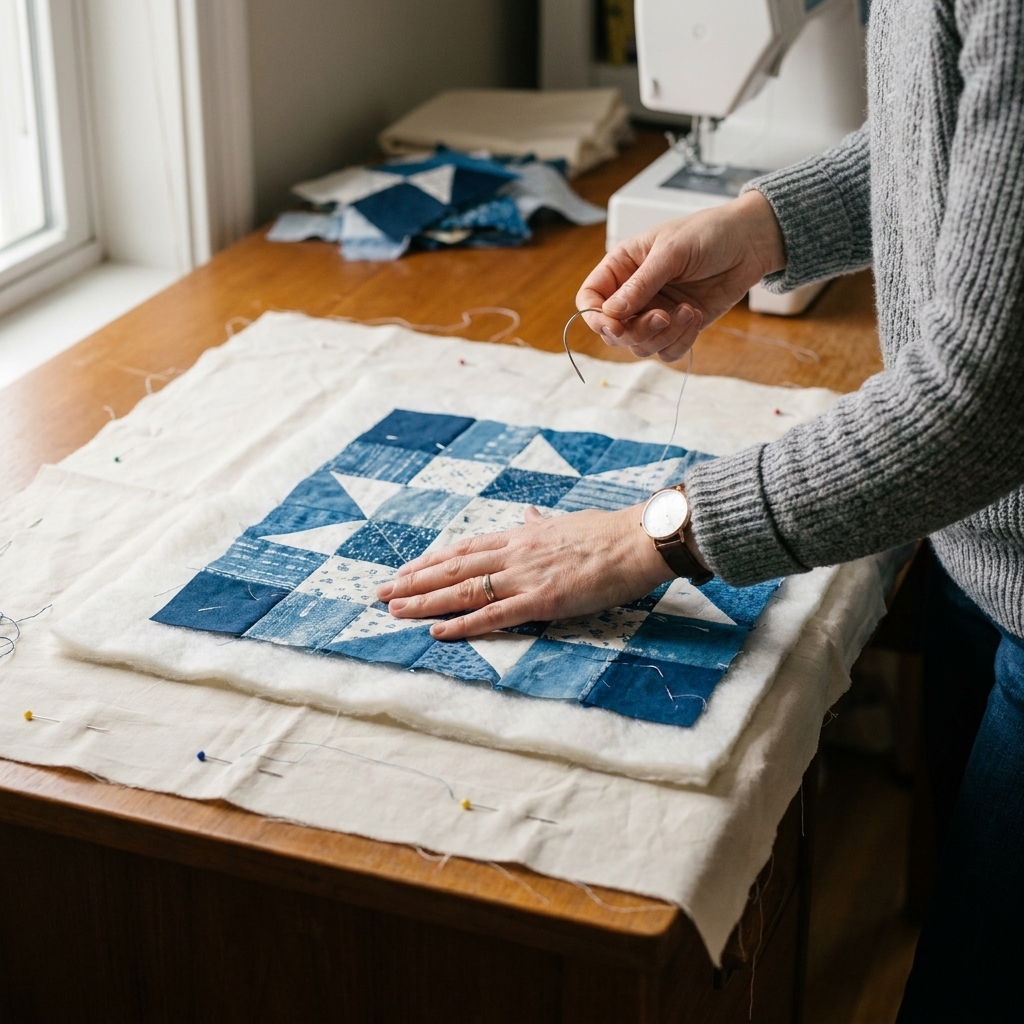
Step 4: Baste and quilt each block sandwich
Layer backing (right side down), batting, then block top (right side up). Baste with spray, pins, or glue. Quilt as desired.
Tip: Leave a 1/4 inch to 3/8 inch margin around the block where you avoid dense quilting. That seam area will behave much better when you join.
Step 5: Trim blocks to size
After quilting, trim every block to the same size again. Quilting can shrink or warp a block slightly, especially if you got enthusiastic with dense stitching. Trimming resets everything.
Step 6: Join blocks with sashing
Cut sashing strips to your chosen width plus seam allowances. A common, easy size is 2 1/2 inches cut width for a 2 inch finished sashing.
Beginner “don’t get stuck” order: Sew sashing between blocks to make rows first. Press seams toward the sashing. Then sew sashing strips between the rows. If you are using cornerstones, sew a row as: block, sashing, cornerstone, sashing, block, and so on. That keeps your intersections tidy and helps everything line up.
Step 7: Finish the joins on the back
Because each block is already quilted with its own backing, the joins need to be finished on the back. The cleanest approach is to cover the join lines with backing strips.
- Cut cover strips wide enough. Start around 1 1/2 to 2 1/2 inches wide, depending on seam bulk and how much coverage you want once the edges are turned under. If in doubt, test on a sample join and go wider.
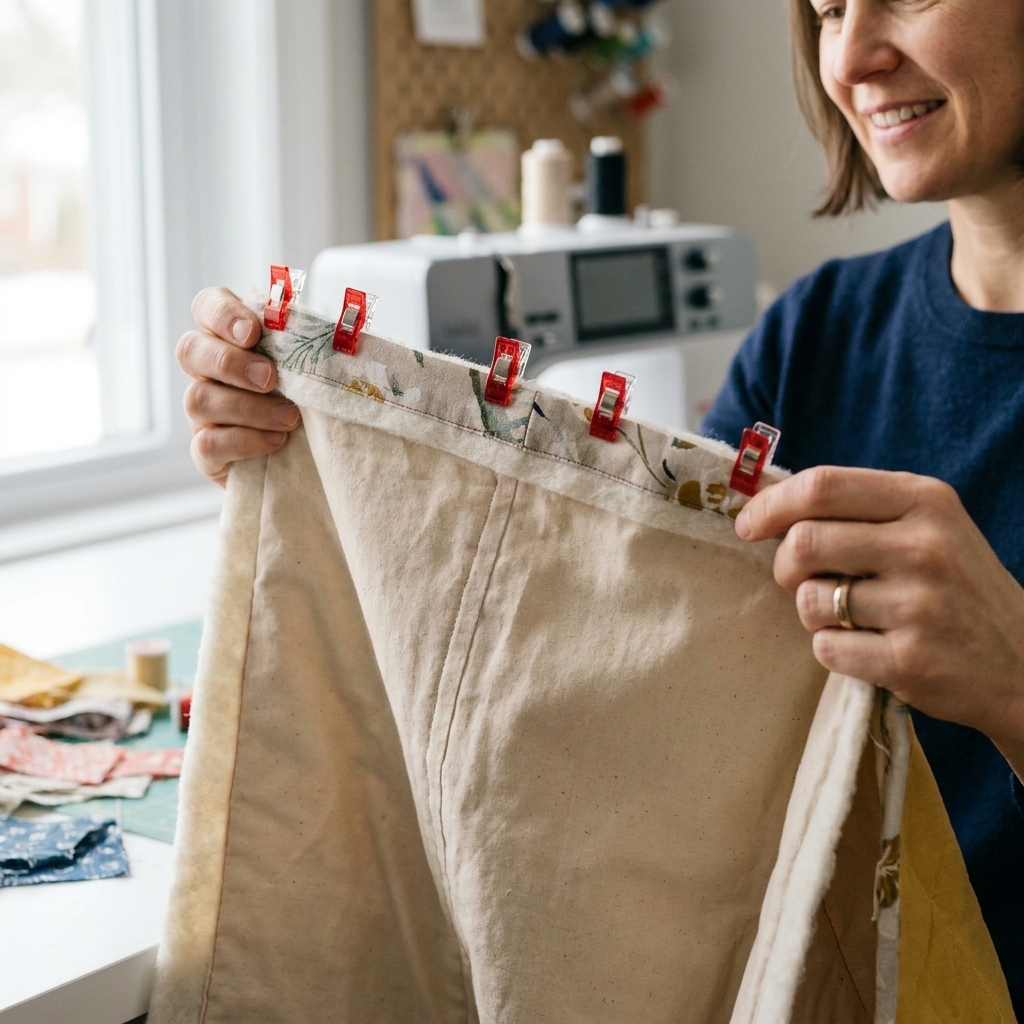
- Press the long edges under like a binding strip.
- Lay the strip over the join on the back and clip in place.
- Stitch in the ditch from the front along the sashing seam so the stitching catches the strip on the back. Or topstitch the strip on the back if you prefer full control.
When done, the back looks finished and intentional instead of raw seams crisscrossing everywhere.
Method 2: Low-profile joins
If you love the look of a continuous patchwork top, this method keeps the front looking more traditional. It takes a little more careful handling, but it is absolutely doable on a standard machine.
This approach works best with:
- Simple quilting designs that do not require perfect alignment across seams
- Low loft batting
- Accurate trimming
Tip: Test this join on scraps first, using the exact batting and backing you plan to use. Battings behave differently at a butt join, and it is much nicer to learn that on a practice piece.
Step 1: Quilt sections as mini sandwiches
Quilt each section to batting and backing, just like in Method 1. Trim them neatly and square. I trim so all layers are flush at the edges before joining.
Step 2: Sew the front seam
Place two quilted sections right sides together. Fold the batting and backing out of the way so you are only sewing the top layers together with a normal seam allowance. Stitch the seam.
Open it and finger press the seam. You will have a gap where the batting and backing were pulled back.
Step 3: Secure the batting gap
Butt the batting edges together inside the join. A narrow zigzag stitch or a few hand tacking stitches can keep the batting from shifting. You are not trying to overlap. You want the quilt to stay flat.
Step 4: Close the backing seam
Fold the backing edges under and close the backing with a neat topstitch or a ladder stitch by hand. This is the step that makes people think QAYG is “fancy,” but truly it is just careful, patient stitching.
Tip: If hand stitching makes you grumpy, a narrow machine topstitch close to the fold is totally acceptable. Pick a thread that blends and call it a design choice.
Step 5: Add an anchoring line for durability
For a stronger join, add a line of quilting that crosses the seam or runs close to it on both sides once your sections are assembled (for example, stitch in the ditch beside the seam, or echo it 1/4 inch away). This helps lock the layers down so the join stays stable with use and washing.
Favorite QAYG projects
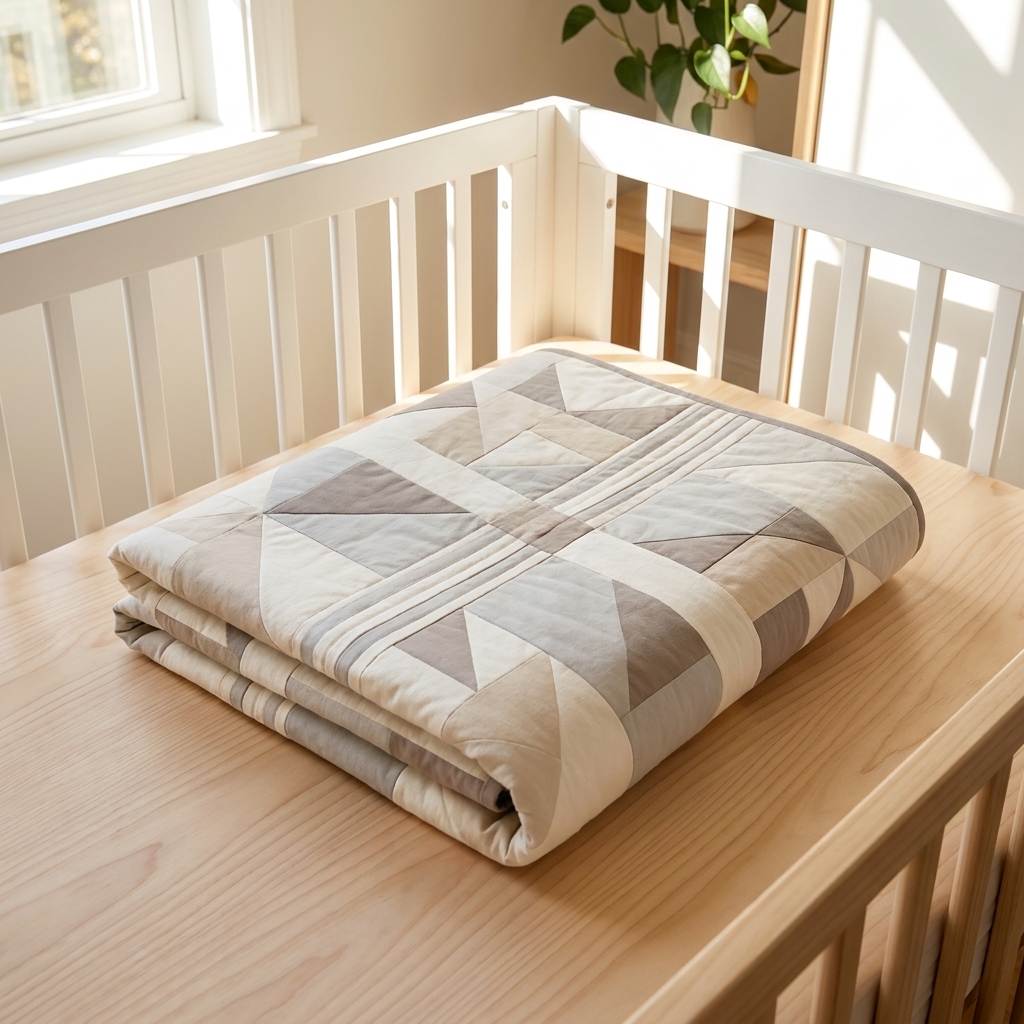
- Baby quilts and lap quilts: Fast, giftable, and forgiving.
- Scrap block quilts: QAYG is a stash buster’s best friend because you can quilt each block with a different thread color or motif.
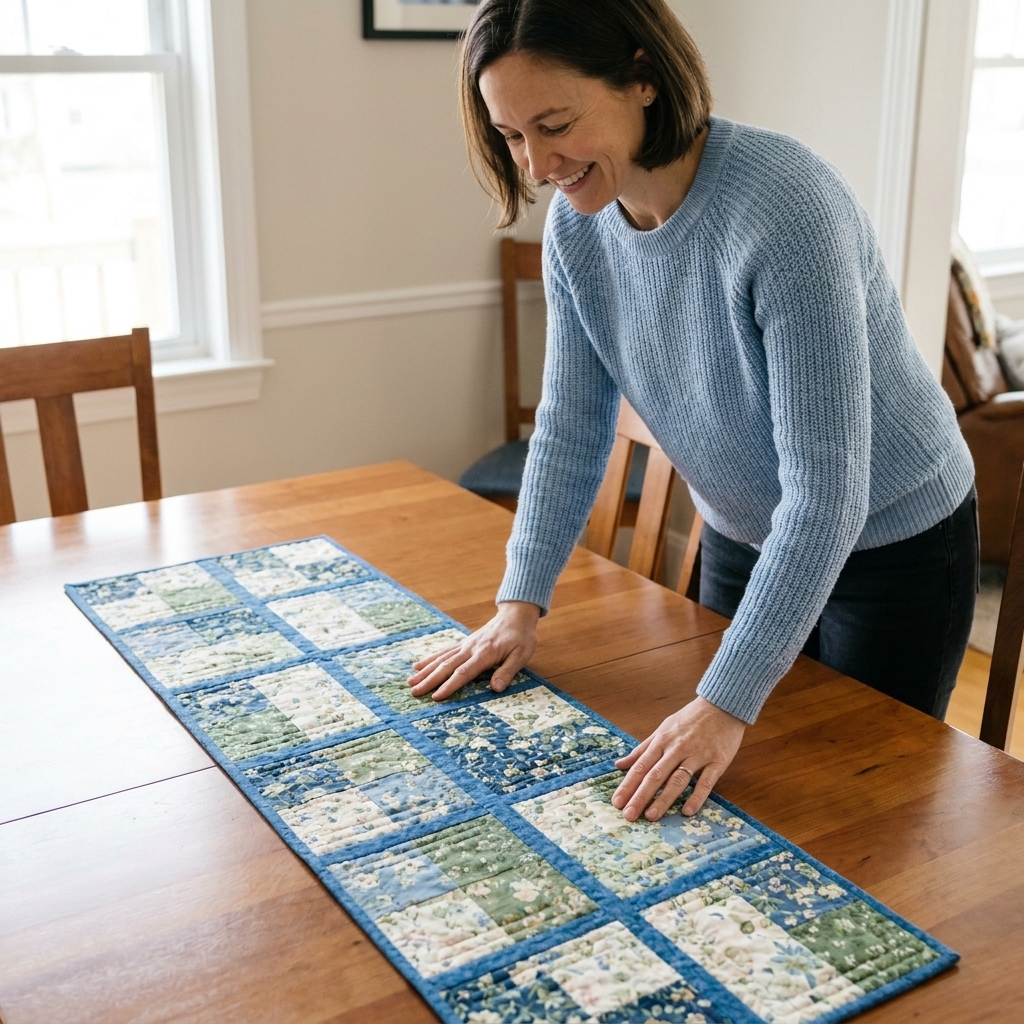
- Table runners: Great for learning joins without committing to a big quilt.
- Quilted tote bags: QAYG panels make sturdy bag exteriors with minimal wrestling.
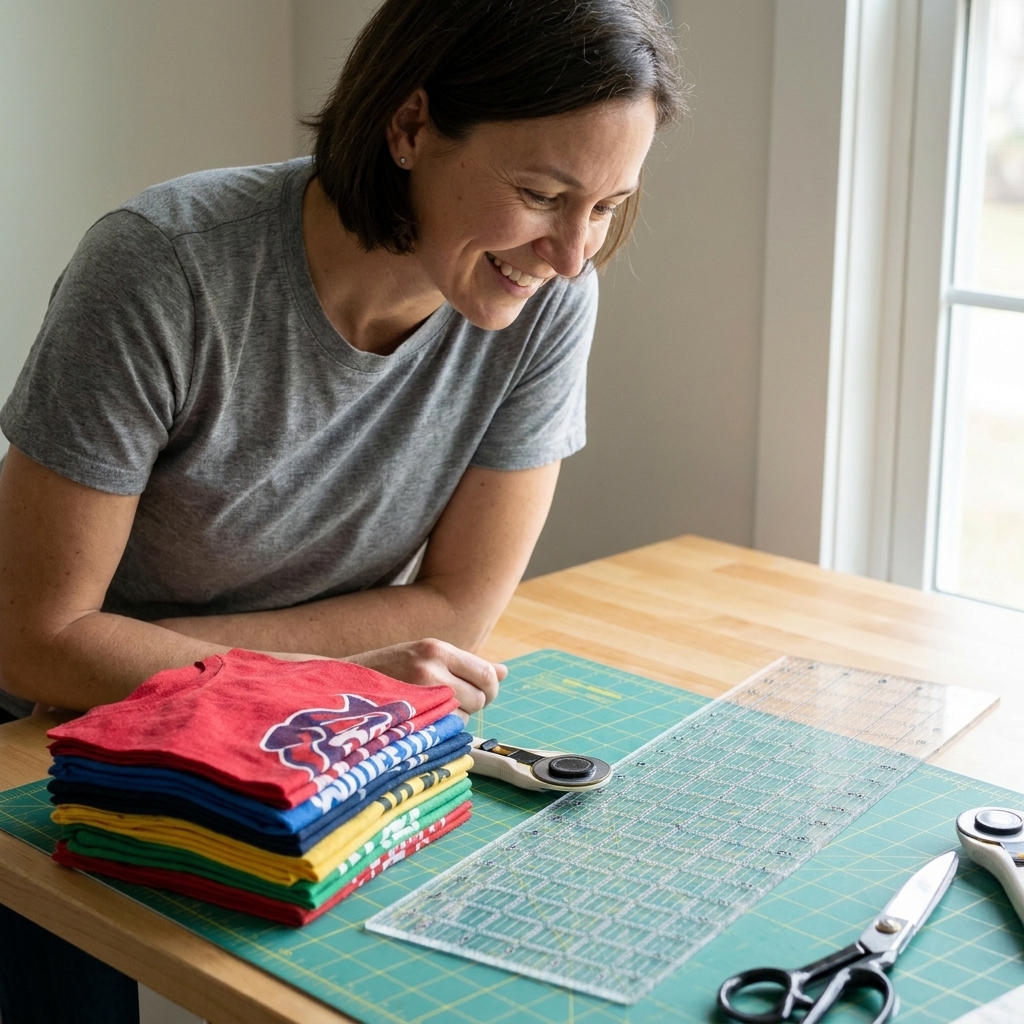
- Memory quilts: Quilting each panel individually can be gentler on delicate clothing fabrics.
Quilting design tips
Choose forgiving motifs
- Wavy lines
- Gentle spirals
- Echo quilting around block shapes
- Diagonal crosshatch (even if it is not perfectly matched, it still looks intentional)
Keep joins calm
Dense quilting right up to a join can create a ridge. For flatter joins, quilt a bit lighter within about 1/2 inch of where blocks will be joined.
Press, then press again
Pressing between steps is what makes QAYG look like a “real quilt” instead of a puffy puzzle. Use steam if your fabric likes it, and always let things cool flat before moving them.
Troubleshooting
My sections are different sizes after quilting
Totally normal. Quilting can draw fabric in. Trim every section to the same measurement after quilting. If you trimmed too small, add sashing a hair wider to ease the math.
The joins feel bulky
- Switch to low loft batting
- Avoid quilting heavily in seam allowances
- Use a walking foot and stitch slowly over thickness
- Consider wider sashing to distribute bulk
I have little tucks or ripples at the join
This is usually from stretching one section slightly while sewing. Use lots of clips or pins, and feed the pieces evenly. If your machine has it, reduce presser foot pressure a touch.
Thread tension looks weird on thick layers
Try a new needle first. Then rethread top and bobbin. If you are using a thicker quilting thread, pair it with a needle that has a larger eye and consider a slightly looser top tension.
The back seam covers are not catching when I stitch in the ditch
Make the cover strip a bit wider and use more clips. You can also topstitch from the back instead, which gives you perfect control and still looks tidy.
My low-profile join feels weak
Add an anchoring line of quilting that crosses or hugs the join, and make sure the batting butt seam is secured with zigzag or tacks. This is also a good sign you should test your batting choice on a scrap join and adjust before you assemble the whole quilt.
First QAYG quilt plan
- Pick a block size (12 to 16 inches is friendly).
- Make 12 to 20 blocks for a lap quilt.
- Quilt each block as a mini sandwich with low loft batting.
- Trim every block to the same size.
- Join with sashing on the front.
- Cover join seams on the back with folded strips.
- Square up the quilt and bind as usual.
If you can sew a straight seam and you can quilt a simple line, you can do this. QAYG is not about perfection. It is about finishing, enjoying the process, and letting your standard machine do what it does best in manageable bites.
FAQ
Do I still need to bind a QAYG quilt?
Most of the time, yes. Once the quilt top is fully assembled, you treat the outer edge like any other quilt and bind it. Some QAYG methods use backing strips that create a built-in edge finish, but binding is the cleanest, most durable option for an everyday quilt.
Can I do QAYG with minky or fleece backing?
You can, but start small. Plush backings stretch and creep. Use lots of basting, a walking foot, and consider backing each block individually so you are not managing a huge, stretchy piece.
Is QAYG durable enough for a bed quilt?
Absolutely, as long as your joins are well secured. Sashing joins with properly finished back seams are very sturdy. Use a slightly shorter stitch length for joins and consider reinforcing high stress areas with an extra line of stitching.
What batting is best for QAYG?
Low loft cotton or cotton blend is easiest for flat joins. Puffy polyester can work, but it makes seams thicker and can create ridges at joins.