A friendly guide to quilting thread weights and fibers, plus practical picks for flat piecing seams, clean machine quilting, and quick troubleshooting.
The Quilt Mark
October 22, 2026
Raw Edge Appliqué for Beginners: Tools, Thread, and Tension
Learn raw edge appliqué basics for quilting, including stabilizers, needle and thread choices, tension tips, presser feet, and simple fixes to prevent puckering and frayed edges.

Clara Jenkins
Clara Jenkins is an avid quilter and fabric enthusiast who has been designing and piecing together quilts for over twenty years. She shares her passion for color coordination, block design, and practical sewing techniques to help makers of all skill levels create beautiful, lasting heirlooms. Through Quiltmark, Clara aims to make the timeless art of quilting accessible, joyful, and deeply rewarding for everyone.
Updated October 22, 2026
Raw edge appliqué is one of my favorite “big impact, low stress” quilt techniques. You get playful shapes, bold lettering, sweet little motifs, and that lovely stitched texture on top, without needing to turn tiny curves. The tradeoff is simple: because the fabric edge is exposed, your results depend on three quiet heroes: stabilizer, needle and thread, and tension.
Let’s set you up so your appliqué lies flat, stitches look confident, and puckers do not steal your joy.
What it is and why it puckers
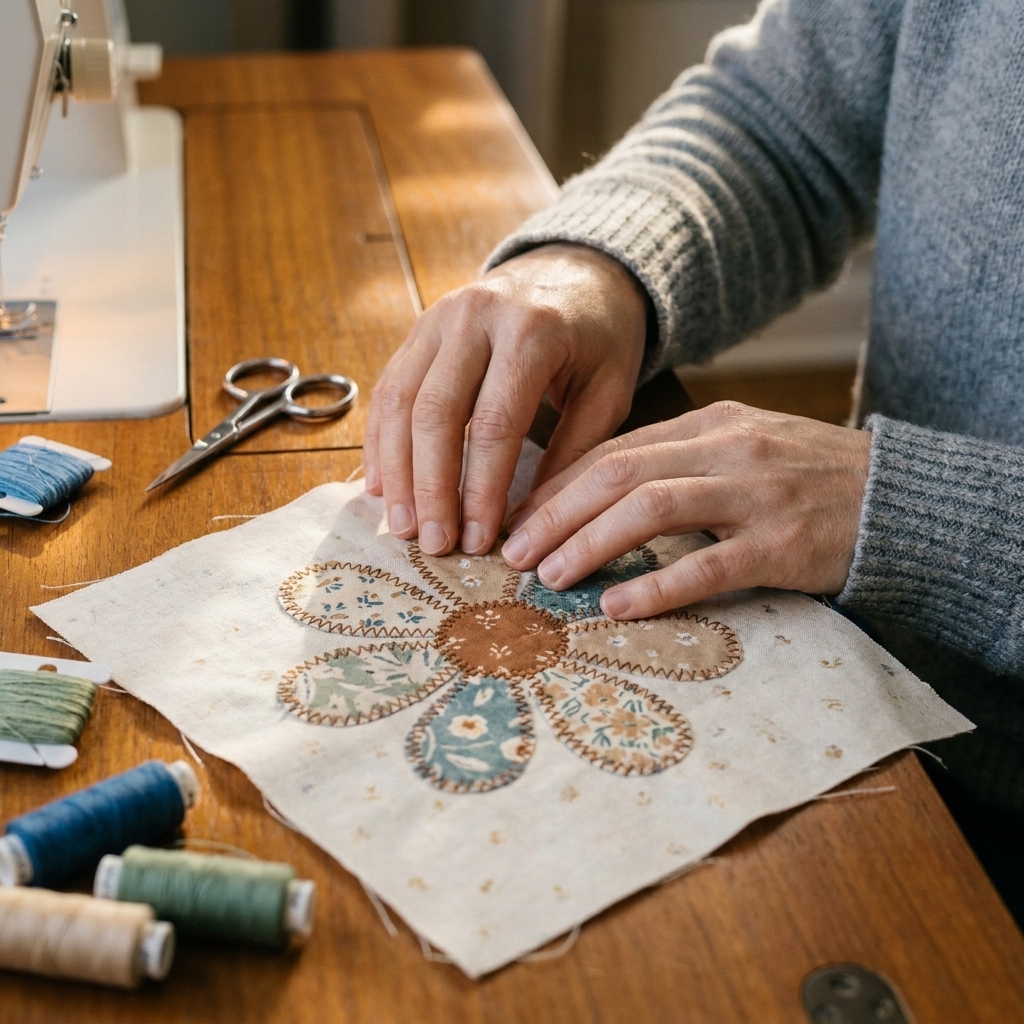
Raw edge appliqué means you place a shape on top of your background fabric (usually fused in place), then stitch around the edge to secure it. The stitching can be a zigzag, satin stitch, blanket stitch, or a straight stitch for a more modern look.
Puckering happens when something pulls the background out of shape. The most common culprits are:
- No stabilizer (or not enough support for your fabric and stitch choice).
- Needle and thread mismatch that creates drag, skipped stitches, or tunneling.
- Tension imbalance (top or bobbin) that cinches the fabric like a drawstring.
- Dense stitching (especially satin stitch) on a soft background.
- Overhandling the block while stitching, which stretches it out of square.
The good news is that each of these is fixable, and you can test your settings on a small scrap sandwich in five minutes.
Your basic toolkit
You do not need a studio full of gadgets to start. Here is the short list I reach for again and again:
- Fusible web: paper-backed, light to medium weight for most quilting cotton.
- Stabilizer: tear-away, wash-away, cut-away, or fusible, depending on your fabric and stitch density.
- Needles: sharp (Microtex) and embroidery needles in a couple sizes.
- Thread: 50 wt cotton or 40 wt poly for most stitching, and 30 wt for bold decorative lines.
- Pressing tools: a dry iron, a pressing sheet, and a small pressing surface you can keep near the machine.
- Cutting tools: small sharp scissors for trimming shapes, and a washable marker or chalk pencil for placement.
Stabilizers for flat appliqué
If you remember one thing from this guide, let it be this: stabilizer is often the difference-maker. It helps your stitches sit neatly on the fabric instead of chewing it up, especially with zigzag, blanket, or satin stitching.
Can you stitch raw edge appliqué without stabilizer? Sometimes, yes. A light zigzag on stable quilting cotton can behave beautifully on its own. But if you are seeing puckers, tunneling, or waviness, adding the right support is usually the fastest fix.
Which stabilizer to use
Here is a practical way to choose without spiraling into a shopping rabbit hole:
- Tear-away (my everyday choice): Great for many quilt blocks, wall hangings, and quilt tops when you want temporary support while stitching. It supports the fabric, then you tear it away from the back. Some quilters prefer not to use tear-away in seam allowances because small bits can remain and slightly affect the hand, so if that bothers you, go lighter, use wash-away, or stabilize the whole background instead.
- Wash-away: Helpful when you cannot tear cleanly (tiny shapes, delicate fabrics), when you want a softer back, or when you are working with light fabrics where leftover stabilizer might show. Test first, as some wash-aways feel stiff until removed.
- Cut-away: Best for very dense stitching, especially wide satin stitch, and for knits or wovens that want to distort easily. On quilting cotton, it is more of an optional choice for extreme stitch density rather than a must for everyday appliqué. You trim it back after stitching, leaving support behind the design.
- Fusible stabilizer: Lovely when your background is very soft, loosely woven, or you are stitching lots of motifs across a block. It gives all-over support and can feel like magic for preventing ripples.
How to place stabilizer
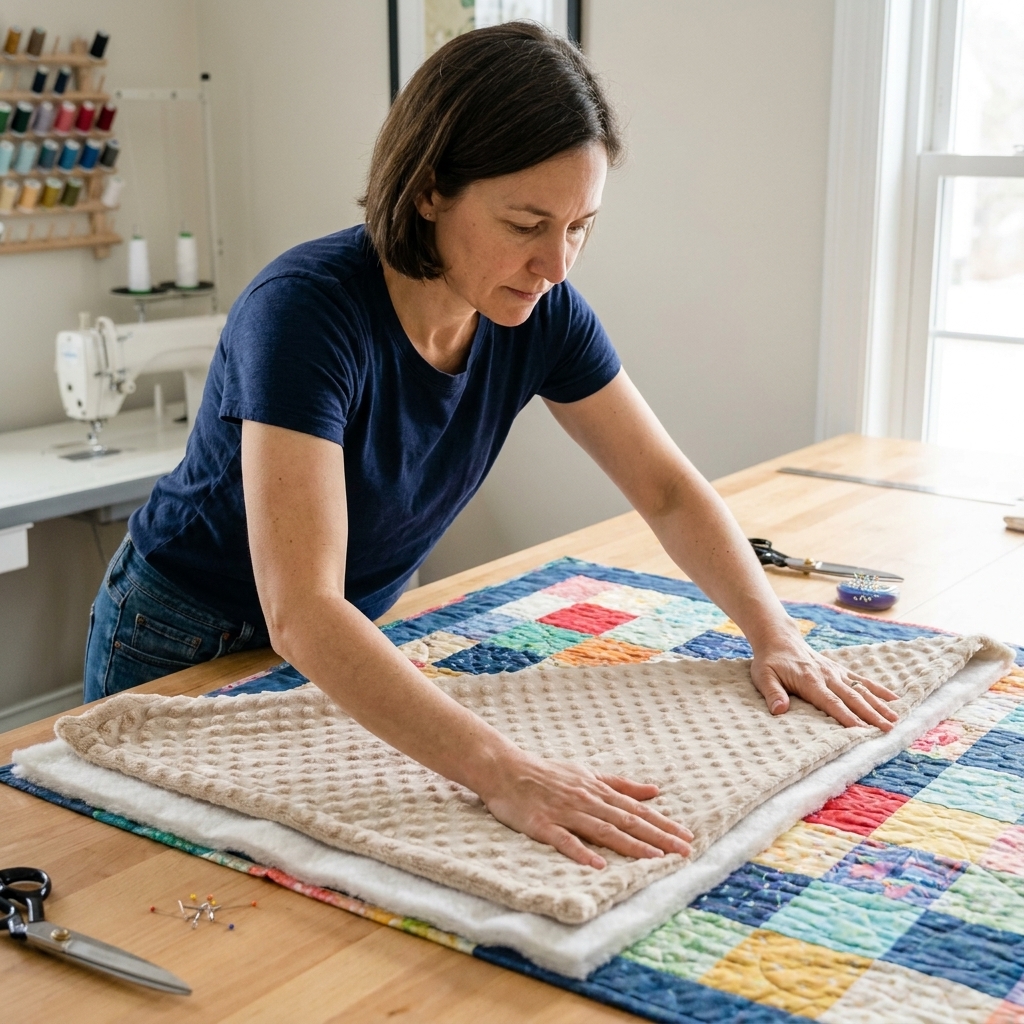
Method 1: Stabilize from the back (fastest). Hoopless embroidery style. Cut a piece of stabilizer bigger than your appliqué area. Pin it behind the block or use a light temporary spray adhesive. Stitch your appliqué, then remove it (tear away, wash away, or trim depending on type).
Method 2: Stabilize the whole block (best for lots of appliqué). Fuse a lightweight stabilizer to the wrong side of the background fabric before you start. This is my go-to when I am doing words, vines, or multiple motifs across a block.
Either way, keep the stabilizer larger than the design while you stitch. More support means less shifting.
A pressing tip that prevents warping
If your block ends up wavy even with stabilizer, check your pressing habits. After fusing shapes, let the fabric cool flat before moving it. Warm adhesive is still pliable, and shifting it can bake in distortion.
Fusible web
Fusible web holds the shape in place so your stitches do not have to fight the fabric. For most quilts, choose a light to medium fusible. Heavy fusible can make the appliqué edge feel thick and can create a stiff ridge that wants to ripple when stitched.
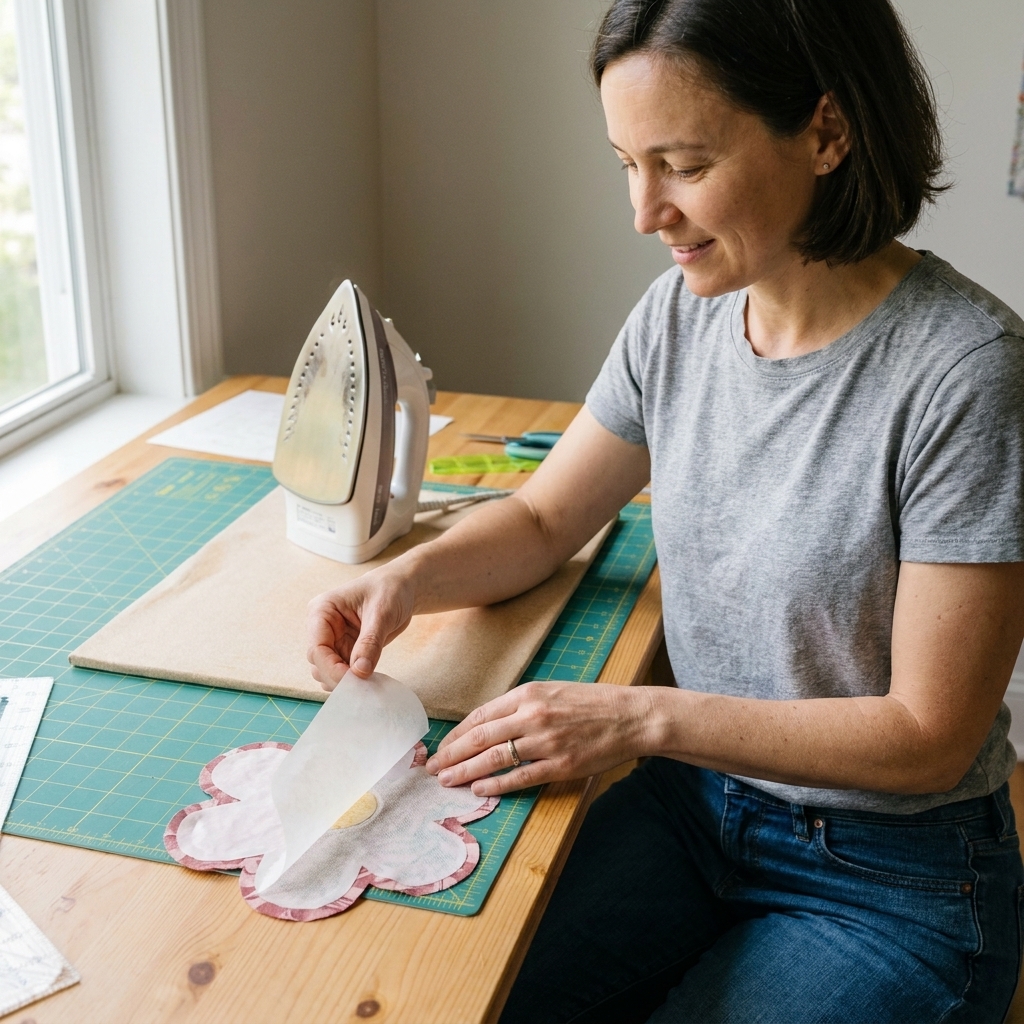
My fusing routine
- Trace your shape on the paper side of fusible web.
- Rough-cut, leaving a small margin.
- Fuse to the wrong side of your appliqué fabric using a dry iron and the manufacturer’s time recommendations.
- Cut on the traced line with sharp scissors.
- Peel paper, place shape on background, then fuse again using a pressing sheet.
- Let it cool before stitching.
If corners keep lifting, you can add a few dots of washable glue stick at stubborn points. Stitch soon after, so you are not relying on glue long-term.
Needles for raw edge appliqué
The right needle prevents skipped stitches, fraying, and that unpleasant “thunk-thunk” sound that tells you your machine is not happy.
Quick needle recommendations
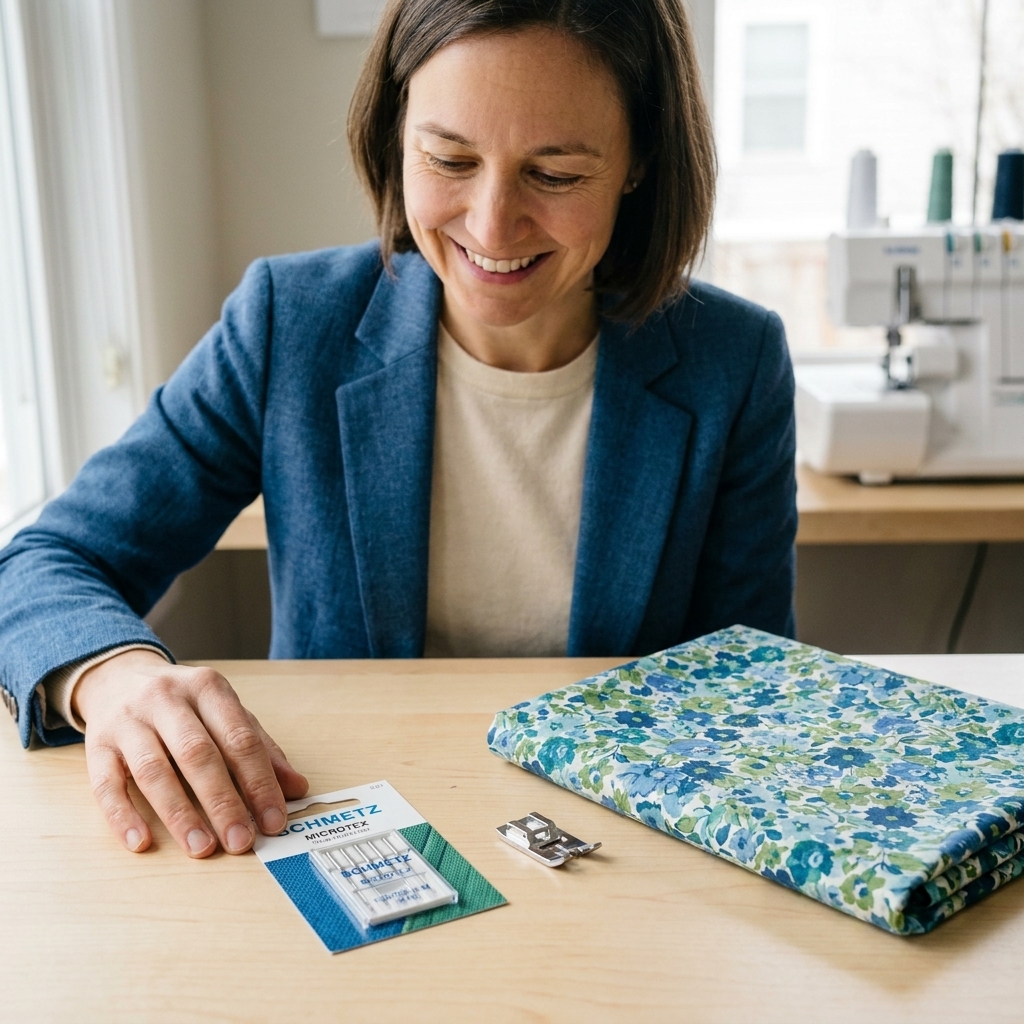
- 90/14 Microtex (sharp): My favorite for crisp stitches on quilting cotton, especially when the appliqué has tight curves or points.
- 80/12 Microtex: Good for lighter cottons and finer thread.
- 90/14 Embroidery needle: Great for rayon or trilobal poly embroidery thread and decorative stitches.
- Stretch or ballpoint: Only if your background or appliqué fabric has stretch (like a t-shirt quilt element).
Change your needle more often than you think. Appliqué stitching is needle-intensive. A slightly dulled needle can tug fibers and make edges fuzzier.
Thread that behaves well
Thread is both function and style in raw edge appliqué. You can make it disappear, or you can make it sing.
Everyday thread pairings
- 50 wt cotton (top) + 50 wt cotton (bobbin): A classic for subtle stitching and a softer, matte look.
- 40 wt poly (top) + 60 wt poly (bobbin): Smooth, strong, and forgiving at faster speeds. Nice for dense zigzag or satin stitches.
- 30 wt cotton or poly (top): Bolder, more graphic outline. Use a slightly larger needle (90/14) and lengthen stitches a touch.
Match or contrast?
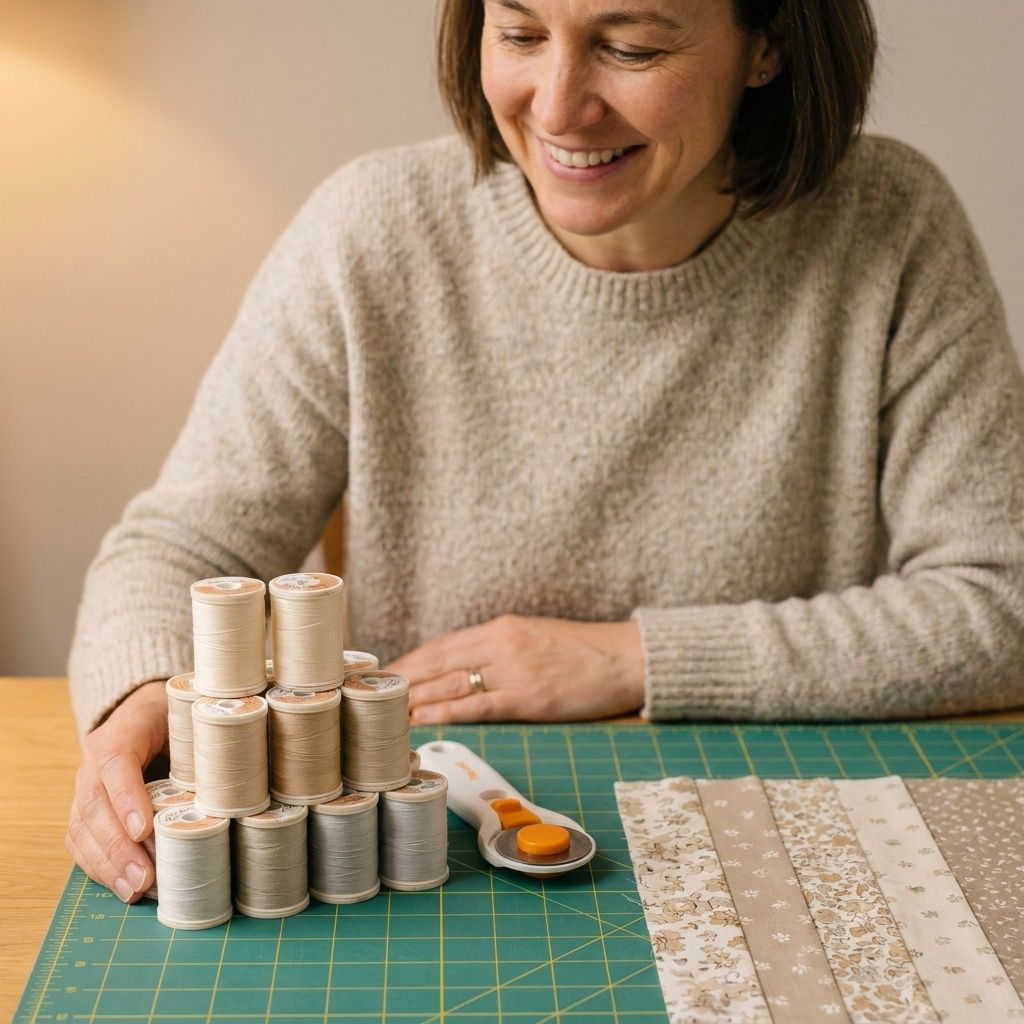
For beginners, I recommend either match the appliqué fabric or go one shade darker. A perfectly matched thread can still look “off” if the sheen differs, while a slightly darker shade reads intentional and hides tiny wobbles.
Bobbin thread tip
If you are doing decorative satin stitching on the front, consider a finer bobbin thread (60 wt) so the underside stays flatter and tension is easier to balance.
Tension and stitch settings
When people tell me they “hate appliqué,” nine times out of ten they were fighting tension. The goal is a stitch that lays flat, with no tunneling, no loops, and no fabric being pulled inward.
Start with a simple test sandwich
Before stitching on your real block, make a mini sample:
- Background fabric scrap
- Stabilizer behind it
- Appliqué fabric fused on top
Stitch around a small shape and check the front and back. This tiny test saves so much unpicking.
Suggested stitch settings
- Zigzag: width 2.0 to 3.0, length 0.8 to 1.5
- Blanket stitch: width 2.0 to 3.5, length 1.5 to 2.5
- Satin stitch: width 2.5 to 4.0, length 0.3 to 0.6 (dense, so stabilize well)
- Straight stitch: length 2.0 to 2.5 (for a sketchy, modern edge)
Your machine and thread will have opinions, so treat these as a starting line, not a rulebook. One note that saves confusion: blanket stitch presets vary a lot by brand, so the width and length equivalents may not match your machine’s little “blanket” icon.
How to read your stitches
- Puckers around the shape: Add stabilizer, reduce stitch density (increase length), and make sure you are not pulling the fabric from behind the presser foot.
- Tunneling (fabric ridge between zigzag columns): Add stabilizer first, then adjust tension in small increments (often slightly looser top tension, but not always). Reducing satin width or slightly lengthening the stitch can also help.
- Loops on the back: Increase top tension in small increments, rethread with presser foot up, and make sure the thread is seated in the tension discs.
- Bobbin dots showing on top: This is tension imbalance. Start by rethreading and confirming the bobbin is correctly inserted and unwinding in the proper direction for your machine. Then adjust top tension in small increments until the stitch balances. Depending on what you see, that may mean loosening or tightening the top tension. If you cannot get balance, check needle size, thread pairing, and bobbin tension (rarely adjusted, but sometimes the culprit).
- Skipped stitches: New needle first. Then slow down, and consider an embroidery needle if using slick embroidery thread.
Feed and pressure matter
If your machine has presser foot pressure control, reduce it slightly for dense stitches. Too much pressure can drag the top layer, creating ripples. If you do not have that option, focus on stabilizer and avoid pushing or pulling the block.
Presser feet and fabric grain
Presser foot choices
An open-toe appliqué foot (or satin stitch foot) makes it easier to see where your needle is landing and helps dense stitches feed smoothly. A walking foot is wonderful for quilting layers, but it is usually not my first choice for satin or tight zigzag appliqué because it can reduce visibility and is not always happy with wide, dense stitches. If you are unsure, start with your standard foot or open-toe appliqué foot and stitch at a steady, moderate speed.
Watch bias edges
Curves and angled shapes often place some edges on the bias, which stretches more easily. If a shape looks like it is growing as you stitch, add more stabilization and handle the block like it is a sleepy cat: supported, not stretched. For especially stretchy shapes, fusing the whole background first can make a dramatic difference.
Curves, points, and tiny shapes
This is the part that feels like patting your head and rubbing your belly, until it clicks. Here are the habits that make appliqué feel calm:
- Go slower than you think you need to. Especially on curves.
- Stop with the needle down. Lift presser foot, pivot the fabric, lower foot, continue.
- Shorten stitch length for tight curves. If your stitches look like they are “cutting corners,” slightly shorten length for that section.
- Use needle position if your machine offers it. Moving the needle left or right can help you keep stitches right on the raw edge.
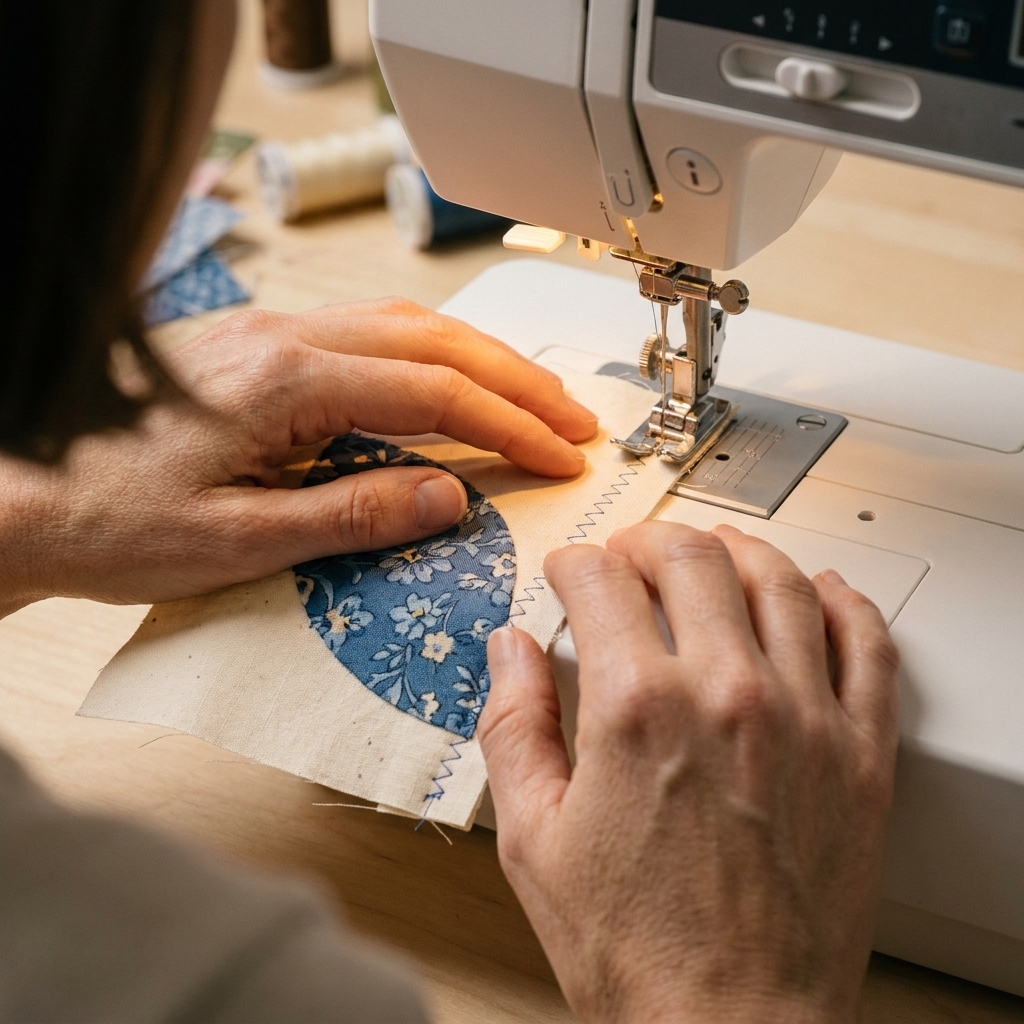
- For tiny pieces, stitch first, then trim. Fuse a slightly oversized piece, stitch around your intended shape line, then carefully trim close to the stitching with sharp appliqué scissors.
Fray expectations
A little soft fray is part of the charm. A shaggy mess is not. Raw edge appliqué will usually fluff more with washing over time, especially on items that see frequent laundering. That is not a flaw, it is the nature of the technique. If you want a tidier edge long-term, use more stitch coverage and choose fabrics that fray predictably.
- Choose tight weaves: Quilting cotton frays predictably. Looser weaves need more stitch coverage.
- Adjust stitch width: A slightly wider zigzag grabs more edge fibers.
- Consider a narrow satin stitch: If you want a cleaner outline with minimal fray.
- Wash wisely: The first wash can fluff edges. If you want less fray, use gentle cycle and avoid harsh agitation. A lint trap clean-out afterward is normal.
If you are making something that will be washed constantly (baby quilts, pet quilts), a denser edge stitch plus good stabilizer usually holds up beautifully.
Mini projects to practice
If you are new to raw edge appliqué, start small so you can practice tension and curves without committing to a whole quilt top.
- Mug rug with a single motif: A heart, leaf, or star is perfect practice.
- Pillow front with big shapes: Large, simple curves are forgiving and look bold.
- Name banner: Great for learning pivoting on corners and navigating tight turns.
- Scrap panel sampler: Stitch a few different shapes and try zigzag vs blanket stitch on the same background fabric.
Troubleshooting quick fixes
Puckering even with stabilizer
- Try a different stabilizer type (tear-away to cut-away, or add fusible stabilizer to the whole background).
- Lengthen the stitch slightly to reduce density.
- Lower presser foot pressure if possible.
- Make sure you are not gripping the fabric tightly. Guide, do not steer.
Messy stitches on the edge
- Change to a Microtex needle.
- Slow down and pivot more often on curves.
- Use a thread that contrasts a little less while you build skill.
Fabric edge lifting while stitching
- Re-press the appliqué and let it cool flat.
- Add a tiny amount of washable glue stick at the edge.
- Use a slightly wider zigzag so more of the stitch lands on the appliqué fabric.
Thread nests at the start
- Hold thread tails for the first few stitches.
- Start on the fabric, not off the edge.
- Use a leader scrap: stitch a few stitches on a scrap, then move straight onto your block.
Lots of lint and fuzz
- Dense zigzag and satin stitching can create lint quickly, especially with cotton thread.
- Brush out the bobbin area and around the feed dogs more often than usual, following your machine manual.
A reliable workflow
- Fuse appliqué shapes in place on the background.
- Add stabilizer behind the block (or fuse stabilizer to the whole background if needed).
- Insert a fresh needle matched to thread type.
- Stitch a quick test on a scrap sandwich and adjust as needed.
- Stitch appliqué slowly, pivoting with needle down.
- Remove stabilizer (tear away, wash away, or trim).
- Press from the back to relax stitches, then from the front with a pressing sheet.
Raw edge appliqué should feel like doodling with fabric. Once your stabilizer, needle and thread, and tension are working together, it becomes wonderfully meditative.