A complete beginner walkthrough for a simple patchwork quilt: choose fabrics, cut squares, piece rows, quilt the layers, and bind a cozy finished quilt.
The Quilt Mark
October 22, 2026
Should You Pre-Wash Quilting Fabric?
Pre-wash or not? Learn the pros and cons of pre-washing quilting cotton, when it matters most, and how to wash fabric with minimal fraying and tangling.

Clara Jenkins
Clara Jenkins is an avid quilter and fabric enthusiast who has been designing and piecing together quilts for over twenty years. She shares her passion for color coordination, block design, and practical sewing techniques to help makers of all skill levels create beautiful, lasting heirlooms. Through Quiltmark, Clara aims to make the timeless art of quilting accessible, joyful, and deeply rewarding for everyone.
Updated October 22, 2026
Pre-washing quilting fabric is one of those topics that can spark lively chatter at any sew day. Some quilters swear by it. Others never, ever do it. After twenty years at the cutting mat, here is the truth I have landed on: pre-washing is not a moral issue. It is a tool. The right choice depends on your fabric, your project, and how you want the finished quilt to behave.
This guide will help you decide quickly, then walk you through exactly how to pre-wash quilting cotton in a way that keeps fraying, tangling, and heartbreak to a minimum.
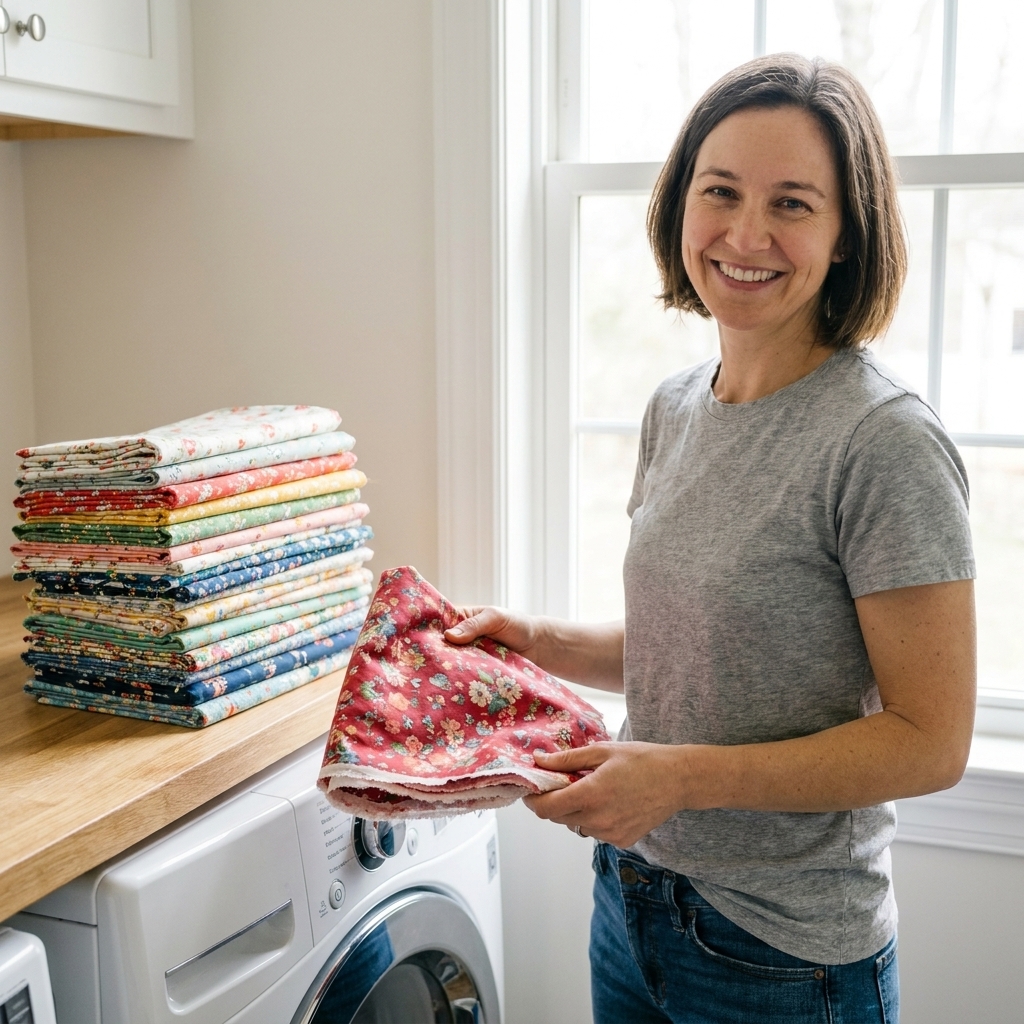
What pre-washing changes
When you pre-wash, you are mainly managing four things:
- Shrinkage: Quilting cotton often shrinks a little (commonly a few percent), and it can shrink unevenly depending on the finish, the weave, and how you dry it. Pre-washing lets the fabric do most of its shrinking before you cut precise pieces.
- Dye bleed and crocking: Some reds, navies, and highly saturated prints can release dye in water or rub off onto lighter fabrics. (Crocking is the rubbing-off part, when dye transfers with friction, even without a full soak.)
- Finishes and feel: New fabric often has sizing or a manufacturer finish that makes it feel crisp. Washing removes much of that, leaving the cloth softer and sometimes a touch looser.
- Texture in the finished quilt: Unwashed fabrics often create more “crinkle” after the first wash of the finished quilt. Pre-washed fabrics tend to look a bit smoother.
The case for pre-washing
If you are on the fence, these are the most quilt-saving reasons to wash first.
Control shrinkage
If you are mixing fabrics that will shrink differently, pre-washing can prevent a quilt top from puckering in unexpected places. This matters most for:
- Garment cottons mixed into quilts
- Different brands or different fabric types in one top
- Borders and long sashing strips where distortion shows easily
Protect light backgrounds
A deep red print next to a crisp white background is gorgeous, but it is also a classic setup for dye migration. Pre-washing darks and saturated colors can reduce the risk of a pink haze later.
Prep for heavy washing
Baby quilts, picnic quilts, charity quilts, and pet quilts tend to see frequent washing. Pre-washing helps you avoid surprises the first time it hits the laundry.
Help sensitive skin
Washing removes some of the manufacturing residues and makes the fabric softer. If the quilt is for someone with sensitivities, I lean toward pre-washing.
The case against pre-washing
There are also perfectly valid reasons to keep your fabric right off the bolt.
Keep fabric crisp
Unwashed quilting cotton is usually stiffer, which can make cutting and piecing feel more precise. If you enjoy that crisp behavior, skip the wash and let the quilt soften over time.
Get maximum crinkle
That cozy, rumpled texture after the first wash is one of quilting’s greatest rewards. You often get more of it when the top is pieced from unwashed fabric and the quilt shrinks up together as a unit.
Avoid distortion and fraying
Raw edges can fray. Long cuts can twist. Small pieces can tangle. None of this is a deal-breaker, but it is real. If you are not prepared to handle it, pre-washing can feel like starting a project with a mess.
Protect precuts
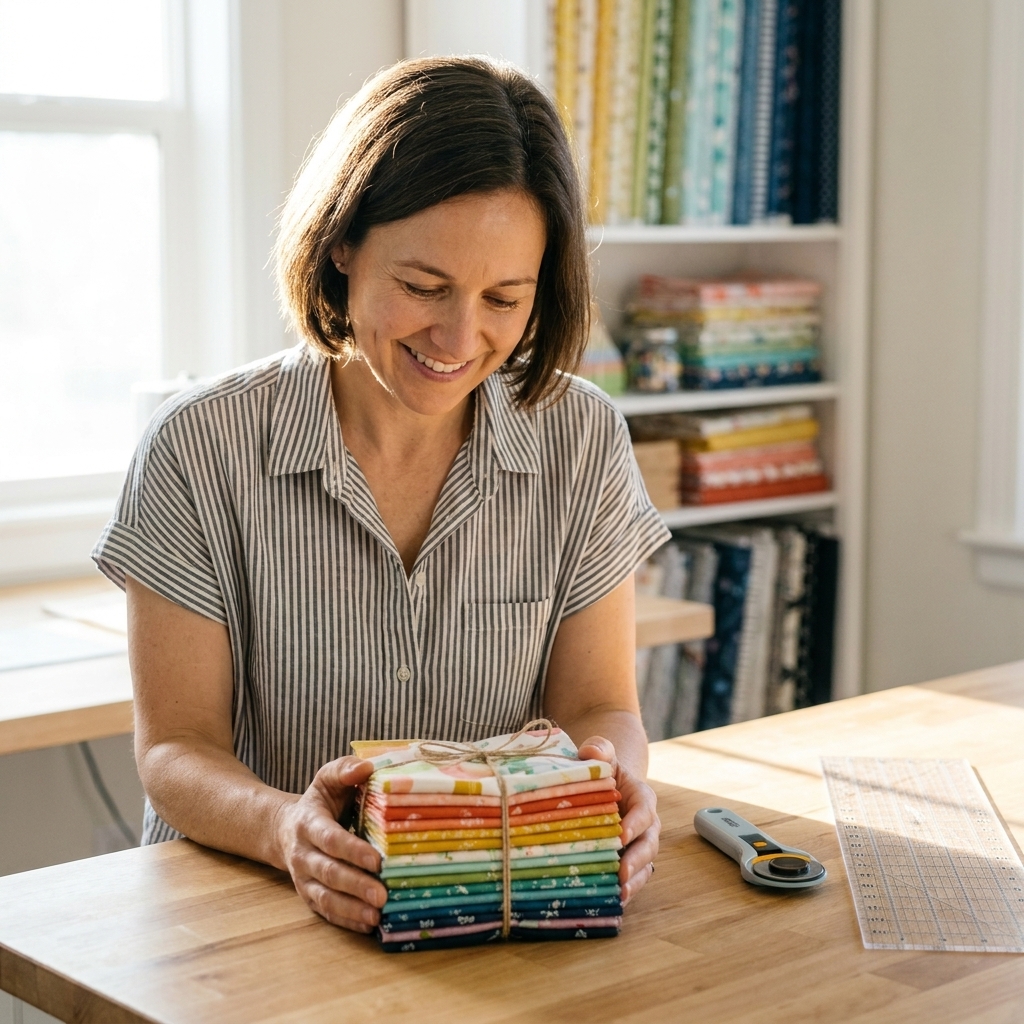
Precuts like jelly rolls and charm packs are already sized precisely. Washing them first usually causes fraying and distortion that can make them harder to use accurately. If you are working with precuts, I generally recommend not pre-washing. Instead, manage color bleed in other ways.
My pre-wash checklist
- Yes, pre-wash if you are combining quilting cotton with flannel, linen, denim, or apparel cotton.
- Yes, pre-wash if you are using intense reds, purples, navies, or batiks next to very light solids.
- Yes, pre-wash if the quilt will be gifted to a new parent or used heavily and washed often.
- No, skip it if you are sewing with precuts.
- No, skip it if you are after extra crinkle and you are using all similar quilting cottons.
- Maybe if you are making a wall hanging or a quilt that will be rarely washed.
If you are still unsure, pre-wash only the fabrics most likely to bleed. That single step removes a lot of risk without turning prep into a whole production.
How to pre-wash quilting fabric
This method is designed to prevent the most common complaints: fraying, tangling, and a wrinkled mess that feels impossible to press flat again.
Step 1: Sort what you wash
Wash similar colors together, and keep highly saturated reds and dark blues in their own load the first time. If a fabric is going to misbehave, it will show you quickly in isolation. For batiks and some hand-dyes, I assume extra dye release until they prove otherwise.
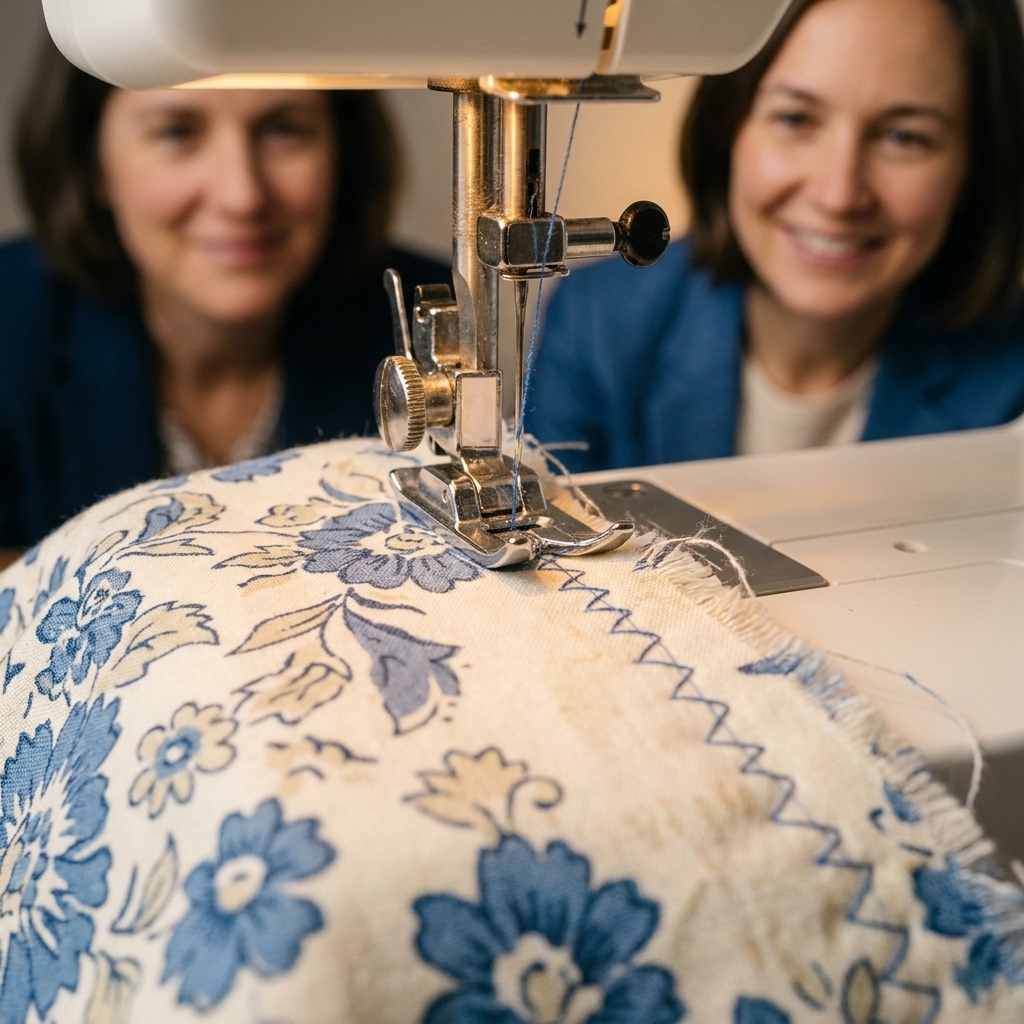
Step 2: Secure cut edges
If your fabric is yardage with raw cut ends, pick one of these:
- Quick zigzag: Run a wide zigzag stitch along both cut ends.
- Serge the ends: Fast and tidy if you have a serger.
- Pinking shears: Not perfect, but better than leaving a straight raw edge.
This one step saves you from the “fabric spaghetti” problem where threads twist around everything in the washer.
Step 3: Choose water temperature
- Cold water is the safest default and helps minimize dye release.
- Warm water can encourage a bit more shrinkage up front, but it can also increase bleeding in some dyes.
One more practical note: a lot of shrinkage shows up in the dryer heat and agitation, not just the wash. If shrinkage is your main concern, pay attention to how you plan to dry, too.
Step 4: Detergent, or just a rinse
A small amount of a basic detergent is plenty for most quilting cotton. If you are testing a suspected bleeder, you can start with a plain rinse, then wash again with detergent if needed. Some quilters use specialty textile detergents for stubborn dyes, but you do not need anything fancy for everyday fabric.
Step 5: Skip fabric softener
Fabric softener can leave residues that affect pressing, and it sometimes makes fabric feel oddly waxy. I skip it.
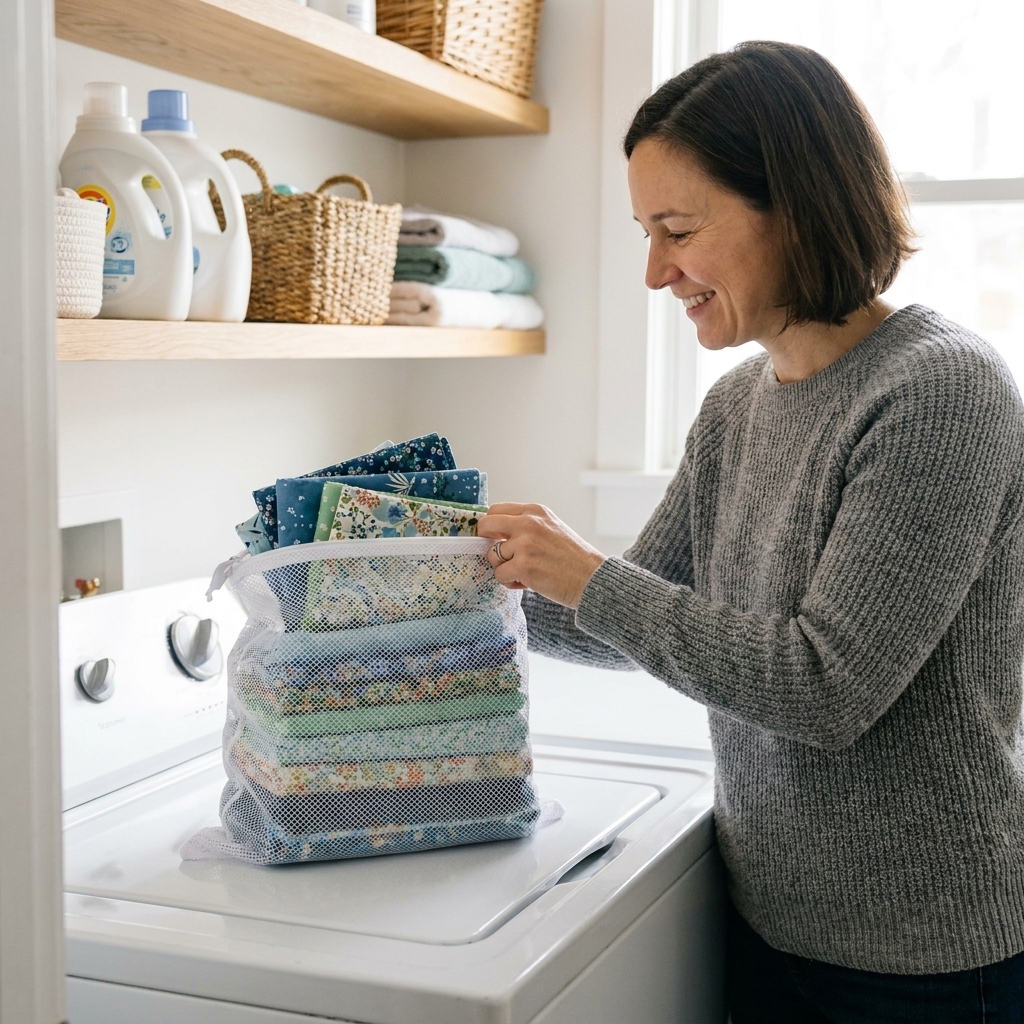
Step 6: Reduce tangling
For smaller cuts or multiple fabrics in one load, a mesh laundry bag is extremely helpful. My personal rule of thumb is to bag anything under about a half yard, especially if it is a loose cut that likes to twist.
Step 7: Dry with intention
You have two good options:
- Air-dry or line-dry if you want the least distortion and fewer deep wrinkles.
- Tumble dry low if you want to mimic how the finished quilt will be laundered.
I often tumble dry for 10 to 15 minutes, then pull the fabric out slightly damp and press. That middle path keeps wrinkles manageable.
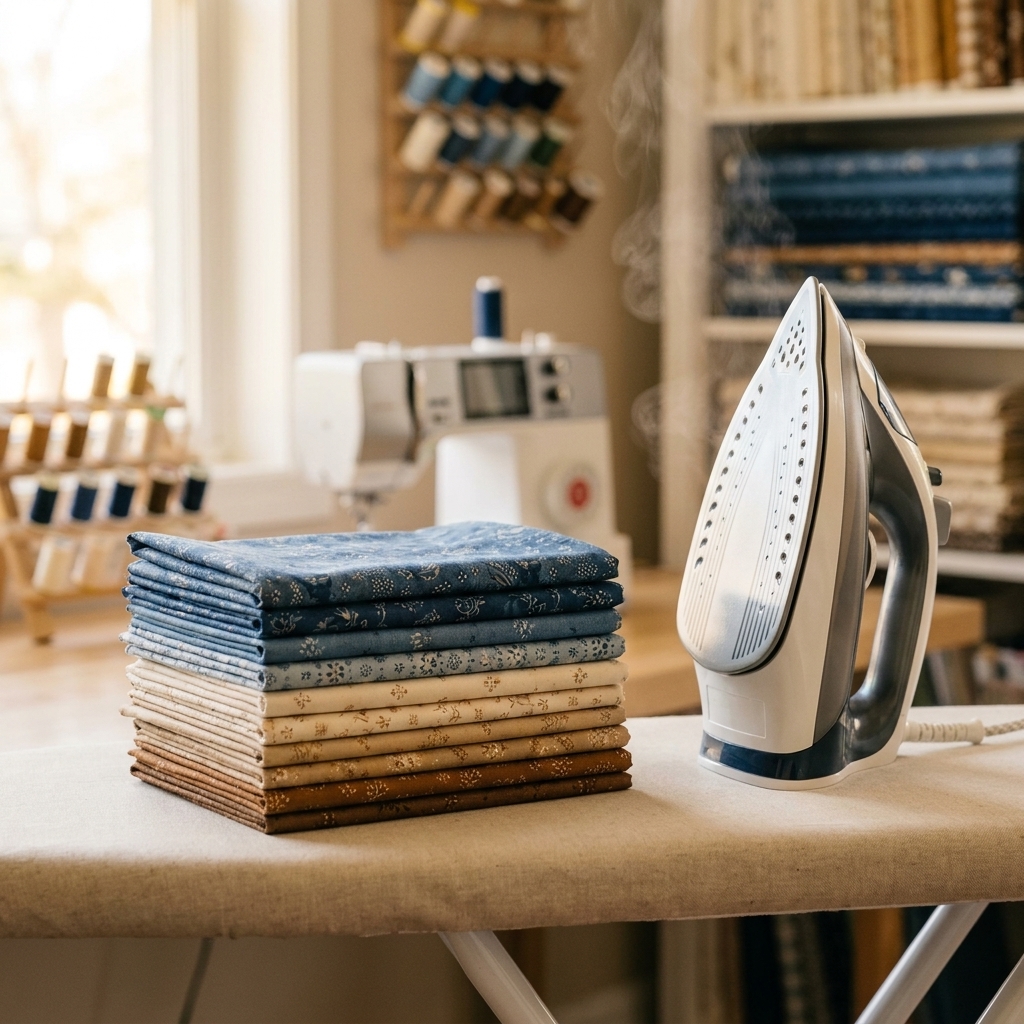
Step 8: Press and square up the grain
After washing, the fabric can shift off-grain. Before you cut:
- Give it a good steam press.
- If the selvedges are wavy or the fabric looks skewed, gently tug on the bias (diagonally) to straighten it, then press again.
- Trim away frayed strings and clean up the ends.
Prevent fraying
If you have ever pulled out a yard of fabric with a fuzzy fringe of missing threads, you are not alone. These habits help a lot.
- Finish the edges first: Zigzagging the cut ends is the single most effective step.
- Wash larger pieces: If possible, pre-wash before cutting into smaller sections.
- Use a shorter cycle: Less agitation equals less fraying.
- Do not overload the washer: Crowding increases twisting and stress on raw edges.
- Bag small cuts: A mesh bag keeps little pieces from knotting into tight ropes.
Color bleed basics
If you are worried about darks bleeding, you can take a few precautions that do not require turning your whole prep process upside down.
Test first
Dampen a white scrap of cotton or a paper towel and rub the fabric firmly. If color transfers easily, treat that fabric like a troublemaker.
Wash risky colors alone
Deep reds, magentas, indigos, and some batiks are the usual suspects. A solo wash tells you what you need to know without risking your lights. If the water keeps tinting after a wash, rinse again until it runs mostly clear.
Use dye-trapping sheets
In the wash, dye-trapping sheets can catch loose dye in the water. They are especially helpful the first wash or two for very saturated fabrics.
If you choose not to pre-wash, I still recommend dye-trapping sheets for the first wash of the finished quilt when you have a bold dark next to a pale background.
Should you pre-wash precuts?
In most cases, no. Jelly rolls, layer cakes, and charm packs tend to:
- Fray heavily because every edge is raw
- Distort and shrink unevenly because pieces are small
- Lose the consistent sizing that makes precuts convenient
There are a few exceptions. If you have precuts made from known bleeders (some hand-dyes, a few intense batiks), test for transfer first. If they are clearly risky, you can either accept the hassle of washing and re-squaring, or keep them unwashed and plan on cold water plus dye-trapping sheets for the first finished-quilt wash.
Mixing pre-washed and unwashed
You can mix pre-washed and unwashed fabrics in the same quilt, and I do it fairly often. Just know what you are choosing: the unwashed fabrics may shrink a bit more later, which can create extra texture and slight puckering around the pre-washed pieces.
This mix works best when:
- You pre-wash only the high-risk bleeders
- The rest of the fabrics are similar quilting cottons
- You are okay with a little extra crinkle as the quilt ages
If you are making a very precise, show-flat design or matching points across long borders, I prefer to keep everything either pre-washed or unwashed for consistency.
Piecing accuracy after pre-washing
It can shift a bit, but mostly in predictable ways. Pre-washed fabric is softer and can stretch more while you handle it. If you pre-wash, accuracy is protected by:
- Using a fresh rotary blade for cleaner cuts
- Starching or pressing with a light starch alternative if you like a crisper feel
- Handling pieces gently and avoiding tugging at bias edges
If you are a beginner and you are already feeling nervous about perfect seams, it is completely fine to skip pre-washing for your first quilts and focus on building confidence.
A simple shrink test
If you want certainty before you commit, do this once and you will know what your fabric is likely to do.
- Cut a 10 inch by 10 inch square.
- Measure it and write it down.
- Wash and dry it the same way you will treat the finished quilt.
- Measure again to see the true shrink change for that fabric and that laundry routine.
My middle-ground approach
For many everyday quilts, I do this:
- Pre-wash only the fabrics that are likely to bleed (dark solids, intense brights, some batiks).
- Leave the rest unwashed for easier cutting and a touch more structure.
- Plan to wash the finished quilt with dye-trapping sheets the first time.
It is not the only “right” method, but it keeps sewing enjoyable and dramatically lowers the risk of a color disaster.
FAQ
Do I need to pre-wash 100 percent quilting cotton?
Not always. If all fabrics are similar quilting cottons and you want a crinkly finish, you can skip it. Pre-wash when shrinkage differences or dye bleed are likely.
How much does quilting cotton shrink?
It varies by brand, finish, and how you wash and dry. A few percent is common, and it can be uneven. If your pattern is size-sensitive, a quick test square is the safest way to know.
Should I pre-wash fabric for a quilt that will be longarmed?
You can do either. If you are mixing fabric types or using high-contrast light and dark, pre-wash the risky fabrics. Otherwise, many quilters send tops to longarmers made from unwashed fabric with no issues.
Can I pre-wash with soap flakes or a specialty quilt wash?
Yes. Keep it simple and avoid fabric softener. A mild detergent is usually enough.
The bottom line
Pre-washing is about choosing your trade-offs. If you want to reduce surprises from shrinkage and dye bleed, wash first and finish the cut edges so the fabric behaves. If you want crisp cutting and maximum crinkle, skip the pre-wash and enjoy the magic that happens when the finished quilt hits the wash for the first time.
Whichever path you pick, you are not doing it “wrong.” You are just choosing the finish you want for the quilt you are making.