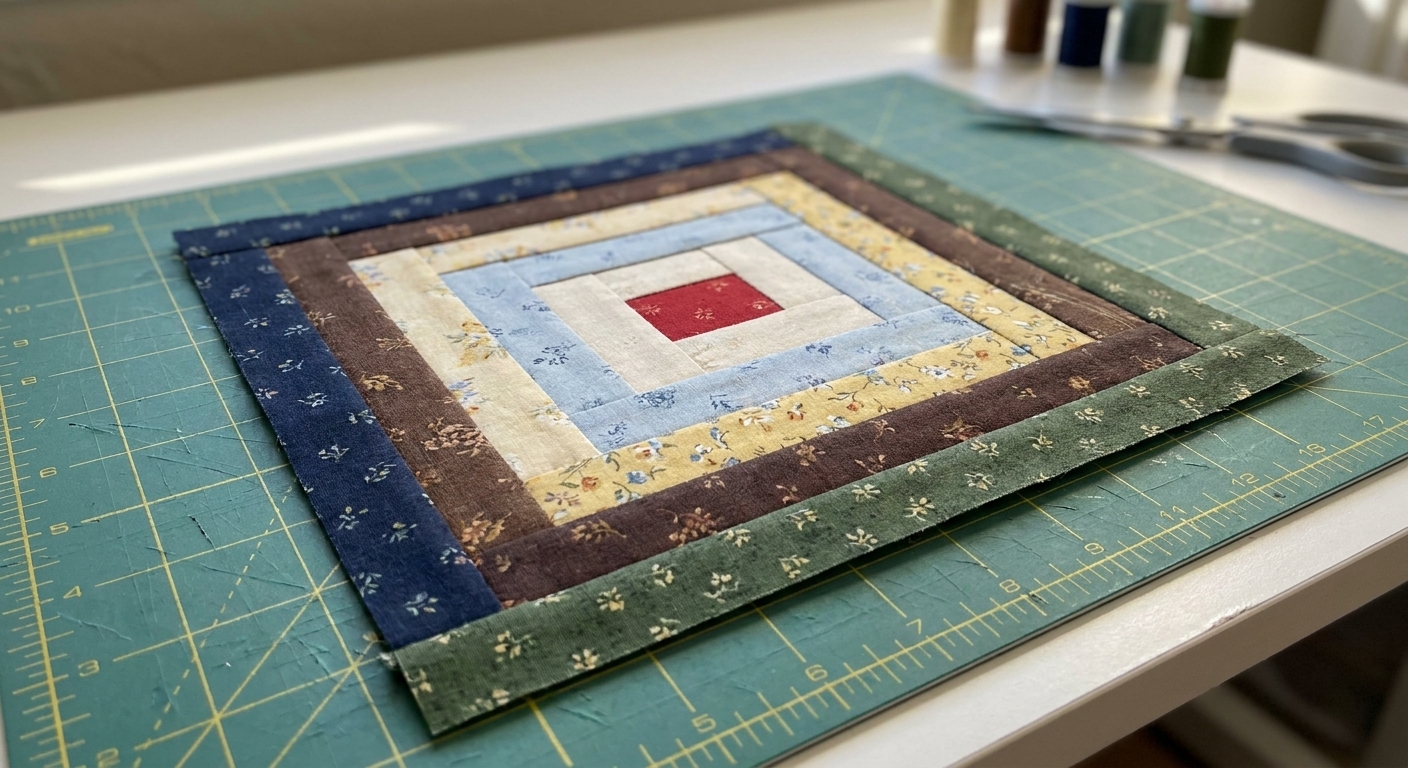
A quilter-friendly breakdown of log cabin blocks, from traditional to Courthouse Steps and Half Log Cabin, plus layout ideas that unlock bold secondary designs.
The Quilt Mark
October 22, 2026
Fat Quarter Friendly Quilt Patterns to Bust Your Stash
A stash-busting roundup of fat-quarter-friendly quilt patterns, plus easy tips for color matching, layout planning, and making bundles look beautifully intentional.

Clara Jenkins
Clara Jenkins is an avid quilter and fabric enthusiast who has been designing and piecing together quilts for over twenty years. She shares her passion for color coordination, block design, and practical sewing techniques to help makers of all skill levels create beautiful, lasting heirlooms. Through Quiltmark, Clara aims to make the timeless art of quilting accessible, joyful, and deeply rewarding for everyone.
Updated October 22, 2026
Fat quarters are quilting’s little promise of possibility. They stack up so neatly, feel so satisfying to shop for, and then somehow multiply in the dark corners of the closet like gremlins with pinking shears.
If you have a bundle you have been saving “for something special” or a mismatched pile of singles from years of good intentions, this roundup is for you. These fat-quarter-friendly patterns are designed to use that cut efficiently, show off prints, and still give you plenty of room to play with layout and color.
Note on size: A fat quarter is typically about 18" x 22" (a quarter-yard cut and then halved). Exact dimensions can vary a bit by fabric width and retailer, so if yours measure a little differently, you are not imagining things.
Before you pick a pattern
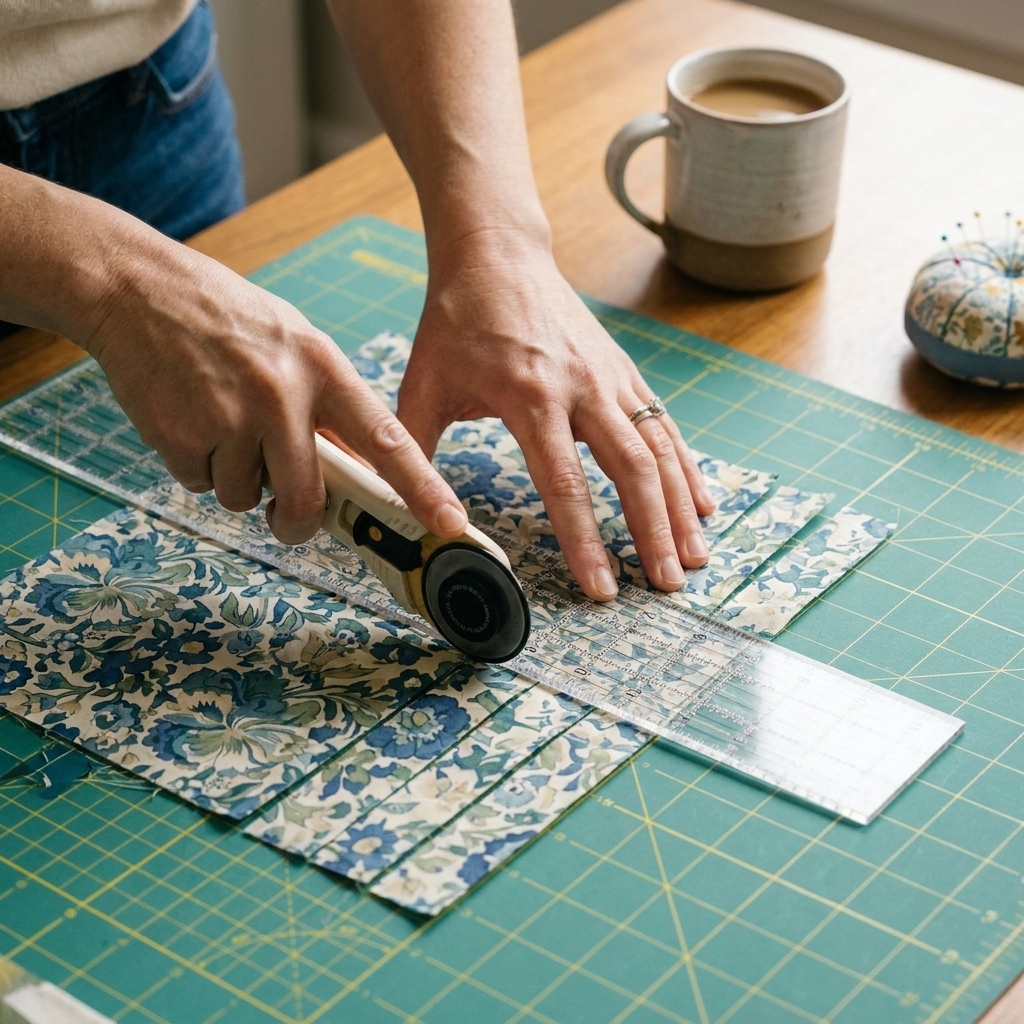
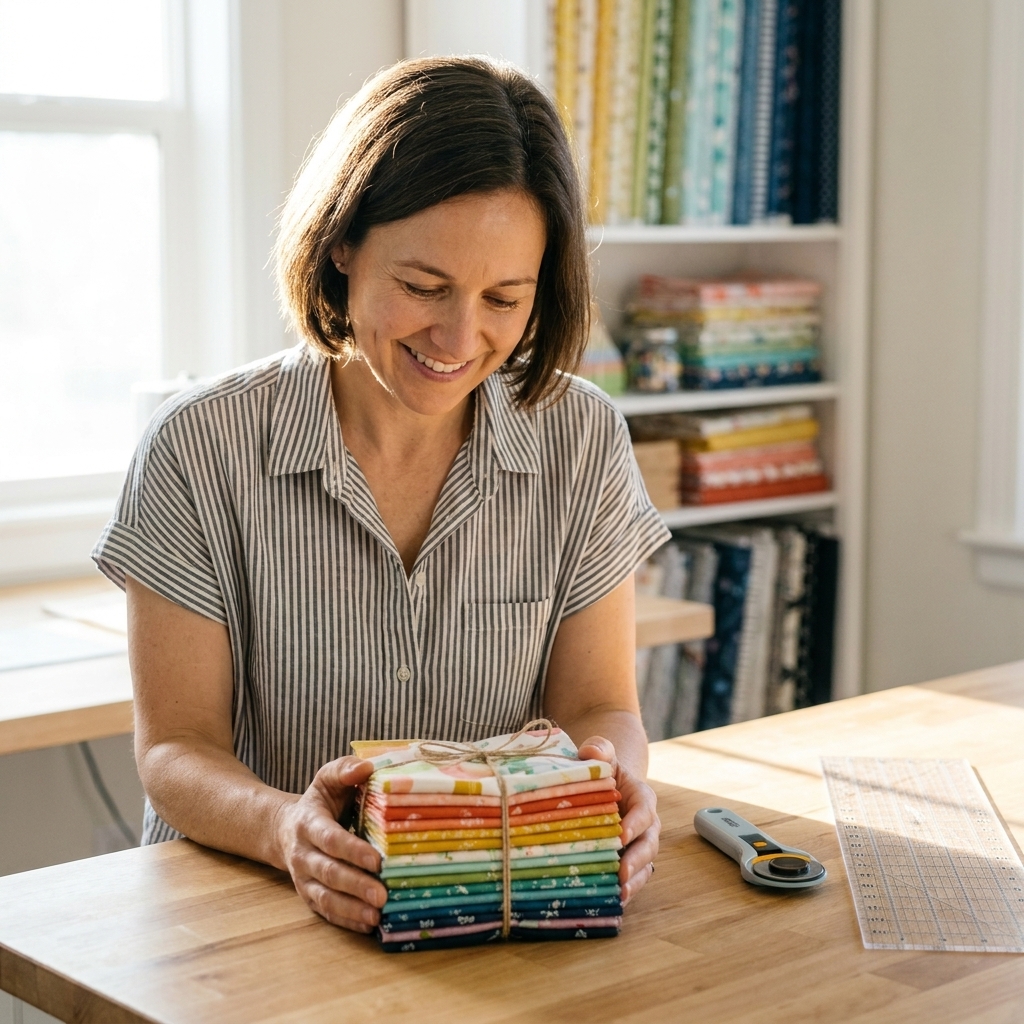
Fat quarters are wonderfully forgiving, but they can also get wiggly once you start slicing them into long strips. A tiny bit of prep saves a lot of seam ripper time.
Assume a standard 1/4" seam allowance unless your pattern says otherwise. It keeps all the math predictable.
Quick prep checklist
- Press first, then square. Give each fat quarter a good press, then trim one clean edge and square it up. You do not need perfection, just consistency.
- Decide your role for each fabric. I like to sort into “stars” (bold prints), “supporting” (smaller scale, blenders), and “resting” (low volume or solids).
- Pick a background early. A consistent background makes even a wild bundle feel intentional.
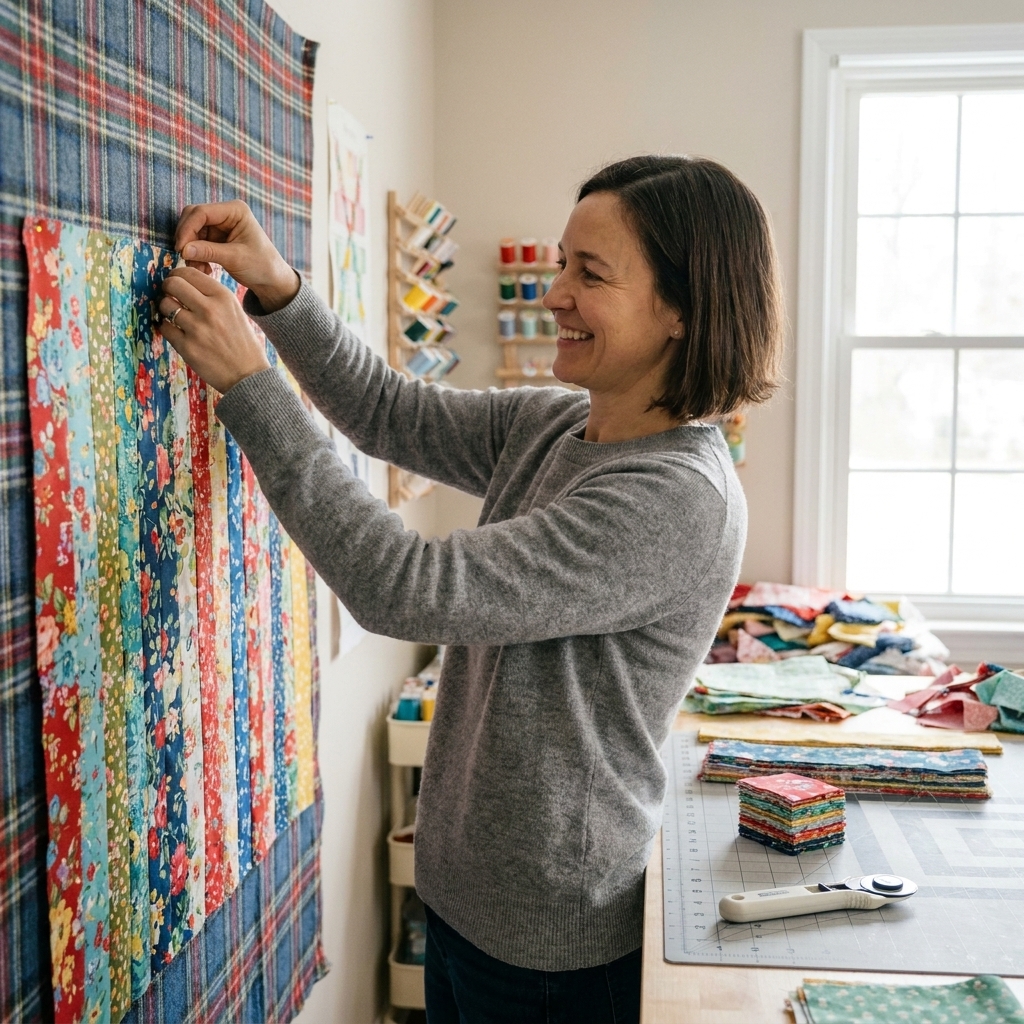
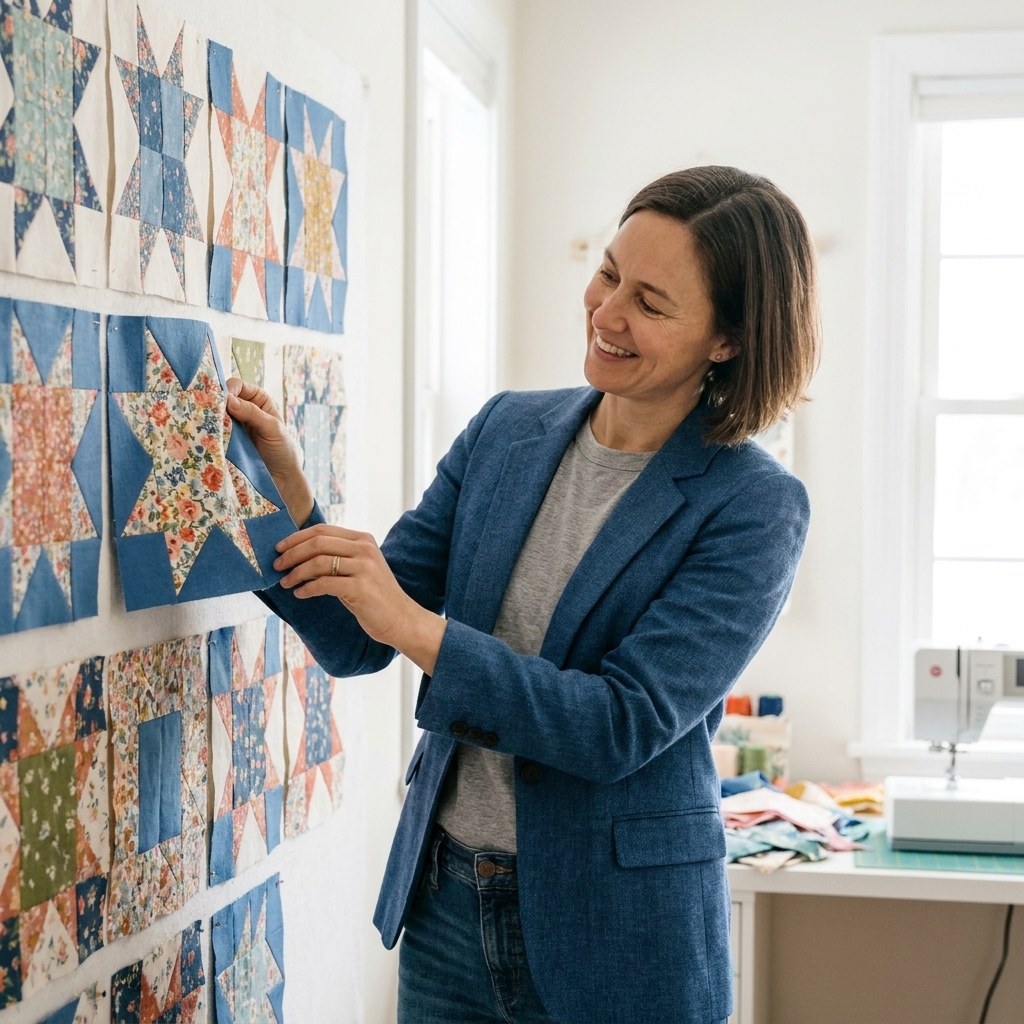
- Audition with a design wall. A spare flannel sheet or batting on the wall lets you see value and balance from across the room.
- Use the right ruler. A 6" x 24" ruler makes strip cutting calmer, and a square ruler (6.5" or 8.5") is great for trimming blocks.
The simplest color trick I know
If your bundle feels chaotic, choose one unifying ingredient and repeat it. That can be a background, a single accent color, or a consistent “temperature” (mostly warm fabrics or mostly cool fabrics). When in doubt, add more neutrals and let the prints shine.
One quick print tip: If you are using directional prints (text, animals, stripes), decide early if you care about “up” staying up. Some blocks flip fabric in ways that make directionals look charmingly random, or mildly chaotic, depending on your mood.
1) Stacked coin strips
This is one of my favorite true stash-busters because it makes busy prints look organized. Coins are basically little rectangles stacked in offset rows, like a tidy brick wall made of fabric.
Why it works for fat quarters
- Most versions use 2.5" strips, which are easy to cut from a fat quarter with minimal waste.
- Short segments mean you can mix lots of prints without overwhelming the eye.
Helpful starting sizes
A common coin size is 2.5" x 5", but you can go shorter (2.5" x 4") for a more pixelated look or longer (2.5" x 6") for a calmer one.
Color and layout tips
- Keep backgrounds consistent. One background fabric (or two closely related low-volumes) makes the coins pop.
- Sort by value first. Aim for a spread of lights, mediums, and darks so the quilt has depth.
- Try a soft gradient. Arrange warmer colors on one side and cooler on the other for instant “designer” energy.
Fat quarter count (rough guide): For a throw-size stacked coin quilt with a consistent background, typically 12 to 20 fat quarters gives you a lively mix.
2) Rail fence remix
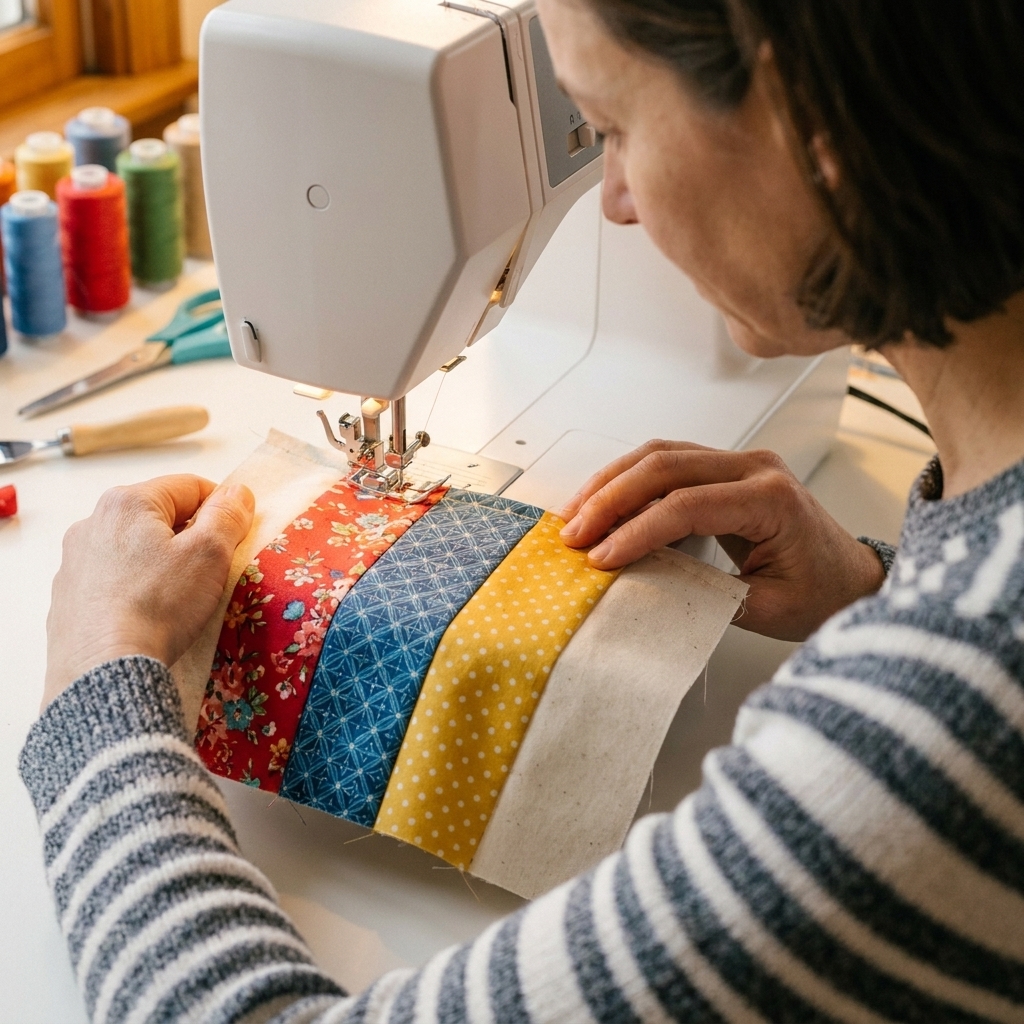
Rail fence is timeless for a reason: it is strip-piecing magic. Sew strips together, slice, rotate. It feels like cheating in the best way.
Why it works for fat quarters
- Fat quarters are perfect for cutting a handful of strips in multiple widths.
- Rail fence blocks can be made scrappy without looking messy.
Make it look modern
- Use varied strip widths. Try 1.5", 2.5", and 3.5" in the same block for a fresh look.
- Commit to negative space. Add a solid strip in each set (cream, black, or a saturated solid) to calm the print party.
- Alternate rotations deliberately. A consistent rotation plan creates secondary patterns like chevrons and diamonds.
Fat quarter count (rough guide): For a throw-size rail fence with a solid or low-volume in the mix, plan on typically 12 to 18 fat quarters, plus background yardage if your pattern uses it.
3) Disappearing nine-patch
If you want big visual payoff without advanced piecing, disappearing nine-patch is your best friend. You sew a simple nine-patch, then slice it up and rearrange it into a more complex-looking block.
Why it works for fat quarters
- You can dedicate fat quarters to the “feature” squares and use background from yardage or coordinating stash.
- It is flexible with scale: big prints, tiny prints, and solids all play nicely.
A caution learned the hard way
Press with consistency. Press all seams in the same direction within your nine-patch, then consider a quick spritz of starch before you cut. Those slices are the moment when a wobbly seam can multiply.
Fat quarter count (rough guide): If your nine-patch features are scrappy, a throw often looks great with typically 10 to 16 fat quarters, plus background.
4) Half-square triangle sampler
Half-square triangles (HSTs) are the backbone of so many striking quilts. A sampler layout lets you use the same set of HSTs across multiple block designs, which is ideal when your fat quarters are varied but coordinated.
Why it works for fat quarters
- You can pair each fat quarter with a consistent background for easy, efficient HST production.
- HSTs tame loud prints by breaking them into smaller shapes.
Keep it crisp
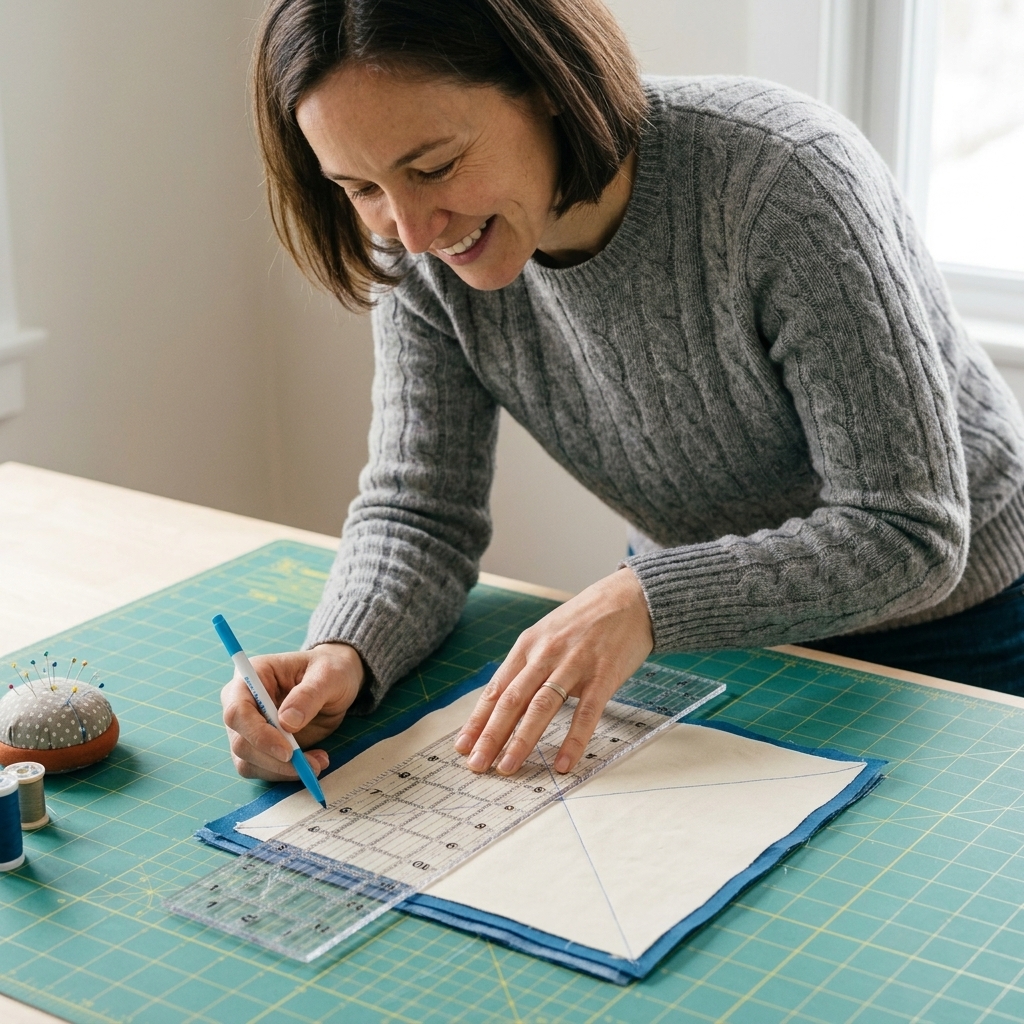
- Make them slightly oversized and trim down. Trimming is not a failure, it is accuracy insurance.
- Use a directional plan. Decide which triangles are “light” and which are “dark,” even if you are using bright colors.
- Expect some print flipping. Directional prints will rotate and mirror in HSTs. If that bothers you, save directionals for larger blocks or use them as the “fun surprise” fabric.
Fat quarter count (rough guide): For a throw-size sampler with a consistent background, typically 12 to 20 fat quarters gives you variety without looking scattered.
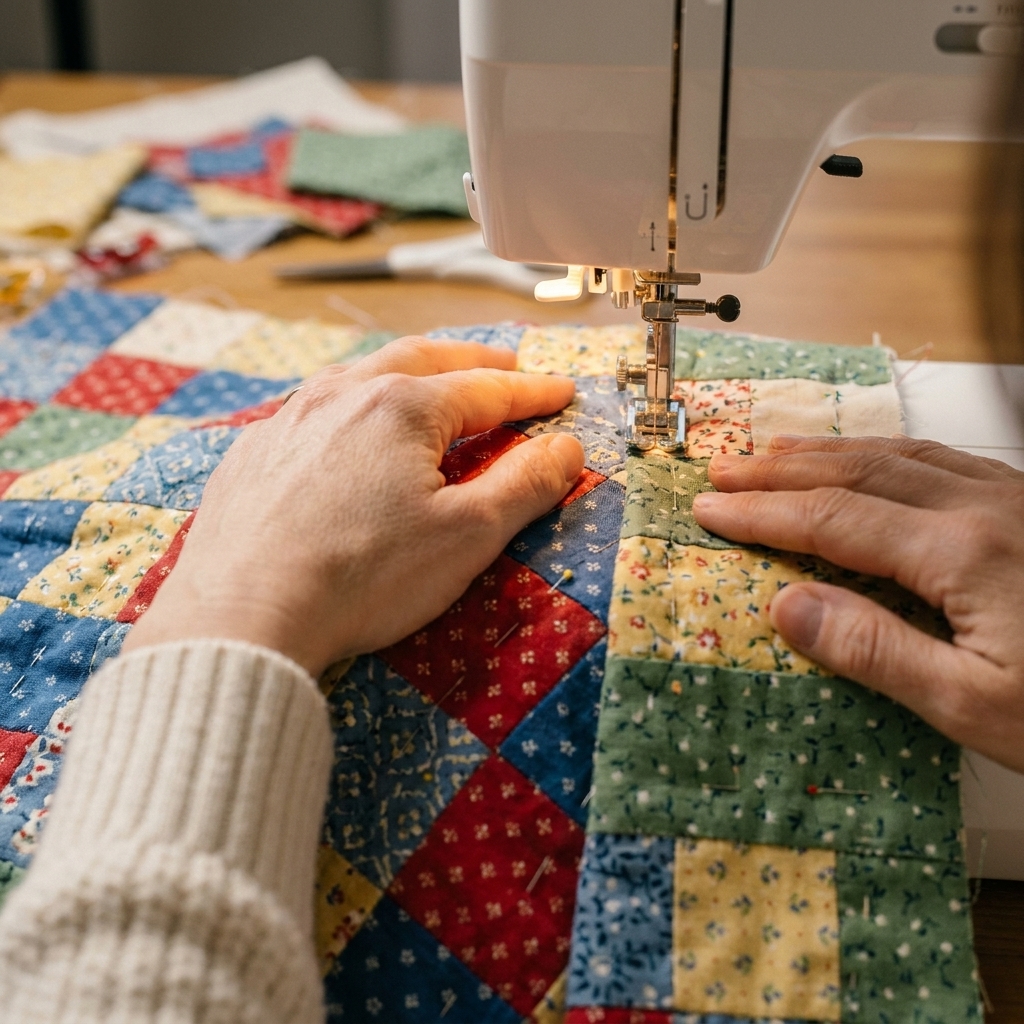
5) Simple patchwork
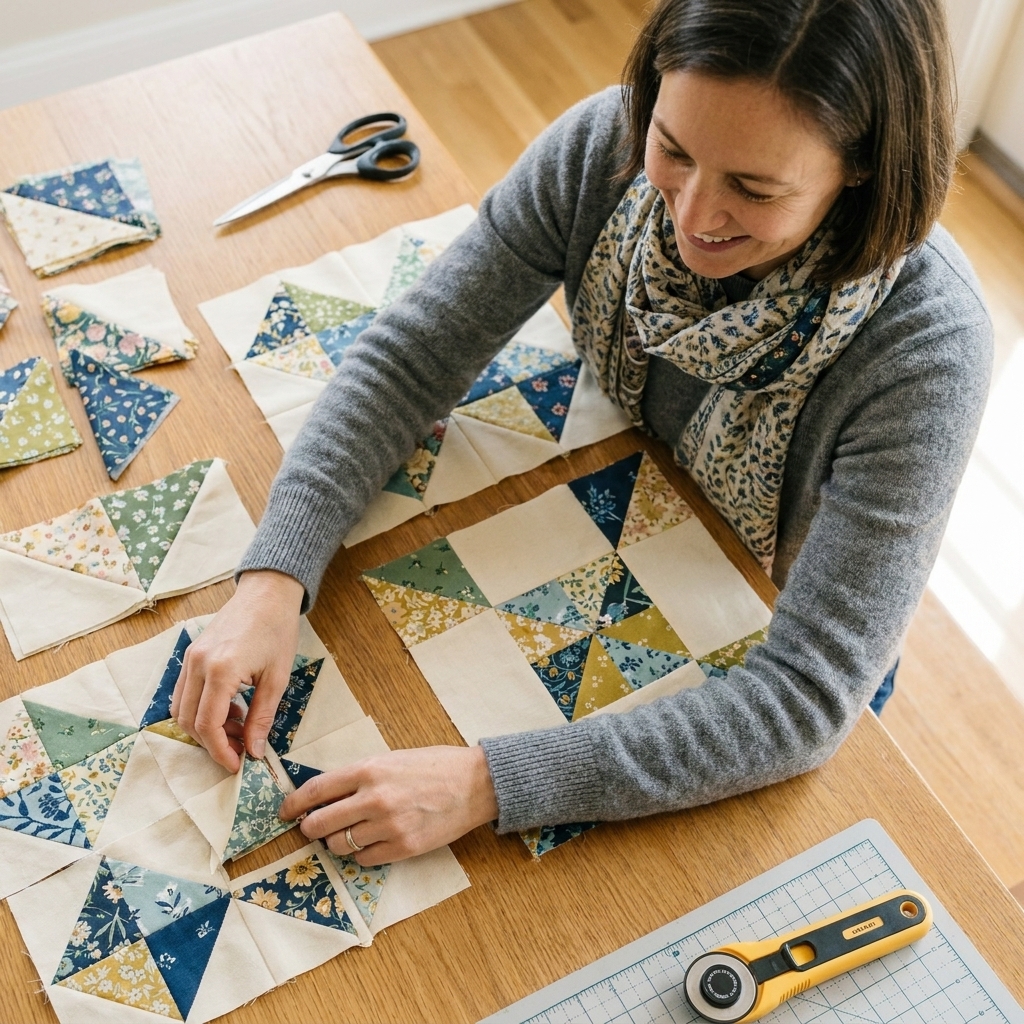
Do not underestimate a straightforward patchwork quilt. With fat quarters, larger pieces show off the fabric you fell in love with in the first place.
Why it works for fat quarters
- A fat quarter yields generous cuts for big squares or bricks (rectangles), which makes the quilt top fly.
- It is beginner-friendly and still looks gorgeous when quilted well.
The twist: quiet sashing
Add narrow sashing between blocks in a neutral or a soft color pulled from your prints. It gives your eyes a place to rest and makes the whole quilt feel more polished.
Fat quarter count (rough guide): Patchwork is wonderfully flexible, but for a throw, typically 10 to 16 fat quarters can get you there quickly, depending on block size and how much background you add.
6) Bento box blocks
Bento box quilts have that nested, graphic look that feels both modern and playful. They are also excellent for mixing a bundle that includes both bold and subtle prints.
Why it works for fat quarters
- Each block typically uses several fabrics in manageable pieces, so a fat quarter goes a long way.
- Blocks look cohesive even when every fabric is different, thanks to the repeated structure.
Layout idea that never fails
Make every block include one consistent fabric (like the same background or the same dark accent). That repeated note ties all the variety together.
Fat quarter count (rough guide): For a throw-size bento box, typically 12 to 20 fat quarters works well, plus a consistent fabric if your version uses one.
7) Log cabin and courthouse steps
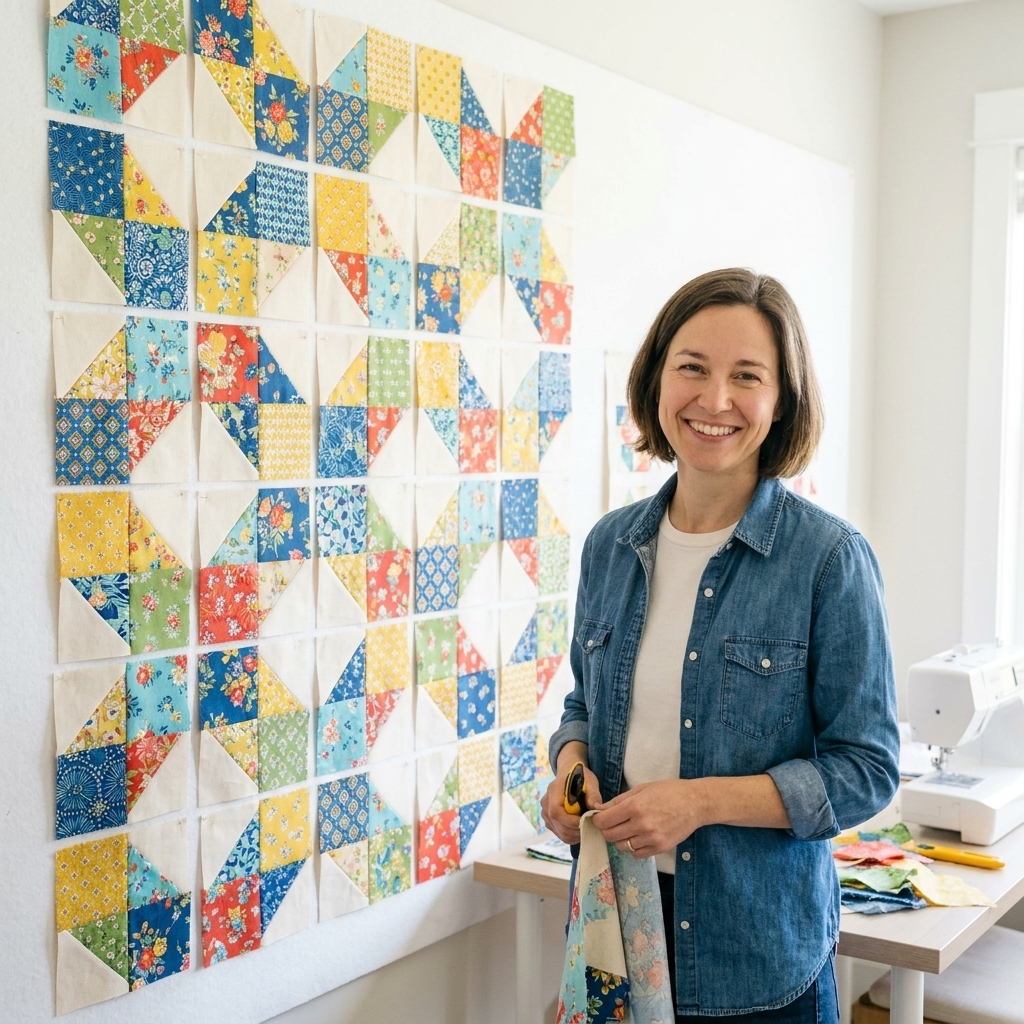
Log cabin quilts are the ultimate scrap and fat-quarter pattern. Depending on your color placement, you can make them traditional, modern, or wildly artistic.
Why it works for fat quarters
- Strips are easy to cut from fat quarters in a range of widths.
- You can mix prints freely and still get a strong overall design.
Two great approaches
- Classic light and dark. Choose a light group and a dark group, then keep placement consistent. The quilt will create strong shapes on its own.
- Color wheel cabins. Group fabrics by color family and build blocks that “walk” around the wheel. It is stash-busting with intention.
Directional print note: Log cabin strips rotate around the center, so directionals can end up sideways. If you want every motif upright, stick to non-directional prints or use directionals as accents.
Fat quarter count (rough guide): For a throw, log cabin quilts often use typically 14 to 24 fat quarters, depending on strip width and block size.
8) Jelly roll-style patterns
Lots of popular patterns are written for jelly rolls, but you can absolutely cut your own 2.5" strips from fat quarters and get the same effect. It is a sneaky way to use what you have without buying another pre-cut.
What to watch for
- Length differences. A jelly roll strip is typically around 42" (width of fabric, after trimming off selvages). A fat quarter strip is shorter. Choose patterns that use shorter segments, or be ready to piece strips.
- Consistency matters. If you are self-cutting, stack-cut carefully and measure twice. Small strip width errors add up fast.
Fat quarter count (rough guide): It depends on the jelly roll pattern, but many throw quilts translate well with typically 16 to 24 fat quarters when you are cutting your own strips.
9) Plus sign quilt
Plus sign quilts are bold, cheerful, and excellent for showing off favorite prints in chunky shapes. They are also forgiving, which is a quality I value deeply when I am quilting after a long day.
Why it works for fat quarters
- Plus blocks use medium-to-large pieces that highlight prints.
- You can make the background scrappy or consistent, depending on your stash mood.
Color tip
If your pluses feel too busy, choose a background that is slightly warmer or cooler than most of your prints. That subtle temperature difference helps the pluses read clearly.
Fat quarter count (rough guide): For a throw with a consistent background, typically 12 to 18 fat quarters is a happy place to start.
10) Half-hexies
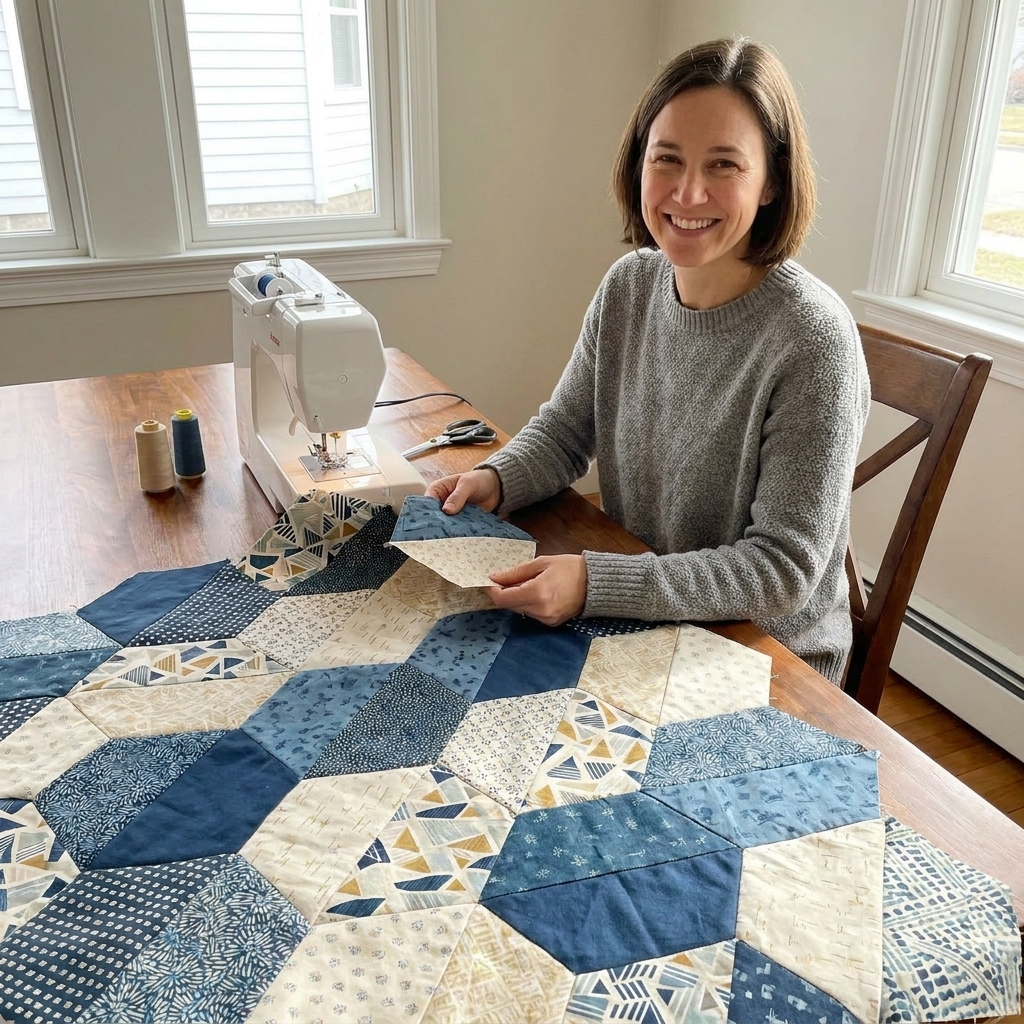
Love the look of hexagons but do not want to wrangle Y-seams? Half-hexie quilts give you that honeycomb vibe using straight seams. They are fantastic with fat quarters because the shapes are large enough to show off prints.
Why it works for fat quarters
- Fewer, larger shapes mean less fussy cutting and more fabric on display.
- It is a wonderful pattern for mixing novelty prints with basics.
One thing to know
Half-hexies avoid Y-seams, but they still reward careful alignment. A little patience at the start, especially with trimming and matching points, makes the whole top behave.
Make it cohesive
Try a limited palette. Even just choosing three main colors plus a neutral can make a mixed bundle look curated.
Fat quarter count (rough guide): For a throw-size half-hexie quilt, typically 14 to 22 fat quarters works well, depending on the scale of the units and how much background you use.
How many fat quarters do you need?
The honest answer is: it depends on the pattern, your block size, and how much background it uses. But here are ballpark ranges I have found helpful when planning a stash-busting project.
| Quilt size (approx.) | Typical fat quarters needed | Notes |
|---|---|---|
| Baby (40" x 50") | 6 to 10 | More if you want very scrappy blocks with lots of variety. |
| Throw (60" x 70") | 12 to 20 | Most fat-quarter-friendly patterns land here, especially with a consistent background. |
| Twin (70" x 90") | 20 to 30 | Expect to add background yardage and possibly a border. |
| Queen (90" x 100") | 30 to 45 | Great for big bundles, or combine two smaller bundles for more range. |
If you are unsure, do a quick test: pick one fat quarter and cut the shapes your pattern uses for a single block. Count how many blocks you can get. Multiply from there. It is not glamorous quilt math, but it is very reliable.
Layout strategies
1) Every fabric shows up twice
If you have a fabric you love, it deserves more than one appearance. Repeating each print at least twice across the quilt top helps everything feel intentional.
2) Sprinkle the bold prints
Instead of clustering the loud fabrics together, scatter them like confetti across the whole layout. Your eye will travel, and the quilt will feel balanced.
3) Use solids like punctuation
A few solids or near-solids can act like commas in a busy paragraph. They give rhythm and breathing room.
4) Take a black-and-white photo
When I cannot tell what is “off,” I snap a quick photo and turn it grayscale. If the quilt top looks flat, add more value contrast. If one area screams, redistribute the darkest fabrics.
Fat quarter FAQ
Should I prewash fat quarters?
If you always prewash, prewash. If you never do, skip it. Consistency matters more than the choice itself. If you are mixing lots of reds and dark blues, a quick colorfastness test is worth the small effort.
What is the easiest fat-quarter quilt for a beginner?
Big patchwork squares or bricks, stacked coins, and rail fence are the most beginner-friendly. You will get a finished top quickly, which is the best motivation to keep going.
How do I add yardage without it looking like an afterthought?
Pull a background that already exists inside several of your prints. Cream, soft gray, navy, or charcoal are usually safe. Then repeat that yardage in multiple places (background, borders, or sashing) so it feels like part of the plan.
A gentle nudge to start
The most stash-busting thing you can do is choose one pattern and cut into the “too pretty” fat quarters. Fabric is happiest when it is used, quilted, washed, and loved hard. Pick a pattern from this list, pour yourself a mug of tea, and make the first cut. The rest tends to follow.