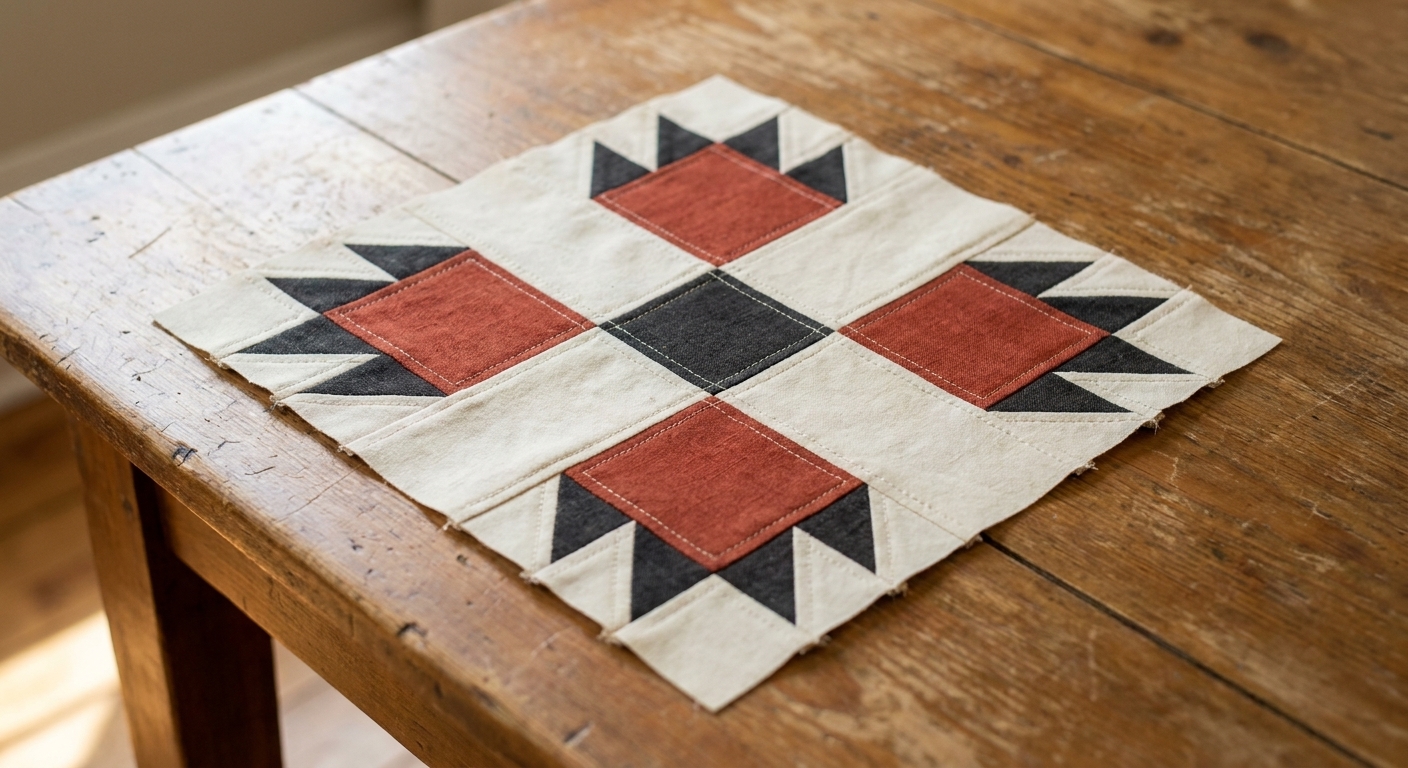
Break the Bear’s Paw block into bite-sized steps. Get my best tips for accurate HSTs, flying geese, and corners that meet cleanly, even if you are a beginner.
The Quilt Mark
October 22, 2026
8-at-a-Time Half Square Triangles
Make eight Half Square Triangles at once with the 8-at-a-time magic method. Get step-by-step cutting, sewing, trimming tips, plus a cheat sheet for starting square sizes.

Clara Jenkins
Clara Jenkins is an avid quilter and fabric enthusiast who has been designing and piecing together quilts for over twenty years. She shares her passion for color coordination, block design, and practical sewing techniques to help makers of all skill levels create beautiful, lasting heirlooms. Through Quiltmark, Clara aims to make the timeless art of quilting accessible, joyful, and deeply rewarding for everyone.
Updated October 22, 2026
If Half Square Triangles (HSTs) are the confetti of quilting, the 8-at-a-time magic method is the fastest way to fill the room. With two fabric squares, a few lines, and four quick seams, you get eight matching HSTs in one tidy batch. They come out wonderfully consistent, which means less squinting, less seam ripping, and more time playing with layout.
This is the method I reach for when I am making a lot of HSTs for a quilt top, especially when I want them all to finish the same size. I will walk you through it step by step and then give you a cheat sheet you can bookmark for future projects.
What makes it magic
The 8-at-a-time method turns two large squares into a set of eight HSTs by sewing on both sides of two diagonals. After you cut the square into wedges, the triangles open into perfectly paired units. Because everything is sewn before cutting into individual pieces, your results are surprisingly uniform.
- Best for: making many identical HSTs efficiently
- Bonus: pairs are naturally matched, great for controlled scrappy looks
- Heads up: you must trim for truly accurate size (worth it, promise)
Tools and materials
- Two fabric squares (same size), typically one light and one dark
- Rotary cutter, mat, and acrylic ruler (a square ruler helps)
- Marking tool you can see on your fabric (pencil, Hera marker, or washable pen)
- Sewing machine and thread
- Iron and pressing surface
My accuracy must-have: a scant 1/4 inch seam allowance. If your machine tends to drift, use a seam guide or washi tape as a visual bumper.
Optional, but speedy: an HST ruler or a Bloc_Loc style trimmer can make squaring up feel almost automatic.
8-at-a-time HST steps
1) Choose your starting square size
You will start with two same-size squares. The starting size depends on the unfinished HST size you want (unfinished means what it measures right after trimming, before it is sewn into the quilt).
Here is the key detail for the 8-at-a-time method: you are making eight HSTs from one big square set, so the math uses a doubled starting square.
Exact starting square size = (finished HST size + 7/8 inch) x 2
If you prefer to think in unfinished size, this is the same thing:
Exact starting square size = (unfinished HST size + 3/8 inch) x 2
That 7/8 inch can feel a little finicky to measure, so I usually round up to the next easy-to-cut measurement and plan to trim. Trimming is where the magic becomes reliable.
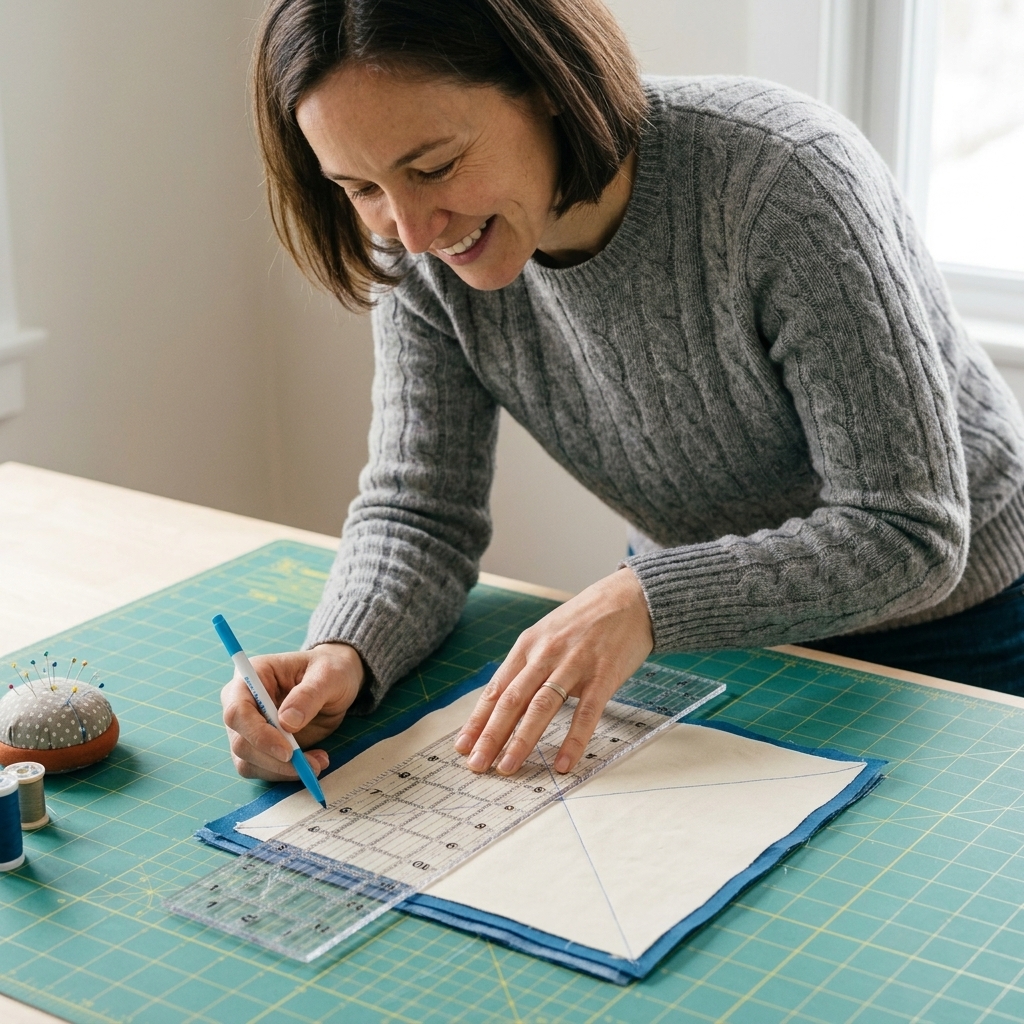
2) Stack and mark the diagonals
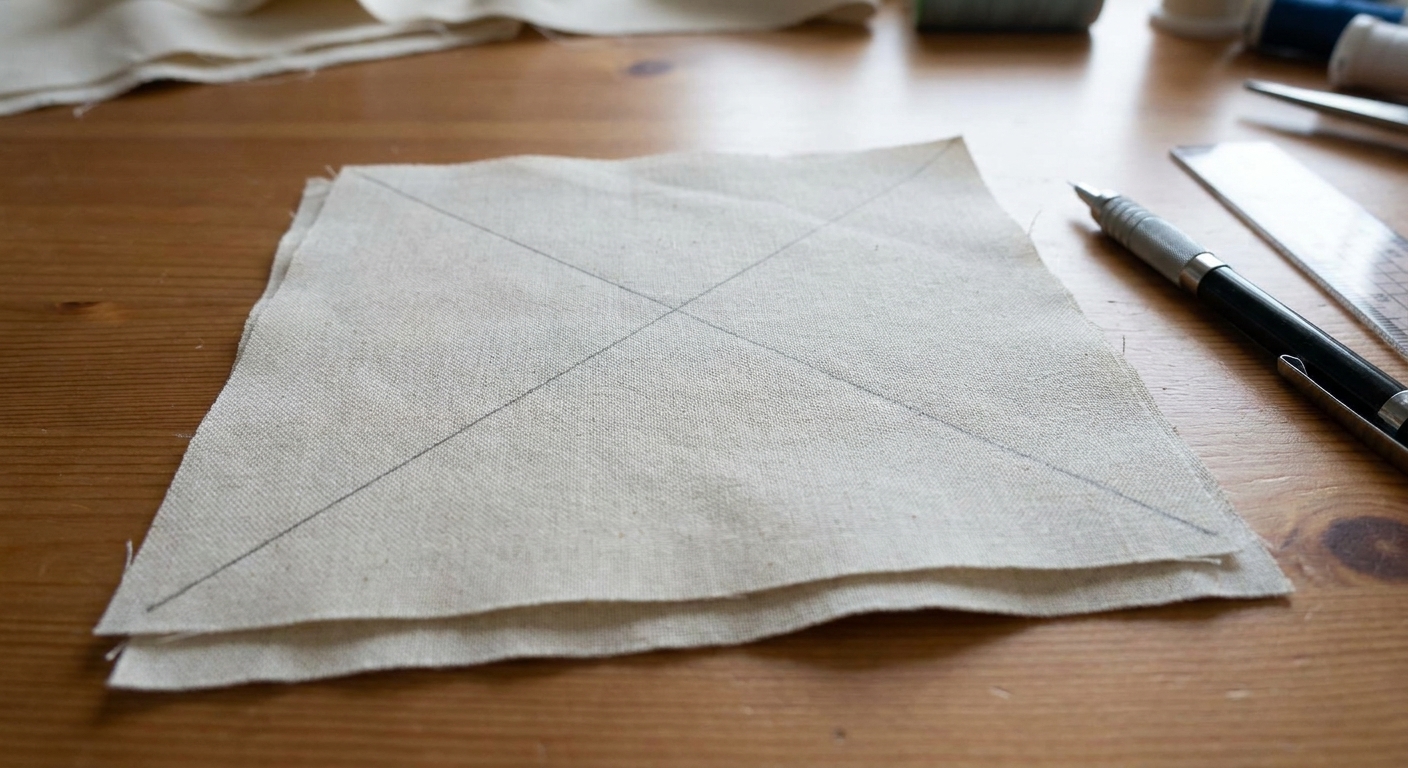
Place the two squares right sides together. On the back of the lighter fabric (or whichever side you prefer to mark), draw:
- One diagonal line from corner to corner
- A second diagonal line from the other two corners, making an X
Take a moment to make sure your corners are perfectly aligned. A tiny shift here becomes a bigger shift after cutting.
3) Sew 1/4 inch from each diagonal
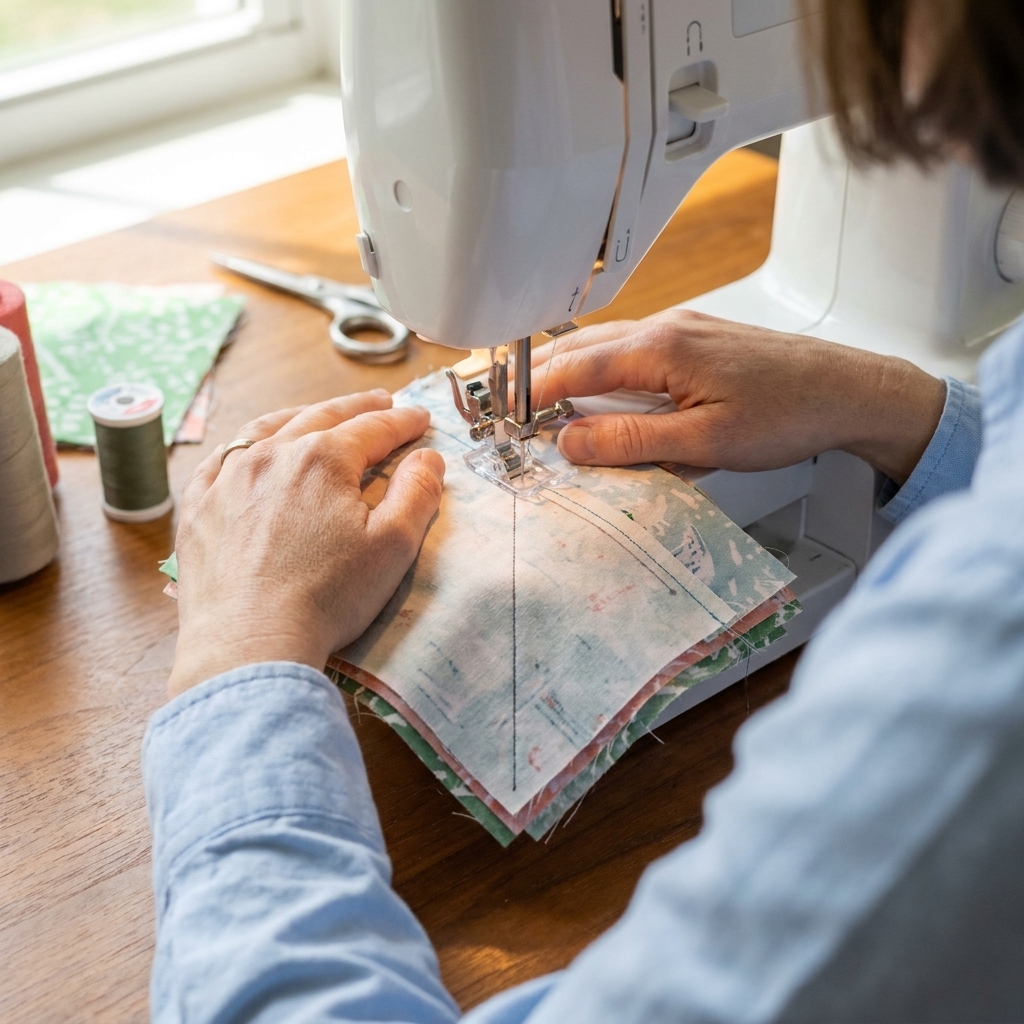
You will sew a total of four long seams:
- Sew 1/4 inch on one side of the first diagonal.
- Sew 1/4 inch on the other side of the first diagonal.
- Repeat for the second diagonal.
That is two seams per diagonal, one on each side. Chain piecing is not really a factor here, but consistent seam allowance absolutely is.
Clara tip: If your fabric is shifty, starch your squares lightly and let them dry before you start. Crisp fabric behaves like it wants to be accurate.
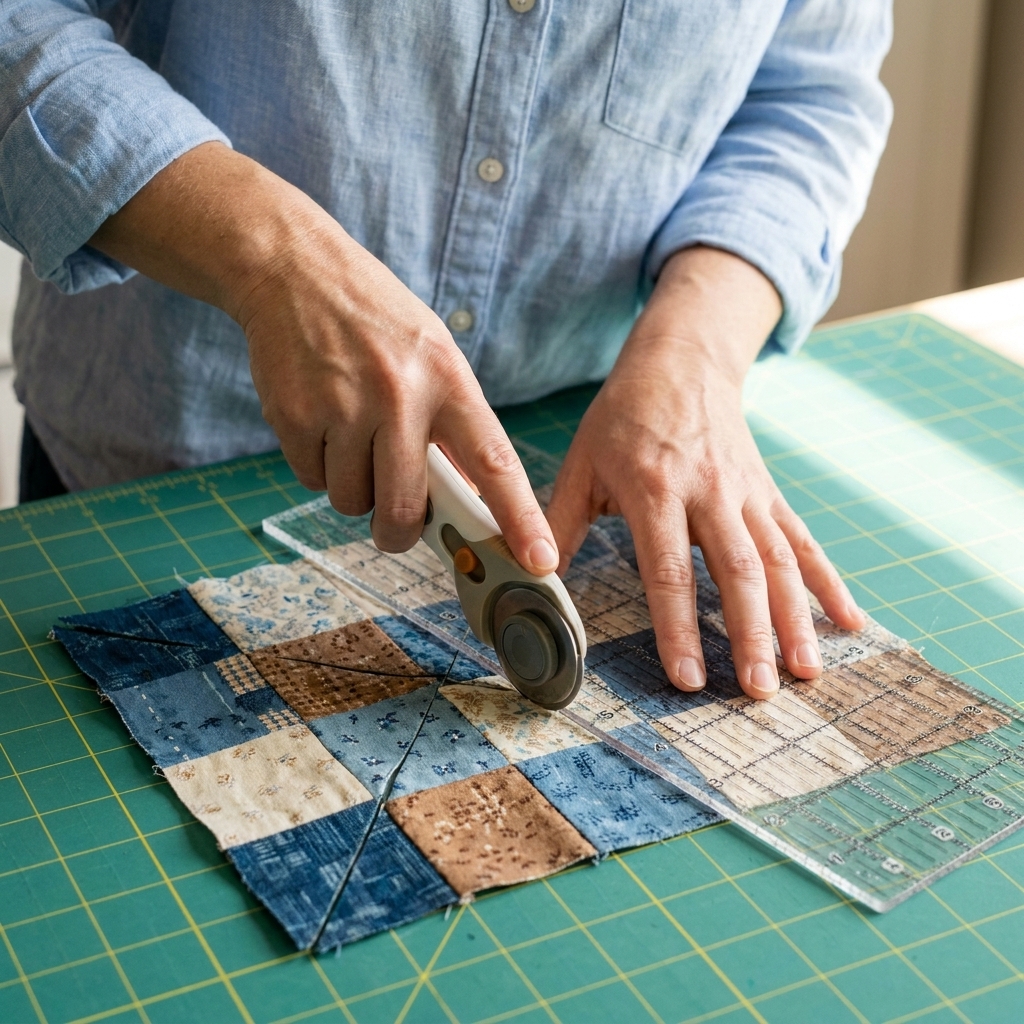
4) Cut to make eight units
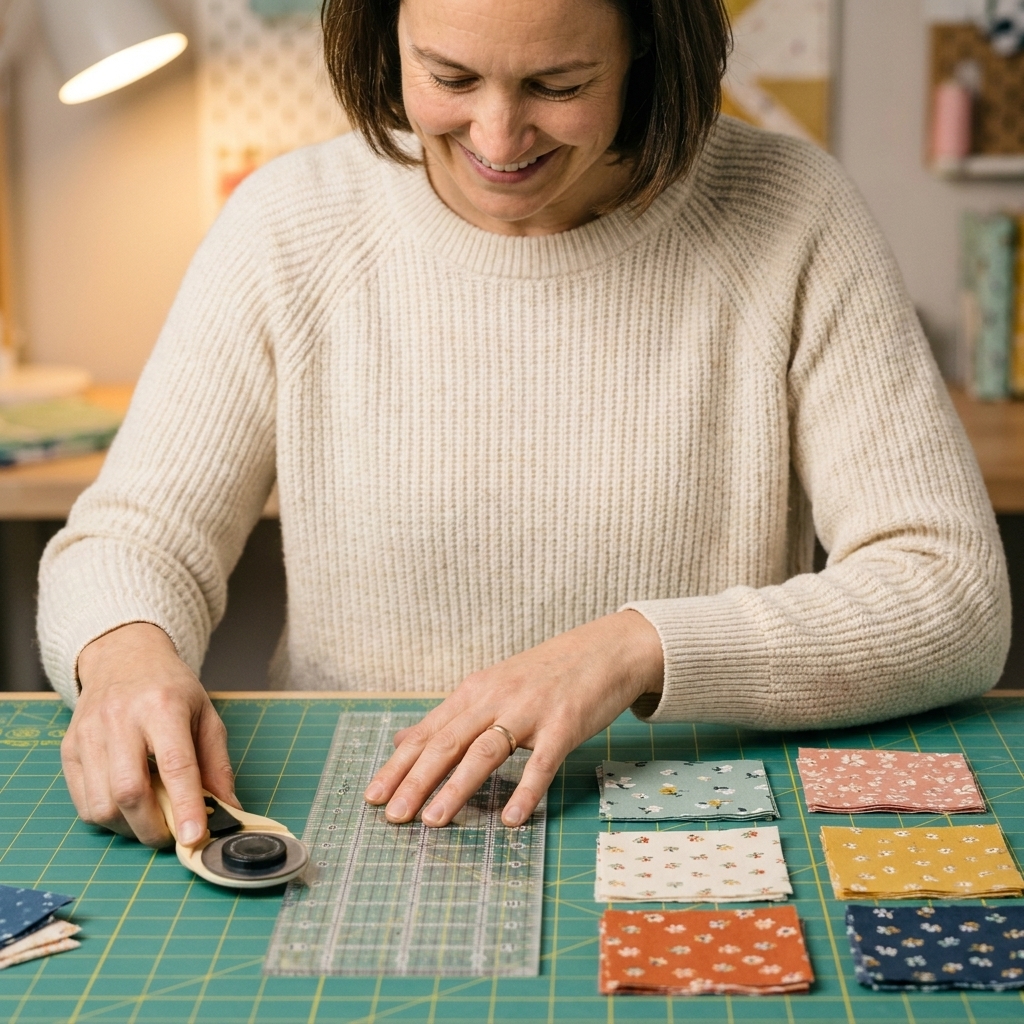
Now the satisfying part. With your rotary cutter and ruler:
- Cut along both drawn diagonals (right on the lines).
- Find the center of the square and cut straight through the middle vertically.
- Find the center again and cut straight through the middle horizontally.
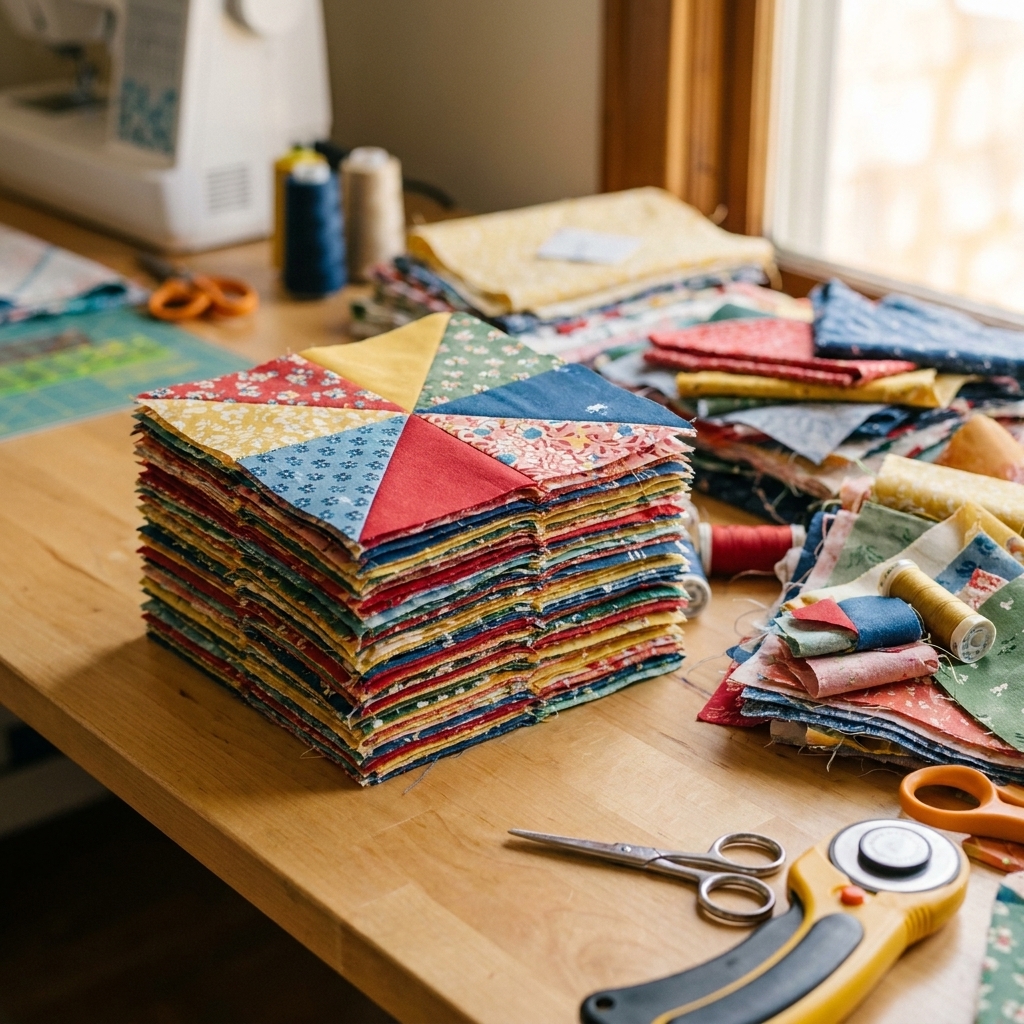
You will end up with eight triangle pairs, ready to open into HSTs.
Safety note: This is a lot of layers. Use a fresh blade and take your time so the cuts stay clean.
5) Press, then trim
Open each unit and press. You can press the seam to one side (my usual) or press open (nice for reducing bulk). Either is fine as long as you are consistent.
If you are pressing to one side, pressing toward the darker fabric can help prevent the seam from shadowing through lighter fabrics.
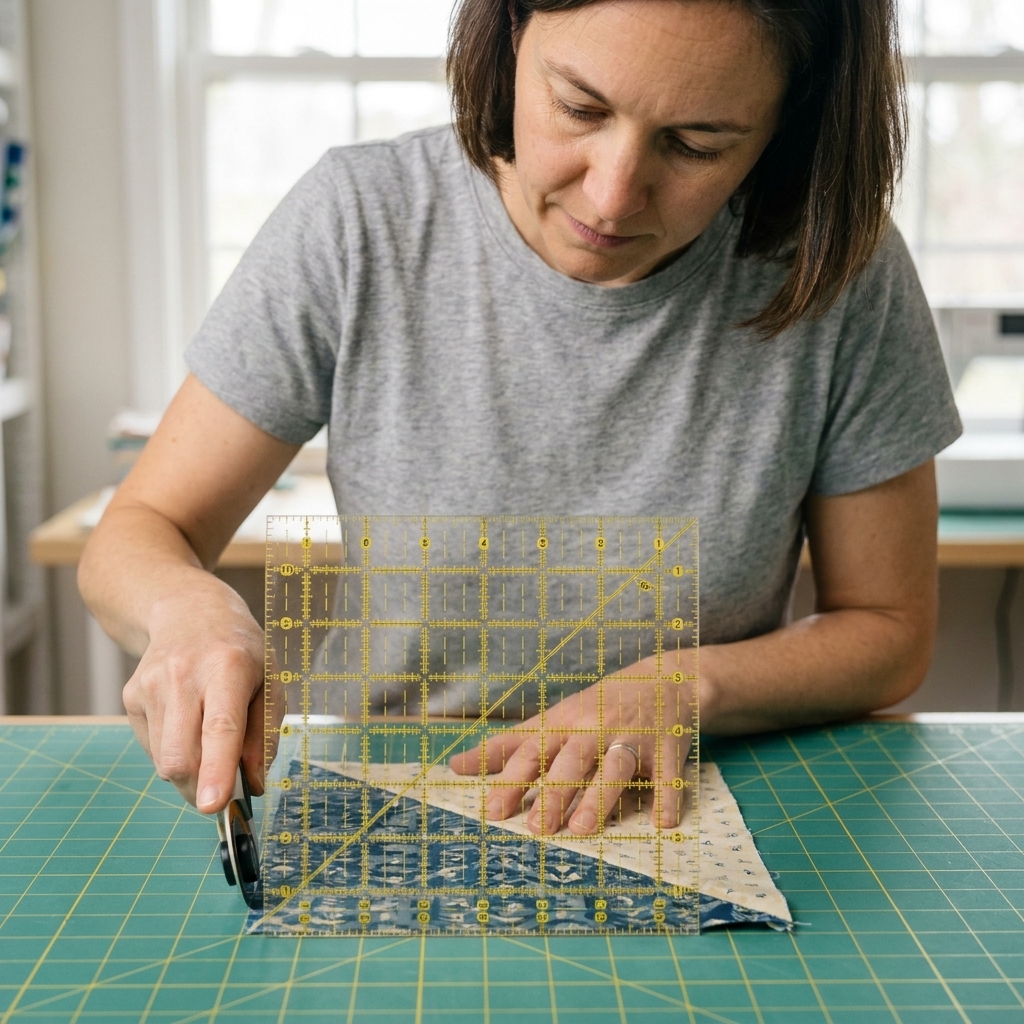
Then trim each HST to the desired unfinished size.
- If you want a 4 inch finished HST in your quilt, trim to 4 1/2 inches unfinished.
- If you want a 2 1/2 inch finished HST, trim to 3 inches unfinished.
Trimming method that saves my sanity:
- Line up the 45-degree line on your ruler with the HST seam.
- First, trim two sides.
- Rotate the unit 180 degrees, line up again, and trim the remaining two sides.
Do not worry if your dog-ears look a little dramatic before trimming. That is completely normal with this method.
Cheat sheet
This table uses the standard 8-at-a-time formula: (finished size + 7/8 inch) x 2. I also note an easy cut option because I am a real person who likes friendly measurements and reliable trimming.
| Finished HST size | Trim to (unfinished size) | Starting square (exact) | Starting square (easy cut) |
|---|---|---|---|
| 1 inch | 1 1/2 inches | 3 3/4 inches | 4 inches |
| 1 1/2 inches | 2 inches | 4 3/4 inches | 5 inches |
| 2 inches | 2 1/2 inches | 5 3/4 inches | 6 inches |
| 2 1/2 inches | 3 inches | 6 3/4 inches | 7 inches |
| 3 inches | 3 1/2 inches | 7 3/4 inches | 8 inches |
| 3 1/2 inches | 4 inches | 8 3/4 inches | 9 inches |
| 4 inches | 4 1/2 inches | 9 3/4 inches | 10 inches |
| 4 1/2 inches | 5 inches | 10 3/4 inches | 11 inches |
| 5 inches | 5 1/2 inches | 11 3/4 inches | 12 inches |
How to use it: Decide your finished size, find the unfinished trim size, then pick either the exact or the easy cut starting square. If you choose the easy cut size, you will simply trim a bit more.
Troubleshooting
HSTs are too small
This is almost always a seam allowance issue. Even a generous 1/4 inch adds up fast across multiple seams.
- Check that you are sewing a scant 1/4 inch.
- Try a leader and ender scrap to stabilize your first stitches.
- Use the easy cut starting square and trim down.
Diagonal seam is wavy
- Press, do not iron back and forth. Sliding the iron can distort bias edges.
- Starch your starting squares for more control.
- When trimming, always align the ruler’s 45-degree line to the seam, not the fabric edge.
Points get chopped
That is usually a trimming or seam allowance mismatch.
- Trim all HSTs to the same unfinished size.
- Use consistent seam allowances when joining blocks.
- Pin at the seam intersection if you are matching points.
Design notes
Because these eight units are born together, they are naturally coordinated. If you are doing a planned pattern like a pinwheel or a chevron, you can keep each batch as a little set so your values stay balanced.
- For scrappy quilts: make each batch with one solid and one print, then mix batches together for variety without chaos.
- For gradients: keep the same light and change the darks gradually from batch to batch.
- For stash busting: use a consistent background fabric and pull eight different feature fabrics, one per batch.
FAQ
Do I have to draw the diagonals?
Drawing gives you the most reliable cut lines. If you prefer, you can press a diagonal crease and use that as a guide for sewing, but you will still want a clear cutting line. When I am batch-making, I draw. It is relaxing in a nerdy way.
What stitch length should I use?
I like a slightly shorter stitch for HSTs, around 2.0 to 2.2. It holds the bias edges nicely when you cut and press.
Press seams open or to one side?
Either works. Pressing to one side is fast and durable. Pressing open reduces bulk, especially if your quilt has lots of nested seam intersections. If you are quilting heavily, pressing open can also help the top lie flatter.
Can I use directional prints?
You can, but the orientation will vary between the eight units. If the direction matters, choose nondirectional prints or solids for less surprise.
How many HSTs does one pair of starting squares make?
Exactly eight. If your pattern needs 64 HSTs of one color pairing, you will make 8 sets.
Final note
If your first set feels a little wonky, you are in excellent company. The real win with this method is that you can trim every unit to the exact same size and suddenly everything behaves. Make one test set, measure what you get, adjust your starting square or seam allowance if needed, and then sail through the rest like you have been doing it forever.
When you try it, put on a kettle, clear a little space for a trimming stack, and enjoy that wonderful moment when eight crisp HSTs appear out of what used to be two humble squares.