Traditional, four-at-a-time, stitch-and-flip, or FPP? Learn the pros, cons, size math, and finishing tricks for reliably sharp flying geese quilt blocks.
The Quilt Mark
October 22, 2026
Bear’s Paw Quilt Block: Perfect Corner Triangles
Sew a classic Bear’s Paw quilt block without the stress. Learn a tidy, step-by-step method for half-square triangles, flying geese, and crisp corner triangles that line up beautifully.

Clara Jenkins
Clara Jenkins is an avid quilter and fabric enthusiast who has been designing and piecing together quilts for over twenty years. She shares her passion for color coordination, block design, and practical sewing techniques to help makers of all skill levels create beautiful, lasting heirlooms. Through Quiltmark, Clara aims to make the timeless art of quilting accessible, joyful, and deeply rewarding for everyone.
Updated October 22, 2026
The Bear’s Paw quilt block has a reputation for looking fussy, but it is really just a friendly stack of repeatable units: half-square triangles, a few flying geese shapes, and one square-in-a-square style center. If your corners tend to wobble or your points look a little shy, you are in the right place. Today we are going to build the block in calm, manageable steps, with extra attention on the corner triangles that make or break the “claw” effect.
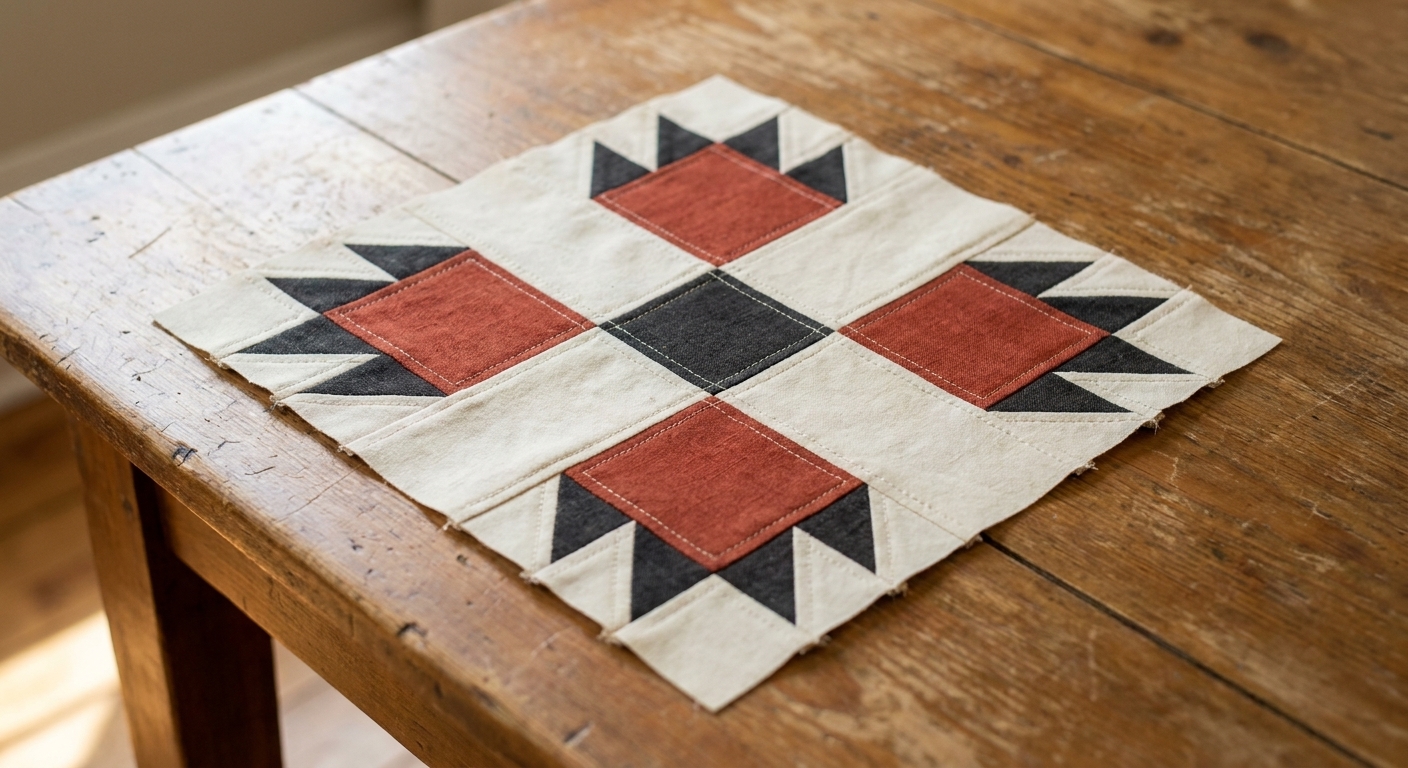
Know the parts
Most Bear’s Paw variations use the same basic idea: four “paws” in the corners and a framed-looking center. Exactly which units show up can vary by pattern, but the usual suspects are:
- Half-square triangles (HSTs) for angled corners
- Flying geese units for sharp “claws”
- A square-in-a-square or framed square center
When corners go wonky, it usually comes from one of these issues:
- HSTs not finishing to the same size
- Flying geese units that are slightly too tall or too short
- Seams pressed in a way that creates bulk right where points need to meet
- Cut sizes that do not account for trimming and real-life seam allowances
We will solve all four by using slightly oversized triangle units, trimming for accuracy, and doing one simple alignment check before final assembly.
Tools that help
You can absolutely sew this with basic tools, but a few items make corner triangles much easier to control.
- Rotary cutter with a fresh blade
- Acrylic ruler with a clear 45-degree line (and ideally a square ruler for trimming)
- Cutting mat with a visible grid
- Neutral thread (a light gray is my go-to)
- Iron and a pressing surface you like using
- Starch or pressing spray for crisp edges on triangle units
- Optional but lovely: a seam roller for quick finger-pressing and a HST trimming ruler
If you tend to stretch bias edges, starch your fabric before cutting. It turns slippery triangles into polite little tiles.

Pick a size
Bear’s Paw blocks come in lots of sizes, but the construction logic stays the same. The easiest path to crisp corner triangles is to decide your finished block size first, then cut slightly large and trim.
A simple sizing guide
Many common Bear’s Paw patterns are built on a 4 by 4 grid. If yours is, the math stays pleasantly tame.
- Finished unit size = finished block size ÷ 4
- A 12-inch finished block uses 3-inch finished units
- A 16-inch finished block uses 4-inch finished units
In a typical 4 by 4 version, each corner “paw” is a 2-unit by 2-unit mini-block, and the center finishes at 2 units by 2 units. If your pattern uses a different grid or a different corner construction, follow its cut list and use the technique tips below (oversize, trim, align).
Worked example: 12-inch block
To make this concrete, let’s assume a 12-inch finished block on a 4 by 4 grid.
- Finished unit size: 12 ÷ 4 = 3 inches
- Unfinished unit size (what you trim to before assembly): 3 1/2 inches
- Corner paws: each finishes at 6 inches (2 units by 2 units)
- Center: finishes at 6 inches (2 units by 2 units)
Your specific Bear’s Paw may place HSTs and flying geese differently, but this gives you a practical target: most subunits you make will either trim to 3 1/2 inches square, or will combine to create a 6 1/2-inch unfinished center or corner paw.
HSTs, calmly
Most Bear’s Paw blocks include HSTs in the corner paw units. Your goal is not “perfect sewing” so much as “consistent trimming.”
Method: two at a time (oversize and trim)
- Cut two squares (one from each fabric) slightly oversized. A generous, beginner-friendly rule is: finished HST size + 1 inch. This is intentionally roomy so you can trim accurately. Example: for a 3-inch finished HST, cut 4-inch squares.
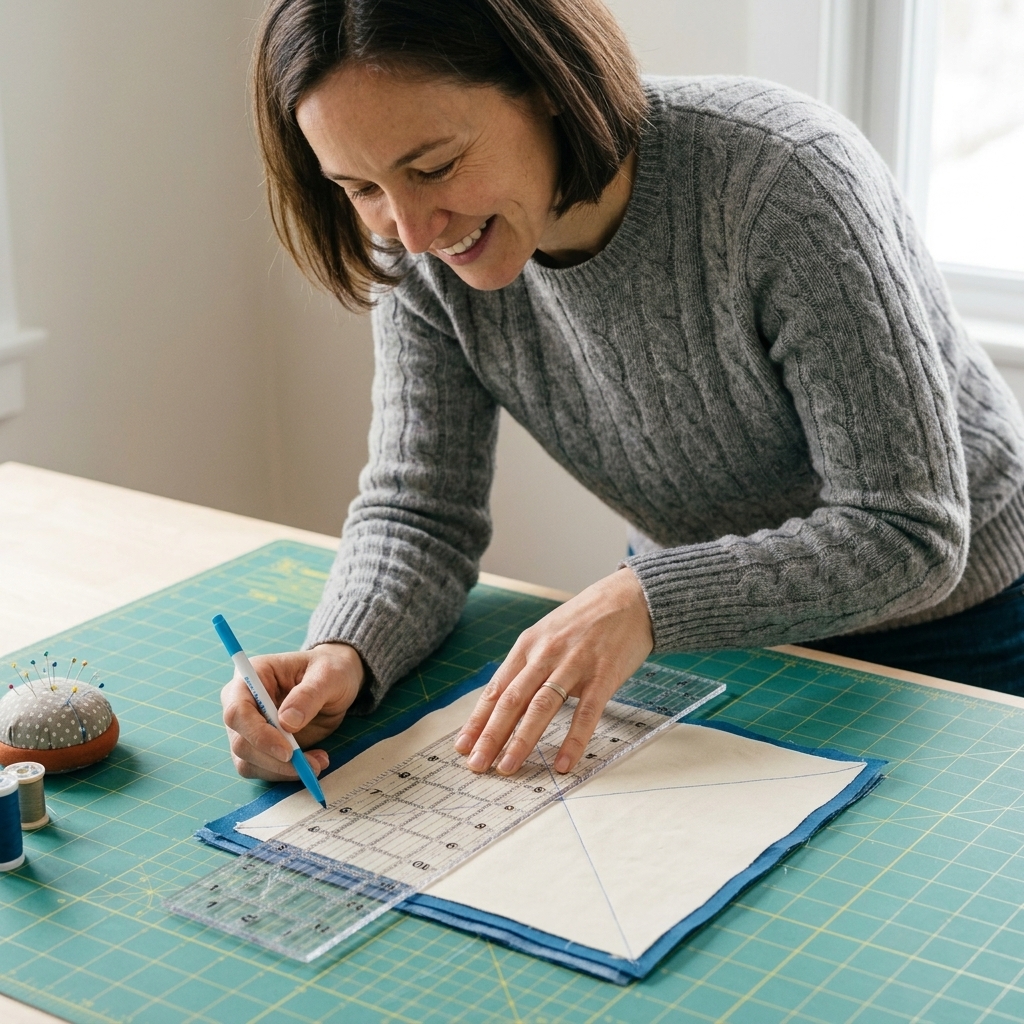
- Draw a diagonal line on the back of the lighter square.
- Sew 1/4 inch on both sides of that line.
- Cut on the drawn line to create two HSTs.
- Press with care, then trim both HSTs to the exact unfinished size (finished size + 1/2 inch). Example: trim a 3-inch finished HST to 3 1/2 inches unfinished.
My pressing habit: press the seam to one side for strength, especially if the block will get a lot of use. If you love nesting seams, you can press alternating directions between matching units.
Trim with the diagonal first
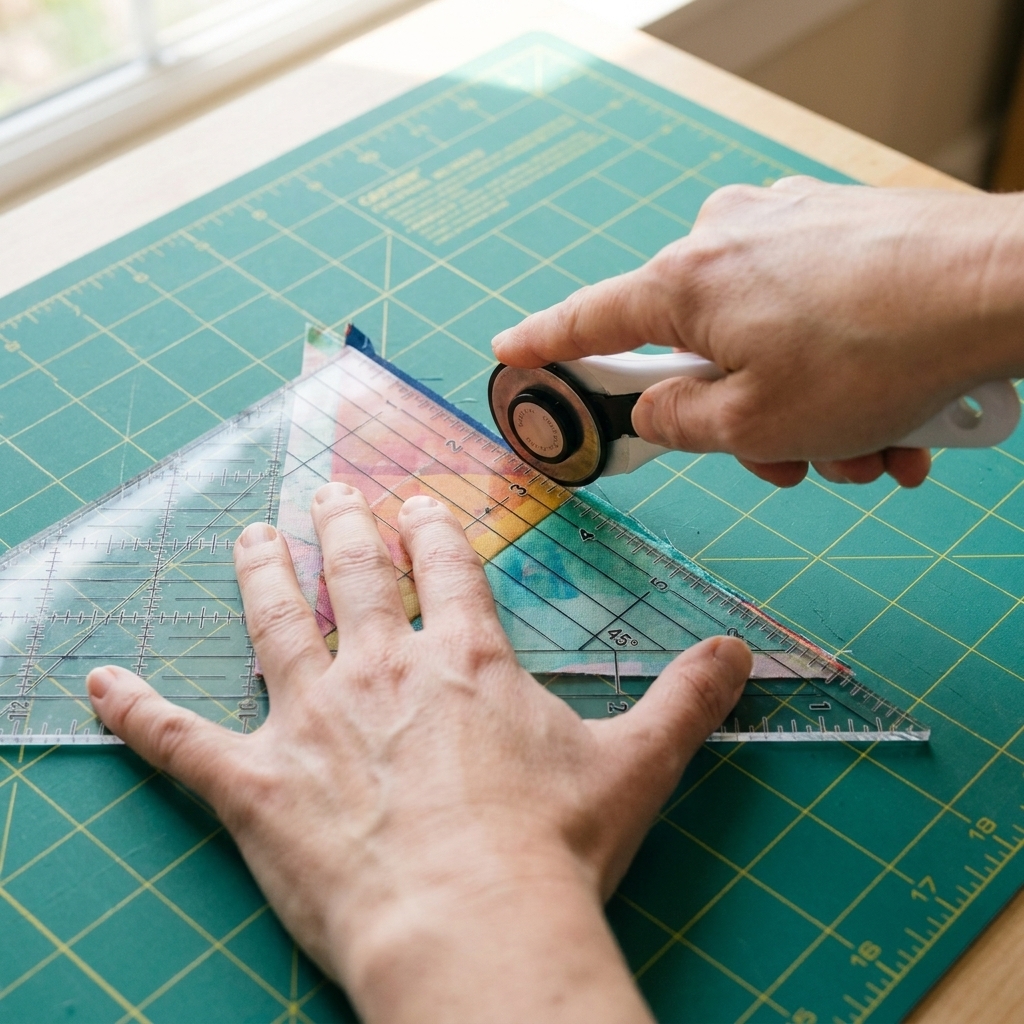
When trimming HSTs, line up the ruler’s 45-degree line with your seam first, then trim to size. If you trim to the outer edges first, the diagonal can drift, and that drift shows up as cut-off points later.
Flying geese that behave
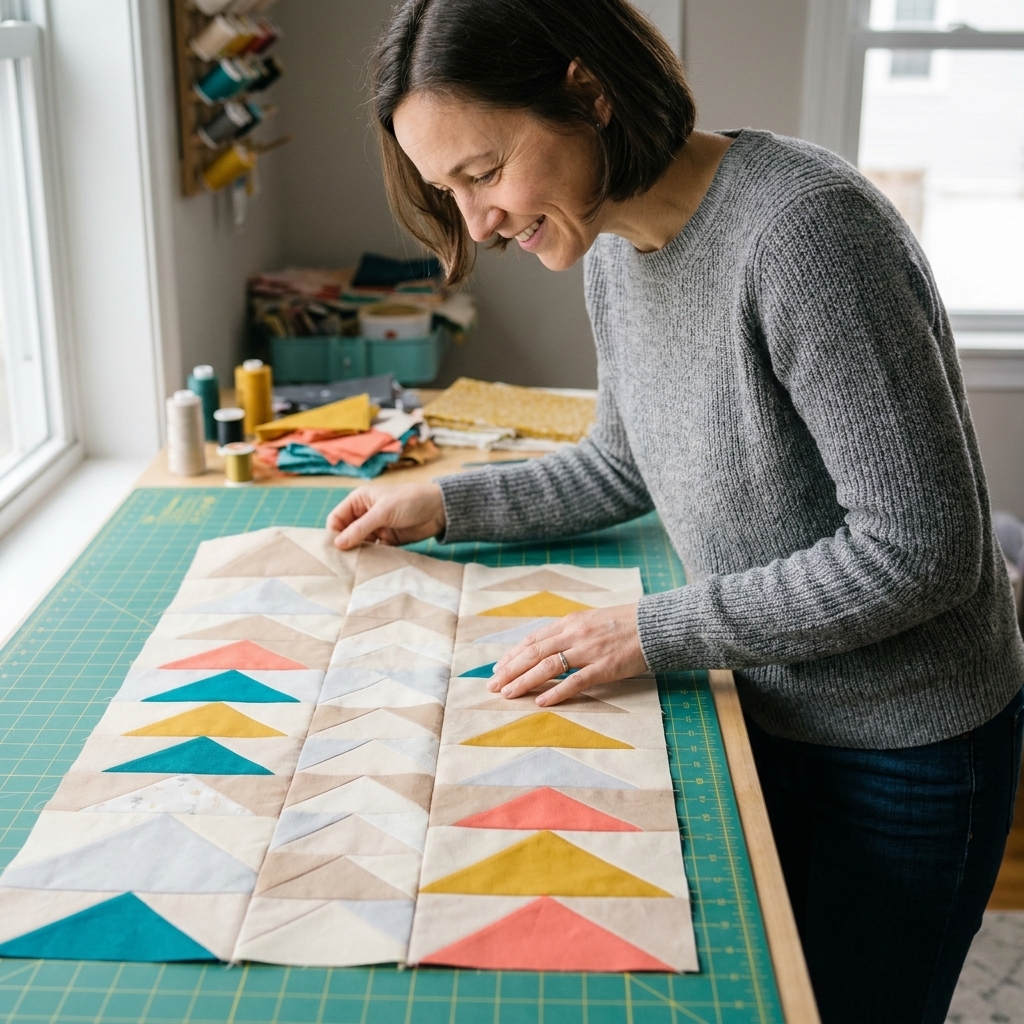
Many Bear’s Paw variations include flying geese units that form the “claws.” Flying geese are famous for eating points when they come out a hair short. The fix is the same as with HSTs: make them slightly large, then trim.
Method: no-waste flying geese (then trim)
This makes four flying geese at once. If your pattern gives cut sizes, use those. If you are drafting your own, here is a reliable formula, plus an intentionally-trim-friendly option.
- Standard no-waste cuts: for geese that finish at W by H, cut 1 large square at (W + 1 1/4 inches) and 4 small squares at (H + 7/8 inch).
- Trim-friendly cuts: add up to 1/8 inch to both the large and small squares, then trim every unit to your exact unfinished target. The key is that you still keep the pieces proportional and you still trim.
Worked example: If you want a flying geese unit that finishes at 3 by 6 inches (common in a 12-inch Bear’s Paw), cut:
- Large square: 6 + 1 1/4 = 7 1/4 inches
- Small squares: 3 + 7/8 = 3 7/8 inches (cut four)
- Place two small squares on opposite corners of the large square, right sides together. Draw a diagonal line on each small square.
- Sew 1/4 inch on both sides of each drawn line. Cut between the stitched lines to create two units.
- Press the triangles open.
- Add the remaining two small squares to the open corners of each unit. Sew on both sides of the line again, cut, and press open to yield four geese.
- Trim each flying geese unit to the exact unfinished size (finished size + 1/2 inch in each direction). Use the ruler grid to center the goose point as you trim.
Point check: When the unit is sewn into the block with a 1/4-inch seam, the tip of the goose should sit just inside that seam line (the “safe zone”) so it does not get clipped off.
Seam allowance note
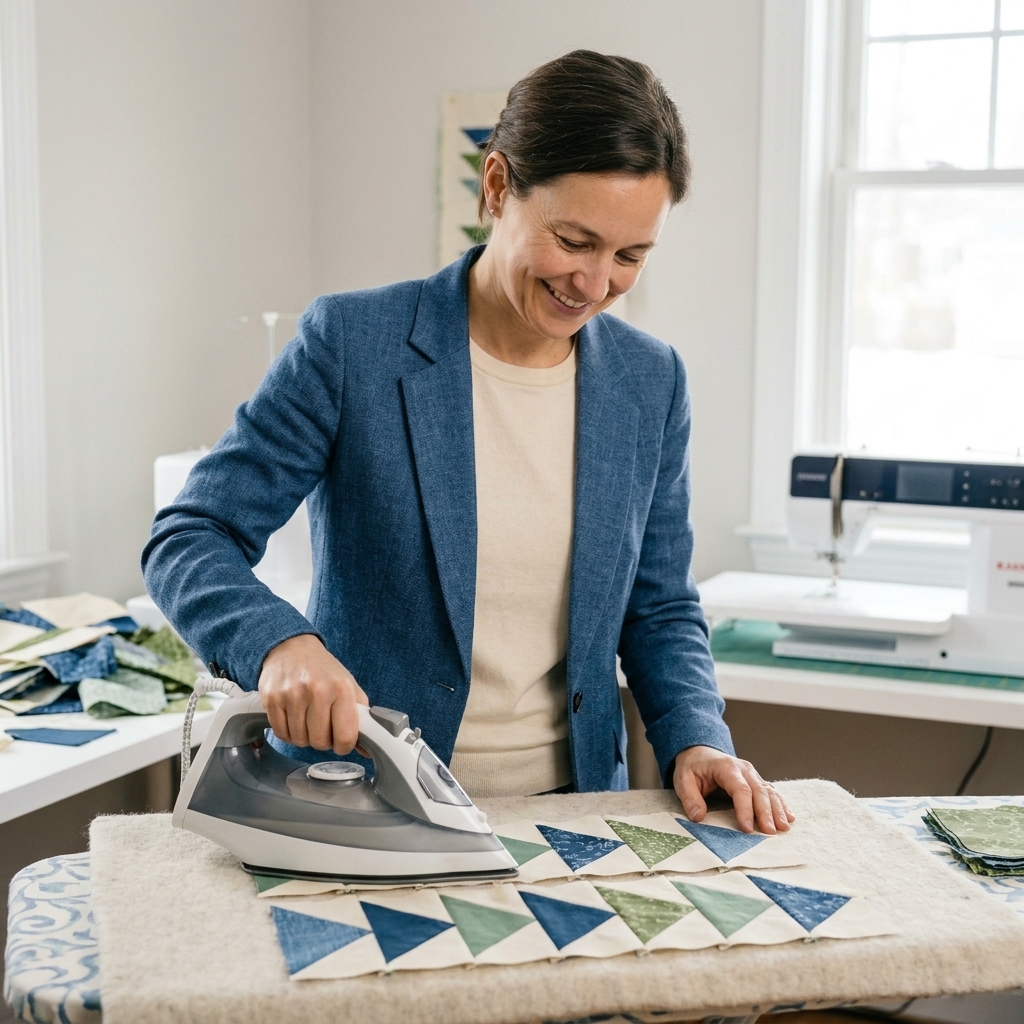
Patterns say “1/4-inch seam allowance,” but in patchwork we often use a scant 1/4 inch, meaning a thread-width less than a true measured quarter. That tiny difference is often what keeps points sharp after pressing.
- If your blocks keep coming out small, your seam is probably a little too wide.
- If you trim units accurately but points still vanish, test a few seams on scraps and adjust until your units finish correctly.
Assemble the block
Instead of assembling the whole block in one go, make a few small subunits, then join them like a puzzle. This keeps your corner triangles from getting nudged out of place.
Step 1: Make four corner paws
Each corner paw is usually a 2 by 2 mini-block. Lay out the parts for one corner and sew it as a small square, then repeat three more times. Keep your layout consistent so the paws all face outward.
- Chain piece the same seams across all four corners to keep them consistent.
- Press the seam allowances the same way on each matching seam so intersections nest.
Step 2: Make the center
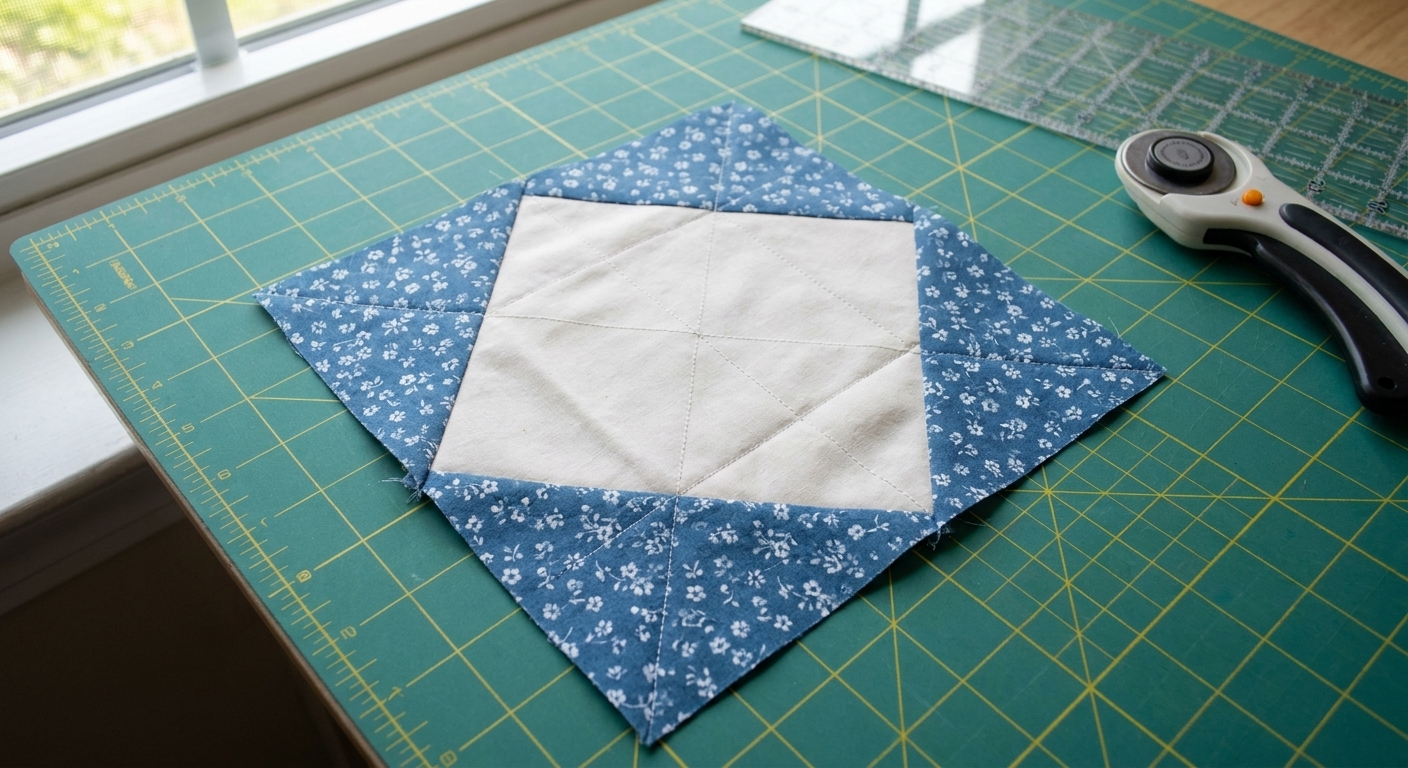
The center is often a square-in-a-square or a framed square. This is another place where corner triangles can get trimmed off if the unit is undersized. If your center uses corner triangles, sew it slightly oversize and trim it to match your grid unit size before you sew it into the block.
Step 3: Sew rows, then join rows
Most layouts sew into three rows: top row (paw units), middle row (sashing and center), bottom row (paw units). Pin at intersections, then add one extra pin about 1 inch away on either side. That tiny habit prevents the top layer from scooting as you stitch over bulky seam joins.
Sharper corner triangles
Let’s talk specifically about those corner triangles and points. Here are the fixes I reach for most often, in the order I reach for them.
1) Make it, then trim it
Bias edges stretch. Real seam allowances vary. Trimming is the great equalizer. Whenever you have a triangle-based unit, aim to trim it to an exact unfinished size before it goes into the block.
2) Sew a thread-width shy
If you draw a diagonal line for HSTs or stitch-and-flip corners, sew just to the outside of the line on the side that will remain. That tiny adjustment gives the fabric room to fold without stealing size from the finished unit.
3) Press to set, then press to one side
Before you open a seam, press it closed first. That sets the stitches. Then press to one side with the iron placed and lifted, not pushed. Sliding the iron is where corners start to stretch and wave.
4) Check the point zone
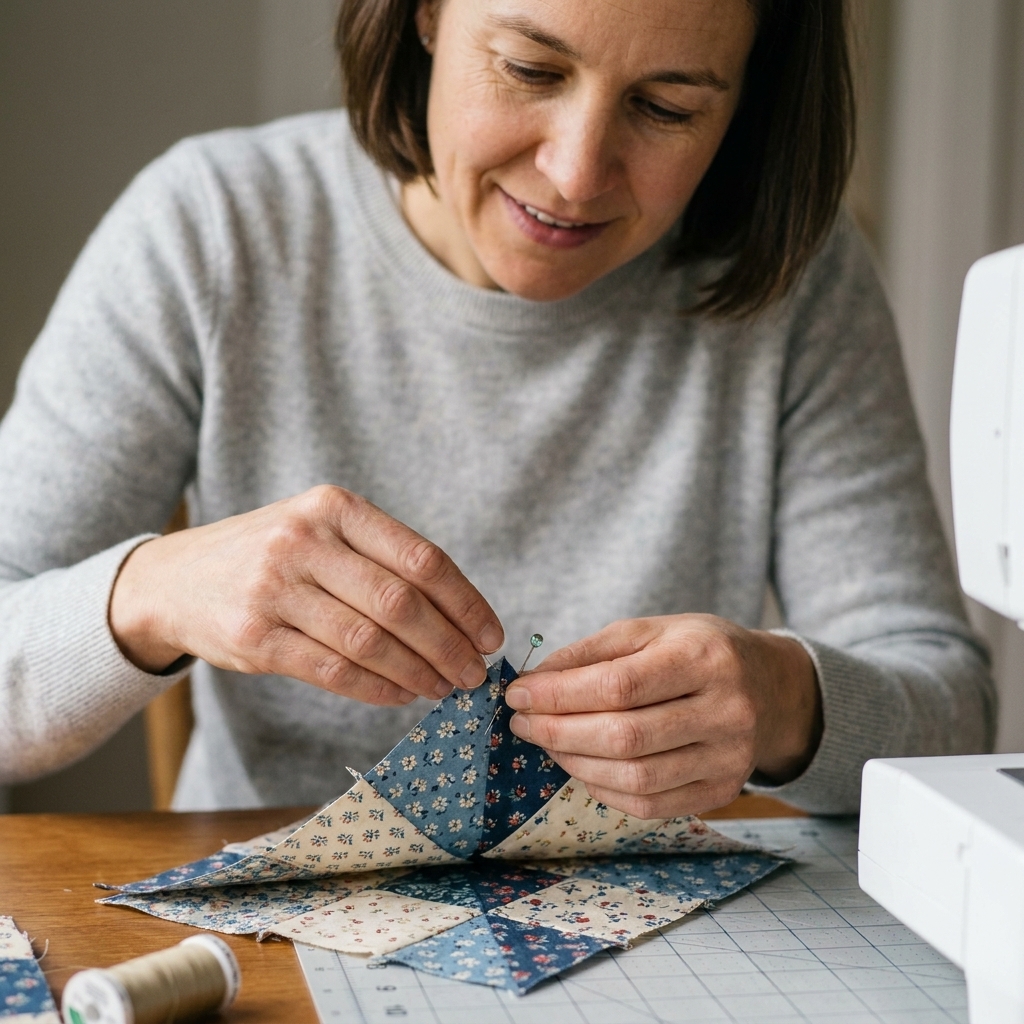
Here is my favorite low-tech check. Before sewing a point into a seam:
- Place the unit right sides together with its neighbor.
- Use a pin to mark 1/4 inch in from the raw edge at the spot where the seam will run.
- Make sure the point tip sits right at that pin mark, meaning it will land just inside the seam allowance, not in it.
If the point tip is too close to the raw edge, it will get chopped off. If it is too far in, the point will look blunt. Adjust the unit placement slightly, then pin and sew.
Sashing without bulk
Some Bear’s Paw settings include sashing between blocks, and sometimes sashing is built into the block design itself. Sashing is your friend because it gives the eye a place to rest and can hide a multitude of tiny inconsistencies, but it can also create bulky intersections.
Keep intersections flat
- Stagger seams when possible, so four seams do not all meet at one spot.
- Spin seams at four-patch style intersections: unpick the last two stitches of each seam and swirl the seam allowances in a tiny pinwheel.
- Consider a thinner batting for heavily pieced tops if you plan dense quilting.
Common problems
My HSTs are the right size but points disappear
Double-check your seam allowance when joining units. If you sew just a thread wider than 1/4 inch repeatedly, points will sink. A quilting foot with a guide or a piece of painter’s tape marking your machine bed can help.
My corner paws do not match
Make one corner paw, measure it, then use it as the truth for the other three. Trim the others to match if needed. Consistency reads as intentional, even if the number is slightly different than the pattern.
My block ends up too small
This usually means one of your subunits was not trimmed to the correct unfinished size before assembly. Measure each unit and compare. If only one is short, remake that unit rather than tugging the whole block into submission.
My block is wavy
That is almost always bias stretch plus pressing motion. Starch before cutting, press with a lift-and-place motion, and avoid hanging the block off the edge of your table while you work.
Finishing routine
When your block is assembled, give it a final press from the back, then a gentle press from the front. Let it cool flat before you move it. Fabric behaves better when it has time to settle, like bread fresh from the oven.
If you are making multiple Bear’s Paw blocks, stack them in order and keep notes on pressing direction. It sounds fussy, but future-you will be so grateful at the sashing stage.
Corner triangle FAQ
Should I press HST seams open or to the side?
Either works. For Bear’s Paw, I usually press to the side for durability and easier point control. Press open if you prefer flatter seams and you are comfortable matching intersections without nesting.
Do I need to trim every HST and flying geese unit?
You do not have to, but it is the fastest way to get crisp points and matching corners. If you only trim one thing, trim the units that land at the outer corners of the block.
What stitch length helps with tiny points?
I like a slightly shorter stitch for piecing, around 2.0 mm. It keeps seams secure when you press and trim, especially near pointy corners.
Can I use stitch-and-flip corners instead of triangle units?
Yes, and it can be a nice shortcut. Just remember the thread-width shy rule and consider trimming the unit afterward so it stays square.