A step-by-step Sawtooth Star tutorial using Flying Geese, with cutting dimensions for multiple block sizes and simple tricks for sharper points and flatter b...
The Quilt Mark
October 22, 2026
Flying Geese Quilt Block Methods Compared
Compare four popular ways to make flying geese quilt blocks: traditional, four-at-a-time, stitch-and-flip, and foundation paper piecing. Get size formulas, step-by-step guidance, and tips for crisp points.

Clara Jenkins
Clara Jenkins is an avid quilter and fabric enthusiast who has been designing and piecing together quilts for over twenty years. She shares her passion for color coordination, block design, and practical sewing techniques to help makers of all skill levels create beautiful, lasting heirlooms. Through Quiltmark, Clara aims to make the timeless art of quilting accessible, joyful, and deeply rewarding for everyone.
Updated October 22, 2026
Flying geese are one of those blocks that look fancy, fly across a quilt top with gorgeous motion, and somehow manage to humble even confident quilters. I have made plenty of geese that turned into slightly confused ducks. The good news is that there is no single “right” way to make them. There is only the method that fits your quilt, your fabric, and the kind of sewing day you want to have.
In this guide, we are comparing four of the most popular methods side by side: traditional (one at a time), four-at-a-time, stitch-and-flip, and foundation paper piecing. I will walk you through what each method is best at, the basic cutting math, and the little habits that keep points sharp and seams calm.
Before you start
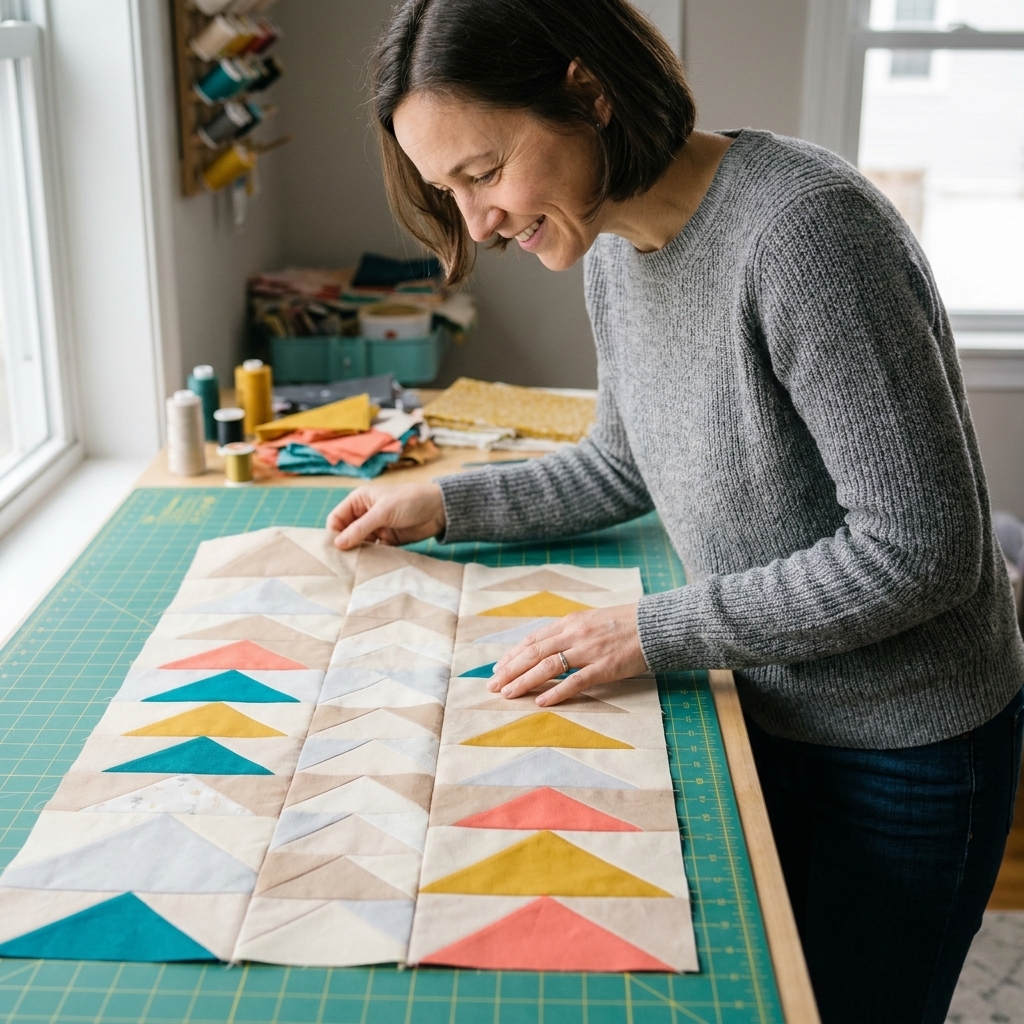
A flying geese unit is a rectangle with one large triangle (the “goose”) centered between two smaller side triangles (the “sky”). Most patterns use the classic proportion where the finished unit is twice as wide as it is tall, like 3 x 6 inches finished, or 2 x 4 inches finished.
Two terms that will save your sanity
- Finished size is what the unit measures after it is sewn into the quilt.
- Unfinished size is what it measures right after you make it, before sewing it into anything else. Unfinished is typically finished size + 1/2 inch in both directions.
For a standard flying geese unit, if your finished size is H x (2H), then your unfinished size is (H + 1/2) x (2H + 1/2).
Seam allowance assumption
All of the cutting math below assumes a scant 1/4 inch seam allowance. If you sew a true 1/4 inch or a generous 1/4 inch, your units can land a little small. When in doubt, make one test goose and adjust before cutting a whole flock.
Non-negotiables for crisp points
- Draw or press a true line. A faint, accurate diagonal line is more important than speed.
- Use a consistent seam allowance. A true scant 1/4 inch often makes geese behave.
- Press with intention. Set the seam first, then press. Do not iron back and forth like you are scrubbing a pan.
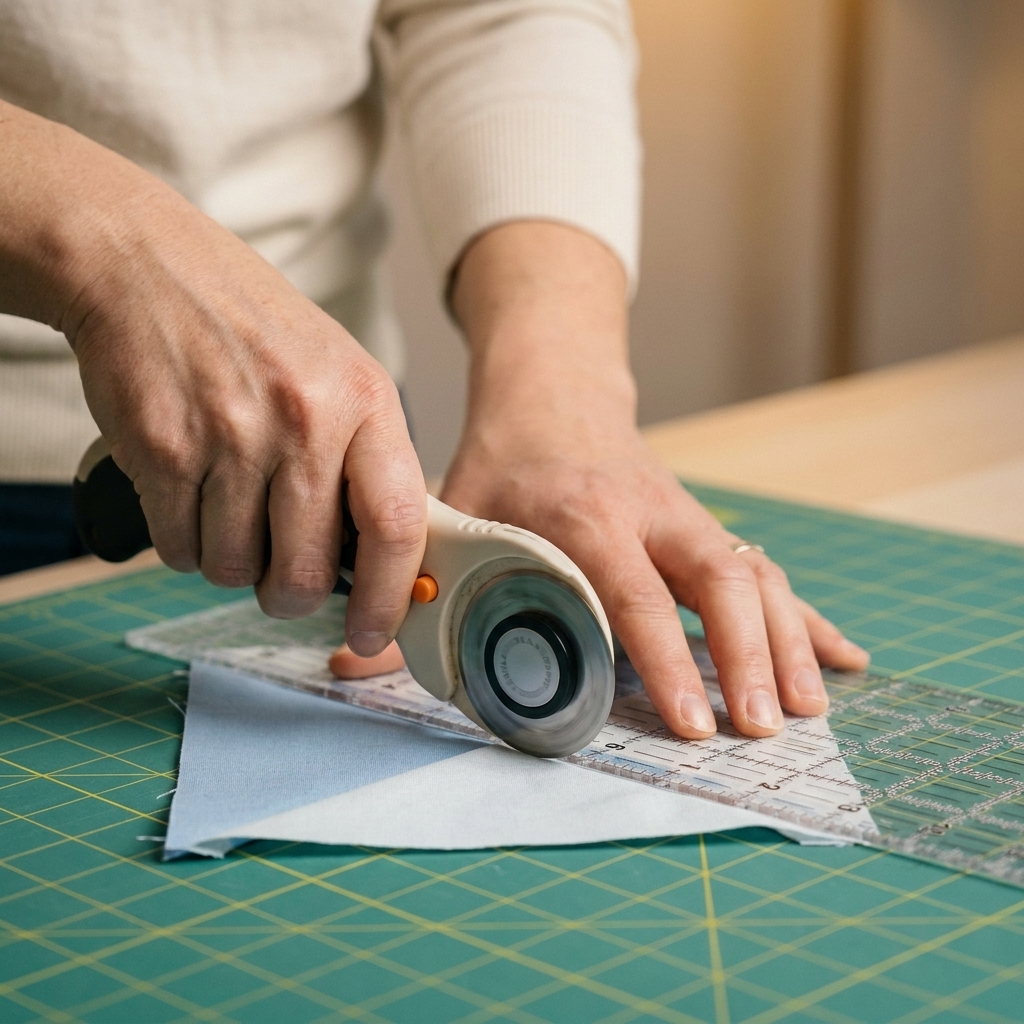
- Trim to size. Even a great method benefits from a final tidy trim using a ruler with clear 45-degree lines.
Method 1: Traditional
This is the classic method many of us learned first. It makes one flying geese unit at a time by sewing two side triangles onto a larger center triangle.
Best for
- Scrappy quilts where your sky triangles are all different
- When you want maximum control over fabric placement
- Working with directional prints and you need them oriented just so
Watch-outs
- Bias edges are involved, so stretching is a real risk
- It is slower for large quantities
Target size
Your target unfinished size is (H + 1/2) x (2H + 1/2).
Cutting math (oversize and trim)
There are a few “traditional” ways to do this, depending on whether you use templates, rectangles, or specialty rulers. This version is an oversize-and-trim approach. Your unit comes out a bit big on purpose, then you trim it to perfection. It is forgiving, but it does use a touch more fabric than tighter, no-trim formulas.
Reality check: This is a practical, real-world formula I use because it gives me trimming room. Your seam allowance, fabric thickness, and pressing style still matter. Make one test goose in your chosen size before cutting for the whole quilt, especially if you are aiming for no-waste cutting.
For a unit that finishes at H x 2H:
- Goose (center) triangles: Cut 1 square at (2H + 1 1/2) inches. Cut it twice diagonally (corner to corner both ways) to make 4 quarter-square triangles. Use 1 quarter-square triangle per unit. Yield note: That one square can make four geese (as long as you also cut enough sky squares).
- Sky (side) triangles: Cut 1 square at (H + 1) inches. Cut it once diagonally to make 2 half-square triangles. Use both for the unit.
Quick size check (field-tested targets): These examples show the same cutting math applied at a couple of common sizes. Your trimming goal is always the same: the unfinished unit size, with the goose point landing cleanly on center and sitting about 1/4 inch below the top raw edge after trimming.
- H = 2 (2 x 4 inches finished): cut goose square 5 1/2, cut sky square 3, then trim unit to 2 1/2 x 4 1/2 unfinished.
- H = 3 (3 x 6 inches finished): cut goose square 7 1/2, cut sky square 4, then trim unit to 3 1/2 x 6 1/2 unfinished.
- H = 4 (4 x 8 inches finished): cut goose square 9 1/2, cut sky square 5, then trim unit to 4 1/2 x 8 1/2 unfinished.
Bias and grain
Triangle piecing always brings some bias to the party. Cutting quarter-square triangles like this is convenient and consistent, but it still creates plenty of bias edges. Handle pieces gently, especially before the unit is sewn into a larger quilt top.
How to sew it
- Lay out the goose quarter-square triangle right side up. Place one sky half-square triangle on one side, right sides together, aligning the long edges.
- Sew with a scant 1/4 inch seam. Press the sky triangle open.
- Add the second sky half-square triangle to the other side. Sew and press open.
- Trim the unit to the unfinished size: (H + 1/2) x (2H + 1/2).
Clara tip: If you love the traditional look but hate bias stretching, give your triangles a quick spritz of starch and let them dry before sewing. Crisp fabric behaves like it has had a good night’s sleep.
Method 2: Four-at-a-time
This method is a stash-buster’s best friend. You sew one large square with four smaller squares and end up with four flying geese units in one batch. It is efficient, consistent, and wonderfully rhythmical once you get going.
Best for
- Making lots of identical geese quickly
- Quilts with repeated color placement
- Chain piecing days where you want speed without chaos
Watch-outs
- You need accurate cutting and stitching to avoid undersized units
- Directional prints can end up rotated if you do not plan
Target size
Your target unfinished size is (H + 1/2) x (2H + 1/2).
Cutting math (choose your comfort level)
There is a widely taught baseline for four-at-a-time geese, and there is the “I want trimming room because I like my points calm” version. Both work. The difference is simply how much fabric you are willing to trade for forgiveness.
For a unit that finishes at H x 2H:
- Baseline (less trimming):
- 1 large square (goose fabric): cut (2H + 1 1/4) inches
- 4 small squares (sky fabric): cut (H + 7/8) inches
- Trim-friendly (more forgiving):
- 1 large square (goose fabric): cut (2H + 1 1/2) inches
- 4 small squares (sky fabric): cut (H + 1) inches
What the tradeoff looks like: The trim-friendly option adds 1/4 inch to each cut compared to baseline. That little bump buys you more trimming room and calmer points, especially if you press with enthusiasm or your scant 1/4 inch occasionally turns into a “confident” 1/4 inch.
Worked example (H = 3): For 3 x 6 finished, baseline cuts are 7 1/4 (large) and 3 7/8 (small). Trim-friendly cuts are 7 1/2 (large) and 4 (small). In both cases, trim each unit to 3 1/2 x 6 1/2 unfinished.
Point placement note: When you trim, aim for the goose point to land on the centerline and sit 1/4 inch down from the top raw edge of the trimmed unit (the edge you will sew across later). That is the detail that keeps points from disappearing when the unit is sewn into a quilt.
How to sew it
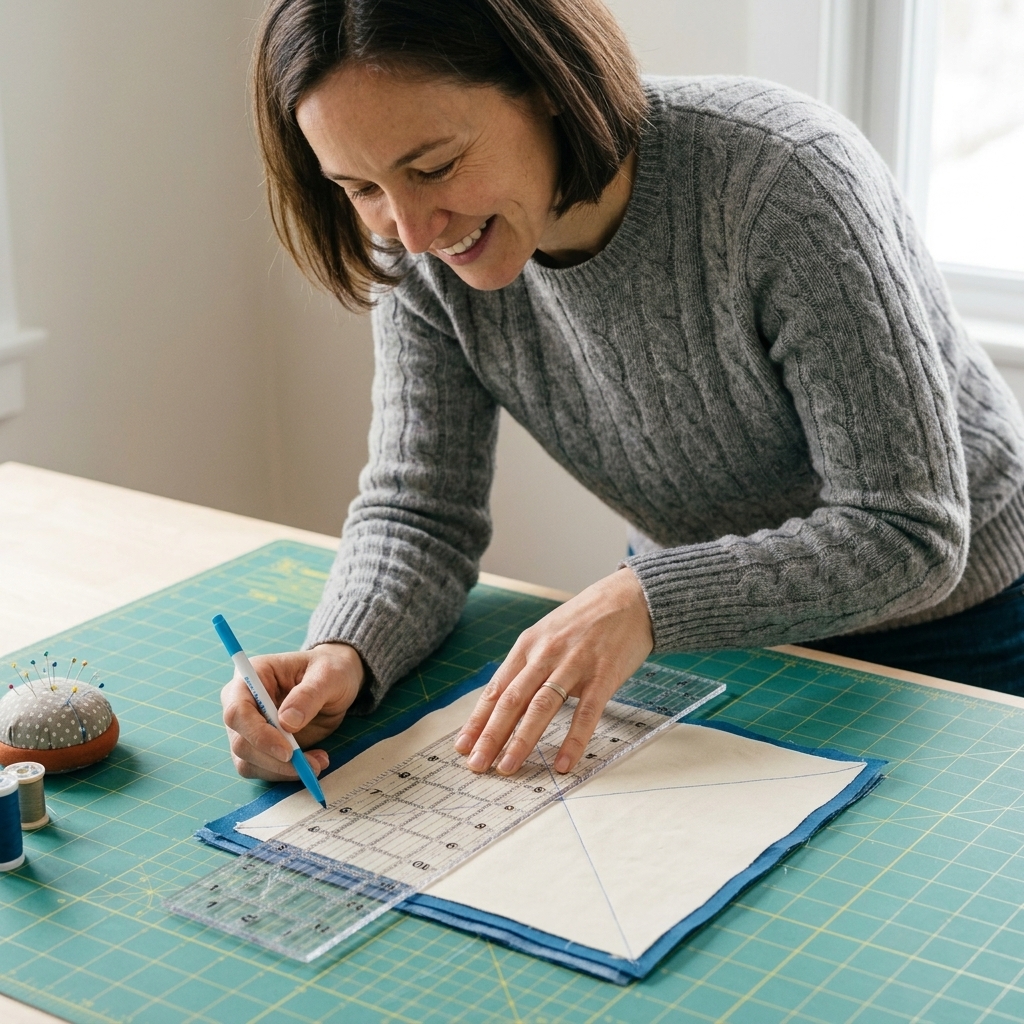
- Mark a diagonal line on the wrong side of all four small squares.
- Place two small squares on opposite corners of the large square, right sides together. The diagonal lines should form a straight line.
- Sew 1/4 inch on both sides of the marked line. Cut on the line. Press the small triangles open.
- Place a remaining small square on the corner of each unit, again sewing 1/4 inch on both sides of the marked line. Cut and press open.
- Trim all four units to the exact unfinished size: (H + 1/2) x (2H + 1/2).
Method 3: Stitch-and-flip
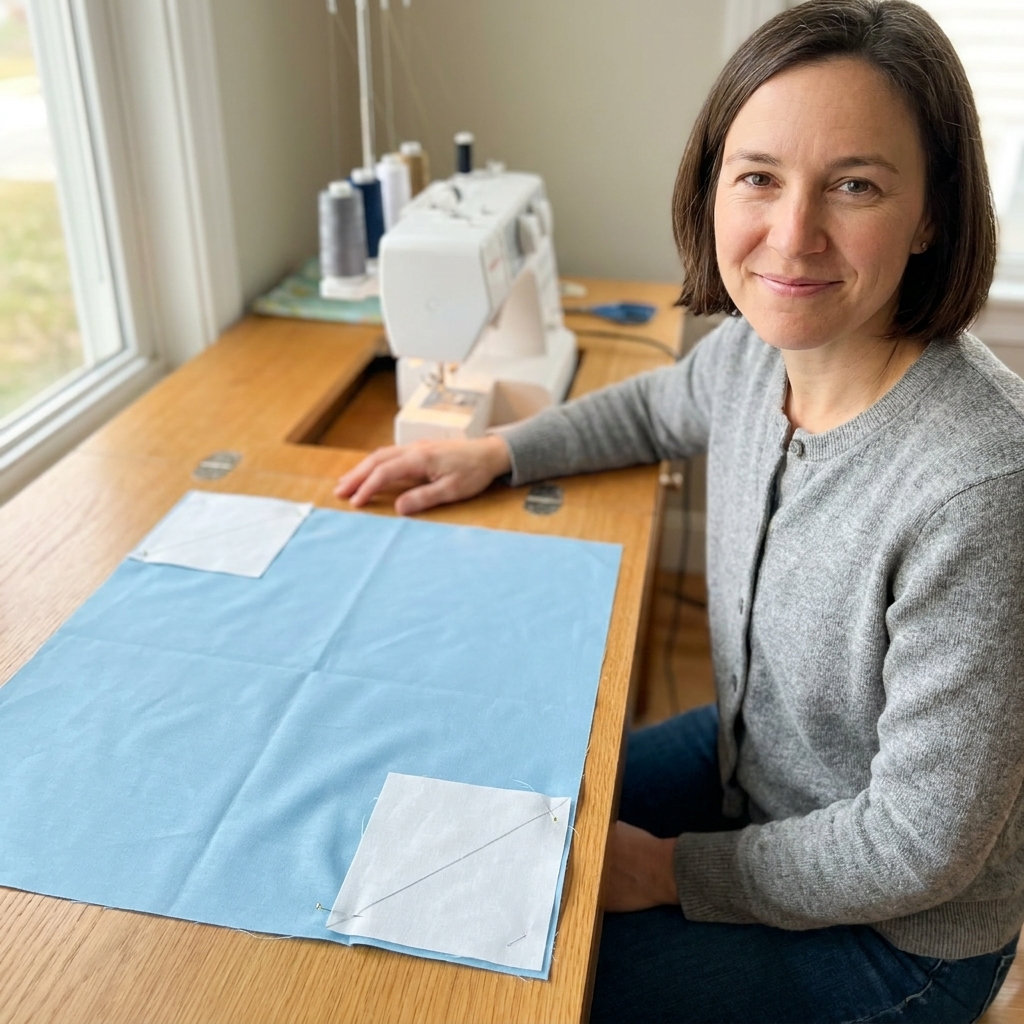
Stitch-and-flip flying geese are made by sewing squares onto the corners of a rectangle, then trimming away the excess and pressing the corners open. Many patterns use this method because it is straightforward and friendly for beginners.
Best for
- Beginners who want a clear, repeatable routine
- Geese that need to be placed in a very specific order
- When you want to avoid cutting triangles entirely
Watch-outs
- It creates more waste unless you save the corner cut-offs
- If you do not stitch precisely, points can drift
Target size
Your target unfinished size is (H + 1/2) x (2H + 1/2).
Cutting basics
This method varies by pattern. A very common setup is:
- 1 rectangle for the goose, cut to the unfinished size: (H + 1/2) x (2H + 1/2)
- 2 squares for the sky corners, often started at about (H + 1/2) inches, then adjusted if needed
If your pattern does not specify, make a test unit. Flying geese are small enough that a single “practice goose” can save you from a whole flock of frustration.
How to sew it
- Mark a diagonal line on the wrong side of both sky squares.
- Place one square on one end of the rectangle, right sides together, aligning raw edges. Sew on the marked line.
- Trim 1/4 inch beyond the seam line. Press the corner open.
- Repeat on the other end.
Clara tip: If you want to reduce waste, sew a second line 1/2 inch away from the first seam before you cut off the corner. You will get a bonus half-square triangle that is perfect for a scrappy back, a bonus border, or future “I swear I will label my scraps” projects.
Method 4: Foundation paper piecing
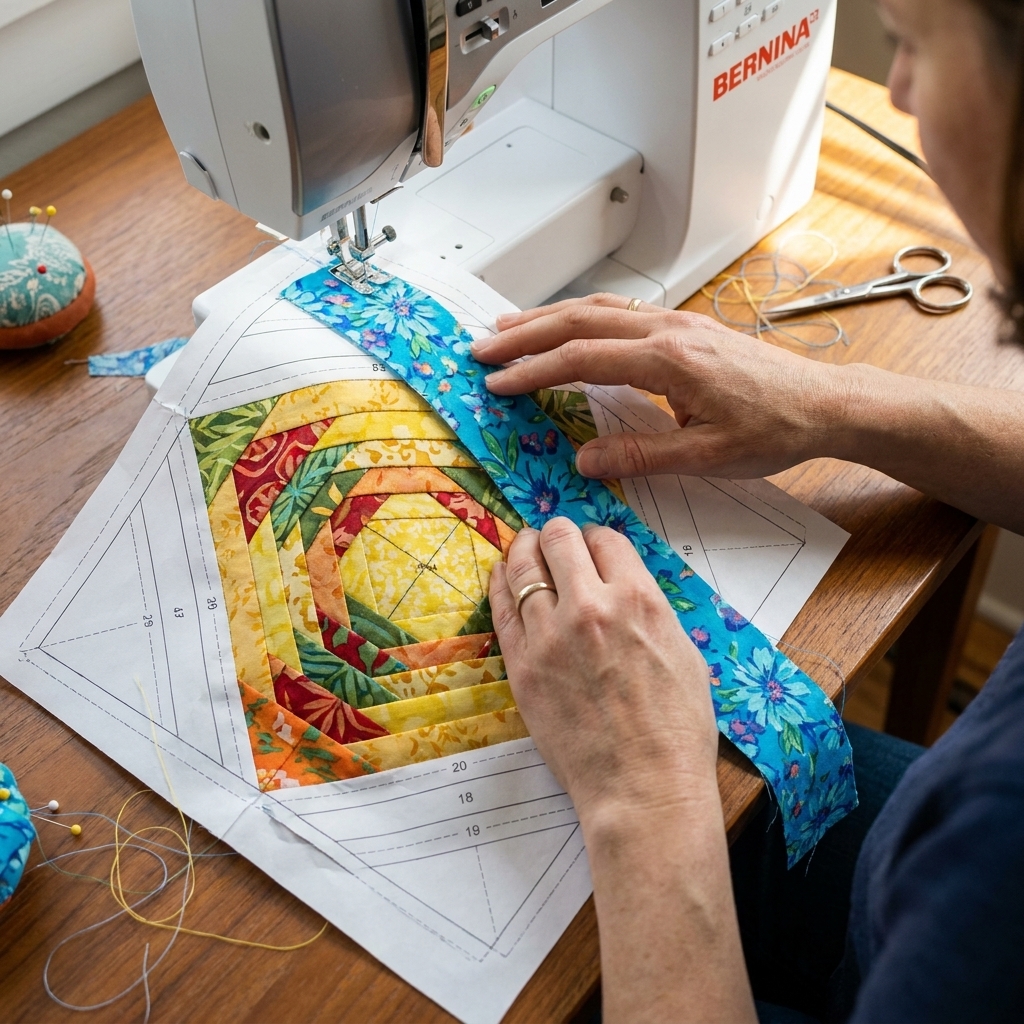
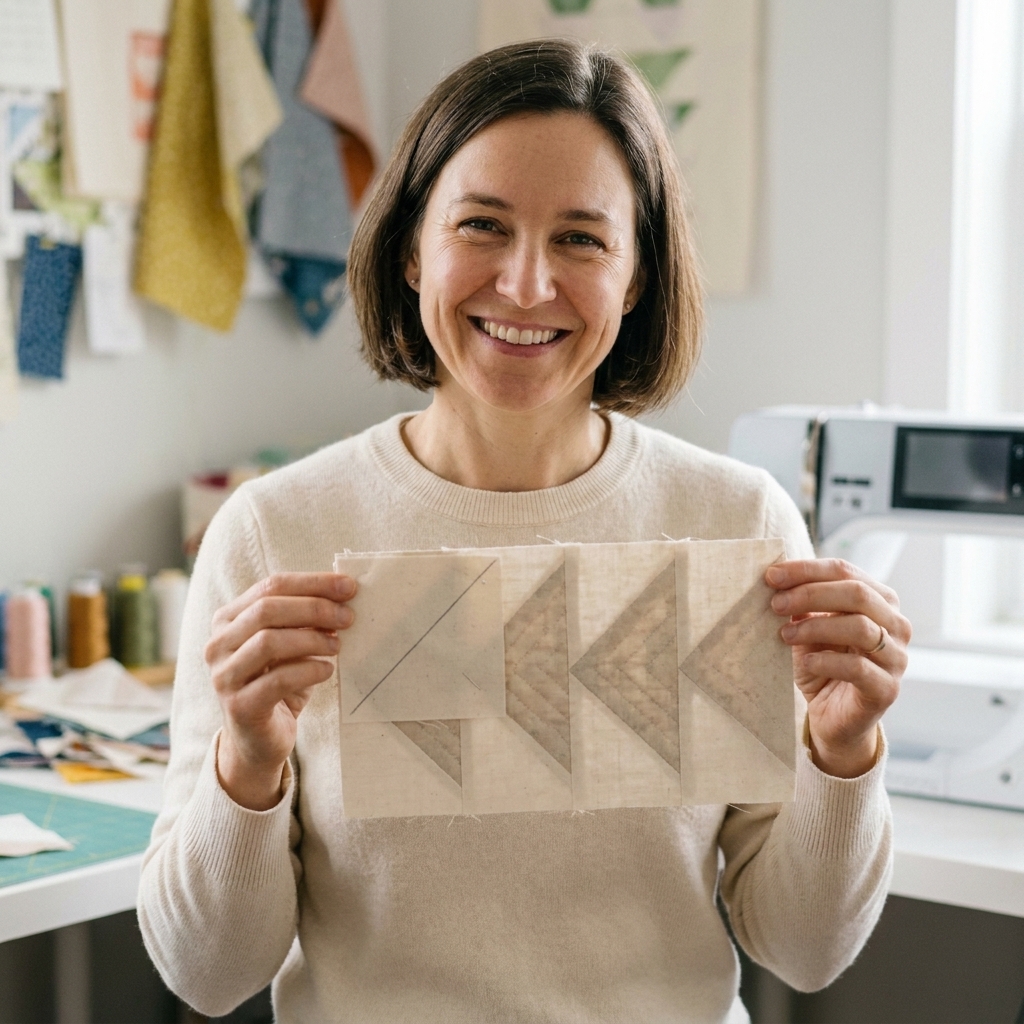
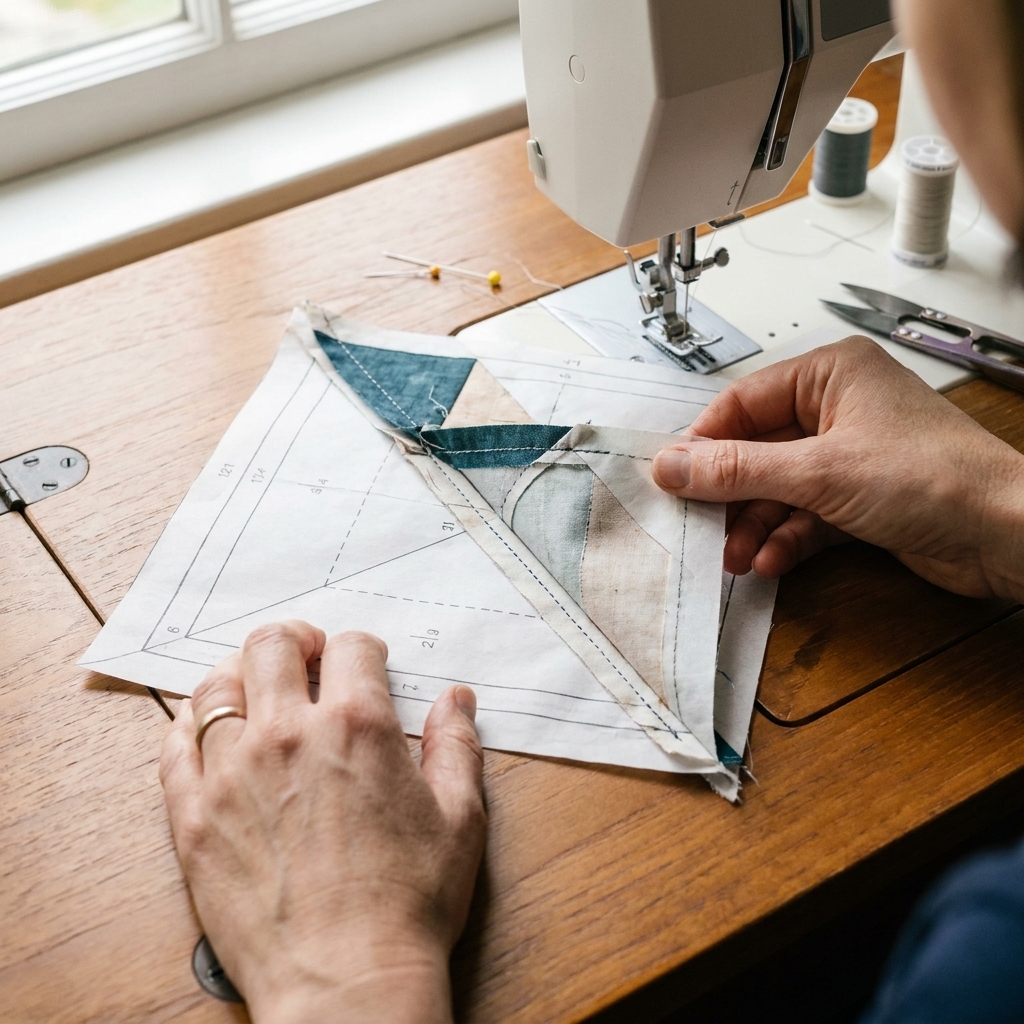
Foundation paper piecing is the method that makes flying geese feel almost unfairly perfect. You sew fabric to a printed paper foundation in a specific order, using the paper as your stabilizer and your accuracy guide.
Best for
- Ultra-crisp points and consistent sizing
- Tiny geese, like 1 x 2 inch finished units
- High-contrast designs where wobbles show immediately
Watch-outs
- It is slower than batch methods for large geese
- You will tear out paper, so it is a bit more fiddly
- Shorter stitch length is important, and you need to remember to change it back later
Target size
Print or buy an FPP pattern designed for your target. Most are labeled by finished or unfinished size, so double-check which you are holding in your hand.
What you need
- Printed flying geese foundation (purchased or self-drafted)
- A shortened stitch length to perforate the paper for easier removal, often around 1.5 to 2.0 (test on your machine)
- Add-a-quarter ruler or any ruler you like for trimming seam allowances
How it works
- Print the foundation and cut it out with a little margin.
- Place the first fabric piece (wrong side to paper), covering its area plus seam allowance.
- Sew on the printed line to add the next piece, then flip and press.
- Repeat until the unit is complete.
- Trim to the outer cutting line and tear away paper when you are ready to assemble.
Clara tip: Pressing matters even more in FPP. I like a quick, firm press after every seam. It keeps bulk down and keeps the next seam line behaving.
Which method should you choose?
If you are standing at your cutting table wondering which road to take, here is the honest shortcut: pick based on quantity, accuracy needs, and fabric behavior.
| Method | Speed | Accuracy | Waste | My favorite use |
|---|---|---|---|---|
| Traditional (one at a time) | Slow | Good with care | Low | Scrappy, controlled placement, vintage-style piecing |
| Four-at-a-time | Fast | Excellent after trimming | Low to medium | Making dozens of matching geese for borders and repeats |
| Stitch-and-flip | Medium | Good | Medium to high | Beginner-friendly geese in a block-based quilt pattern |
| Foundation paper piecing (FPP) | Slow to medium | Best | Low fabric waste, some paper waste | Tiny geese, showpiece quilts, precision layouts |
My trimming routine
Trimming is the quiet hero of flying geese. Even when I sew carefully, I still trim because it makes the next steps, especially matching points, so much easier.
What to aim for
Trim each unit to the unfinished size: (H + 1/2) x (2H + 1/2).
How to trim without losing your points
- Find the center of the unit. The tip of the goose triangle should land on center.
- Align the 45-degree line on your ruler with the seam line forming one side of the goose.
- Trim two sides first.
- Rotate the unit and trim the remaining two sides to final size.
Clara tip: If your goose point is consistently getting chopped off, the issue usually started earlier. Either your seam allowance is a touch too big, or you are sewing a hair away from your marked line. Make one test unit, adjust, then commit.
Troubleshooting
My geese are too small
- Check that you are sewing a true scant 1/4 inch seam.
- If you are using four-at-a-time, make sure you are trimming to size, not trusting the raw unit measurement.
- Pressing can steal size if you distort the unit. Press up and down, not back and forth.
My points are cut off when I join blocks
- Make sure the goose point sits 1/4 inch away from the top raw edge after trimming. If it does not, the unit is not sized correctly.
- Pin at the point intersection and sew slowly through that area.
My sides are wavy or stretched
- This is usually bias stretch from triangle piecing. Starch helps.
- Try four-at-a-time or FPP if you want more stability.
The goose is not centered
- In stitch-and-flip, your marked line must run corner to corner accurately.
- In four-at-a-time, make sure the small squares are placed exactly in the corners and not drifting.
Practice project: table runner
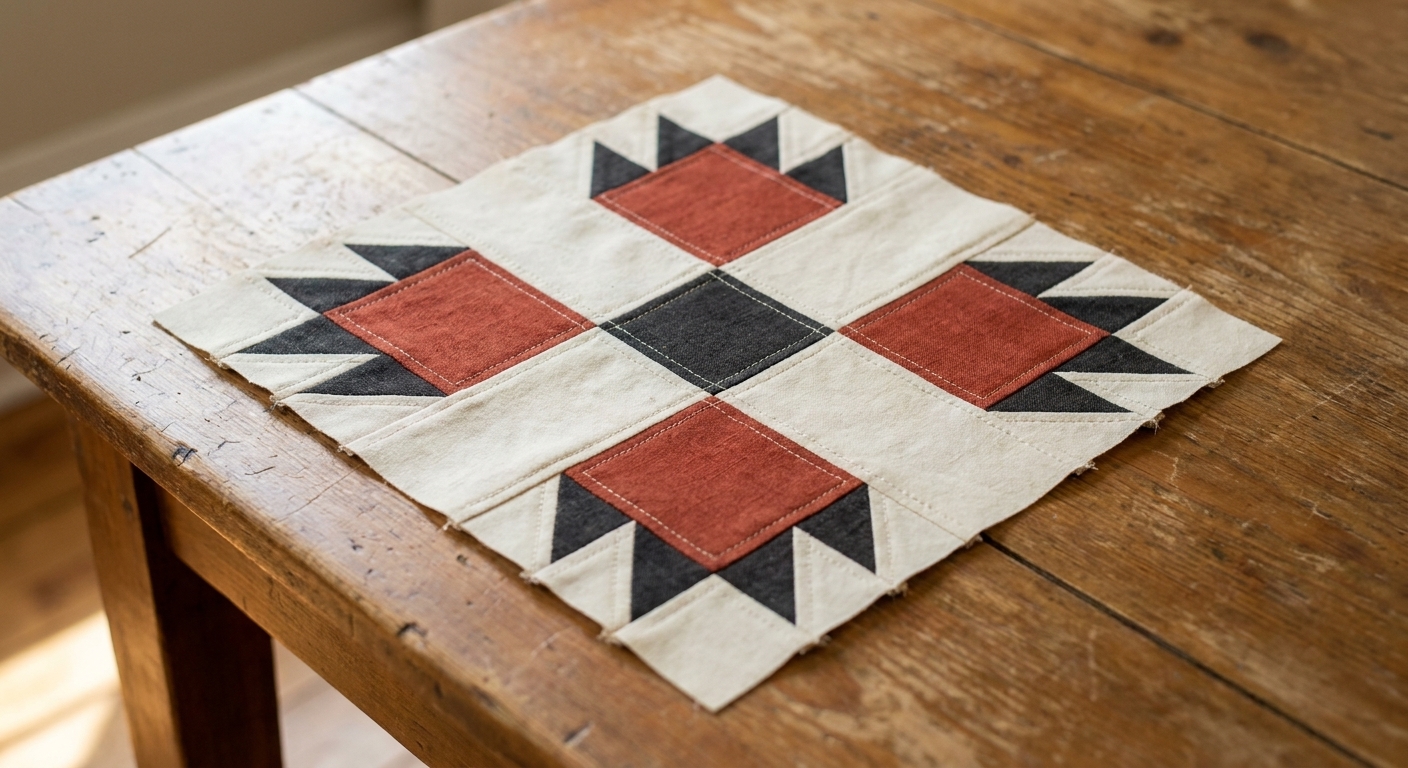
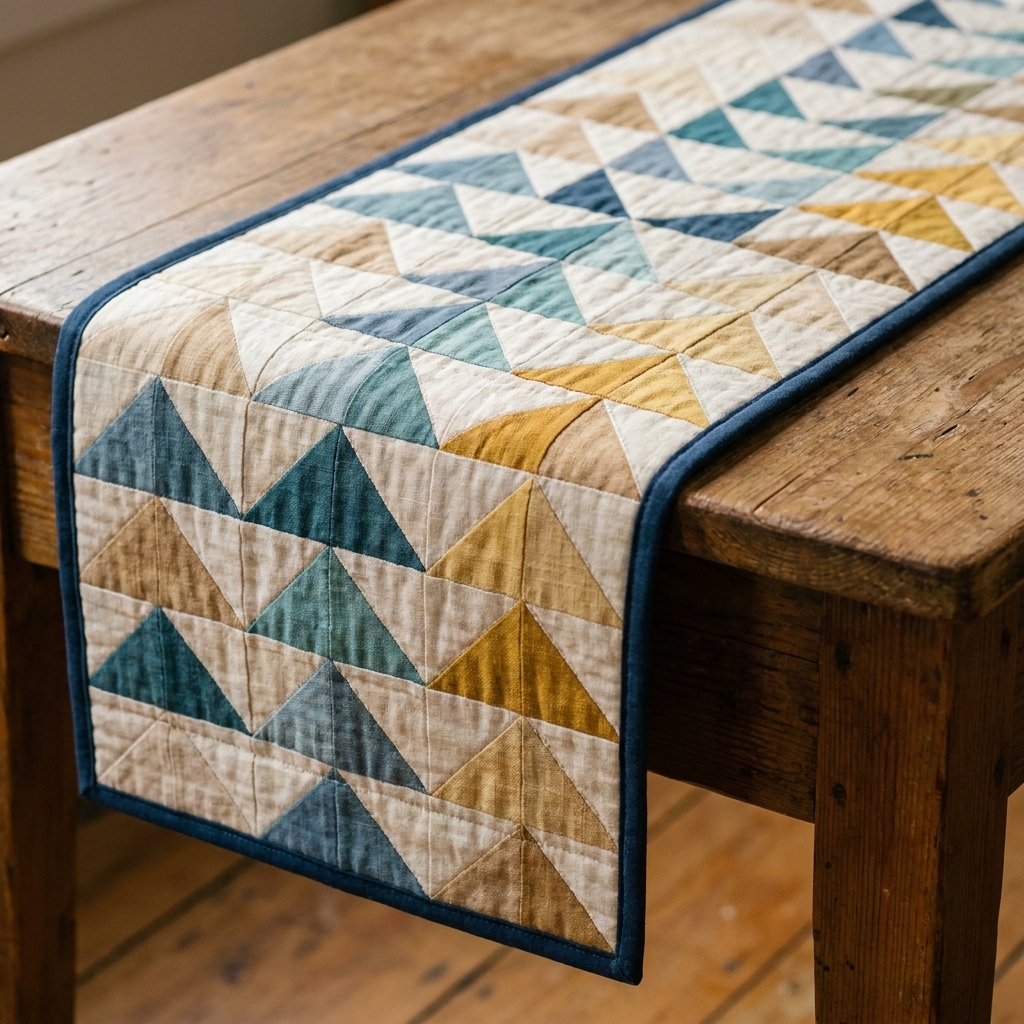
If you want a low-pressure way to try methods, a table runner is perfect. Make 24 geese in two colors, alternate direction every other unit, and you will get that beautiful zigzag motion without committing to a full quilt top.
- Pick a size: 2 x 4 finished or 3 x 6 finished are friendly.
- Make a batch: Try four-at-a-time for the main run, then make four extra geese using traditional or stitch-and-flip just to feel the difference.
- Trim everything: Treat trimming as part of the method, not an optional chore.
- Quilt it simply: Straight-line quilting that echoes the triangles looks crisp and modern.
Flying geese FAQ
What is the easiest method for beginners?
Stitch-and-flip is usually the easiest to understand because you are working with squares and rectangles and sewing on a single marked line. If you struggle with keeping units the right size, four-at-a-time with trimming can feel even easier because the trimming step corrects tiny inconsistencies.
Which method wastes the least fabric?
Traditional and four-at-a-time are typically low-waste if you use baseline cutting. Stitch-and-flip creates extra corner cut-offs unless you save them as bonus half-square triangles. If you choose trim-friendly cuts for four-at-a-time, you are buying yourself a little extra trimming room with a little extra fabric.
How do I keep geese from bulking up?
Pressing strategy matters. For long rows, I like to press seams open if the quilt will be heavily quilted or if I am using thicker fabric. For traditional patchwork looks, pressing to the side can help seams nest. Either is fine, just be consistent within a section.
Do I need a special ruler?
No, but a ruler with clear 45-degree lines helps a lot. A dedicated flying geese trimming ruler is a nice luxury if you make geese often, especially in multiple sizes.
A final word
If flying geese have ever made you feel like you are “bad at quilting,” please know this: geese are simply honest. They reveal tiny inconsistencies that other blocks forgive. Choose a method that supports the kind of quilting you enjoy, trim with confidence, and let a few imperfect geese remind you that you are learning a skill that has been passed hand to hand for generations.