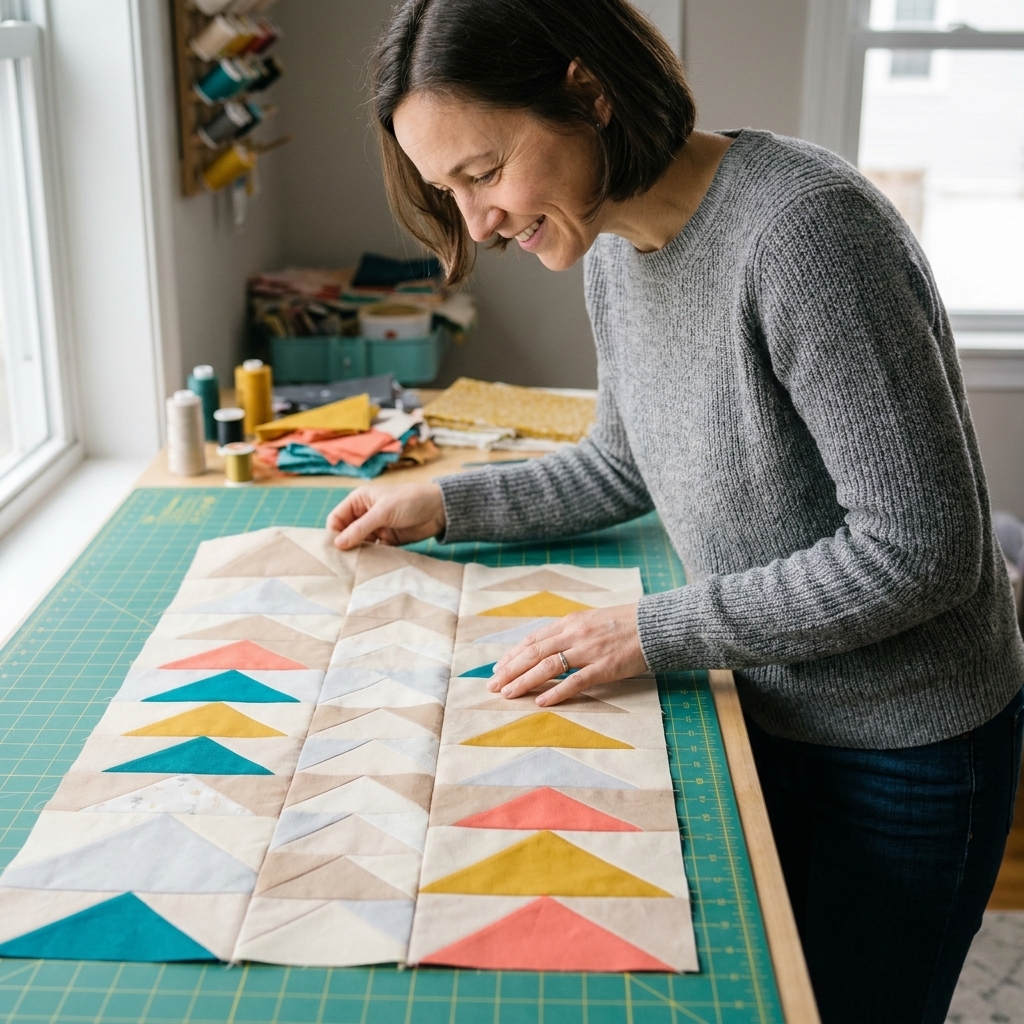
Traditional, four-at-a-time, stitch-and-flip, or FPP? Learn the pros, cons, size math, and finishing tricks for reliably sharp flying geese quilt blocks.
The Quilt Mark
October 22, 2026
Foundation Paper Piecing a Pineapple Quilt Block
Learn foundation paper piecing for the classic Pineapple quilt block with crisp points and scrap-friendly color planning. Step-by-step from printing to trimming and joining.

Clara Jenkins
Clara Jenkins is an avid quilter and fabric enthusiast who has been designing and piecing together quilts for over twenty years. She shares her passion for color coordination, block design, and practical sewing techniques to help makers of all skill levels create beautiful, lasting heirlooms. Through Quiltmark, Clara aims to make the timeless art of quilting accessible, joyful, and deeply rewarding for everyone.
Updated October 22, 2026
The Pineapple block looks like it requires a degree in quilt math. It does not. What it does require is control, because all those skinny strips and little corners love to wiggle out of place.
That is why I adore foundation paper piecing (FPP) for Pineapple blocks. The paper does the measuring, the seam lines are already drawn, and you get those crisp, tidy points that make the whole block sparkle. This is also a dream block for scraps. If you have a bin of leftover strips and odd triangles, you are holding Pineapple gold.
What makes a Pineapple block special
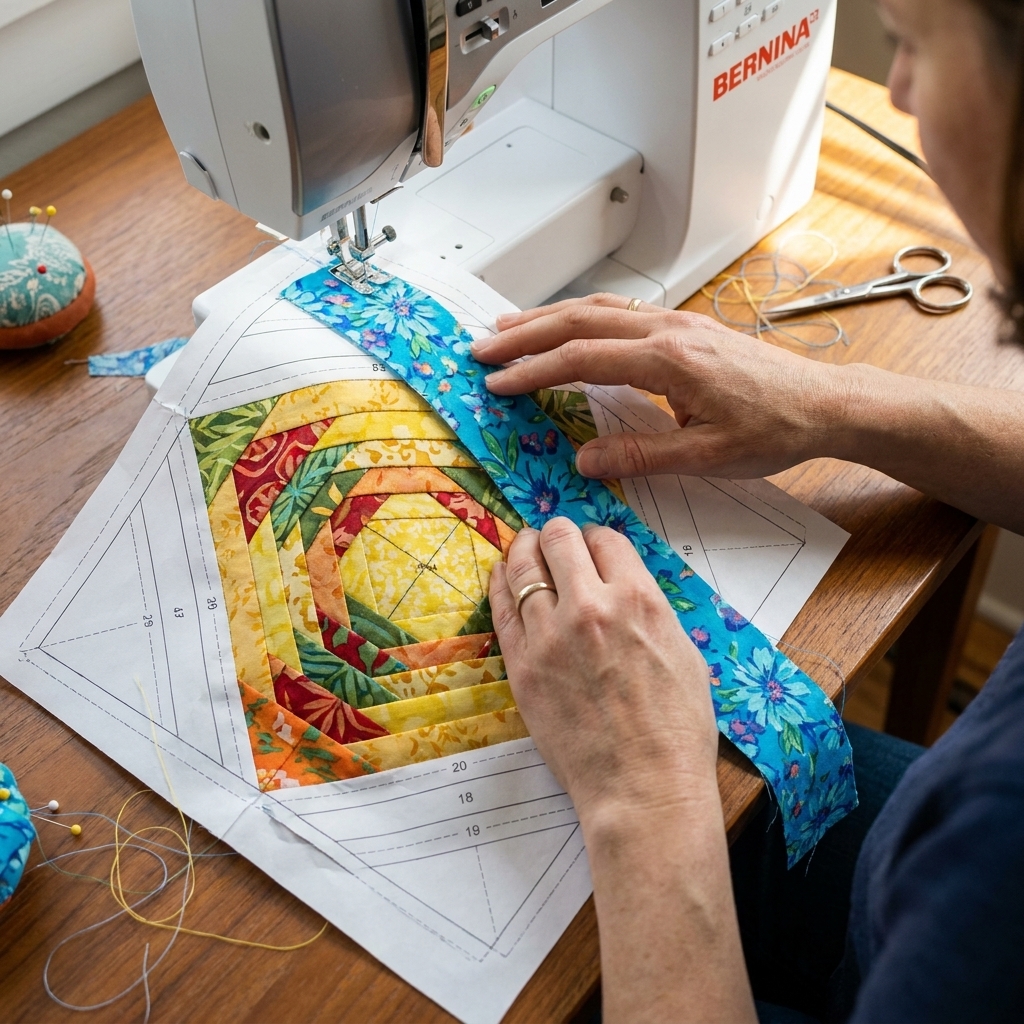
A traditional Pineapple block is built in rounds around a center square, usually with alternating light and dark strips that create a spiky, glowing effect. Many patterns break it into four foundation units (quadrants) that get sewn together at the end. That layout keeps the paper manageable and makes it easier to match the center.
You can make it scrappy and playful, or planned and dramatic. The construction stays the same. Your fabric choices do the storytelling.
Tools and materials
- Pineapple foundation pattern (often 4 pages or 4 quadrants). Use a pattern designed for FPP.
- Foundation paper or lightweight printer paper. (More on paper choice below.)
- Printer and a ruler to confirm scale
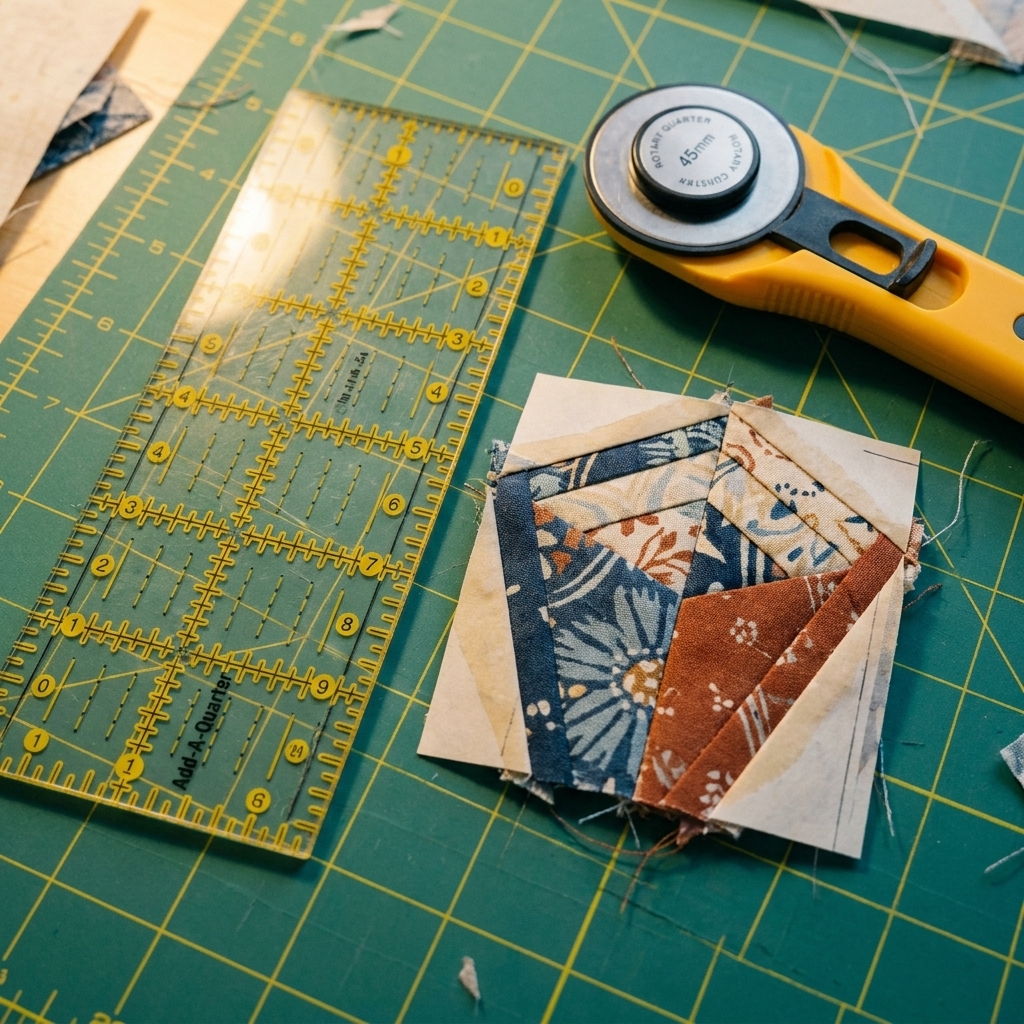
- Rotary cutter, mat, acrylic ruler
- Add-A-Quarter ruler (optional but very helpful)
- Fabric scraps, preferably pressed and starchable
- Thread (50 wt is my everyday choice)
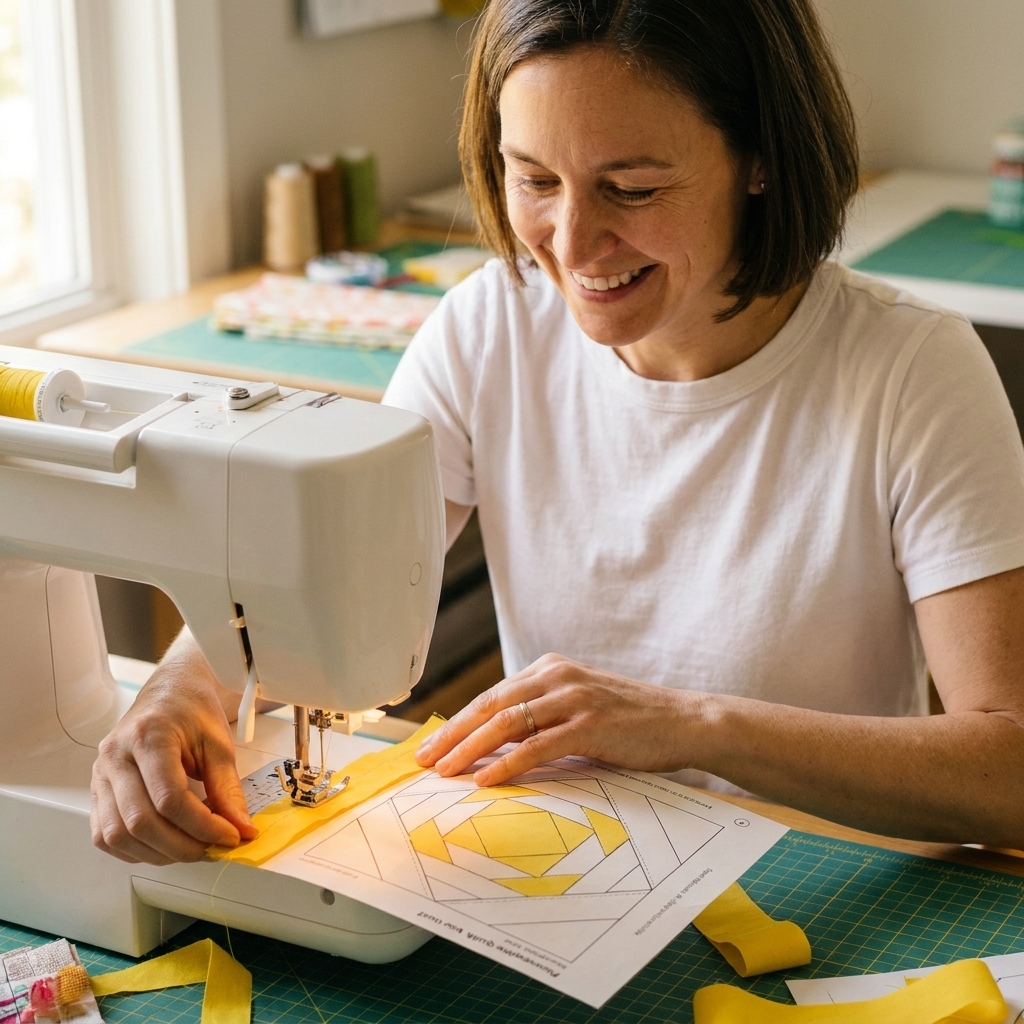
- Sewing machine set to a shorter stitch length (typically 1.5 to 2.0)
- Iron (a dry iron is often easiest on paper)
- Glue stick (optional, for taming tiny first pieces)
- Paper scissors for rough-cutting foundations
Before you sew: print and prep
1) Print at 100% and verify the test square
Most Pineapple FPP patterns include a 1 inch test square. Print with scaling set to actual size or 100%. Then measure that square with a ruler. If it is even a hair off, your quadrants may not match later.
2) Check for mirroring notes
Some FPP patterns are printed and sewn exactly as shown. Others ask you to print a mirrored version, or they include separate left and right units. Before you print 20 pages, skim the pattern notes for anything that says mirror, reverse, or do not flip.
3) Reduce bulk now with rough cutting
Cut each foundation quadrant out with paper scissors, leaving about 1/4 inch to 1/2 inch margin around the outer cutting line. This makes the paper easier to handle while you stitch.
4) Pre-fold seam lines (my favorite secret)
This step feels fussy, but it makes everything smoother. Use a postcard, old gift card, or your fingernail to crease along each seam line. When it is time to trim, the paper will fold sharply and your cuts will be cleaner.
Scrap planning that looks intentional
You can go totally wild with scraps, but Pineapple blocks look their sharpest when there is a clear value rhythm. That does not mean matching fabrics. It means keeping your lights light and your darks dark.
Easy color recipes
- Classic: light background strips + dark strips, with a medium or pop-color center
- Jewel box: saturated brights for the “pineapple” strips + very pale low-volume lights
- Modern calm: two or three related colors (teals, indigos, soft grays) plus one accent round
If you are unsure, take a quick phone photo and turn it to black-and-white. If the contrast reads clearly, your points will stand out beautifully.

FPP basics (quick refresher)
If you are new to FPP, here are the three rules that will keep you out of trouble:
- Sew on the printed line. The line is your seam.
- Flip and check coverage every time. Before you commit with trimming, make sure the fabric covers the whole section plus seam allowance.
- Press, then trim. Pressing sets the seam and keeps the unit flat so trimming is accurate.
One tiny trick that saves a lot of seam ripping: after you line up the next piece, fold the paper back on the seam line and do a quick “audition” flip with your fingers. If it looks like it will land short, it will. Grab a bigger scrap and thank yourself later.
Step-by-step: sew one quadrant
Your pattern may label sections differently (A1, A2, A3, etc.), but the flow is the same. You are building outward, one piece at a time.
Step 1: Start with the first piece
Find section 1 on your quadrant. Hold the paper up to the light to see the shape. Cut fabric for that section with at least 1/4 inch seam allowance beyond the lines on all sides.
Place fabric on the unprinted side of the paper (the back), right side up, covering section 1 completely. This means when you flip the foundation over to the printed side, the fabric will be against the paper and you will be sewing through paper and fabric together. If the first piece is tiny, a swipe of glue stick can hold it in place.
Step 2: Add piece 2
Fold the paper on the line between section 1 and 2. With the paper folded back, trim the fabric underneath to a neat 1/4 inch seam allowance. (This is where an Add-A-Quarter ruler shines.)
Now place fabric for section 2 right sides together with piece 1, aligned along that trimmed edge. Pin if you like. Stitch directly on the printed line between 1 and 2, starting and stopping a few stitches past the line.
Flip open piece 2 and check: does it cover all of section 2 with seam allowance? If yes, press.
Step 3: Keep building outward
Repeat the same rhythm for every section:
- Fold on the next line.
- Trim to 1/4 inch.
- Add the next fabric right sides together.
- Sew on the line, extending slightly beyond.
- Flip, check coverage, press.
Take your time with the skinny strips. They are where Pineapple blocks win or wobble.
Trimming: keep it consistent
Once a quadrant is fully pieced, it is time to trim it to size.
Trim on the line labeled trim or cut
Most foundations include a few different kinds of lines: sew lines (where you stitch) and an outer trim or cut line (where you trim the finished unit). Many patterns also show a seam allowance boundary or include registration marks.
The beginner-friendly rule is simple: trim on the outer line your pattern labels as the trim or cut line, then join units with the seam allowance the designer specifies (usually 1/4 inch). If your pattern includes a key, follow the key. If it does not, check the instructions before you cut, because this is where chopped points are born.
Keep the unit flat
Press the quadrant well before trimming. A puffy unit can trim “accurately” and still sew inaccurately.
Make four quadrants, then join
Sew all four quadrants the same way. When they are trimmed, you are ready to assemble the full block.
Best order for joining
- Sew quadrants into two halves.
- Press seams open or to one side, depending on bulk.
- Sew the two halves together.
I often press the long joining seams open for Pineapple blocks, because there can be a lot of layered seam allowances at the center. A flatter block quilts more happily.
When to remove the paper
My rule: leave the paper on until the seams that stabilize the unit are sewn.
- Remove paper after you sew quadrants together into the full block.
- If you are setting the block into a larger quilt top, you can leave the outer-edge paper on until the block is attached to neighboring pieces.
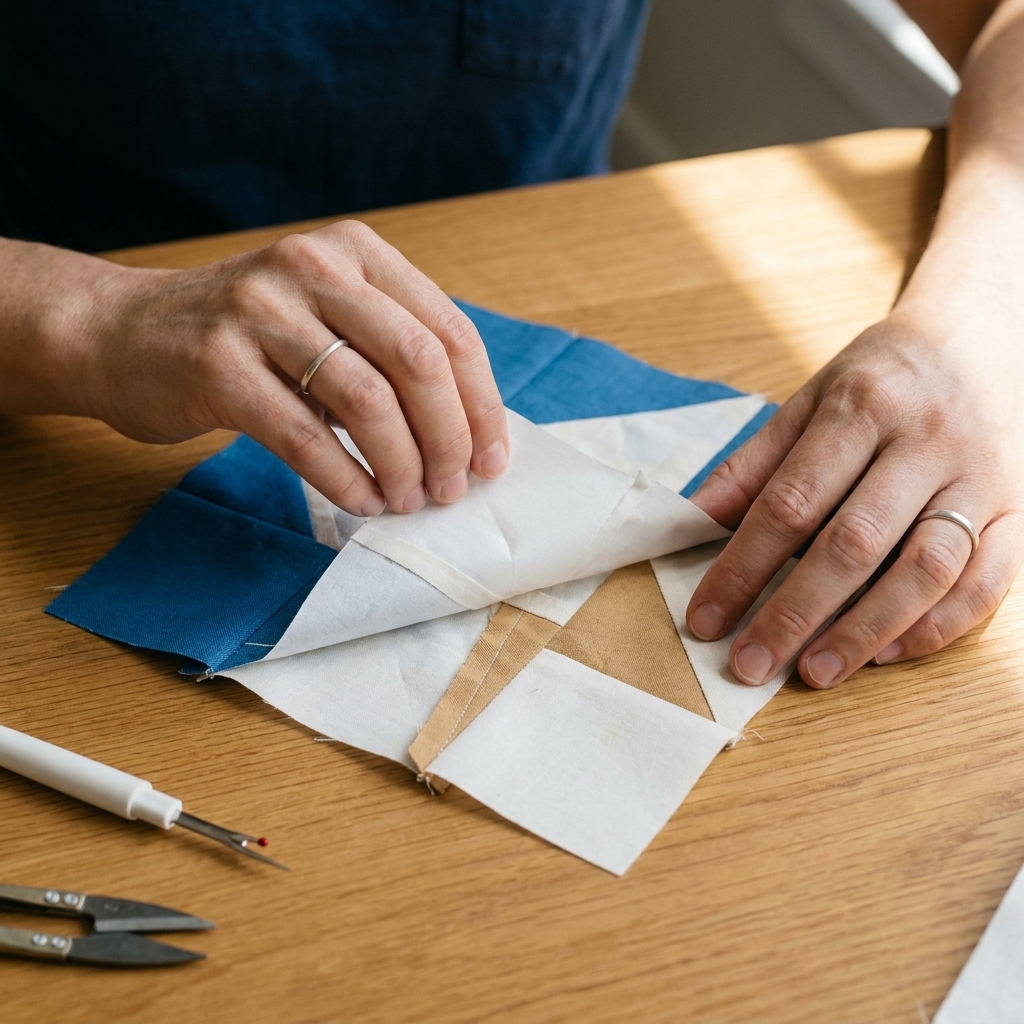
To remove paper cleanly, gently crease along the seam and tear toward the stitches. The shorter stitch length perforates the paper and helps it release.
Accuracy tips for crisp points
Shorten your stitch length
A shorter stitch length makes stronger seams and easier paper removal. Many quilters land somewhere around 1.5 to 2.0, but your sweet spot depends on your machine, thread, and paper. If you forget and sew longer stitches, you will still finish the block, but paper removal can turn into a tug-of-war.
Press, do not iron
Pressing is an up-and-down motion. Ironing back and forth can distort strips, especially on the bias edges that show up in Pineapple blocks.
Go easy on steam
A dry iron is often easiest because paper can warp with heavy steam, and warped paper can nudge fabric out of position. If you love a little steam, use it lightly and press, do not swish.
Oversize your scraps on purpose
New FPP makers tend to cut pieces too small. Give yourself extra fabric to trim away. It is not waste, it is insurance.
Use a leader and ender
Start sewing on a scrap before stitching onto your foundation. This prevents thread nests right at the beginning of a seam line.
Mind the fabric grain on long strips
If you can, cut longer strips with the grain (not stretchy bias). Your block will stay flatter and your points will behave.
Common problems and easy fixes
My fabric did not cover the section
Unpick just that seam, replace with a larger piece, and resew. Everyone does this. The paper does not judge you.
One note: short stitches can be a little stubborn to remove. Go slowly, and try to lift thread with the tip of your seam ripper rather than yanking, so you do not tear the foundation.
My quadrant trimmed crooked
Double-check you trimmed on the correct outer line. If it is slightly off, you can sometimes true up all quadrants to match the smallest one, as long as you do not cut into the design points. If it is significantly off, it is usually faster to remake the quadrant than to fight it.
The center is bulky
Press seams open at the joins, and consider removing paper from seam allowances only after joining to reduce stiffness. You can also carefully trim seam allowance layers at the very center (do not cut stitches).
My points are getting chopped off
This is nearly always seam allowance confusion. Confirm which outer line is the trim or cut line, and what seam allowance the pattern expects for assembly (often 1/4 inch). When in doubt, check the pattern key and measure the unit against the pattern’s stated unfinished size before you join pieces.
How to use Pineapple blocks
Once you have one block, you will want twelve. Ask me how I know.
- Classic layout: set blocks on point with background squares between them.
- Scrappy sampler: make each Pineapple block from a different color family, then unify with one consistent background.
- Modern grid: keep the outermost round all the same color across blocks for a clean, graphic look.
If you plan to make many blocks, chain your process: cut a stack of foundations, choose lights and darks, then sew the same section number across multiple quadrants before moving on. It keeps you in a pleasant rhythm.
FAQ
Do I need special paper for FPP?
No. Many quilters use regular printer paper successfully. The trade-off is that copy paper can be tougher to remove, especially for dense designs like Pineapple blocks. Foundation paper, newsprint-style paper, or other lightweight options tear away more easily. Whatever you use, avoid very thick paper that feels like cardstock.
What stitch length should I use?
I usually start around 1.5 to 2.0 and adjust from there. Short enough to perforate the paper and secure seams, not so short that it feels like you are sewing through a file folder.
Can I use tiny scraps?
Yes, with one caveat: give yourself seam allowance. Tiny scraps are perfect for Pineapple blocks because the design naturally eats up little pieces. Just cut them slightly oversized and let trimming do the work.
Should I press seams open or to one side?
For Pineapple blocks, I often press open on the big joining seams to reduce bulk. Within the foundation units, I press according to what keeps the unit flat. Flat beats “correct” every time.
A gentle next step
If your first Pineapple block comes out a little quirky, welcome to quilting. Those small quirks are where the handmade charm lives. Make one block as a practice run, label it with the date, and keep going. By block three, you will feel the rhythm of FPP click into place, and those points will start lining up like they have somewhere important to be.