A complete beginner walkthrough for a simple patchwork quilt: choose fabrics, cut squares, piece rows, quilt the layers, and bind a cozy finished quilt.
The Quilt Mark
October 22, 2026
English Paper Piecing for Beginners: Hexagons on the Go
Learn English Paper Piecing (EPP) the beginner-friendly way: how to baste hexagons, what thread to use, and simple portable projects you can stitch anywhere.

Clara Jenkins
Clara Jenkins is an avid quilter and fabric enthusiast who has been designing and piecing together quilts for over twenty years. She shares her passion for color coordination, block design, and practical sewing techniques to help makers of all skill levels create beautiful, lasting heirlooms. Through Quiltmark, Clara aims to make the timeless art of quilting accessible, joyful, and deeply rewarding for everyone.
Updated October 22, 2026
The first time I tried English Paper Piecing, I remember thinking: this is the opposite of quilt panic. No rotary cutter math spirals, no wrestling a full quilt sandwich, no pressure to “finish it this weekend.” It was just me, a little stack of papers, a handful of fabric scraps, and slow stitches that actually felt like a deep breath.
If you're new to EPP, welcome. This is a wonderfully portable way to quilt, and hexagons are the friendliest place to start. In this guide, I'll walk you through what to buy, how to baste, the thread I reach for most, and a few simple hexagon projects that are genuinely doable for beginners.
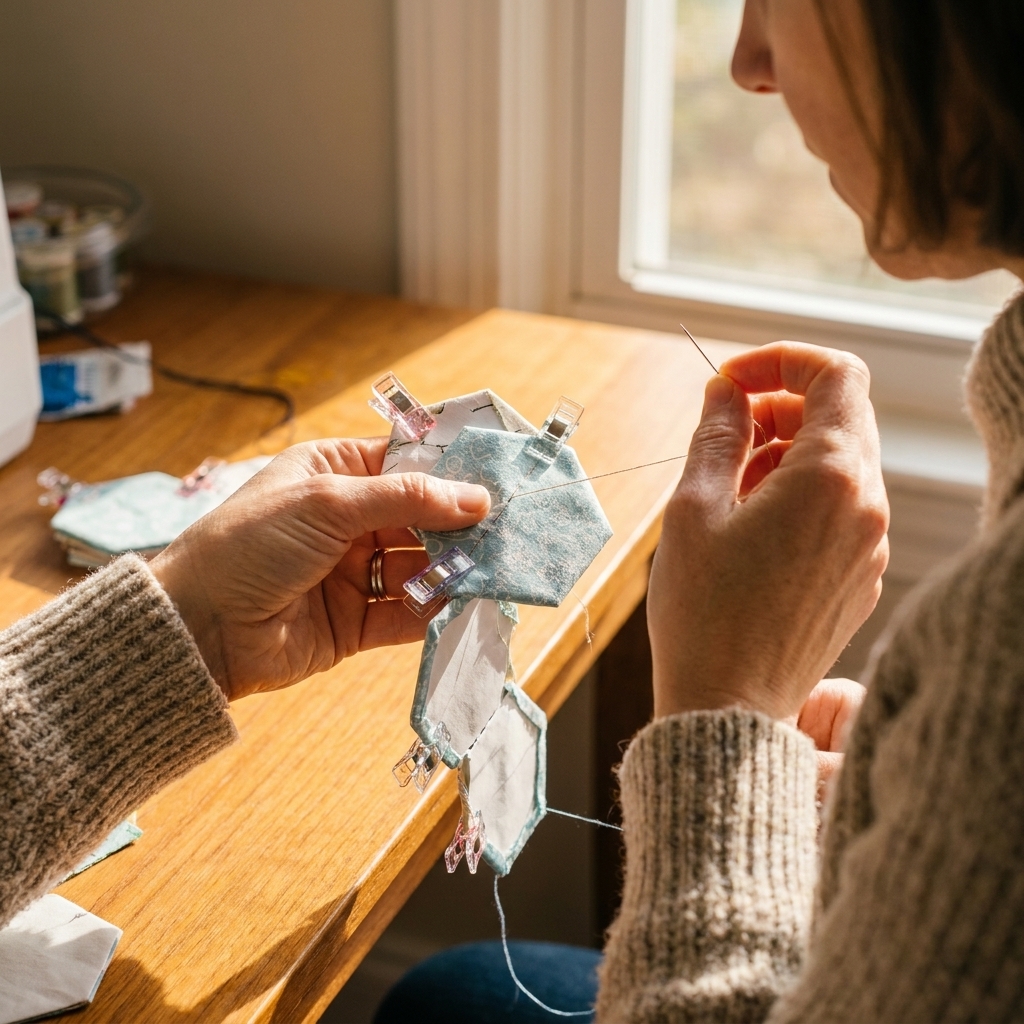
What is English Paper Piecing?
English Paper Piecing, usually shortened to EPP, is a hand-sewing technique where you wrap fabric around paper shapes, then stitch the shapes together along their edges. The paper keeps everything crisp and accurate while you sew.
Hexagons are the classic EPP shape for a reason. They tessellate beautifully, you can build the quilt one small unit at a time, and the seams are short enough that your hand is less likely to get tired of a single motion.
Why beginners tend to love EPP
- Accuracy without stress. The paper does most of the “measuring” for you.
- Perfect for scraps. Tiny leftovers become a design opportunity instead of clutter.
- Portable. A zip pouch of hexies turns waiting rooms and car rides into sewing time.
- Low barrier to entry. If you can thread a needle and make a stitch, you can EPP.
Your simple EPP toolkit
You can absolutely build a fancy EPP kit later. For now, let's keep it practical and lightweight.
Must-haves
- Paper hexagons. Precut cardstock papers are easiest. Printer paper works in a pinch, but it softens faster.
- Fabric scraps. Quilting cotton is the easiest to learn on.
- Needles. A sharp appliqué needle in size 10 or 11 is a sweet spot for most hands.
- Thread. (We'll get specific below.)
- Small sharp scissors. For snipping thread and trimming fabric.
- Clips or pins. Small wonder clips are great for holding units together while you stitch.
Nice-to-have
- Glue pen for basting, if you prefer it.
- Thimble if your fingers are tender.
- Thread conditioner if your thread tangles easily.
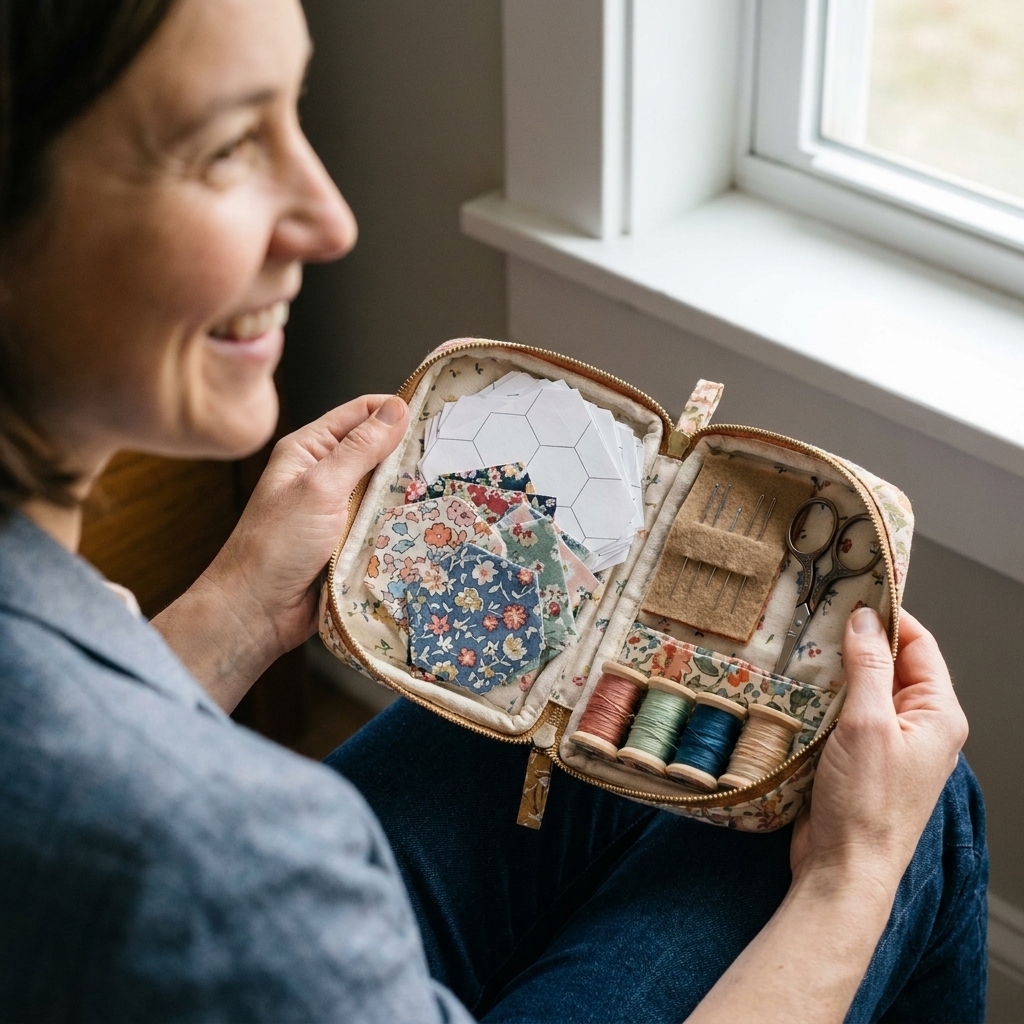
- A zip pouch for a true grab-and-go setup.
Hexagon size basics
Hexagon sizes are most commonly described by the length of one side, often called the “side length.” That said, some sellers label their hexagons by a different measurement (like point-to-point). If something feels off, check the product description or measure one paper edge to confirm what you're buying.
For beginners, I recommend:
- 1-inch hexagons for a classic look without teeny-tiny seams.
- 3/4-inch hexagons if you want smaller and cuter, but still manageable.
Tiny hexagons look amazing, but they also ask more of your eyes and patience. Start comfortable. You can always go smaller once your hands learn the rhythm.
How to cut fabric for hexies
Your fabric needs a seam allowance that can wrap around the paper. Most EPP stitchers use somewhere around 3/8 inch to 1/2 inch beyond the paper edge, all the way around.
Here's the stash-busting approach I love: place your paper hexagon on the wrong side of the fabric, then cut roughly around it with scissors, keeping the allowance fairly even. It doesn't need to be perfect. Your basting is what sets the shape.
A clear, beginner-proof method
- Trace and cut: Use a pencil to trace around your paper hexagon, then add an extra 3/8 to 1/2 inch around that line and cut.
- Or go rough: Cut a square or rough circle that gives you at least 3/8 inch past every paper edge once it's centered.
- If your corners feel bulky: trim a little closer next time.
- If your fabric pops off the paper: give yourself a touch more allowance.
Basting: thread or glue
Basting is simply how you secure the fabric around the paper shape before you sew pieces together. There are two main beginner-friendly methods.
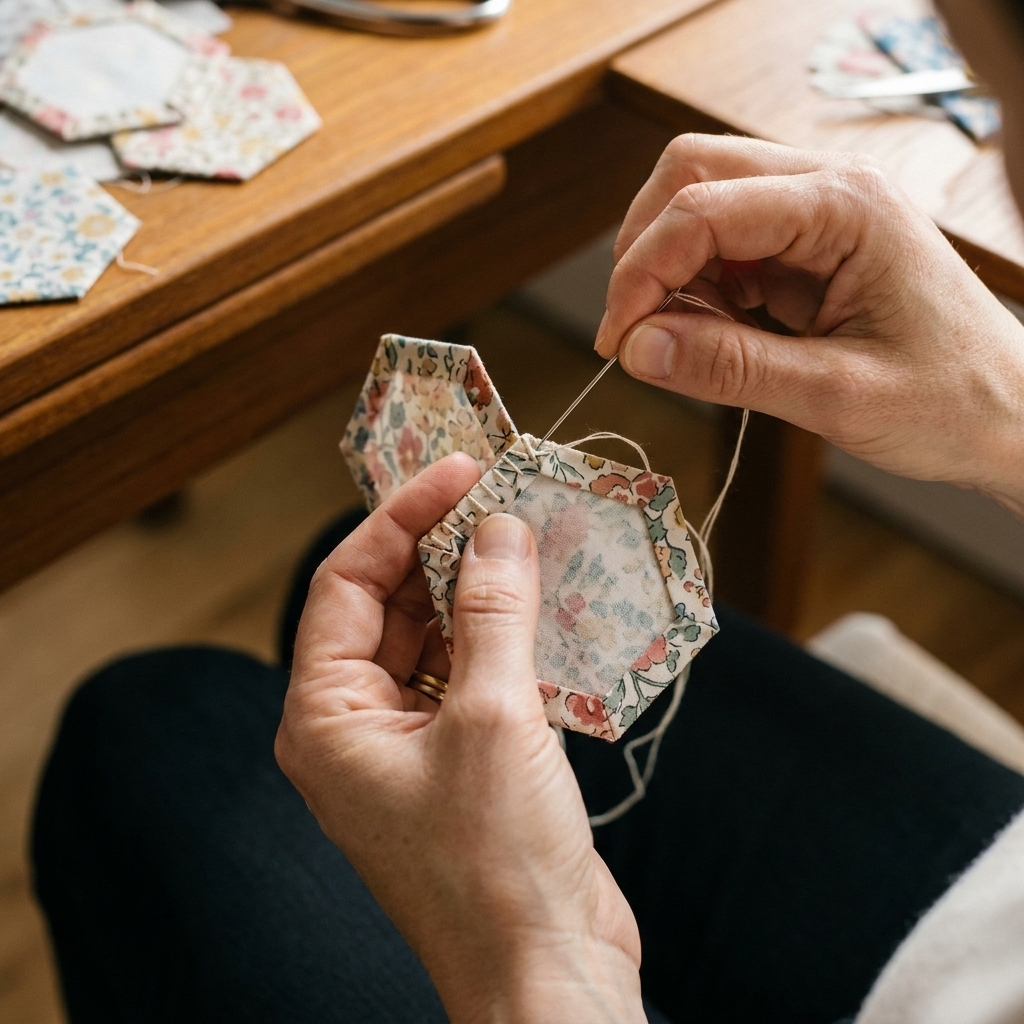
Thread basting (classic and very secure)
This is my go-to when I know I'll be carrying hexies in a bag, or when the fabric is slippery.
- Center the paper on the wrong side of the fabric.
- Fold one side over the paper edge and take a small stitch through the fabric fold.
- Move to the next side, fold, and stitch again. Keep going around.
- At the corners, pinch the fabric neatly so the fold stays crisp.
- Secure at the end with a knot or a couple of tiny backstitches.
Tip: For thread basting, try to stitch only through fabric, not through paper. It makes removing papers much easier later.
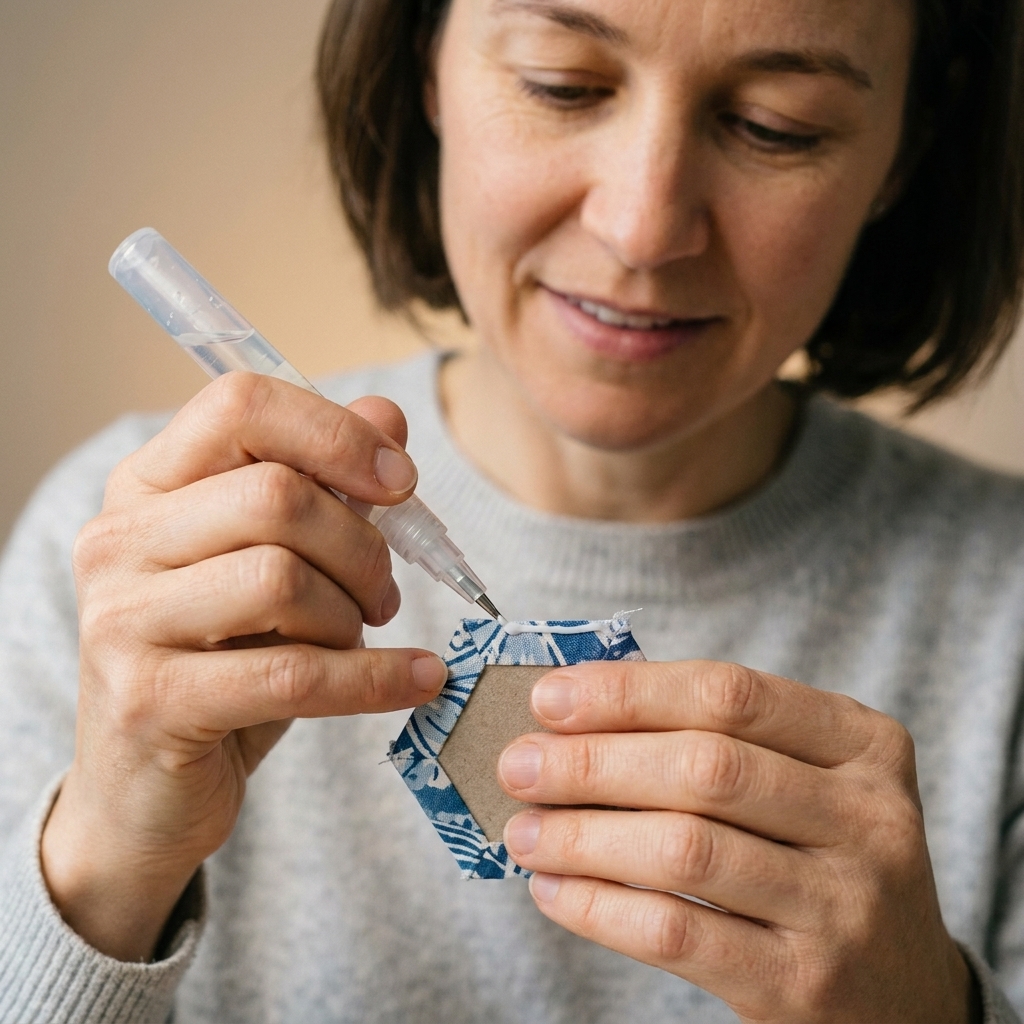
Glue basting (fast and tidy)
Glue basting is wonderfully quick, especially if you're prepping a lot of shapes at once.
- Center the paper on the wrong side of the fabric.
- Fold one edge over and run a tiny line of glue along the paper edge, then press the fabric down.
- Work your way around, gluing each side and creasing the corners neatly.
- Let it set for a minute before handling a lot.
Tip: Use the lightest touch with glue. Too much glue can make papers hard to remove or leave stiffness in the fabric.
Thread picks (what works)
For EPP, you want a thread that's smooth, strong, and not overly thick. My general advice is: choose quality thread, and you'll fight fewer tangles and fewer surprise breaks.
For stitching hexagons together
- 100% cotton 50 wt is a solid, readily available choice and blends beautifully with quilting cotton.
- 100% polyester 60 wt can be wonderfully strong and fine, especially if you like nearly invisible stitches.
- 80 wt thread is very fine and can look magical, but it can be fussy in beginner hands. If you want “invisible,” try 60 wt first.
If you're not sure, start with a good 50 wt cotton in a neutral that plays nicely with most of your fabrics. A soft gray is my personal workhorse because it disappears on both lights and many darks.
For basting
- Thread basting: use a slightly heavier, inexpensive thread if you want it easy to remove, or use your regular thread if you prefer one spool for everything.
- Glue basting: no special thread needed since the glue holds the folds.
Needle and thread pairing tip
If your thread shreds, your needle eye is often too small or has a burr. Switching to a fresh needle fixes this more often than you'd think.
How to stitch hexagons together
There are a few ways to join EPP shapes, but most people use some version of a whipstitch or ladder stitch. Either way, the goal is the same: catch just a few threads of fabric at the fold on each piece so your stitches disappear into the seam.
- Hold two hexagons right sides together, edges aligned.
- Start with a small knot and take a tiny stitch through the fold of one hexagon, then the other.
- Continue with small, even stitches along the edge. Think: shallow bites, close together.
- At the end of the edge, take a couple of tiny securing stitches.
My comfort tip: Keep your thread length around 18 to 24 inches. Longer thread tangles more, especially on the go.
Removing papers, calmly
Don't remove papers until a hexagon is surrounded enough to keep its shape. For a simple hexagon flower, that usually means the center hexagon can come out once all six neighbors are attached.
One extra rule that saves headaches: keep papers in any hexagons that are on the outside edge of your work until that edge is stabilized, either by adding more hexagons, attaching the panel to a background, or sewing it into its final project. Those edge papers are doing quiet, important work.
Paper removal basics
- Gently bend the paper slightly to loosen it.
- Slide it out from the back.
- Reuse papers if they're still crisp.
If you glue baste, papers can feel snug. Slow and steady wins. If a paper tears, pull it out in pieces with tweezers and carry on. This isn't a moral failing. It's just crafting.
Three easy hexagon projects
These are beginner-friendly, satisfying, and small enough to finish without losing steam. All of them start the same way: make a stack of basted hexagons, then stitch into the shapes you want.
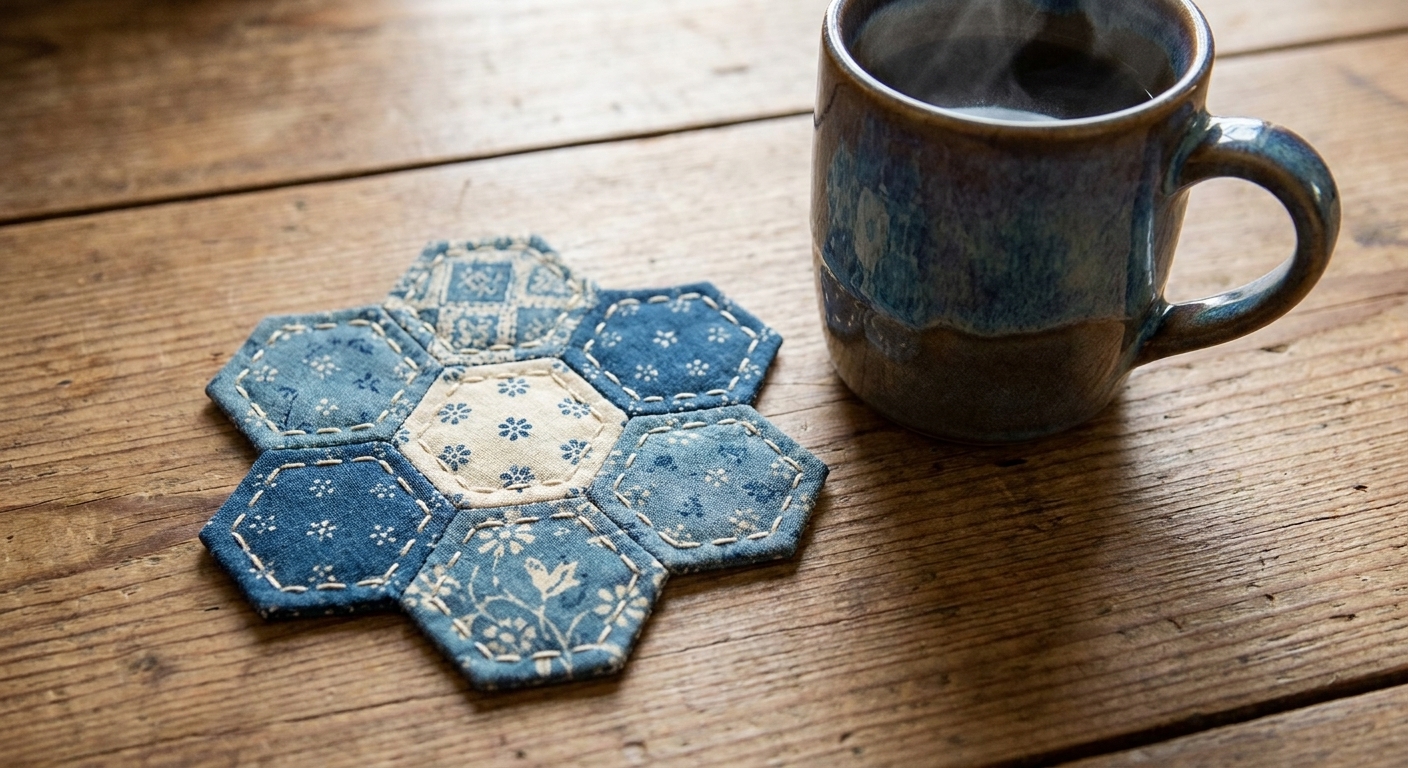
1) A single hexagon flower coaster
This is my favorite first EPP finish because you get a complete little “thing” quickly.
- Make: 1 center hexagon + 6 surrounding hexagons.
- Optional: add one more round for a larger mug rug.
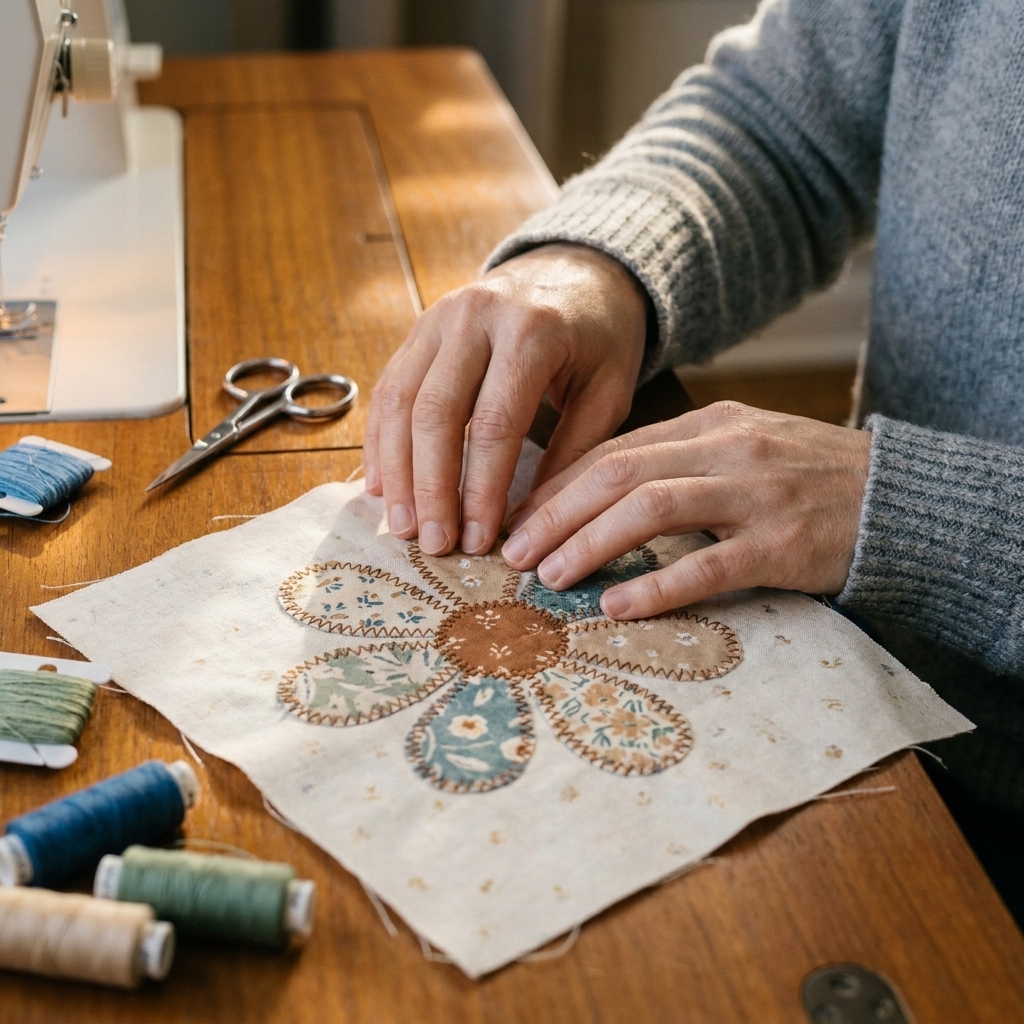
- Finish: appliqué the flower onto a square of fabric, then quilt and bind like a mini quilt, or turn it into a simple quilted coaster with backing.
2) A scrappy needlebook cover
EPP is made for notions you'll actually use. A needlebook cover is small, portable, and endlessly customizable.
- Plan: stitch a hexagon panel sized to wrap your felt pages.
- Stabilize: add a layer of thin batting or interfacing behind the panel before quilting.
- Finish: bind the edges or sew as a fabric cover around your needlebook insert.
3) A travel hexie pouch panel
Stitch a panel of hexagons and turn it into the front of a zip pouch. It's the perfect home for your next batch of hexies.
- Keep it simple: do a rectangle panel, then use a basic zipper pouch tutorial you already trust.
- Add texture: quilt the panel lightly before assembling the pouch.
- Bonus: this makes a thoughtful handmade gift without committing to a whole quilt.
What to do with a finished panel
This is the moment a lot of beginners hit: you have a gorgeous floppy patch of hexies, and you're not sure how it becomes a Real Object.
Two straightforward finishing paths
- Appliqué it to a base fabric: Keep the outer papers in, press the panel lightly from the front with your fingers, then appliqué it to a background fabric. This is my favorite low-stress way to handle edges for pillows, bags, and small quilts.
- Build it into a full quilt top: Keep adding hexagons until the piece is the size and shape you want, then deal with the “jagged” edges.
About those quilt edges
Hexagons make a naturally zigzag edge. You have options:
- Embrace the zigzag and bind around it (a little fussy, but charming).
- Square it up by filling the edge with partial shapes (like half-hexies) or by appliquéing the whole top to a larger background and trimming straight.
However you finish, leave the outer-edge papers in until the edge is secured. You'll get cleaner corners and a more accurate shape.
Pressing and fabric prep
You don't need to overthink this. If you love to prewash your fabric, go for it. If you never prewash quilting cotton, you're in very good company.
- Pressing EPP: Press from the back once papers are removed, using moderate heat. Think of pressing as setting the work, not flattening it into submission.
- A little starch (optional): Light starch can make folds crisper while you baste, especially on loosely woven fabrics. Use a light hand so things don't feel crunchy.
Stitching on the go
EPP is at its best when it slips into the pockets of your life. Here's how I set myself up so I can sew without creating a chaotic thread nest.
My grab-and-go kit essentials
- A small pouch with a secure zipper
- Pre-basted hexagons in a tin or small bag
- One needlebook and a few pre-threaded needles (optional, but handy)
- Thread snips with a cover
- A couple of clips
- A small bag for paper scraps and thread tails
Portable habits that keep things tidy
- Stop mid-edge, not mid-stitch. Finish an edge, secure, then tuck your needle away.
- Wind thread around a bobbin. No full spools bouncing around your bag.
- Keep one project per pouch. It reduces the “where did my pieces go?” problem.
Common beginner snags
My hexagons look puffy, not crisp
Usually this means your seam allowance is uneven or too large. Trim a bit closer next time, and finger-press those folds firmly as you baste.
My stitches show on the front
Take smaller bites right at the fold, and pull the thread just snug, not tight. Tight stitches can tug and pop into view.
My thread tangles constantly
Shorten your thread length, and consider a slightly smoother thread. Also, let your needle dangle now and then to untwist the thread naturally.
My shapes don't line up at the corners
Clip the shapes together at the corners before you stitch. Then take the first couple of stitches right at that corner to anchor alignment.
Color and fabric tips
This is the part where EPP becomes dangerously fun. You can make it as planned or as playful as you like.
- Start with a limited palette. Pick 2 to 4 colors, then let scraps fill in the variation.
- Use “background” hexies. A consistent neutral makes wild scraps look intentional.
- Mix scale on purpose. Pair tiny prints with a few bold, larger-scale prints so the eye has places to rest.
- Repeat a favorite fabric. Repetition is the secret ingredient that makes scrappy look cohesive.
Beginner FAQ
Do I have to use hexagons?
No, but they're an easier first shape because every seam is the same length. Once hexagons feel natural, diamonds and triangles are a lovely next step.
Can I machine quilt an EPP quilt top?
Absolutely. Many people piece by hand with EPP, then quilt by machine. Just remove the papers first and give the top a gentle press.
How do I press EPP?
Press from the back with papers removed, using a moderate heat and light steam if your fabric can handle it. Avoid stretching seams. Think of pressing as setting the work, not flattening it into submission.
Is glue basting “allowed”?
Completely allowed. Quilting isn't a purity contest. If glue basting keeps you stitching, it's the right choice.
A simple first-week plan
If you want a calm, doable start, try this:
- Day 1: Choose a 1-inch (side-length) hexagon size and baste 20 hexies.
- Day 2: Stitch 7 hexies into one flower.
- Day 3: Baste 20 more and stitch a second flower.
- Day 4: Decide your finish: coaster, mug rug, pouch panel, or “keep going because it's soothing.”
EPP is slow quilting, in the best way. A handful of hexagons a day adds up faster than you'd think, and the little pile of stitched work in your hands is oddly comforting. If you start today, you'll have something pretty to show for it before the week is out.