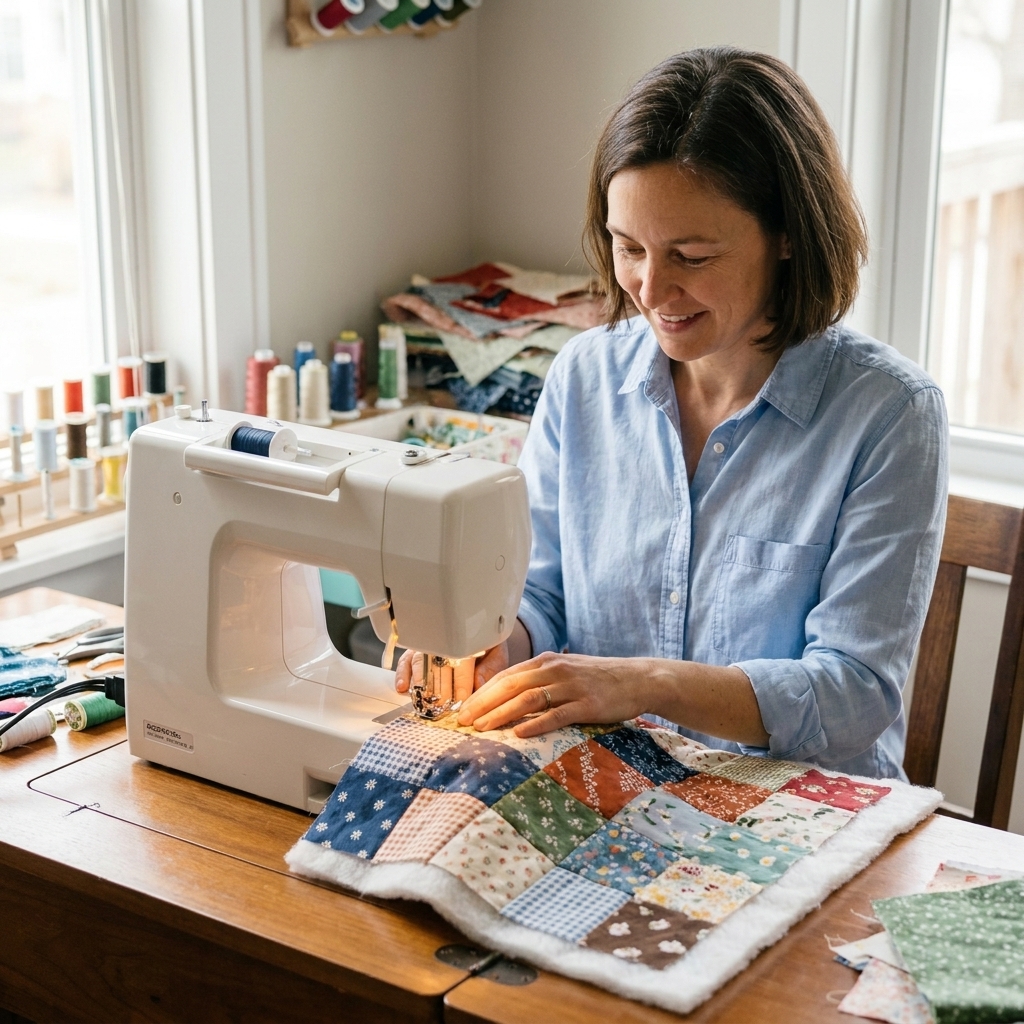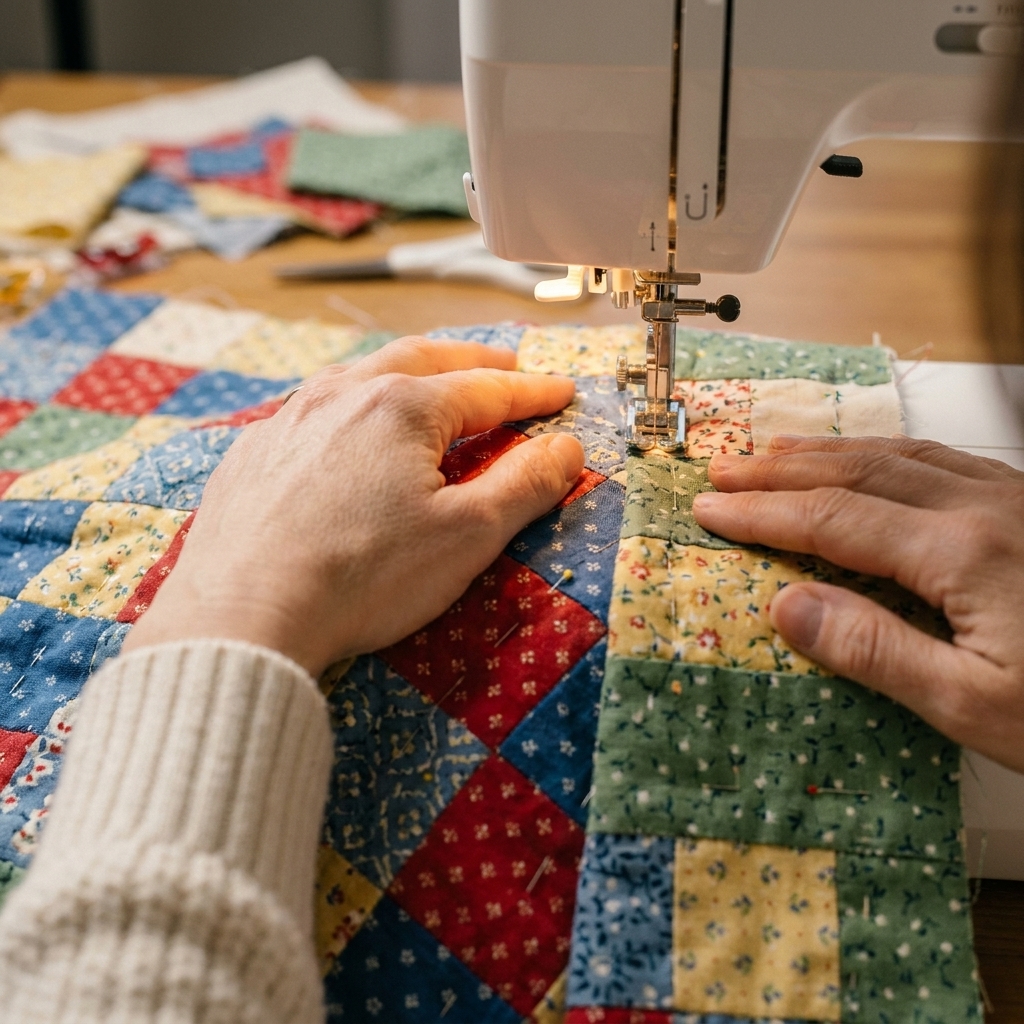
A complete beginner walkthrough for a simple patchwork quilt: choose fabrics, cut squares, piece rows, quilt the layers, and bind a cozy finished quilt.
The Quilt Mark
October 22, 2026
Machine Binding a Quilt
Learn how to bind a quilt entirely by machine with crisp mitered corners, a secure join, and a durable finish that holds up to real life and real laundry.

Clara Jenkins
Clara Jenkins is an avid quilter and fabric enthusiast who has been designing and piecing together quilts for over twenty years. She shares her passion for color coordination, block design, and practical sewing techniques to help makers of all skill levels create beautiful, lasting heirlooms. Through Quiltmark, Clara aims to make the timeless art of quilting accessible, joyful, and deeply rewarding for everyone.
Updated October 22, 2026
There is something deeply satisfying about a fresh binding. It is the moment your quilt stops being a “project” and becomes a real, ready-for-the-couch, ready-for-the-wash heirloom. And yes, you can get a beautiful, crisp finish entirely by machine.
Machine binding is my go-to for utility quilts, kids’ quilts, donation quilts, picnic throws, and anything that is going to live a big, loved life. The goal is durability first, then beauty. The good news is you can absolutely have both.
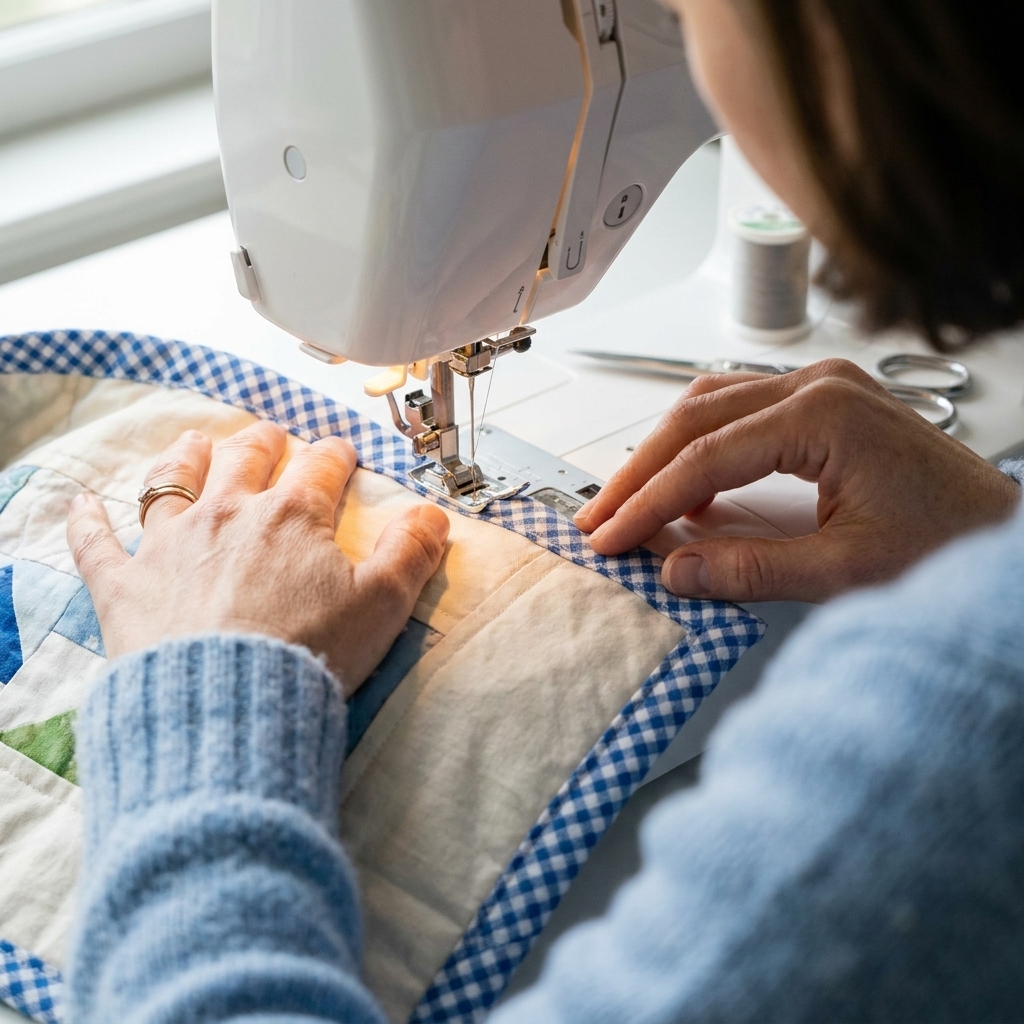
What makes machine binding look flawless
A machine-bound edge looks polished when three things are true:
- The quilt edge is square and stable, with even seam allowance all the way around.
- The binding is consistent in width and pressed in a way that helps it wrap the edge naturally.
- Your final stitching lands exactly where you want it (either hidden in the ditch on the front, or intentionally visible and neat).
If any one of those is off, the binding will still be fine, but you will see little wobbles, missed spots on the back, or corners that refuse to sit flat. We are going to prevent all of that upfront.
Tools and supplies
- Binding fabric (straight grain is perfect for most quilts, bias is great for scallops or heavily curved edges)
- Rotary cutter, ruler, mat
- Iron and pressing surface
- Walking foot (highly recommended for even feeding)
- Quilting clips or pins
- Thread (50 wt cotton for a classic look, or a strong poly if this quilt will be washed constantly)
- Needle (use a fresh 80/12 or 90/14, depending on your quilt thickness)
- Optional: washable glue basting pen for ultra-controlled binding folds (use sparingly and let it dry before stitching to avoid gumming up your needle)
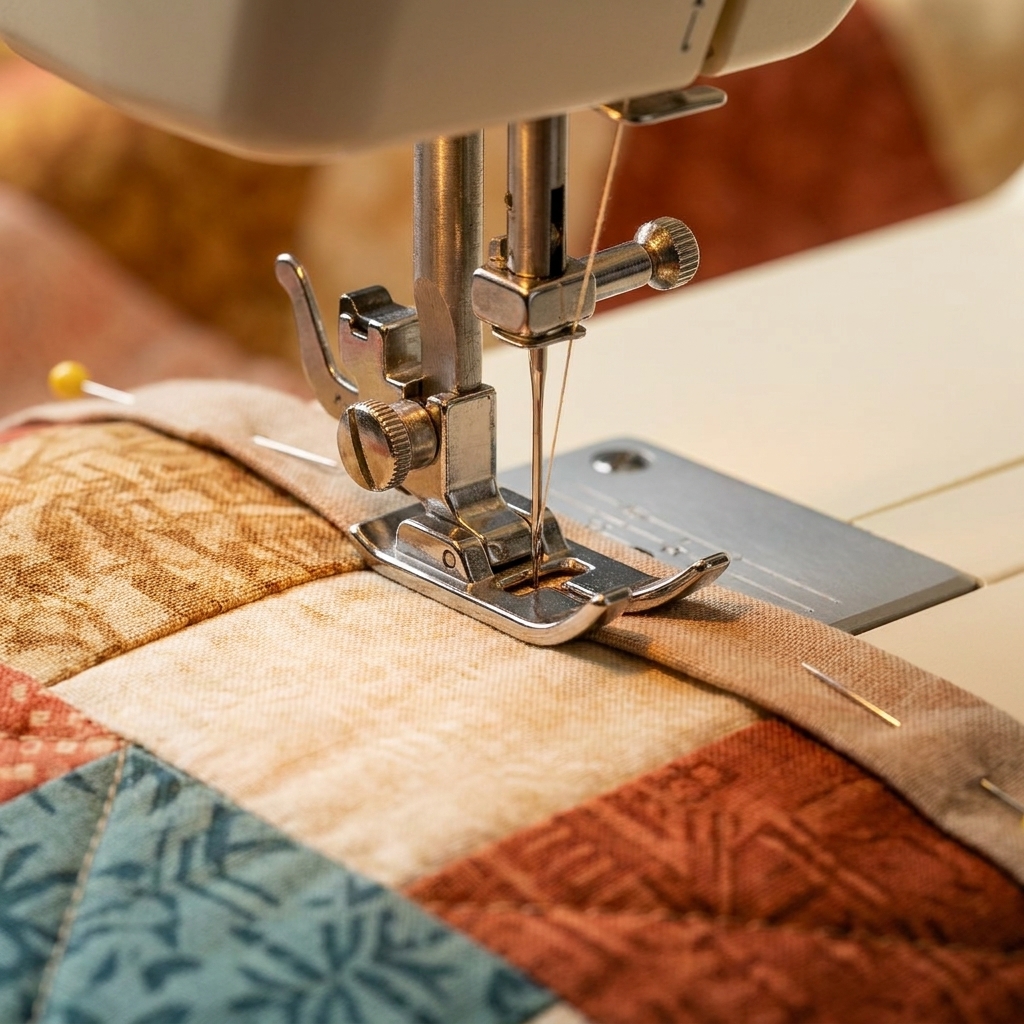
Step 1: Prep the quilt edge
Square up and trim
Before binding, trim your quilt so the edges are straight and the corners are square. I like to trim in two passes: first to remove excess batting and backing, then again to true up the quilt using a large ruler. This is where “flawless” starts.
Stabilize if needed
If your quilt edge is wavy (this happens to the best of us), a quick staystitch can help. Stitch about 1/8 inch from the edge only if you know it will be inside your binding seam allowance. It is especially helpful on quilts with lots of bias edges or dense quilting that pulled the top a bit.
Step 2: Cut and join binding
Choose a binding width you can control
For machine binding, I most often cut 2 1/2 inch strips. It wraps most quilt thicknesses beautifully and gives you enough fabric to catch on the back without feeling bulky.
If your quilt is very thick (fluffy batting, heavy backing), go up to 2 3/4 inch. If it is very flat, 2 1/4 inch can work, but it is less forgiving.
If you are trying a new batting or seam allowance, make a quick test sandwich and bind a short edge first. It takes five minutes and can save you an entire evening of unpicking.
How many strips do you need?
Measure the perimeter of your quilt (top + bottom + both sides) and add at least 20 inches for corners and joining. Then divide by usable fabric width to estimate strips. When in doubt, cut one extra strip. Binding shortages are heartbreak.
Join strips on the diagonal
- Place two strips right sides together at a right angle.
- Draw a diagonal line corner to corner.
- Sew on the line, trim seam allowance to 1/4 inch, then press open.
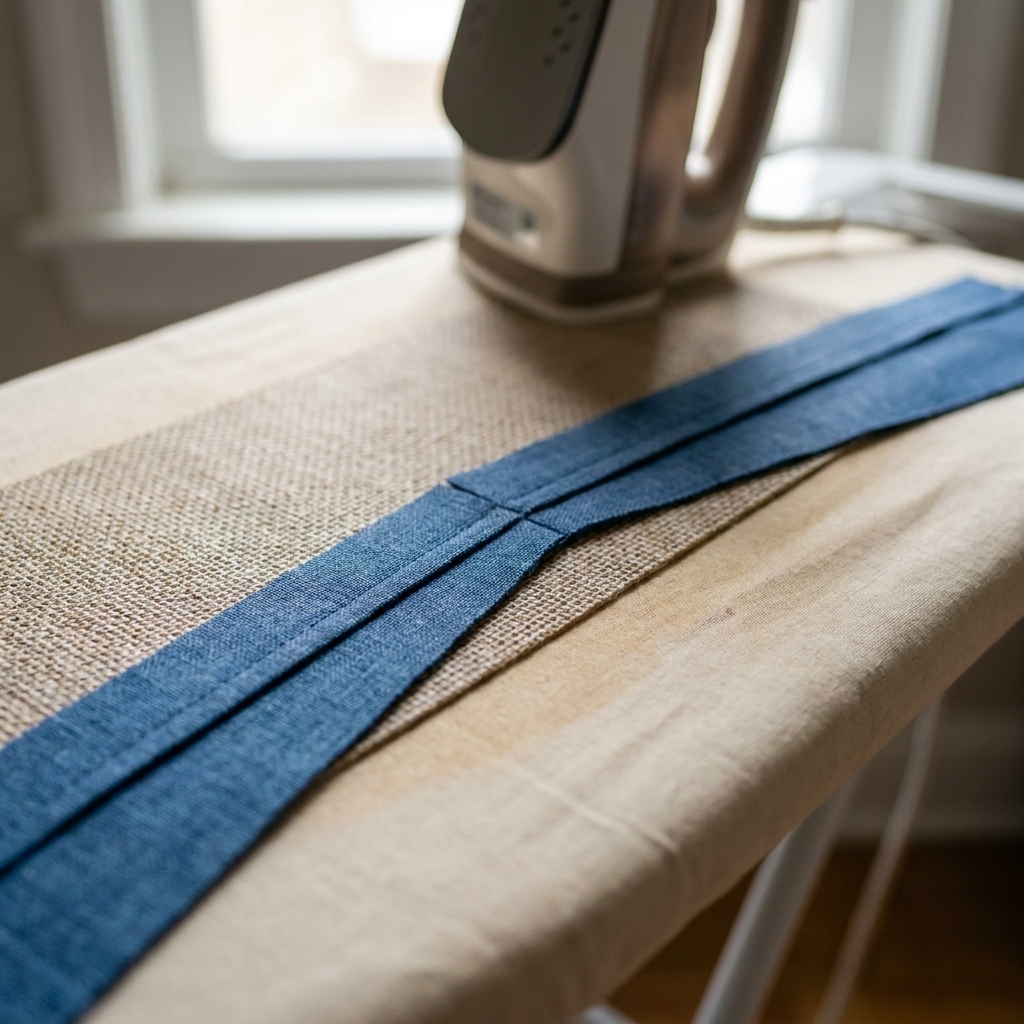
Press the full binding strip in half lengthwise, wrong sides together. I like to give it a little steam and a firm press so it behaves itself at the machine.
Step 3: Attach binding to the front
There are two popular approaches for fully machine-bound quilts:
- Method A: Sew binding to the front first, then wrap to the back and stitch from the front in the ditch. This gives a clean front finish and a nearly invisible final seam.
- Method B: Sew binding to the back first, then wrap to the front and topstitch. This gives you the most control over what you see on the front.
This tutorial uses Method A because it produces that “where did the stitching go?” look on the front while still being sturdy.
Start on a straight side
Leave an 8 to 10 inch tail of binding unsewn. Align raw edges of binding with raw edge of the quilt. Use a 1/4 inch seam allowance (or match your usual binding seam allowance). A walking foot helps the layers feed evenly.
Sew to the corner
As you approach the corner, measure and stop 1/4 inch from the edge. Stop with the needle down to prevent shifting. If you like to secure the seam, take 2 to 3 tiny securing stitches in place. Some quilters skip this to reduce bulk, so treat it as optional.
Make a crisp miter
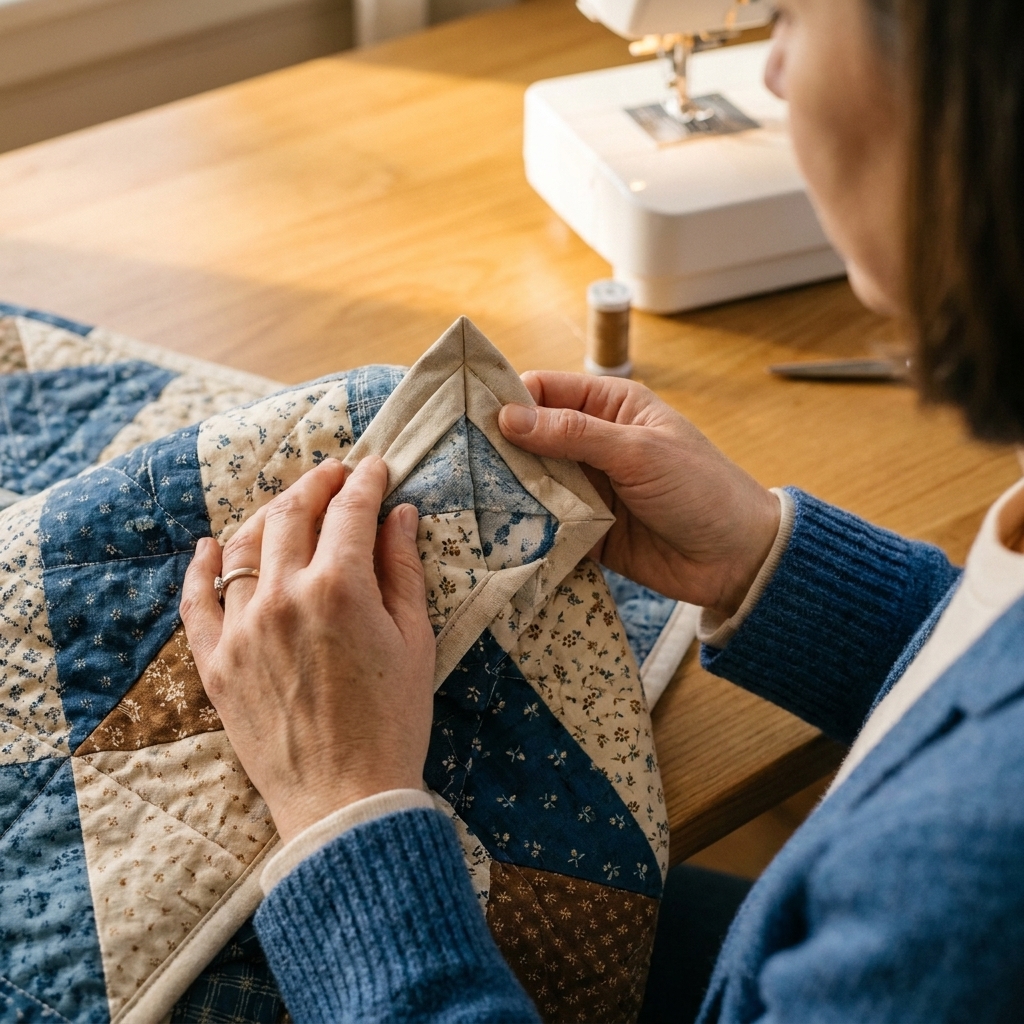
- Fold the binding straight up, away from the quilt, forming a 45 degree angle at the corner.
- Then fold it back down so the fold aligns with the top edge and the raw edges line up with the next side.
- Start stitching at the top edge and continue down the next side.
Repeat for all corners.
Step 4: Join the ends
This is the part that used to make me sweat. Now I treat it like any other seam. Slow down, breathe, and keep the quilt supported on the table.
Leave a gap and overlap the tails
Stop stitching when you are about 10 to 12 inches away from where you started, leaving a gap. Lay the two binding tails flat along the quilt edge so they overlap without pulling.
Measure the join
Trim the tails so the overlap equals the width of your binding strip. If you cut 2 1/2 inch strips, the overlap should be 2 1/2 inches.
Sew the tails with a diagonal seam
- Open the binding tails.
- Place them right sides together at a right angle, just like when you joined your strips earlier.
- Before you sew, double-check that the binding is not twisted and the folded edges will run the same direction once it is re-folded.
- Sew the diagonal, trim to 1/4 inch, press open.
- Refold the binding and stitch the remaining gap to attach it fully.
Give the binding a quick press away from the quilt top. That sets you up for a smooth wrap to the back.
Step 5: Wrap and clip
Flip the quilt over. Wrap the binding to the back so it just covers the line of stitching you made when attaching it to the front. This is the secret to avoiding missed spots.
- Goal: the folded edge on the back should sit about 1/16 to 1/8 inch past the seam line.
- Tip: Press as you go. Steam plus finger-pressing makes the binding behave.
- Extra control: A tiny swipe of washable glue along the back seam allowance can hold everything perfectly for stitching. Use it sparingly and let it dry before sewing.
Clip the binding in place all the way around. Put extra clips near corners.
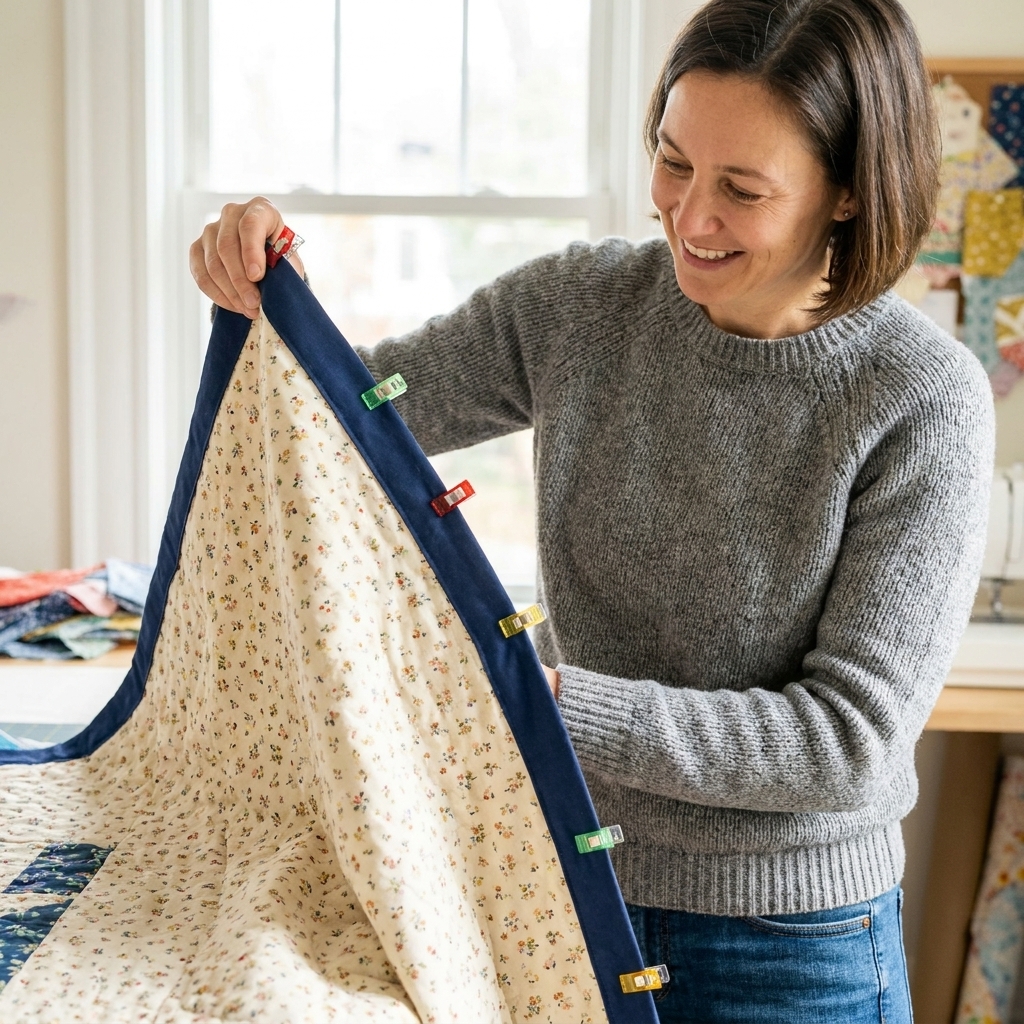
Step 6: Stitch from the front
Stitch in the ditch
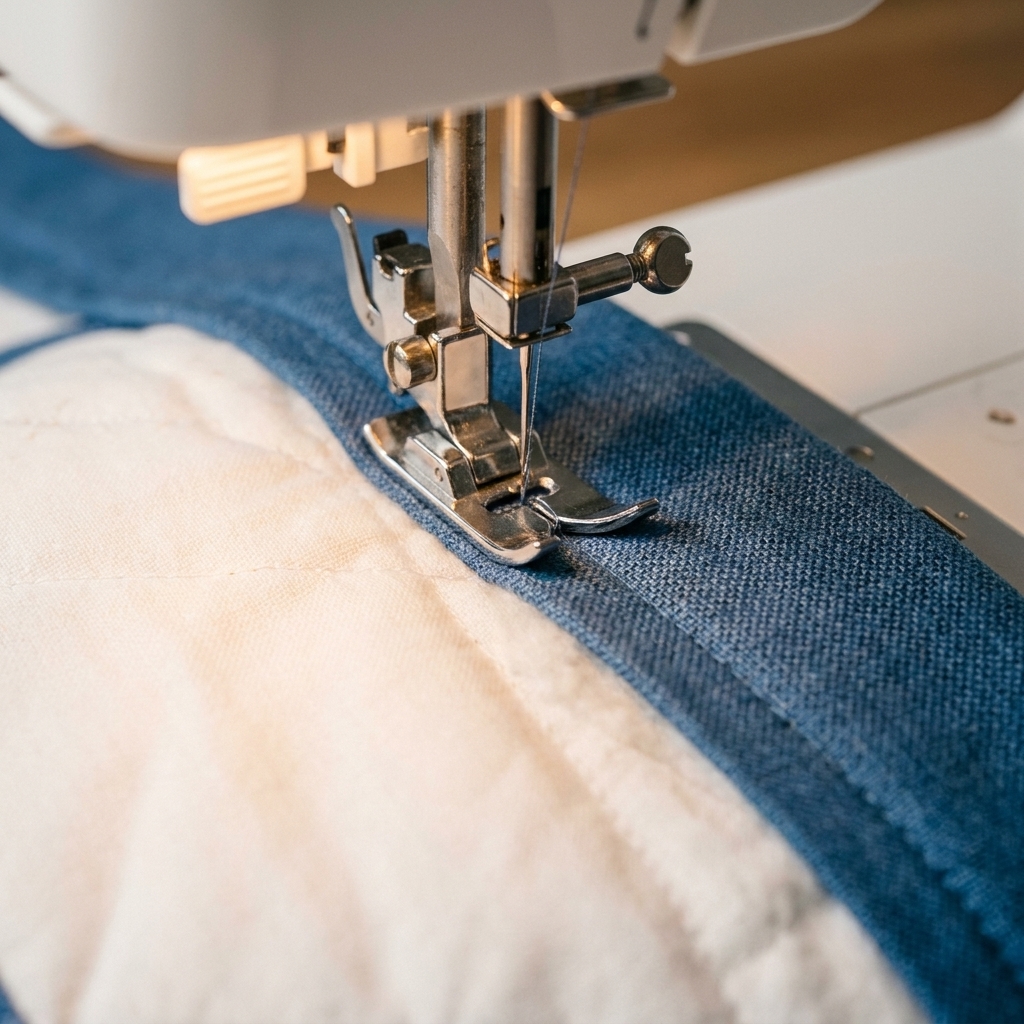
Turn the quilt right side up. You are going to stitch in the ditch, right along the seam where the binding meets the quilt top. This hides your final line of stitching on the front while catching the folded binding edge on the back.
A little realism: this step is also the one most likely to miss on the back if your wrap is too narrow or your seam wanders. If you are nervous, test the setup on a small scrap sandwich first, or wrap the binding a hair farther past the seam line and use a thread color on the back that blends.
Machine settings that help
- Stitch length: around 3.0 mm (or 2.8 to 3.2 on many machines)
- Foot: walking foot or an edge-stitch foot if you have one
- Needle position: nudge your needle a hair toward the binding seam so your stitches fall into the ditch
- Speed: slower than you think you need, especially near corners
Corners
As you approach a corner, stop with the needle down at the corner seam intersection (where the two binding seams meet). Pivot, then continue. On the back, you will create a tidy miter by folding the corner as you come to it. If you have clipped and pressed well, it will practically fold itself.
When you finish, sew a few stitches past where you started, then secure with a few tiny stitches in place and trim your threads.
Durable finish details
Go a touch wider for heavy-use quilts
More wrap equals more security. For heavy-use quilts, 2 1/2 inch strips (or 2 3/4 inch for thick quilts) give you a generous fold on the back that is easy to catch.
Blend top and bobbin on purpose
If your quilt top is busy, matching thread on top helps the ditch stitching disappear. In the bobbin, I often use a shade that blends with the binding on the back. That way, if a tiny wobble happens, it is still visually quiet.
Reinforce the first and last corner
The corners closest to where hands tug and fold are the first to show wear. A few extra securing stitches right at the pivot point (not a big backstitch wad, just a little reinforcement) can add years.
Troubleshooting
I missed the binding on the back
- Next time, wrap the binding a touch farther past the seam line before clipping.
- Use more clips, especially around seams and corners.
- For small misses, stitch a short line right over the spot, aiming to stay in the ditch on the front. A thread that blends on the back makes these fixes nearly invisible.
My binding looks wavy
- Check that you are not stretching the binding as you sew.
- Let the machine feed the quilt. Support the weight on the table so it is not pulling.
- Try a walking foot and a slightly longer stitch length.
Corners are bulky
- Trim quilt seam allowances at the corners a little more precisely before binding.
- Press the binding folds at each corner before stitching the final pass.
- If your batting is lofty, consider a wider binding strip.
The front stitching is visible
- Move your needle position closer to the seam ditch.
- Try an edge-stitch foot for better guidance.
- Choose thread that matches the quilt top right along the binding seam.
Quick FAQ
Is machine binding strong enough for bed quilts?
Yes. Done well, machine binding is extremely durable. For quilts that will be washed weekly, I trust machine binding more than a delicate hand finish.
Straight grain or bias?
Straight grain binding is great for most quilts and is faster to cut. Bias binding stretches and wraps curves beautifully, so it is ideal for scalloped edges or rounded corners.
Can I topstitch instead?
Absolutely. If you like a visible, tailored look, topstitching 1/8 inch from the binding edge on the front is gorgeous and very secure. It is also easier to guarantee you catch the back edge.
What if I hate how my binding looks?
Unpick just the section that bothers you and redo it. Binding is the last step, so it feels high-pressure, but it is also one of the most fixable parts of a quilt. Your seam ripper is not a moral failing. It is a tool.
The finish line
The first time you bind completely by machine, it might feel like patting your head and rubbing your belly while balancing a queen-size quilt on your lap. That is normal. Go slowly, clip generously, and remember that every quilt teaches you something new.
When you turn that final corner and see a clean, sturdy edge that is ready for years of love, you will understand why machine binding has such a devoted following.