A friendly, foolproof tutorial for the 8-at-a-time HST magic method, including a starting-size cheat sheet and trimming guidance for crisp, accurate units.
The Quilt Mark
October 22, 2026
Snowball Quilt Block: Stitch-and-Flip Corners
Learn the stitch-and-flip method for crisp Snowball quilt block corners, plus cutting math, pressing tips, trimming tricks, and layout ideas for pairing with Nine Patch blocks.

Clara Jenkins
Clara Jenkins is an avid quilter and fabric enthusiast who has been designing and piecing together quilts for over twenty years. She shares her passion for color coordination, block design, and practical sewing techniques to help makers of all skill levels create beautiful, lasting heirlooms. Through Quiltmark, Clara aims to make the timeless art of quilting accessible, joyful, and deeply rewarding for everyone.
Updated October 22, 2026
The Snowball block is one of those quiet heroes of quiltmaking. It looks fancy, it plays nicely with almost any other block, and it is a dream for using up small prints you love too much to toss. Best of all, it is built with one of my favorite “trust the process” techniques: stitch-and-flip corners.
If you have ever tried to sew triangles onto corners and ended up with a block that mysteriously shrank, skewed, or grew ears, this tutorial is for you. I will walk you through clean corner points, accurate trimming, and the little habits that make Snowballs look crisp every single time.
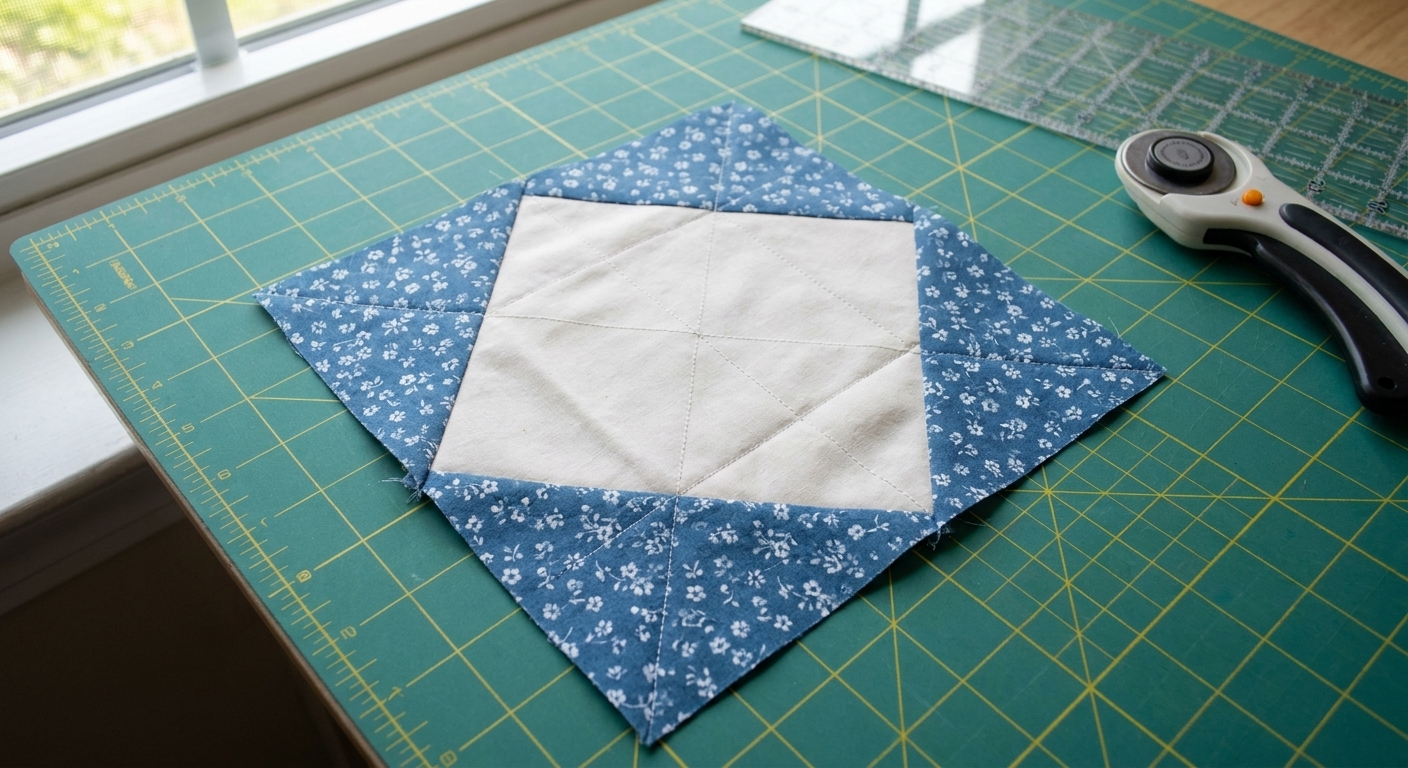
What is a Snowball block?
A Snowball block is a square with triangles added to its corners. Those triangles create the look of a circle or “snowball” in the middle, especially when you repeat the block in a grid.
Snowballs are incredibly versatile:
- As alternate blocks: Pair them with Nine Patch, Shoo Fly, or any simple patchwork block to add curves and movement without any curved piecing.
- As a spotlight block: Use a beautiful feature fabric in the center square and frame it with corner accents.
- As a stash-buster: The corners are perfect for scraps, charm squares, and leftover binding strips cut into squares.
Stitch-and-flip basics
Stitch-and-flip means you sew a small square onto a larger square, stitch on a diagonal line, trim away the extra fabric, then flip the corner open to form a triangle.
I love this method because:
- You get consistent corners without handling bias edges too much.
- You can chain piece corners quickly.
- Trimming after stitching helps you keep your block size accurate.
Tools and materials
- Center square fabric
- Corner square fabric (4 squares per block)
- Rotary cutter, ruler, and mat
- Marking tool (chalk pencil, mechanical pencil, or a fine removable pen)
- Iron and pressing surface
- Optional but helpful: diagonal seam tape for your machine, or a guide bar
Cutting math that behaves
The most common Snowball frustration is ending up with corners that do not reach where you expect, or a block that finishes smaller than planned. Let’s set you up with cutting sizes that behave predictably.
Quick sizing rule
Start with a center square cut to your unfinished block size. If you want a 9 inch finished Snowball, cut the center square 9 1/2 inches.
Then choose how “deep” you want the corners to come in. Bigger corner squares will eat more into the center. This is a design choice, not a right-or-wrong rule.
My go-to proportion
For a balanced, classic-looking Snowball (my personal favorite), I typically cut each corner square at about one third of the finished block size, rounded to an easy measurement. Because you are sewing the corners on with a standard 1/4 inch seam, you do not need any extra mystery math beyond your usual unfinished sizing.
Examples you can use right away:
- 6 inch finished Snowball: cut center 6 1/2 inch, cut corners 2 1/2 inch
- 9 inch finished Snowball: cut center 9 1/2 inch, cut corners 3 1/2 inch
- 12 inch finished Snowball: cut center 12 1/2 inch, cut corners 4 1/2 inch
Also common: If you want the corners to reach farther in and create a more “round” center when Snowballs alternate with other blocks, you will often see corner squares cut at about half the finished block size (for example, 9 inch finished with 4 1/2 inch corners). Both approaches work beautifully. Pick the look you love.
Want a precise corner depth?
If you need the corner triangle to extend a specific distance in from the corner, use this reliable formula.
- Let D = the finished distance measured along the block edge from the finished corner inward to where the triangle ends.
- Corner square size to cut = D + 1/2 inch
So if you want the triangle to come in 3 inches on the finished block, cut your corner squares 3 1/2 inches.
Step-by-step corners
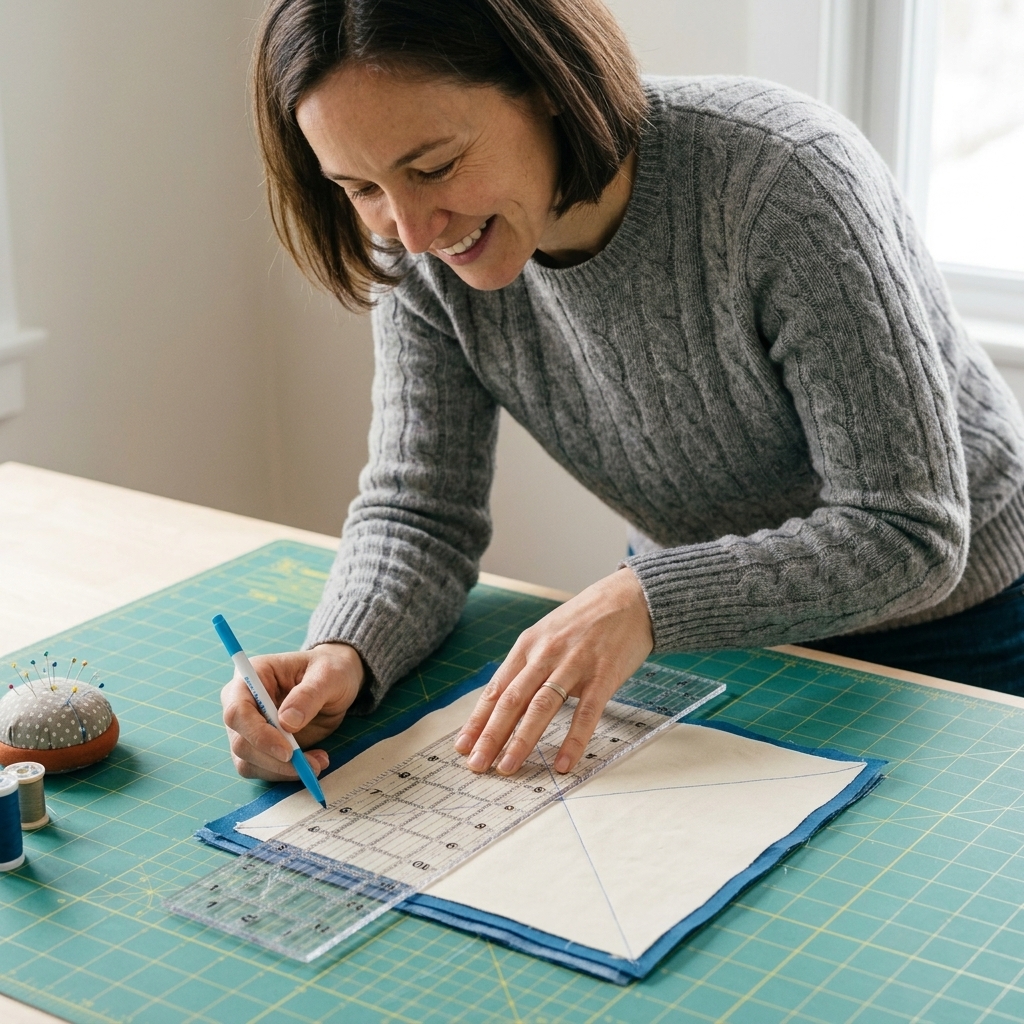
1) Mark the diagonal
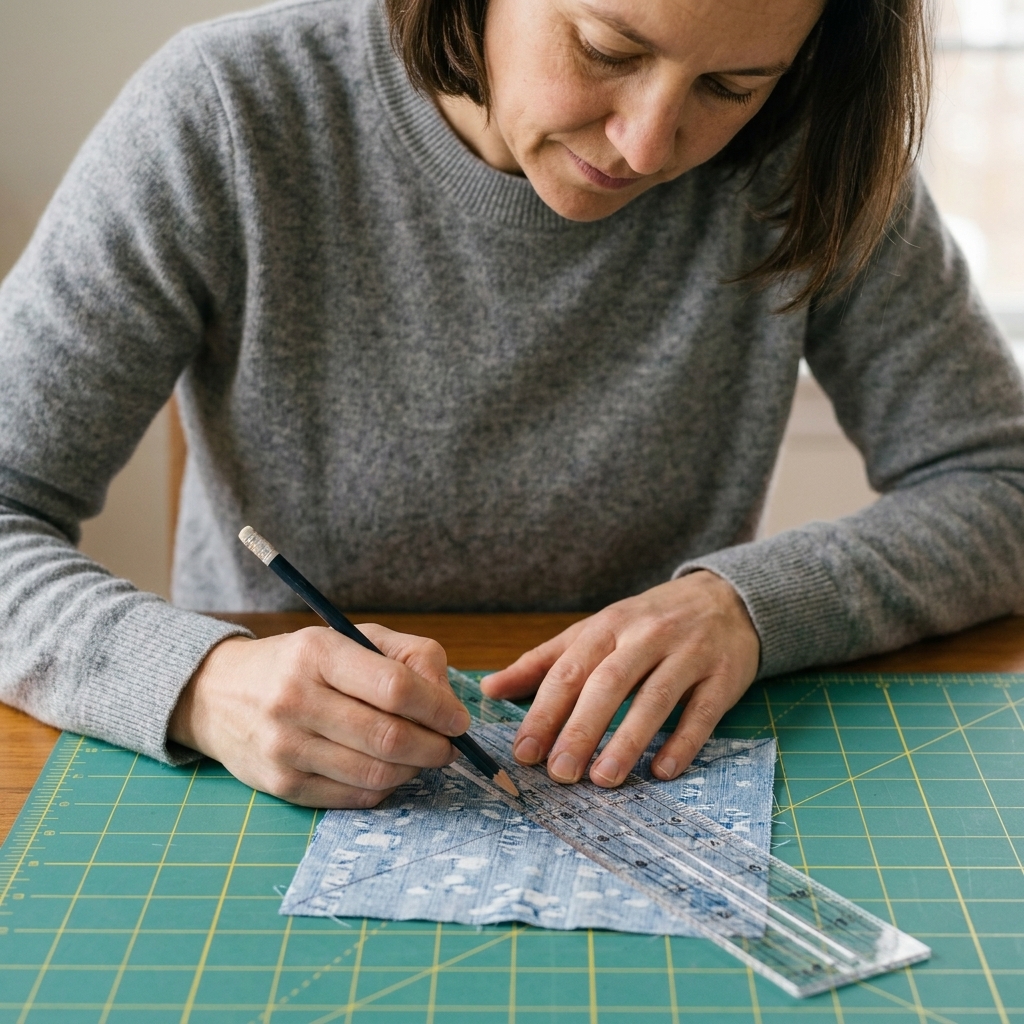
On the wrong side of each corner square, draw a diagonal line from corner to corner. If your fabric is dark, a chalk pencil is a little miracle.
Tip: Mark all four corner squares at once, then keep them stacked so the lines stay oriented the same way.
2) Place the corner square
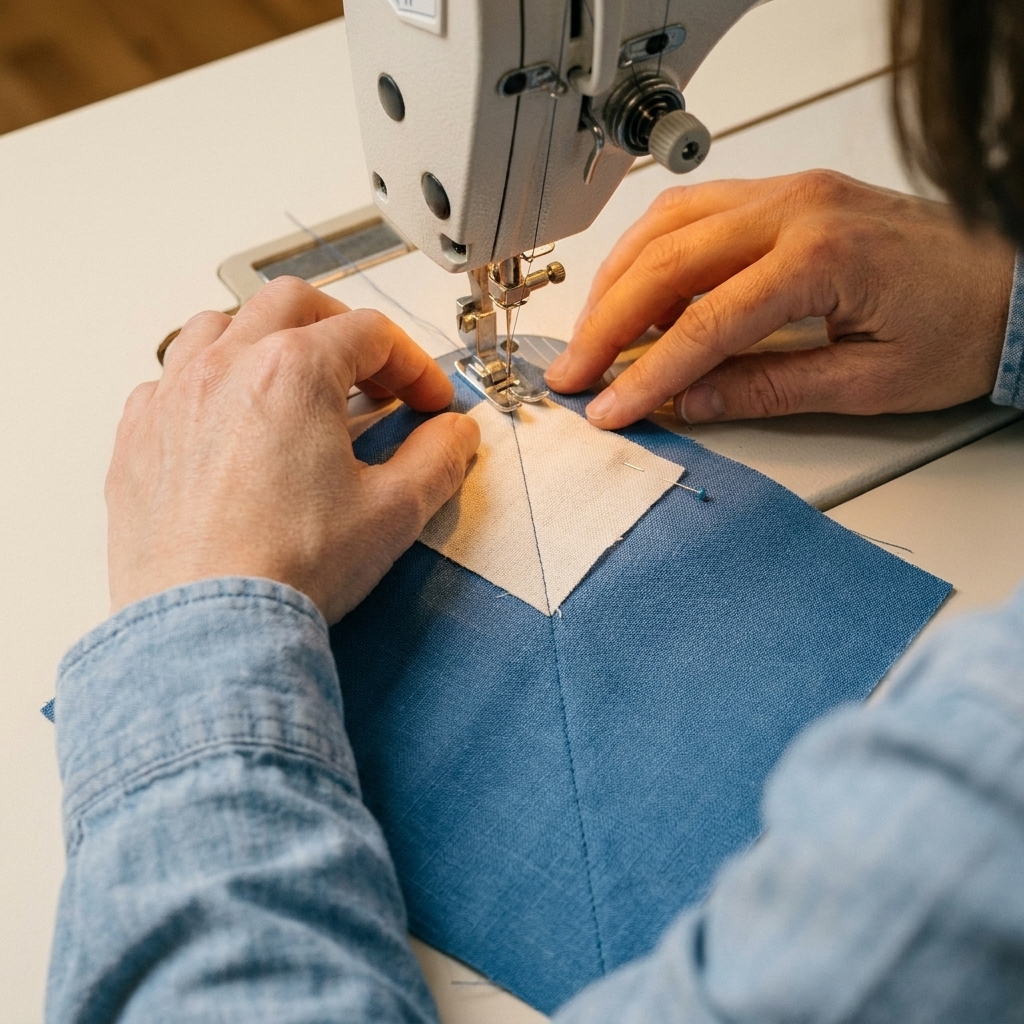
Align one corner square with one corner of the center square, right sides together, raw edges flush. The marked line should run diagonally across the corner.
Orientation check: All four corners should be stitched so the diagonal runs from the outer corner toward the center in the same orientation for each corner. The easiest way to avoid accidentally mirroring one is to keep your marked lines stacked and place them the same way each time.
If your corner fabric is directional, take a second to rotate the squares so the print will look right when it flips open.
3) Preview before you sew
Before you stitch, fold the corner square back along the marked line (like you are auditioning the flip). Check that the folded edge will land right at the corner with a 1/4 inch seam allowance. This quick peek catches most “why is my point chopped” problems before they happen.
4) Stitch on the line
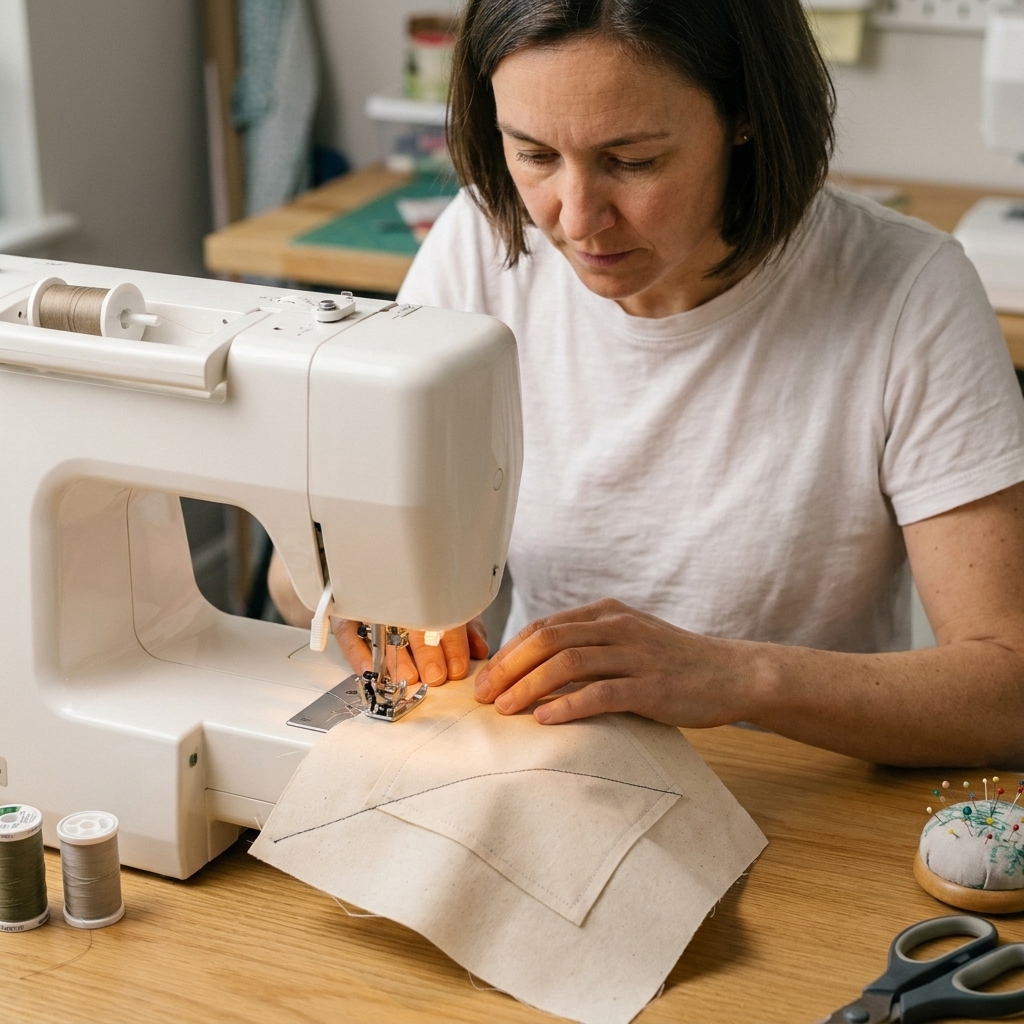
Sew directly on your marked diagonal line. Backstitching is usually not necessary for quilting, but if your pieces will be handled a lot before quilting, take two tiny securing stitches at the start and end (or use a short locking stitch).
Optional upgrade: If you want a bonus half-square triangle, sew a second line 1/2 inch away from the first line toward the outside corner. After sewing, cut between the two stitched lines, then press the little unit open and trim it to size.
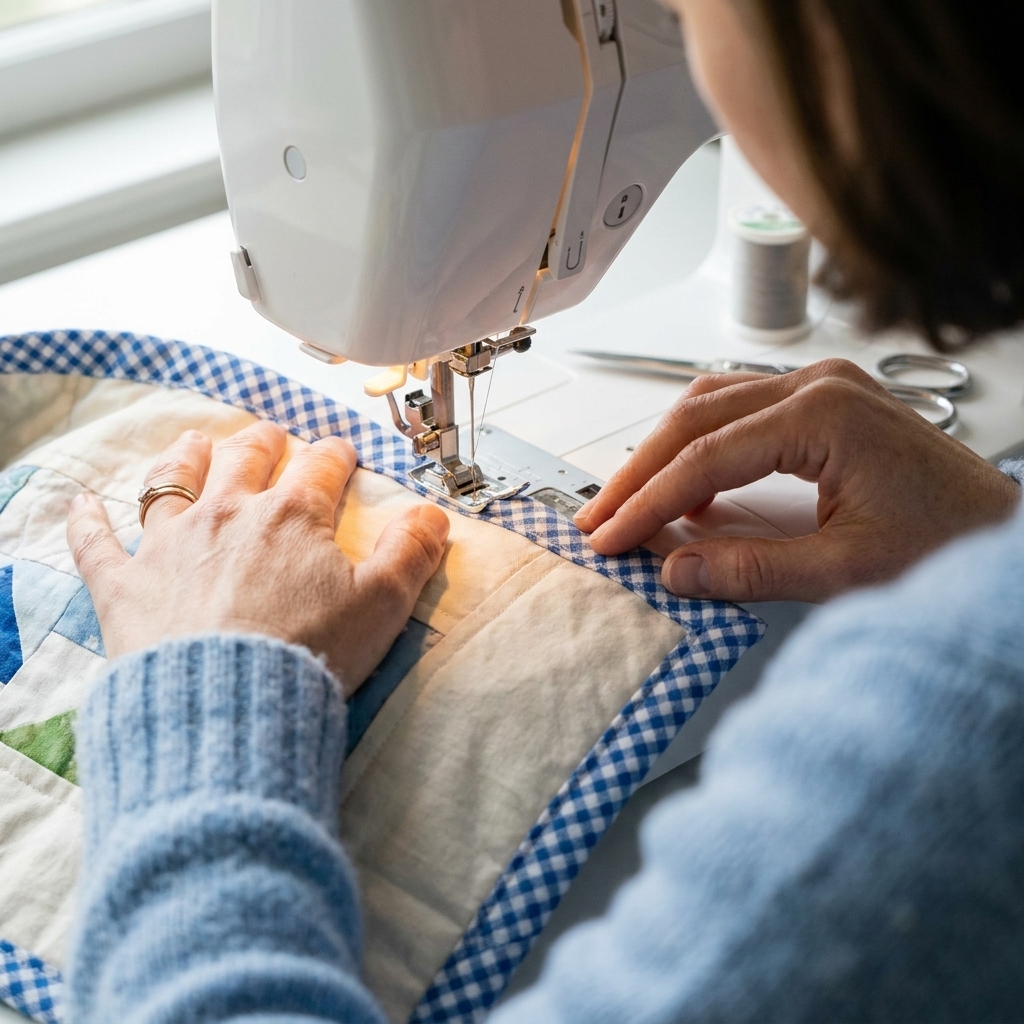
5) Trim the seam allowance
Trim away the extra corner, leaving a 1/4 inch seam allowance beyond your stitching line.
Do not trim before stitching. That is one of the easiest ways to lose accuracy because fabric can shift while sewing.
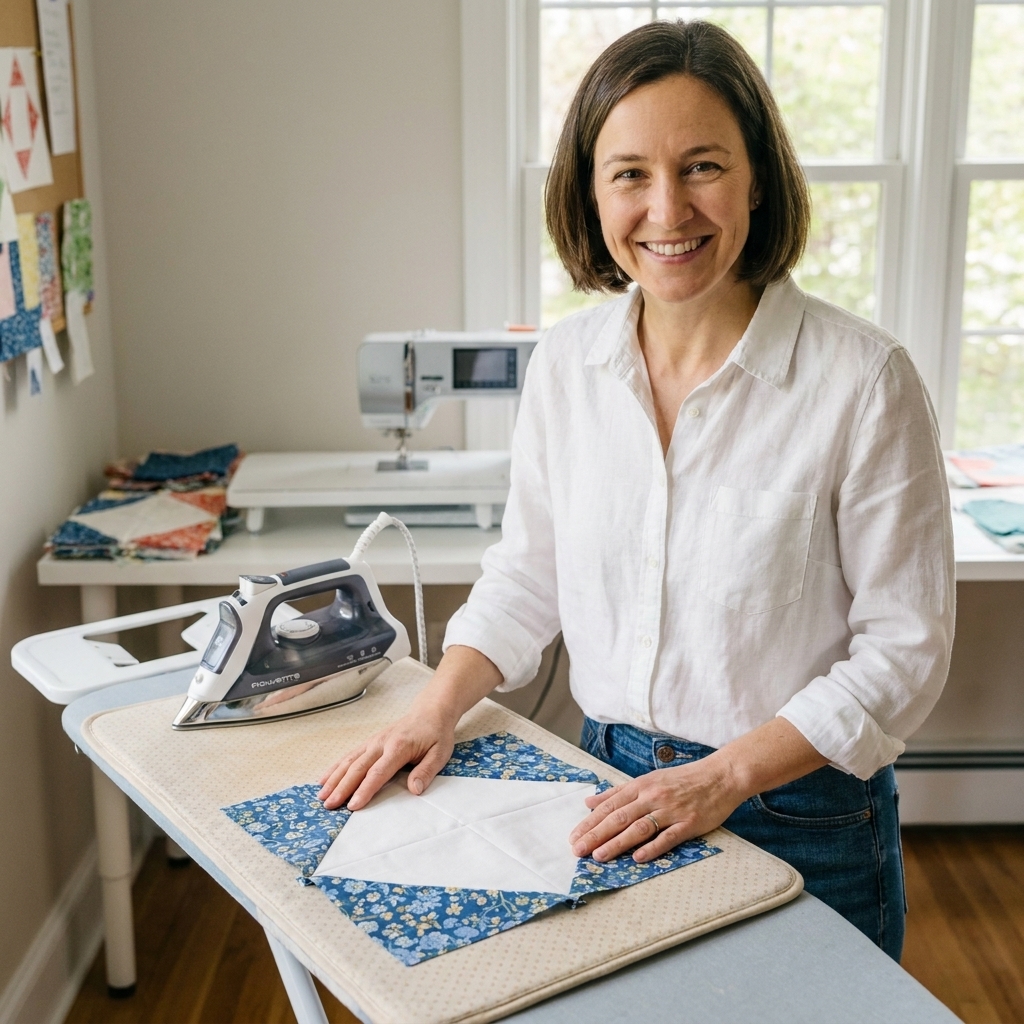
6) Press, flip, press
This is my favorite little pressing rhythm for stitch-and-flip:
- Press to set the seam exactly as it was sewn (just a gentle press, no sliding).
- Flip the triangle open so it fills the corner.
- Press again, usually toward the corner triangle to reduce bulk in the center.
If you are using a very dark corner on a very light center and you worry about shadowing, press toward the darker fabric and consider a slightly shorter stitch length for a smoother fold.
7) Repeat for all four corners
Work corner by corner, pressing as you go. Yes, it feels slower, but it prevents that creeping distortion that can happen when you stack up bulky corners and then try to press at the end.
Perfect corners checklist
Use a consistent scant quarter inch
If your Snowball blocks finish small, you are almost always sewing a hair bigger than 1/4 inch. A seam guide or a piece of painter’s tape on your machine bed can make a big difference.
Keep the corner square from shifting
A few ways to tame sliding:
- Use one pin near the outside edge, placed so it will not be stitched over.
- Use a dab of washable glue stick along the very edge (sparingly).
- Start stitching a few stitches in, then backstitch to the edge, then continue forward.
Trim dog ears
After pressing, snip the tiny dog ears at the outer edge of the triangle. It keeps your seams flatter when blocks join together.
Square up at the end
After all four corners are attached, square the block up to its unfinished size if needed. Example: for a 9 inch finished Snowball, square up to 9 1/2 inches. A little cleanup now makes piecing later feel like butter.
Common problems
Corner points are chopped off
This usually happens when the diagonal seam is not aimed correctly or the seam allowance is a bit too wide.
- Check that your stitched line runs from the inner corner of the small square to the outer corner.
- Draw the line corner to corner with a ruler rather than eyeballing.
- Do the fold-back preview before sewing to confirm your 1/4 inch landing spot.
- Make a test unit and adjust to a slightly scant 1/4 inch seam if needed.
Block is the wrong size
First, measure after pressing and squaring. If it is still off:
- If it is too small, your seams are likely too large or your fabric is being stretched while pressing. Press straight down, do not iron back and forth.
- If it is too big, you may be sewing a scant seam when the pattern expects a true 1/4 inch. Squaring up is your friend here.
Corners look lumpy
Bulk can build fast at the corners, especially with stiffer, tightly woven fabrics (batiks can fall into this category).
- Press the seam allowance toward the corner triangle.
- Trim the seam allowance to a tidy 1/4 inch, and consider lightly clipping the very tip of the seam allowance at the outer corner (do not cut your stitches).
With Nine Patch blocks
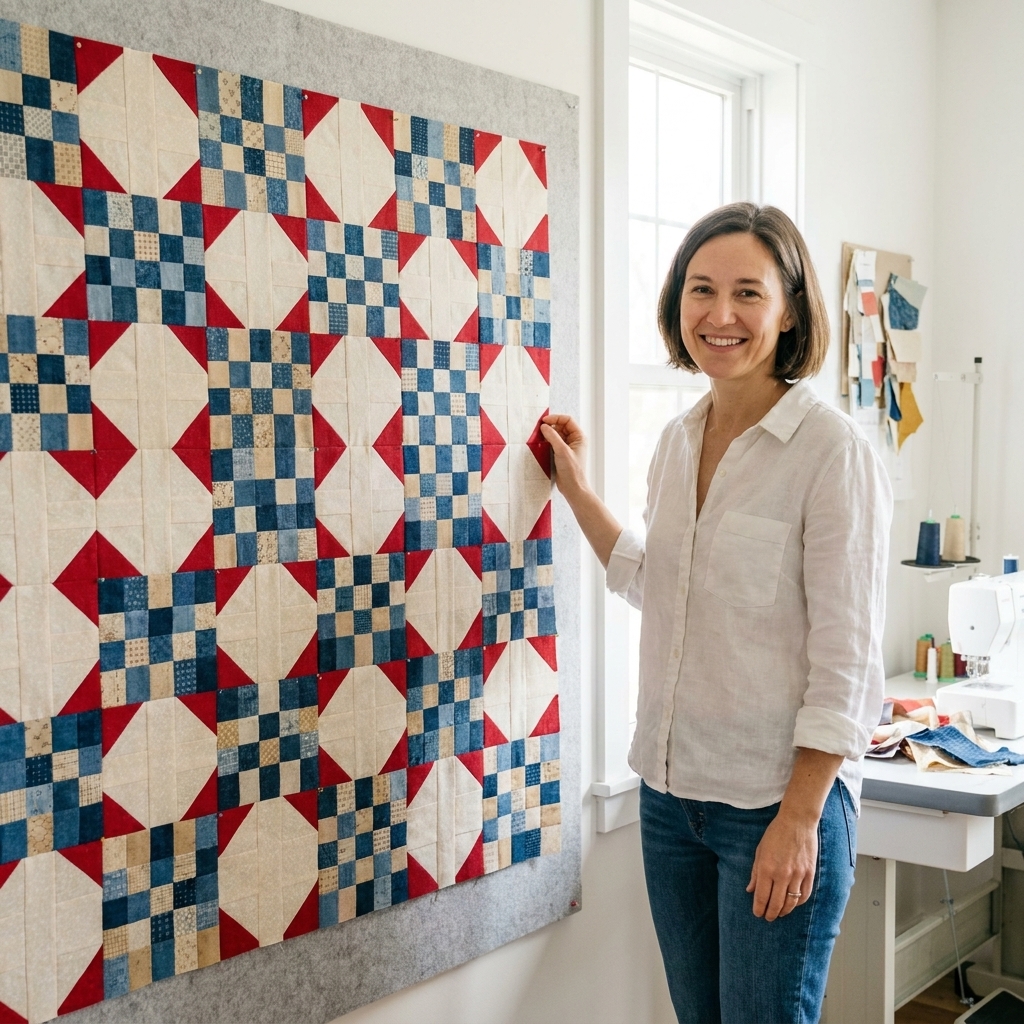
Snowball blocks make a Nine Patch quilt feel like it has motion. The corner triangles create secondary patterns when placed next to patchwork.
Two easy layouts
- Checkerboard alternate: Alternate Nine Patch and Snowball blocks in a grid. Use one consistent corner fabric so the Snowballs create a strong lattice.
- Chain effect: Rotate Snowballs so the corner triangles “point” around the Nine Patches, creating linked shapes across the quilt top.
Color tip: If your Nine Patch has a strong dark and light contrast, make your Snowball center a calm solid or low-volume print. Let the Nine Patch do the talking while the Snowball adds rhythm.
Variations
- Scrappy corners: Make each corner a different fabric for a confetti look.
- Two corners only: Add triangles to just two corners for a playful, modern feel.
- Oversized corners: Use bigger corner squares so the center becomes a small “window” for a special print.
- Decorative diagonals: Use a contrasting thread or a decorative stitch on the diagonal seam line for a subtle detail that shines after quilting.
Snowball FAQ
Should I draw the line?
You can absolutely sew corner to corner without drawing once you feel confident, especially if you have diagonal seam tape on your machine. For beginners, drawing the line is the quickest path to consistent results.
Press seams open?
Not usually. Pressing toward the corner triangle keeps the center flatter and helps the block nest nicely with neighboring seams. If you are working with very dense seams elsewhere, pressing open is fine, just stay consistent.
Stitch length?
I like a slightly shorter stitch for stitch-and-flip, around 2.0 to 2.2. It helps the diagonal seam hold up when you flip and press.
Can I make Snowballs from scraps?
Yes. If your corner squares are a touch small, you will see it immediately because the triangle will not fill the corner. When in doubt, cut corners a hair larger and square up after.
Before you start
Make one practice Snowball block before you cut a whole stack. It takes five minutes and saves so much second-guessing. And if your first block is a smidge imperfect, congratulations. You are quilting like the rest of us, learning with your hands.
When you are ready, make a batch of Snowball blocks and lay them next to your Nine Patches on the design wall. That moment when the secondary pattern appears is pure quilting magic.