A quilter-friendly guide to combining small, medium, and large prints, balancing busy fabrics, and using color value to make your blocks pop.
The Quilt Mark
October 22, 2026
Log Cabin Quilt Blocks: Traditional, Courthouse Steps, and Half Log Cabin
Learn the classic log cabin quilt block and three popular variations. Get clear cutting guidance, beginner-friendly piecing tips, and layout ideas that create striking secondary patterns.

Clara Jenkins
Clara Jenkins is an avid quilter and fabric enthusiast who has been designing and piecing together quilts for over twenty years. She shares her passion for color coordination, block design, and practical sewing techniques to help makers of all skill levels create beautiful, lasting heirlooms. Through Quiltmark, Clara aims to make the timeless art of quilting accessible, joyful, and deeply rewarding for everyone.
Updated October 22, 2026
There is a reason the log cabin block never goes out of style. It is simple enough for a first quilt block, but it can grow with you for decades. Change your fabric values, flip the block rotation, or swap the construction style, and you get brand new movement across the quilt top. That is the magic of logs wrapped around a center.
In this guide, we will explore three favorites: the Traditional Log Cabin, Courthouse Steps, and the Half Log Cabin. I will also walk you through layouts that create those satisfying secondary patterns like barn raising, streak of lightning, and radiating diamonds.
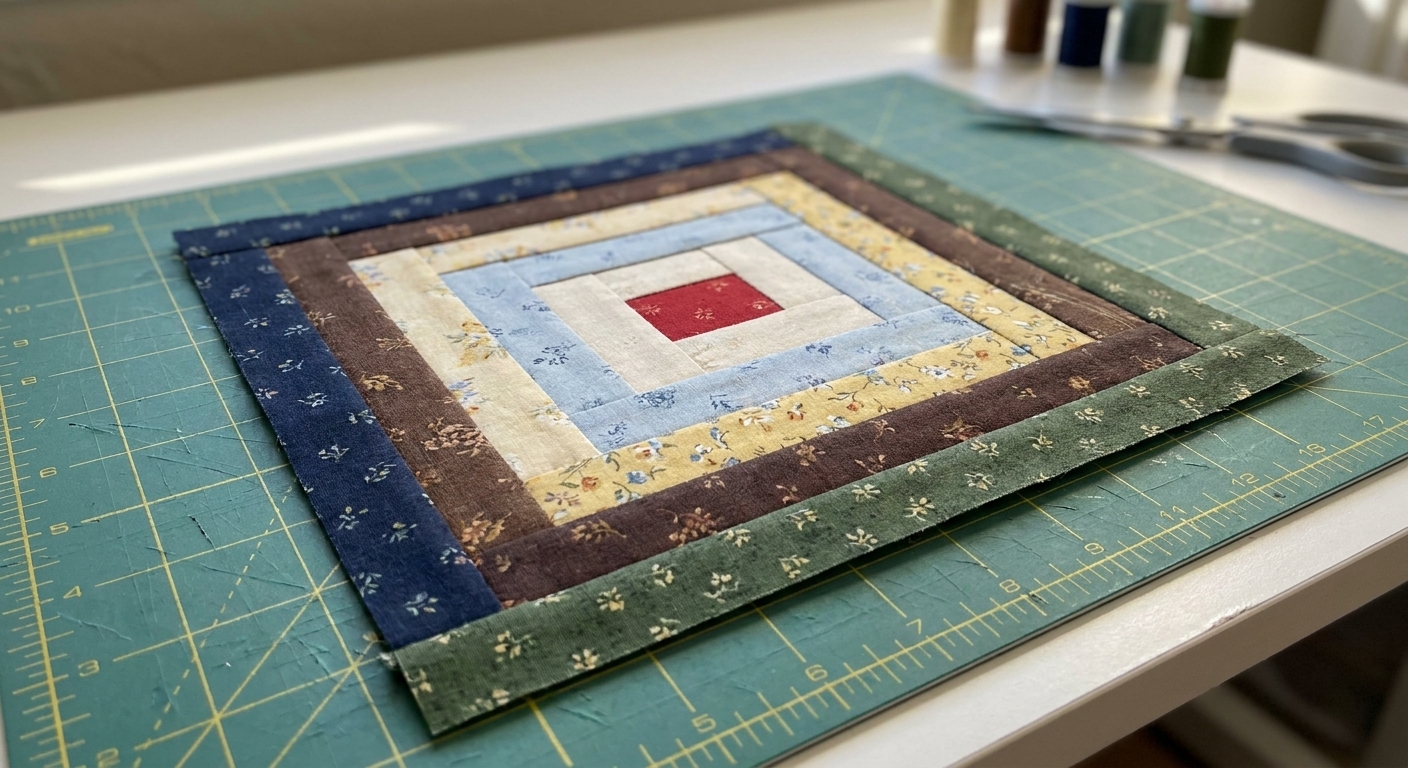
Log cabin basics
Center, logs, and value
Every log cabin block has three essential ingredients:
- A center square (often red, sometimes yellow, sometimes a novelty print you love)
- Logs, which are fabric strips sewn around the center in rounds
- Value contrast, usually a light side and a dark side, which is what creates the secondary patterns when blocks are rotated
If you take only one tip from this whole article, let it be this: value does the heavy lifting. You can use a rainbow of colors, but if your lights and darks read clearly from a few feet away, your quilt will sing.
Finished vs cut size
Quilters talk in two sizes at once, and it can feel like a trick until it clicks:
- Cut size is what you cut with your ruler.
- Finished size is what you see once the block is sewn into the quilt (after seam allowances disappear into the seams).
Most patchwork uses a 1/4 inch seam allowance, so a piece that is cut 2 inches typically finishes at 1 1/2 inches.
One decision that controls everything: log width
Log cabin blocks are wonderfully math-friendly once you pick a log width. A common choice is 1 1/2 inch finished logs, which means you cut strips 2 inches wide (because we add 1/2 inch total for seam allowances).
From there, you decide how many rounds you want. More rounds means a bigger block and more visual rings.
Pressing: pick a strategy and stick with it
Log cabin blocks have lots of seams, so pressing matters more than perfection. Choose one of these and stay consistent:
- Press to the dark: classic, easy, and forgiving if your darks are truly darker.
- Press open: reduces bulk and helps accuracy, especially with thicker fabrics or many rounds.
I personally like pressing to the dark for traditional blocks and pressing open for Courthouse Steps, where seam buildup can get chunky fast.
Traditional Log Cabin
The Traditional Log Cabin is the one most quilters picture first: logs wrap around the center in a continuous path, usually building a light half and a dark half. That split is what creates dramatic patterns when you rotate blocks in different directions.
How it is made
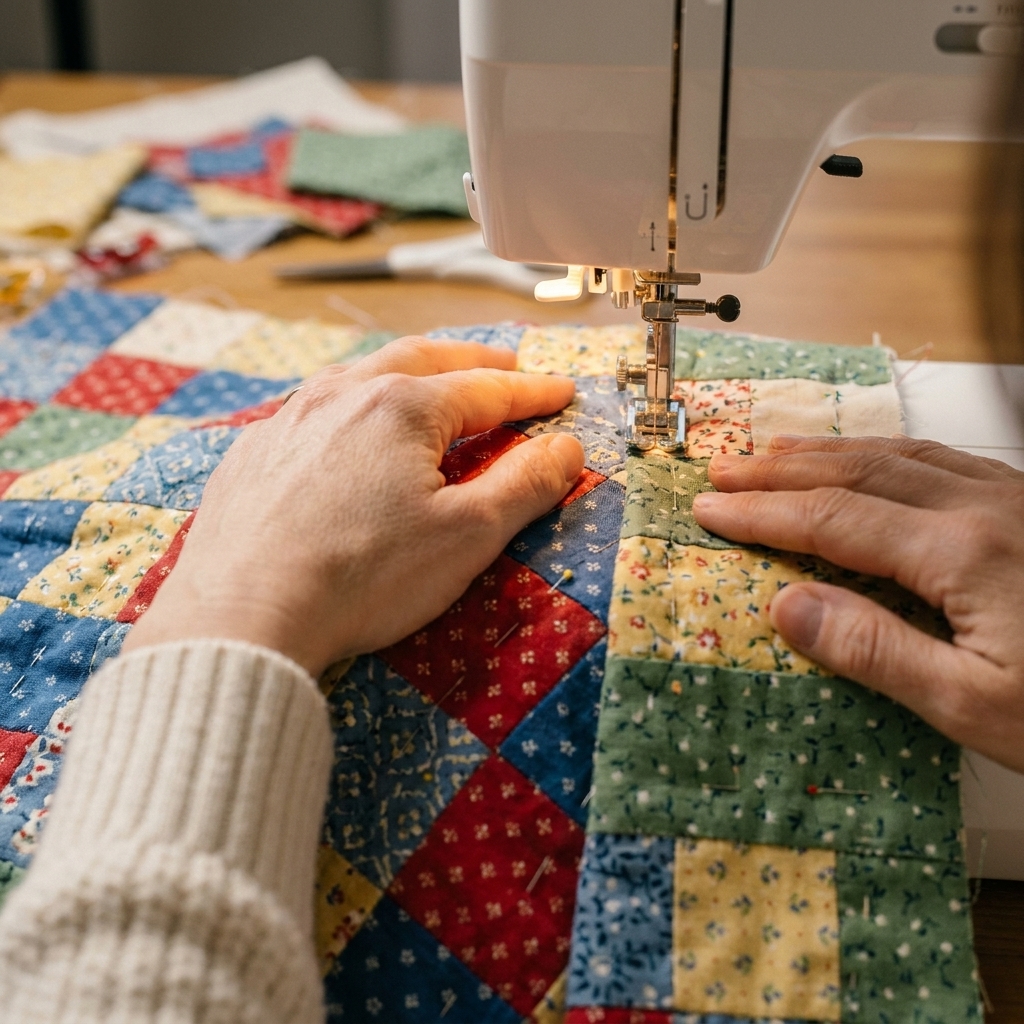
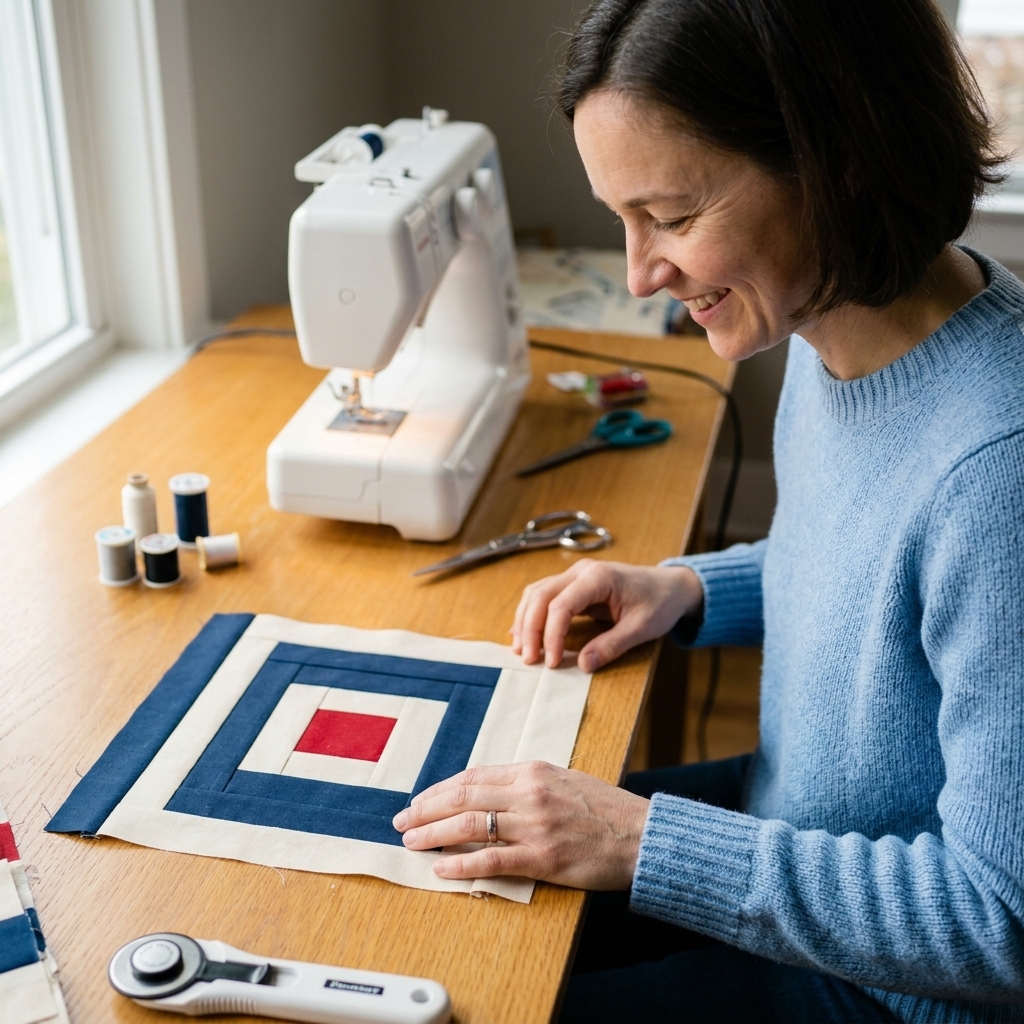
Think of it as sewing strips around the center square one at a time, traveling around the block in a spiral. Accuracy comes from two habits: a consistent seam allowance (many quilters aim for a scant 1/4 inch), and consistent trimming.
- Start with a center square.
- Add Log 1 to one side of the center, sew, then trim flush.
- Add Log 2 to the next side (rotate the unit, not your brain), sew, trim.
- Continue adding logs in order, keeping lights on the light side and darks on the dark side.
About trimming: “trim flush” means squaring the block with a ruler so the corners stay at clean 90 degree angles. You can trim after each log or after each full round. Either is fine. Just pick one and stay consistent.
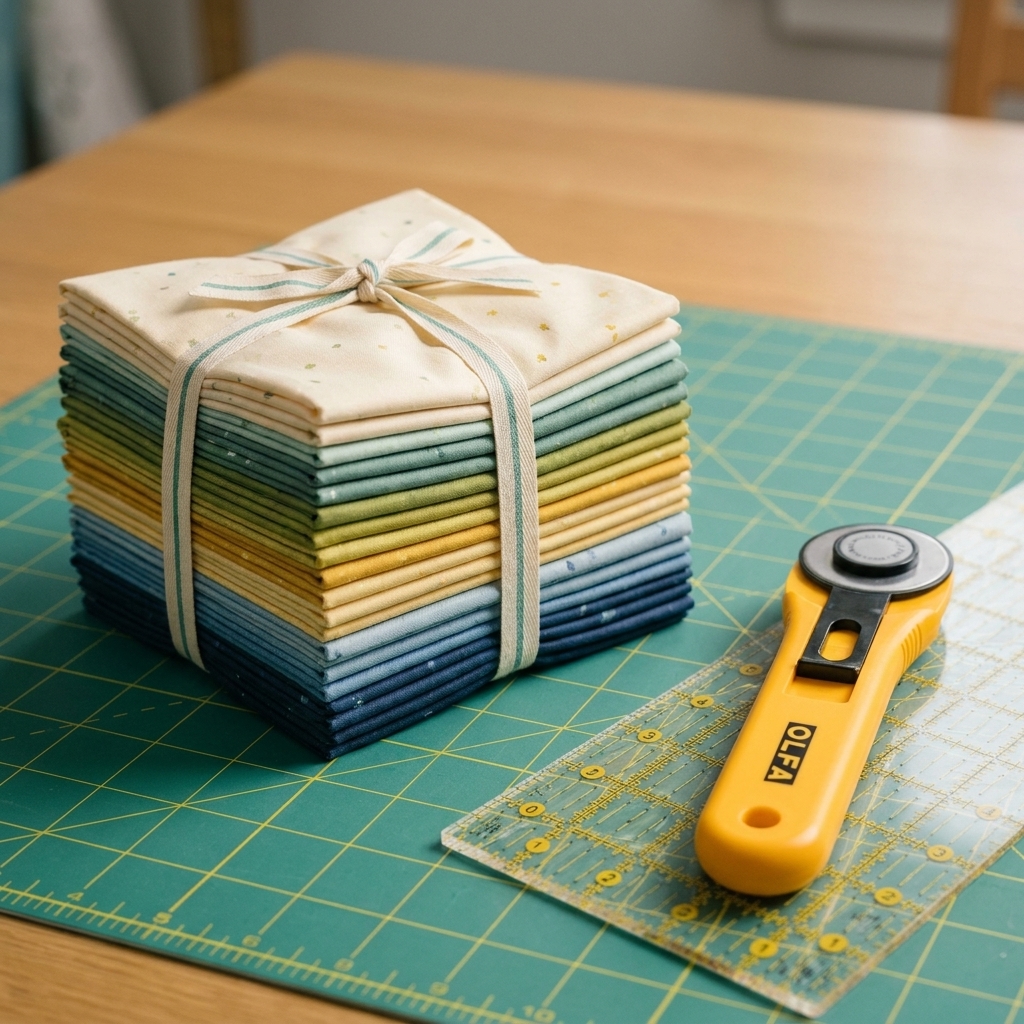
That sew then trim rhythm is your best friend for crisp results, especially if you are working from scraps. A small square ruler (or a trim-down ruler) makes this feel effortless.
Beginner-friendly cutting
If you are using a 2 inch cut strip (1 1/2 inch finished), you can cut a pile of strips longer than you think you need and subcut as you go. For a tidy, low-stress workflow:
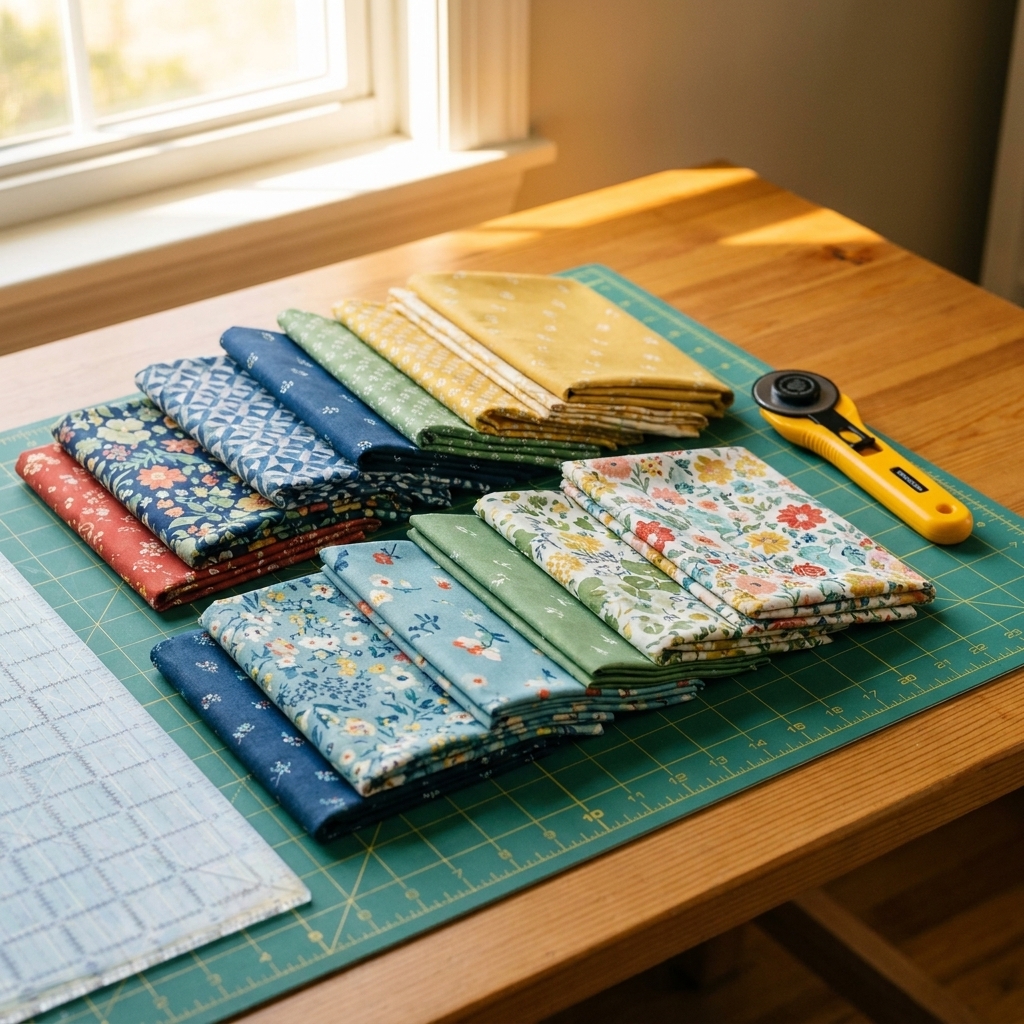
- Cut a stack of 2 inch wide strips in lights.
- Cut a stack of 2 inch wide strips in darks.
- Sew logs on, then trim ends even with the block each time.
Two small things that prevent a lot of frustration: start with a center square that is truly square, and make sure your first strip edges are straight. Width-of-fabric strips can have a slight bow, and that tiny curve loves to show up later as a block that will not behave.
This method is slightly less efficient than pre-cutting every log length, but it is wonderful for accuracy and for stash-busting.
Traditional layout ideas
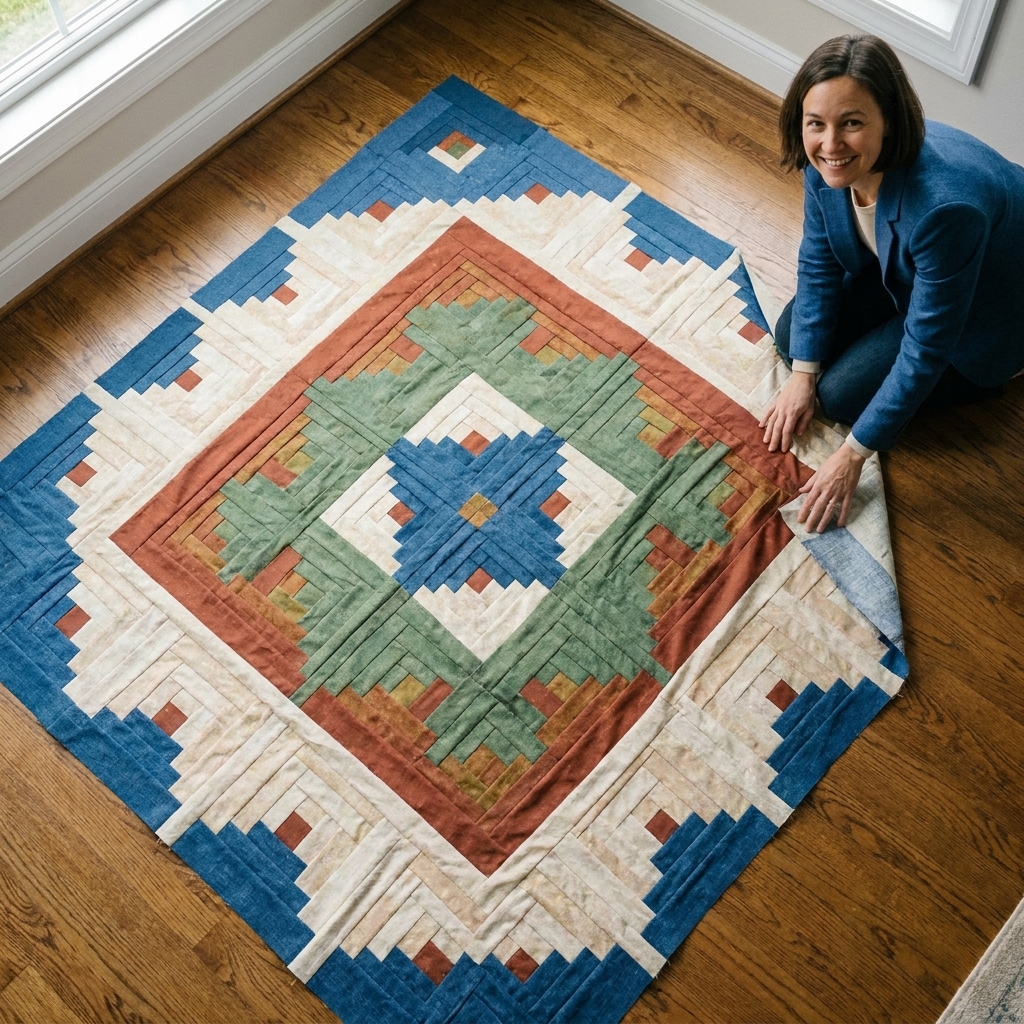
The Traditional Log Cabin shines in layouts because rotating the blocks changes the overall design. Here are the classics you will hear quilters mention at guild meetings for a reason:
- Barn Raising: blocks are rotated to form larger concentric cabins that step out from the center of the quilt.
- Streak of Lightning: blocks create zigzag paths where light and dark halves alternate like a bolt.
- Fields and Furrows: blocks are arranged so light halves form rows and dark halves form alternating rows, giving a woven, plowed-field effect.
Courthouse Steps
Courthouse Steps is a close cousin to the traditional block, but the construction changes the feel. Instead of wrapping around in a spiral, you add logs in pairs to opposite sides, building out like a tidy set of steps.
What is different
In Courthouse Steps, logs are added to opposite sides of the center, then the other two opposite sides, repeating outward. Visually, it often reads more symmetrical and architectural than the traditional spiral.
Construction steps
- Sew a log to the left of the center, then sew a matching length log to the right.
- Press and square up.
- Sew a log to the top, then a matching log to the bottom.
- Repeat, growing the unit evenly.
Tip from someone who has accidentally made a leaning courthouse: match your log lengths within each pair. It keeps the block square and reduces the temptation to pull things into place with your iron.
Why it is great for scraps
Courthouse Steps is fantastic for using up strings because the paired construction makes it easy to balance busy prints. You can do:
- Light vs dark like a traditional cabin
- Warm vs cool for a modern color story
- Solid vs print for clean contrast even in a wild stash
Half Log Cabin
The Half Log Cabin is exactly what it sounds like and it is surprisingly powerful. Instead of building a full square around the center, you build logs on only two adjacent sides, creating a block that feels like a triangle of strips.
Half log cabins are especially fun if you like quilts with lots of negative space, strong diagonals, or modern movement.
Construction options
You have two common ways to make a half log cabin:
- True half build: start with a center square and add logs only to two sides, trimming as you go. This approach often yields a unit that is slightly rectangular until you intentionally trim it back to a square at the end, so plan a little extra fabric for that final squaring up.
- Two mirrored halves: make two half blocks and sew them together into one full block (great for symmetry, also great for chain piecing). This method makes sizing more predictable because the seam down the middle helps you land on a neat square.
How to keep it square
If you want your Half Log Cabin to finish as a true square, plan one extra trimming step. Once you have the look you want, use a square ruler to trim the block to a consistent unfinished size (for example, trim to 10 1/2 inches if you want a 10 inch finished block). Consistent trimming is what makes the final assembly calm and satisfying.
Design payoff
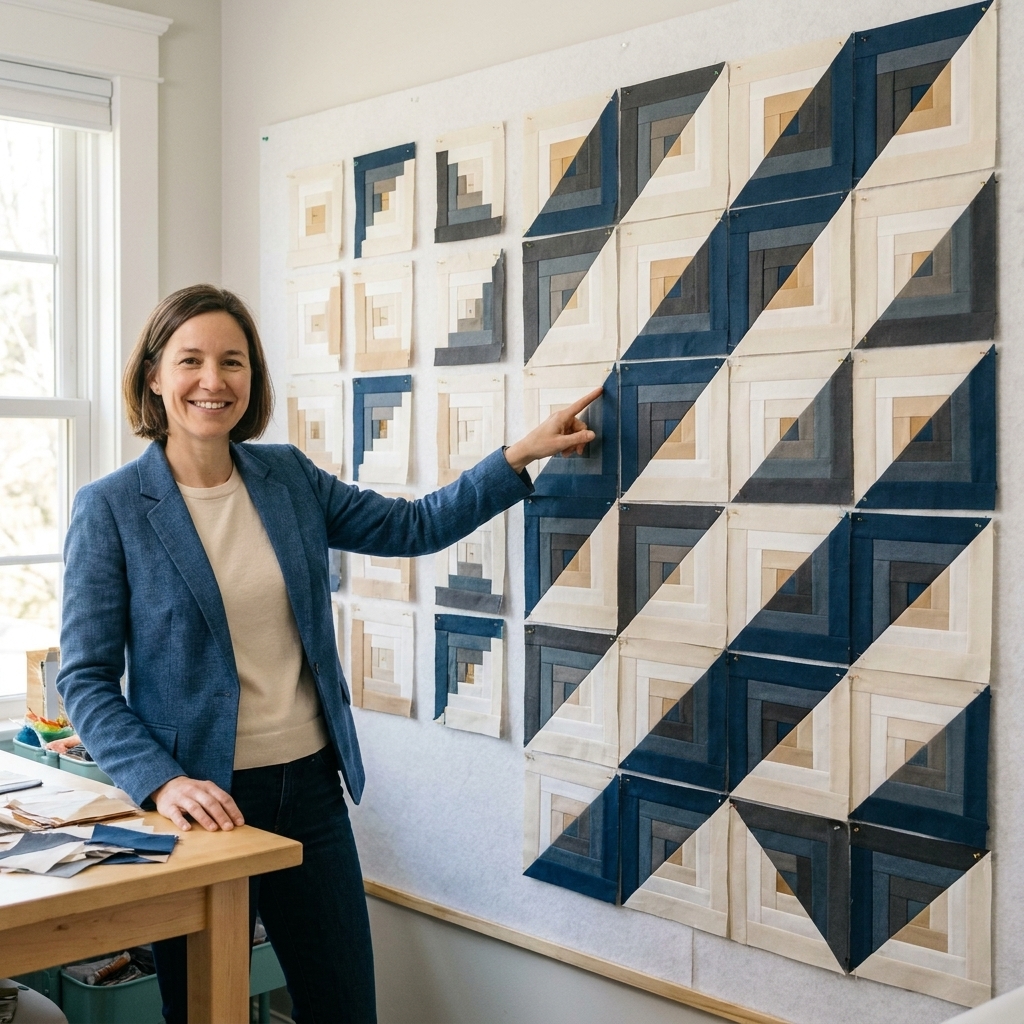
Because each block has a strong directional pull, rotating blocks creates instant secondary patterns:
- Chevron and zigzags
- Large diamonds
- Pinwheel-like movement without tiny pieces
Layout rotation
Log cabin quilts look complicated, but the layouts are mostly about rotation. Before you sew blocks into rows, try laying out four blocks at a time, rotating them like puzzle pieces. Here are the most useful building blocks for planning.
Four-block rotation
Take four log cabin blocks and arrange them in a 2 by 2 square. Depending on how you rotate each block, you can create:
- Radiating diamond: lights meet lights in the center, darks form an X outward (or vice versa).
- Pinwheel effect: each block rotates the same direction, creating a spinning center.
- Square-in-a-square: align light halves to frame a square shape.
If you are a visual planner, snap a quick photo of each 2 by 2 option you like. Then you can build your whole quilt from those repeated macro blocks.
Barn Raising in plain language
Barn Raising is just concentric squares. To get it, you rotate blocks so the light sides (or dark sides) form larger and larger frames. The easiest way is to start at the center with four blocks that make a diamond, then build outward in rings.
Streak of Lightning in plain language
Streak of Lightning happens when you rotate blocks to make a zigzag path. Picture a diagonal line running across the quilt where the light halves touch tip to tip. Keep that line consistent as you expand, and the lightning appears.
Fabric and color
Choose a spark center
In quilting tradition and folklore, the center square is often red and is sometimes said to symbolize the hearth. You can keep that tradition or make it your own:
- All centers the same for a calm, unified quilt
- Centers from a single color family for cohesion
- Fussy-cut centers from novelty prints for little surprises
Keep value contrast honest
If your quilt looks muddy on the design wall, it is usually a value issue, not a skill issue. A quick test:
- Take a photo of your blocks.
- Turn the photo to black and white.
- Make sure you can still see a clear light side and dark side.
Strings, scraps, and good enough
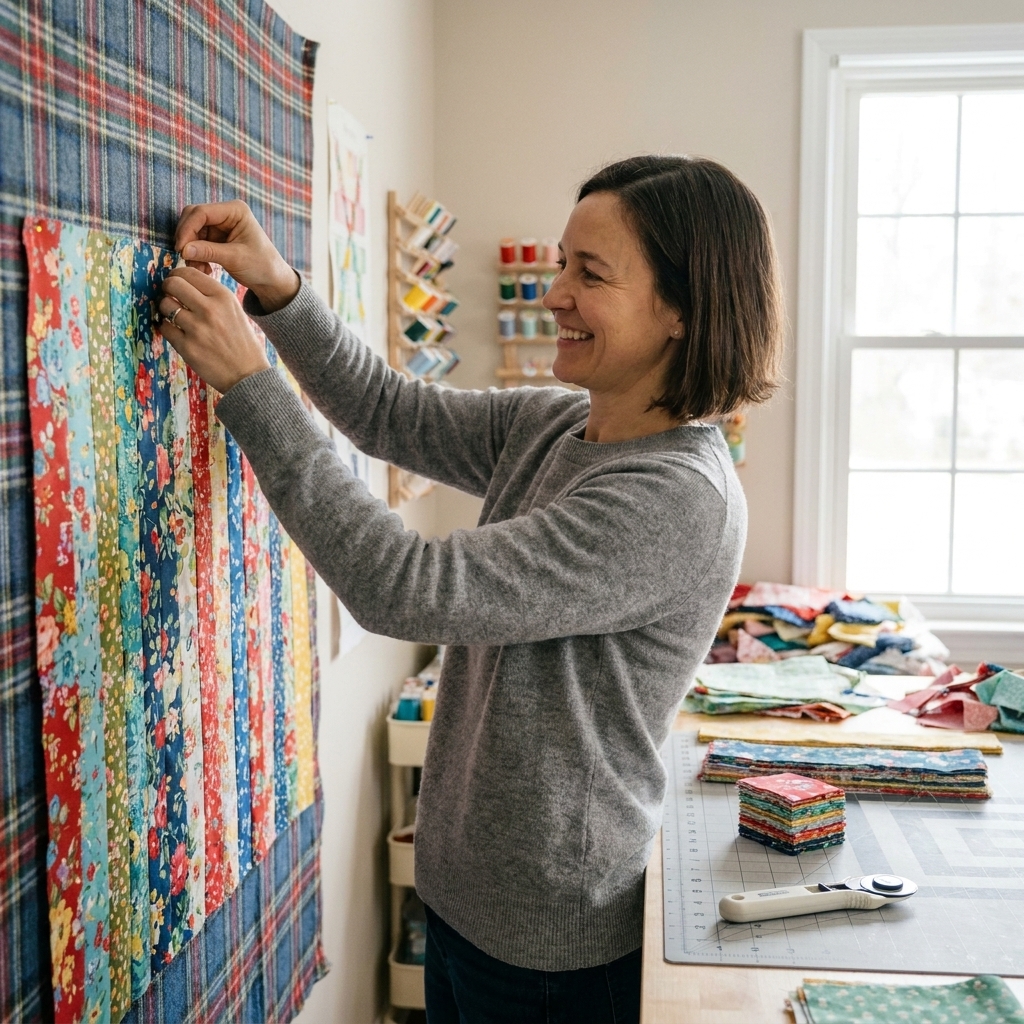
Log cabin is one of the kindest places to use scraps because the repeating strip structure forgives a lot. If one log is a hair shorter than planned, trim and keep going. If two prints clash in a way you did not expect, tuck that block into a busier area of the layout. Quilts are meant to be lived with, not stared at under a magnifying glass.
Accuracy and fixes
Problem: blocks are not the same size
- Cause: inconsistent seam allowance or inconsistent trimming.
- Fix: use a seam guide or painters tape on your machine, and trim after each log or after each round, whichever you choose. Do it the same way every time.
Problem: the block is wavy
- Cause: stretching strips as you sew or pressing too aggressively.
- Fix: let the feed dogs do the work, finger-press first, then press by lifting the iron instead of dragging.
Problem: bulky seam intersections
- Cause: lots of layered seam allowances at the center and corners.
- Fix: consider pressing open, try a slightly shorter stitch length (start around 2.0 to 2.2 and adjust for your machine, thread, and fabric), and trim dog-ears as you go.
Problem: the secondary pattern is not showing
- Cause: lights and darks are too similar in value.
- Fix: swap a few logs for higher-contrast options, or add a stronger dark and a cleaner light to reset the pattern.
Start today
If you are itching to sew right now, here is a friendly first project plan that does not require a big commitment:
- Pick one log width (2 inch cut strips are a sweet spot).
- Make four Traditional Log Cabin blocks with a clear light side and dark side.
- Lay them out in a 2 by 2 and rotate until you see a diamond or pinwheel you love.
- Sew those four blocks into a mini quilt top for a pillow, wall hanging, or table topper.
Once you see how much the rotation changes the look, you will understand why log cabins are so addictive. They are like a kaleidoscope you can stitch.
FAQ
What is the best size for a log cabin block?
There is no single best, but beginners often enjoy blocks that finish at 10 to 12 inches. They are large enough to sew comfortably and small enough to go together quickly. Pick your log width first, then add rounds until you like the block size.
Do I need paper piecing for log cabins?
No. Log cabins are traditionally strip-pieced on a regular sewing machine. That said, foundation techniques can be helpful for very scrappy string log cabins where strip widths vary.
Can I make log cabin blocks with jelly rolls?
Yes, with one caveat: jelly roll strips are usually 2 1/2 inches wide (2 inches finished). That makes a bolder, chunkier log cabin. It is a great look, just different from the more delicate 1 1/2 inch finished log.
How many blocks do I need for a throw quilt?
It depends on your block size and your desired quilt dimensions. As a rough starting point, a throw around 60 by 70 inches could be made with:
- 30 blocks that finish at 12 inches (5 by 6), which lands around 60 by 72 inches before borders
- 48 blocks that finish at 10 inches (6 by 8), which lands around 60 by 80 inches before borders
Final size can shift a bit depending on seam accuracy, how aggressively you square up blocks, and a small amount of shrinkage after quilting and washing. If you are unsure, make four to nine blocks first, measure them, and then decide on your grid. Quilting is allowed to be iterative.