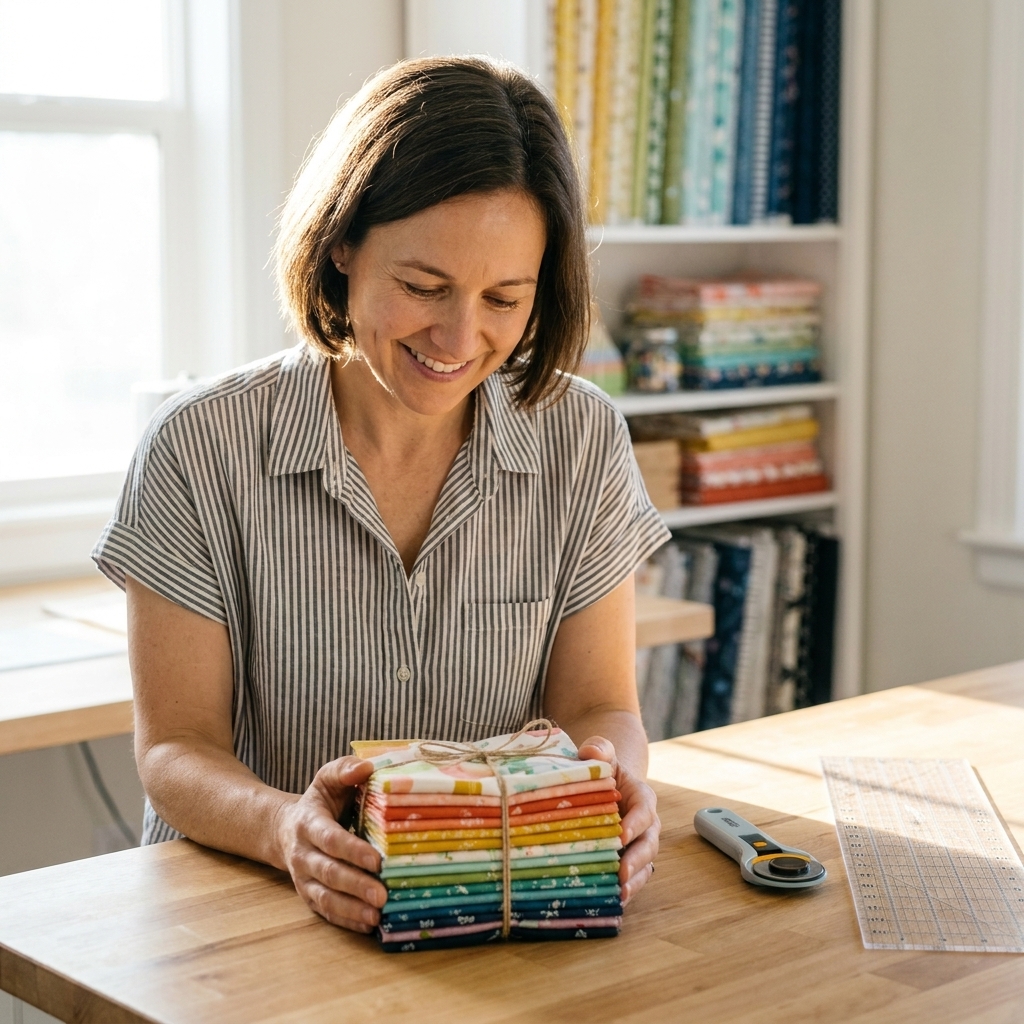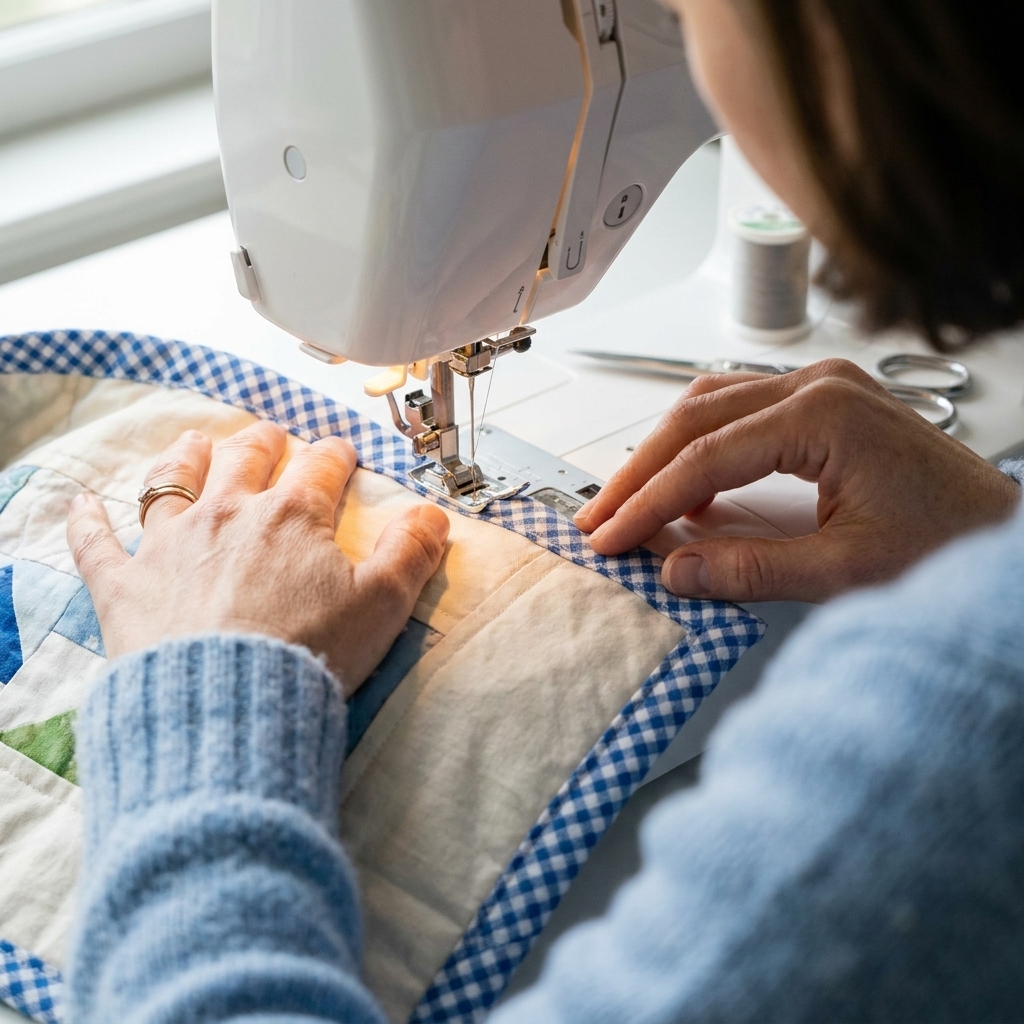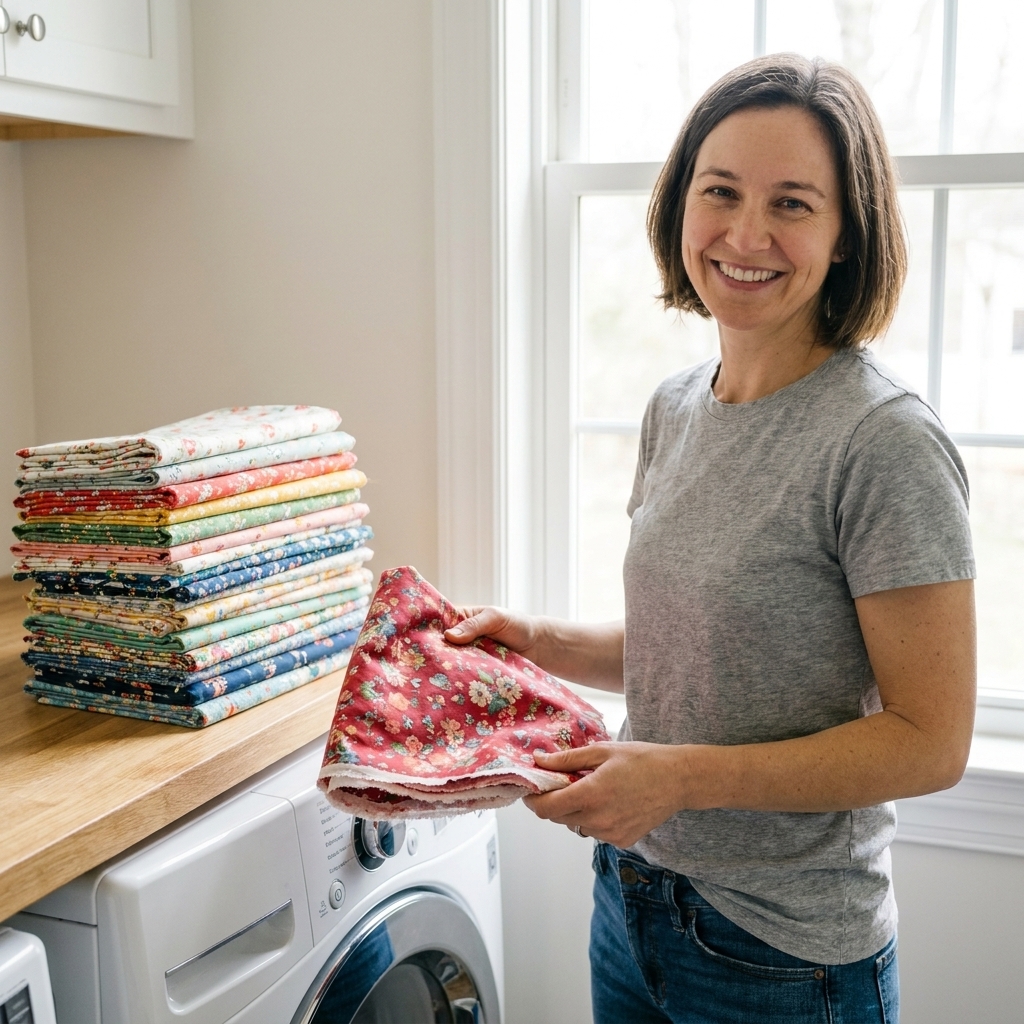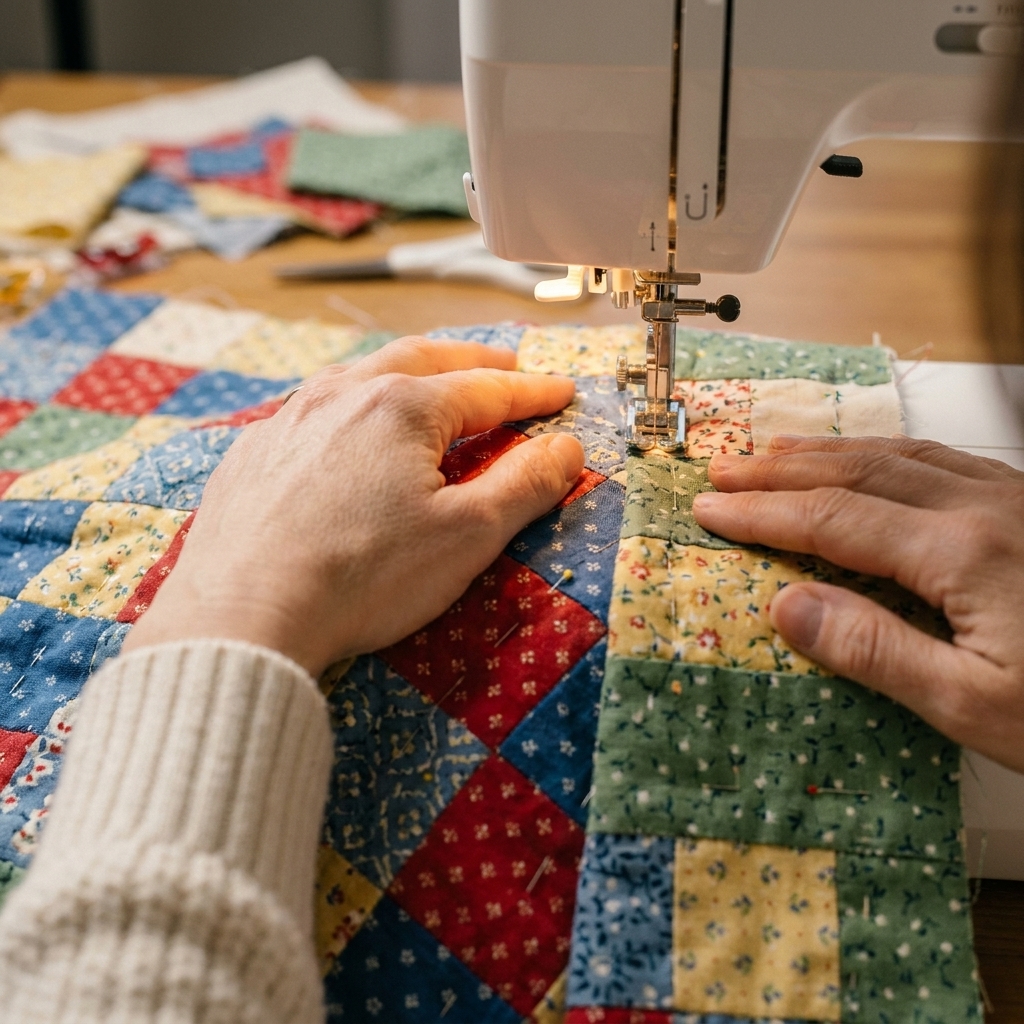
A complete beginner walkthrough for a simple patchwork quilt: choose fabrics, cut squares, piece rows, quilt the layers, and bind a cozy finished quilt.
The Quilt Mark
October 22, 2026
5 Disappearing Nine Patch Variations
Turn a simple Nine Patch into bold, geometric magic. Learn five striking Disappearing Nine Patch variations with cutting steps, layout tips, and stash-friendly fabric advice.

Clara Jenkins
Clara Jenkins is an avid quilter and fabric enthusiast who has been designing and piecing together quilts for over twenty years. She shares her passion for color coordination, block design, and practical sewing techniques to help makers of all skill levels create beautiful, lasting heirlooms. Through Quiltmark, Clara aims to make the timeless art of quilting accessible, joyful, and deeply rewarding for everyone.
Updated October 22, 2026
The Disappearing Nine Patch is my favorite kind of quilting trick: you start with something comfortingly basic, make a few confident cuts, and suddenly the block looks like you spent the entire weekend doing quilt math.
If you have ever sewn a standard Nine Patch, you are already qualified. The “disappearing” part is simply slicing that finished block into sections and rearranging them into a new design. It is meditative, forgiving, and downright magical for stash busting.
Before you start: a quick, no-stress method
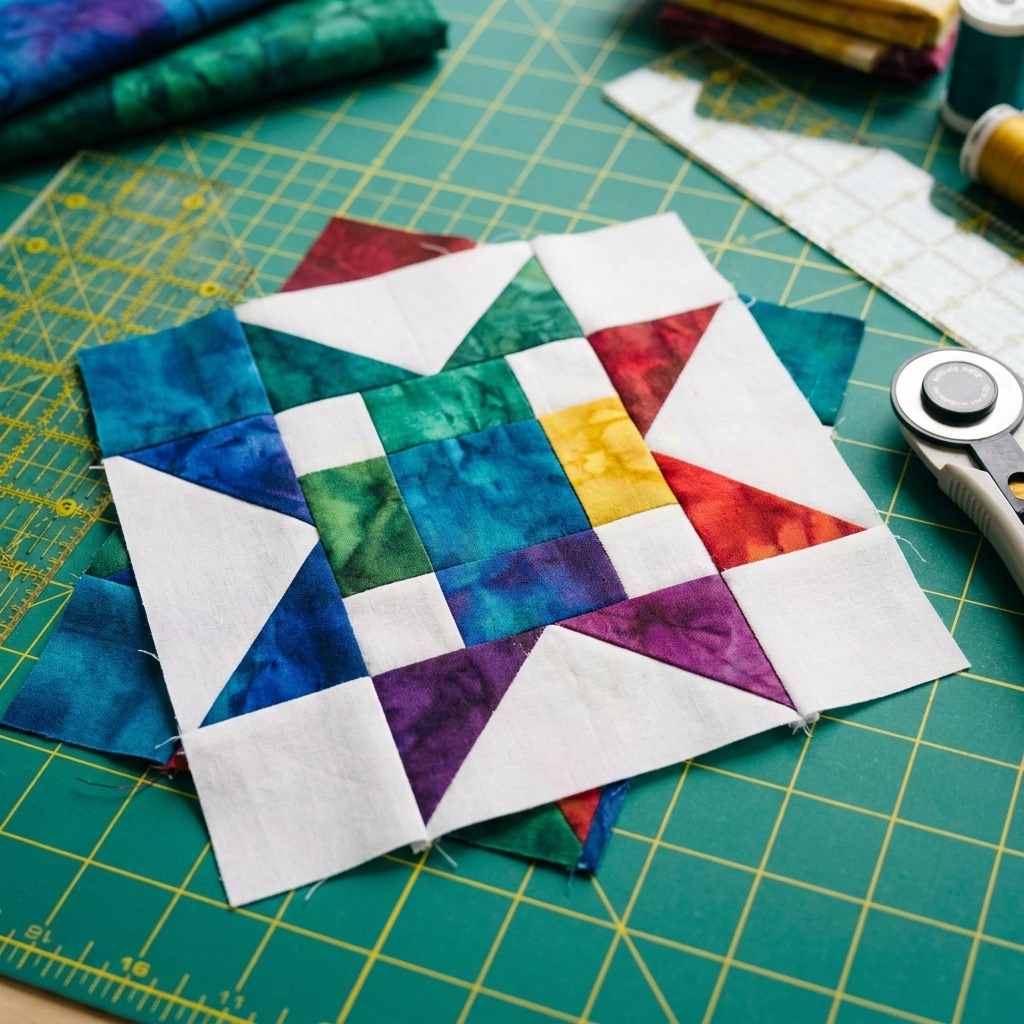
All five variations below begin the same way. Make one Nine Patch block, press it well, then cut it up and reassemble.
Step 1: Sew a simple Nine Patch
- Choose two fabrics for high contrast (or three fabrics if you want a more scrappy look).
- Cut nine identical squares.
- Sew three rows of three squares, then sew the rows together.
Step 2: Seam allowance, nice and steady
Use your usual quilting seam allowance (most of us aim for a scant 1/4 inch). A slightly different seam allowance will not ruin your block, but it will nudge the final size, so consistency is the real secret.
Step 3: Press like you mean it
Pressing is what keeps the “wow” factor crisp. I like to press seams in alternating directions by row so the seams can nest when I join the rows. For the final seams, do what makes your block lie flatter: press to one side for nesting or press open if bulk is getting bossy. No perfectionism required, just consistency.
Step 4: Square up your block
Even if your seams are a bit wiggly, a careful trim makes the cutting steps so much easier. Square it to a clean measurement before you slice.
Choosing a good size
You can do this with any square size, but these are beginner-friendly sweet spots:
- 5 inch squares (charm squares): great for fast practice blocks.
- 6 inch squares: bolder shapes, fewer seams in the final quilt.
- 3.5 to 4.5 inch squares: scrappy and detailed without getting fussy.
Helpful rule: A Nine Patch made from X inch cut squares measures (3X − 1) inches unfinished before you do any disappearing cuts (assuming a standard 1/4 inch seam allowance).
- Example: 5 inch squares make a 14 inch unfinished Nine Patch.
- Example: 6 inch squares make a 17 inch unfinished Nine Patch.
Quick note on wording: “Unfinished” means the size of your block before it is sewn into a quilt top. “Finished” is what it measures after it is stitched in with a seam allowance.
Cutting guide you will use again and again
Most Disappearing Nine Patch variations rely on slicing the finished block into a grid. Here are the two cuts I reach for most often:
- Quarter cut: cut straight through the center of the Nine Patch vertically and horizontally to make four equal units.
- Nine cut: cut the Nine Patch into thirds vertically and horizontally to make nine smaller units.
If you want your cuts to land exactly where you intend, measure from the block edge, not from seam lines. Seams are wonderful, but they are not always perfectly identical in real life.
Before you cut: a 10-second checklist
- Is the block squared up?
- Are the seams pressed flat (no little tucks)?
- Are you measuring from the outside edges?
- Is your ruler anchored and your rotary blade sharp?
Variation 1: Classic twist
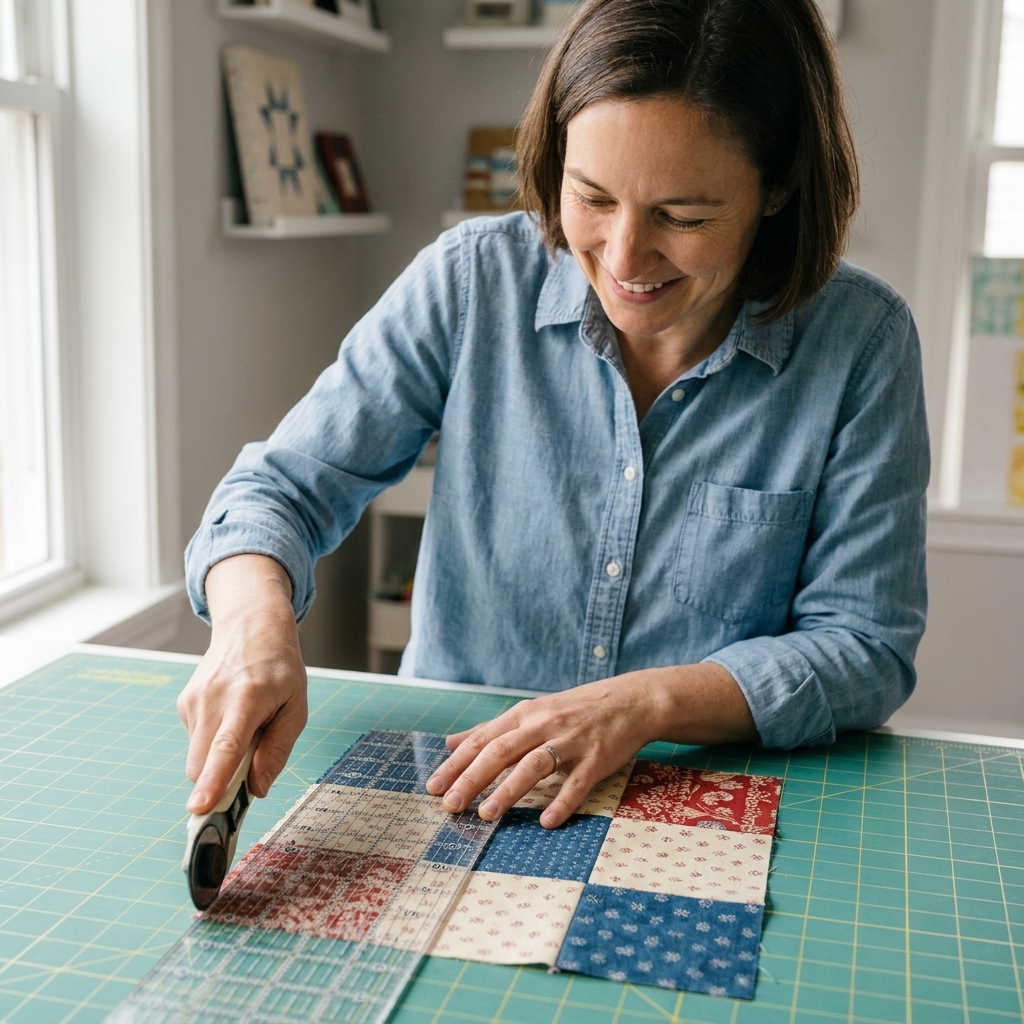
This is the version that hooks most quilters. It makes a pinwheel-like motion and looks complicated, even in calm fabrics.
How to cut
- Make your Nine Patch.
- Cut it into four equal quarters (one vertical cut through the center, one horizontal cut through the center).
How to rearrange
- Rotate each quarter 90 degrees in the same direction (clockwise is easiest to remember).
- Sew the four quarters back into a block.
- Give it a press, then square it up again if it needs a tidy trim.
Fabric tip
Choose a dark for your corners and a light for your center square if you want the “spin” to pop. If you go fully scrappy, keep at least one fabric repeating so the eye has something to follow.
Variation 2: Frame and float
This variation creates the look of a framed center, like a window with crisp architecture. It is stunning for modern quilts and baby quilts alike.
How to cut
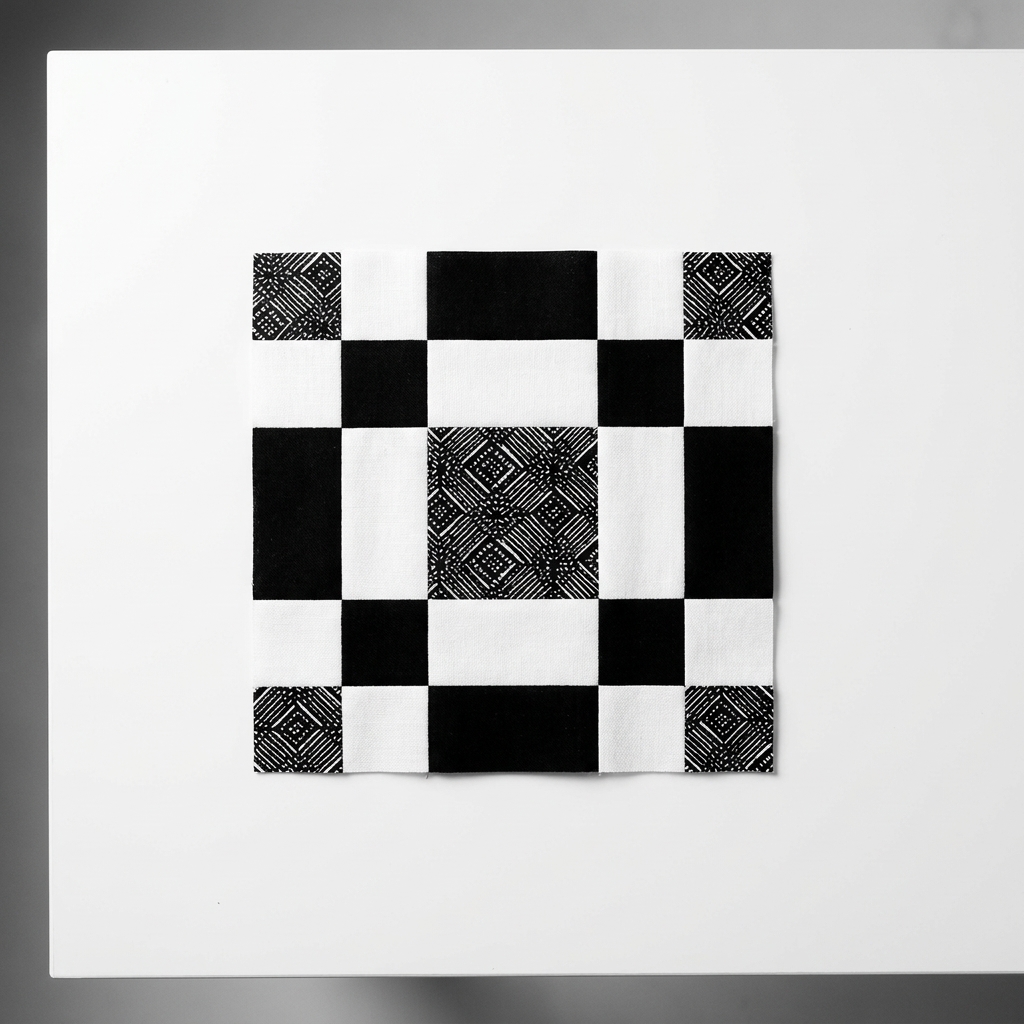
- Cut your Nine Patch into thirds both directions, creating nine smaller units.
How to rearrange
- Keep the center unit in the center.
- Swap the four corners with the four mid-edge units. If you want a simple, no-thinking mapping, do this: top-left ↔ top-middle, top-right ↔ right-middle, bottom-right ↔ bottom-middle, bottom-left ↔ left-middle.
- Now pause and play: rotate the swapped units as needed until the “frame” looks crisp and intentional, then sew.
- Press, then square the block up after reassembly.
Fabric tip
This one loves contrast. Try:
- Center: a feature print you adore.
- Frame: a solid or small blender print.
- Outside corners: scrappy lights or scrappy darks.
Variation 3: Skinny strips
If you want more movement without adding more piecing, add more cuts. Slim sections create a shimmery, mosaic-like look that is amazing for scrap quilts.
How to cut
- Start with the quarter cut (four equal units).
- Now take each quarter and slice it again to create rectangles. A common approach is cutting each quarter into three vertical strips or three horizontal strips.
How to rearrange
- Stack and swap strips between the quarters like you are shuffling cards.
- If you want a concrete place to start: keep the center strip from each quarter where it is, and swap the outer strips with the quarter beside it (left swaps with right, top swaps with bottom). Instant movement, minimal confusion.
- Keep at least one strip from each original quarter in its same general area so the block still feels cohesive.
- Press, then square up if the skinny cuts made things a little wobbly.
Clara’s sanity saver
Lay everything out on a design wall or even a clean floor space. Take a quick phone photo before sewing. If you accidentally rotate a unit later, you have a “map” to get back on track.
Variation 4: Diamond pop
This one is a show-off, especially when your Nine Patch has a strong center fabric. Instead of trying to force a square to behave like a diamond in a straight grid, we let the diagonal cut do the work. It looks fancy, and it still sews up with straight seams.
How to cut
- Start with a well-pressed, squared-up Nine Patch.
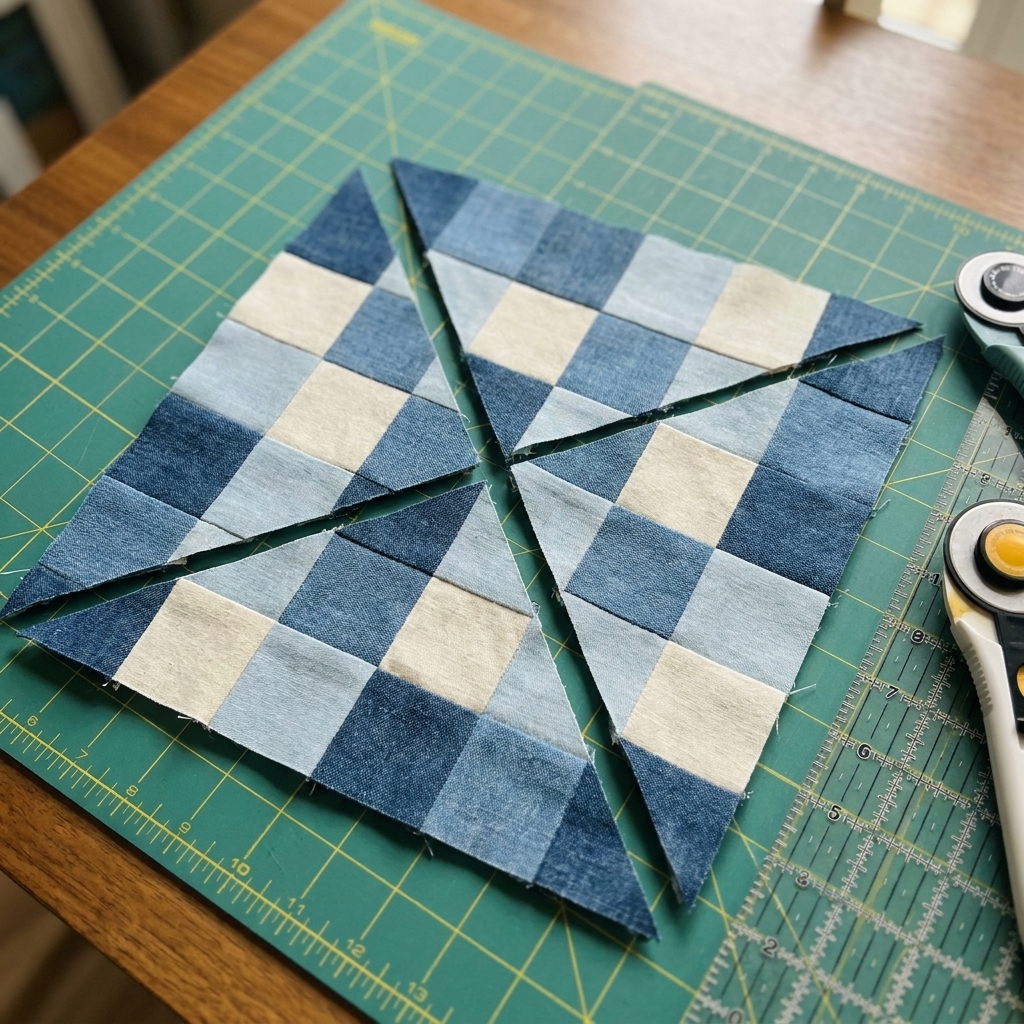
- Make an X cut: cut corner to corner in both directions to create four large triangles.
Bias-edge heads up
Those diagonal edges are bias, which means they can stretch if you tug them. If you are a beginner, a light spritz of starch before cutting helps. Handle the triangles gently, use a few extra pins, and avoid pulling as you sew.
How to rearrange
- Turn each triangle 180 degrees (a half turn), so the triangles’ 90-degree points sit at the outer corners of the block.
- Check your layout: the original outer corners should now meet toward the center, creating that crisp diamond effect.
- Sew the triangles back together. Join two triangles into a half, press, then sew the halves together.
- Press gently, then square the block up again.
Fabric tip
High contrast makes the diamond shape read instantly. If your center square is special, place it there on purpose. A small-scale print or solid in the center plays nicest with the diagonal seams.
Variation 5: Stacked steps
This is technically a block variation and a layout idea all in one. You make multiple Disappearing Nine Patch blocks, then rotate and arrange them so the quilt top forms “steps” or a zigzag pathway across the surface. It is graphic, modern, and surprisingly fast for a throw size.
How to cut
- Use the classic quarter cut Disappearing Nine Patch (Variation 1) for each block.
How to arrange across a quilt
- Make at least 9 blocks so you can see the movement.
- Rotate each block so the strongest diagonal line “walks” in the same direction.
- Alternate rows by flipping every other row to create a zigzag or chevron-like path.
Fabric tip
This is where stash busting shines. Keep one unifying element across all blocks, like:
- a consistent background fabric, or
- a repeated dark value, or
- one accent color that appears in every block.
Color and contrast: the secret sauce
The Disappearing Nine Patch can look soft and vintage or sharp and modern. The difference is usually contrast, not complexity.
- High contrast (light vs dark): crisp geometry, strong secondary patterns.
- Low contrast (all mid-values): subtle texture, cozy blend, more “quilty” than graphic.
- One wild card print: adds energy without needing lots of different fabrics.
If you are unsure, take a quick black-and-white photo of your fabric pull. Values become instantly obvious, and your block will thank you.
Troubleshooting common hiccups
My block got a bit wavy after rearranging
Totally normal, especially with lots of seam intersections. Press gently, square up after each major re-seam, and consider pressing some seams open to reduce bulk.
My seams do not match after cutting
This technique is forgiving. The eye reads the overall geometry more than individual points. Trim accurately, pin at key intersections, and remember that “perfect” is not required for “striking.”
My block looks muddy, not bold
Add value contrast. Swap one fabric for something lighter or darker, or choose a calmer blender for the background so the shapes stand out.
Quick FAQ
Do I need a special ruler for Disappearing Nine Patch blocks?
Nope. A standard quilting ruler, rotary cutter, and a mat are plenty. The only must-have is careful measuring before you cut.
Is this beginner-friendly?
Yes. If you can sew a straight seam and keep a quarter-inch seam allowance reasonably consistent, you can do this. The cutting and rearranging is the fun part.
What is the best fabric type?
Quilting cotton is easiest and most stable, especially if you are making skinny cuts (Variation 3). Prewash if you always prewash, but do not mix prewashed and unwashed in the same project unless you like surprises.
A sweet next step
If you want to turn today’s practice into a finished quilt without overthinking it, make 12 to 20 blocks in one variation, add simple sashing, and finish with a bold binding. The Disappearing Nine Patch is one of those rare blocks that looks like a puzzle but sews like a friendly afternoon.
If you try one of these variations, keep your first block. I still have my earliest wonky one tucked in a drawer, and I pull it out whenever I need a reminder that quilts are supposed to be joyful, not flawless.