A complete beginner walkthrough for a simple patchwork quilt: choose fabrics, cut squares, piece rows, quilt the layers, and bind a cozy finished quilt.
The Quilt Mark
October 22, 2026
How to Make a T-Shirt Memory Quilt
Turn beloved tees and sweatshirts into a cozy memory quilt with clean, square blocks. Learn how to prep knits, apply interfacing, and plan a layout that lies flat.

Clara Jenkins
Clara Jenkins is an avid quilter and fabric enthusiast who has been designing and piecing together quilts for over twenty years. She shares her passion for color coordination, block design, and practical sewing techniques to help makers of all skill levels create beautiful, lasting heirlooms. Through Quiltmark, Clara aims to make the timeless art of quilting accessible, joyful, and deeply rewarding for everyone.
Updated October 22, 2026
A T-shirt memory quilt is part comfort object, part time capsule. It is also one of the quickest ways to discover that knit fabric has a mind of its own. The secret to a T-shirt quilt that sews up smooth and stays smooth is not superhero-level precision. It is preparation: choosing the right shirts, stabilizing the knit, and planning a layout that respects both stretch and bulk.
Below is my go-to workflow, the one I use when I want those blocks to behave under the presser foot and when I want the finished quilt to feel soft, sturdy, and truly usable.
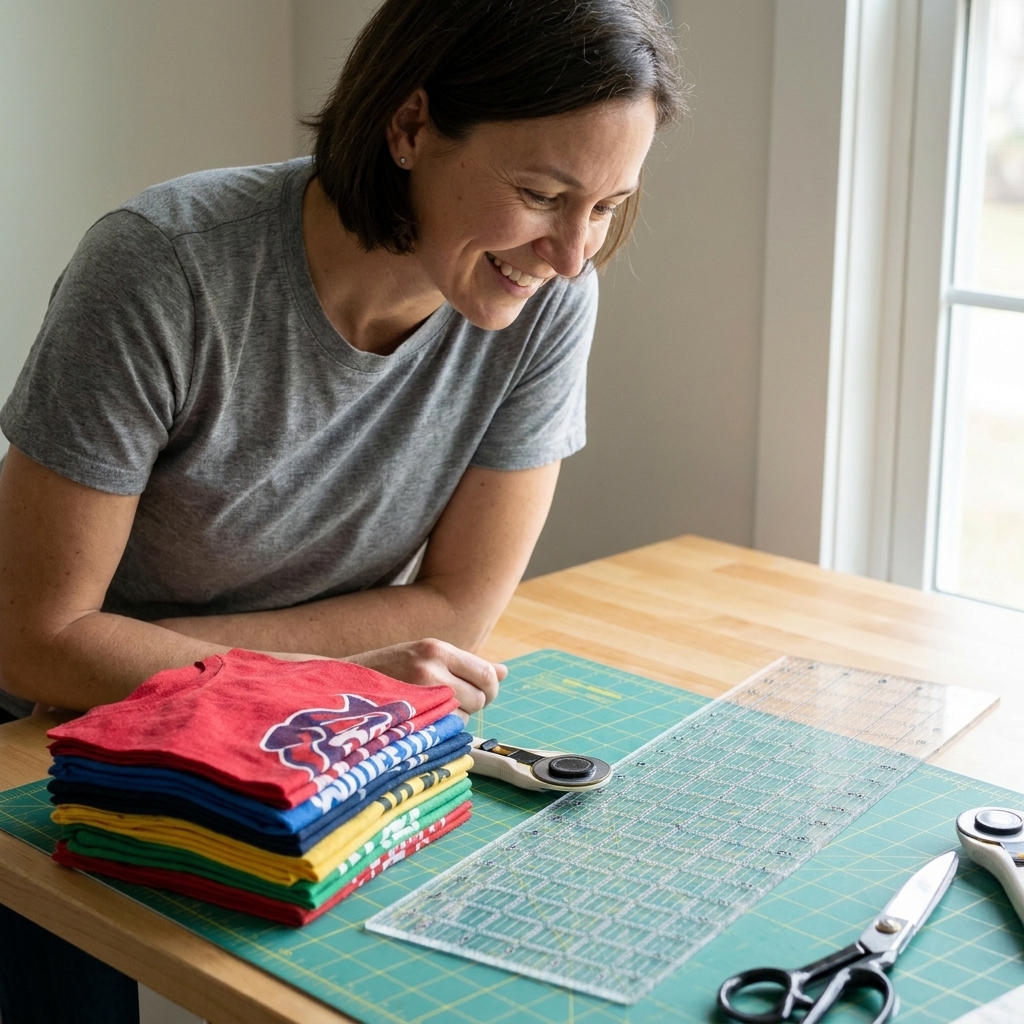
Before you start: choose your quilt style
There is no single correct style, but making a few early choices saves you a lot of wrestling later.
Common styles (and what they require)
- Uniform blocks: All blocks cut to the same size. Easiest for beginners and the fastest to piece. Great when most designs fit inside a consistent square.
- Variable blocks: You cut around each graphic, then add sashing or framing to make everything fit. Best for oversized logos, jersey numbers, and shirts with designs in different shapes.
- Fronts only vs. fronts and backs: Using backs can double your block count fast, but watch for thick prints and seams.
- With sashing: Sashing gives your eye a place to rest and helps blocks line up even if the graphics vary slightly in size.
If you feel stuck, pick uniform blocks with optional sashing. It is the most forgiving structure for a first memory quilt.
Gather and sort your shirts
My best advice is to treat this step like you are curating a tiny fabric museum. You are deciding what stories you want on the front of the quilt.
What to collect
- T-shirts, long sleeves, tank tops
- Sweatshirts and hoodies (excellent for bold graphics, but bulkier)
- Jerseys (often stretchy and slick, definitely need stabilization)
- Flannel shirts or woven button-downs (these behave more like quilting cotton and may not need interfacing)
Quick sorting checklist
- Sentimental must-haves: pull these first
- Color families: brights, darks, neutrals, team colors
- Fabric weight: thin tees vs. heavy sweatshirts
- Print type: thick plastisol prints can feel stiff in seams
- Condition: stains, cracking prints, tiny holes (many are still usable with smart cutting)
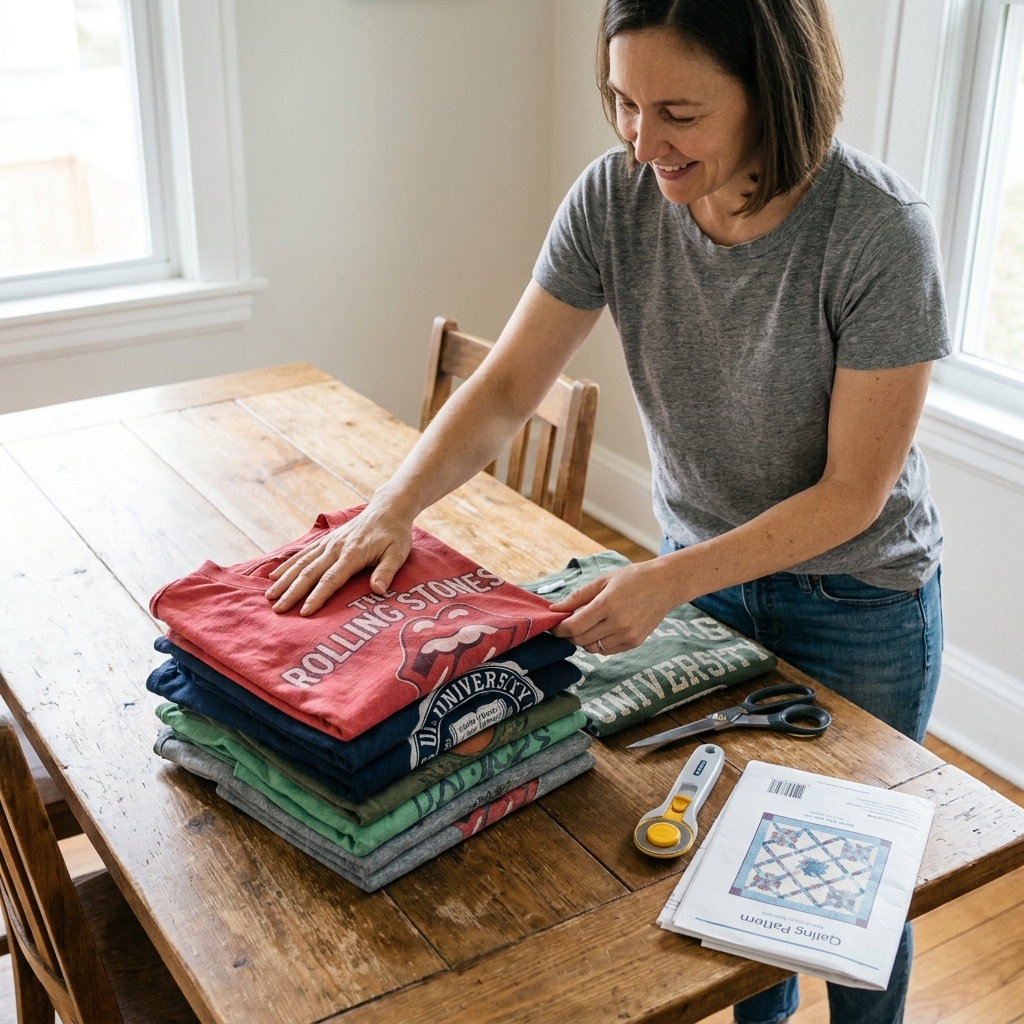
Pre-wash, dry, and de-pill
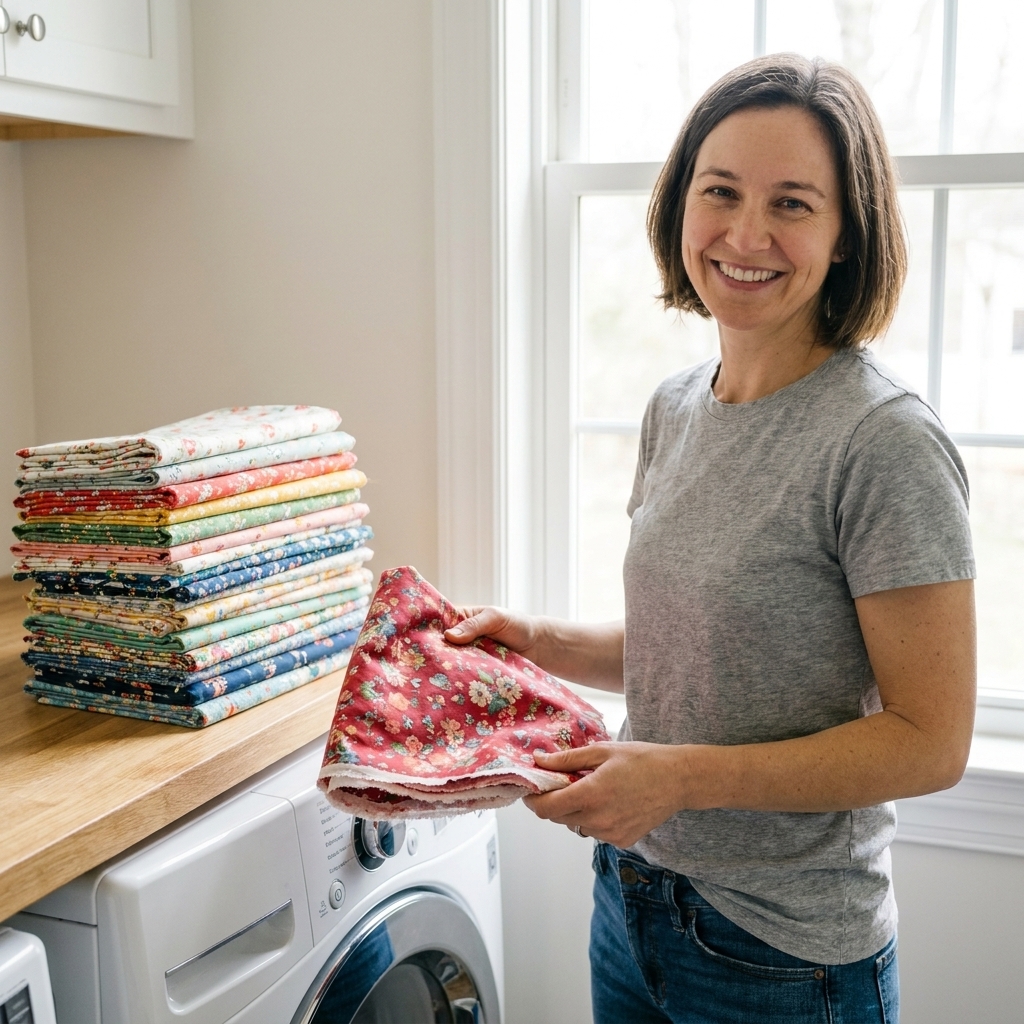
If the shirts have been worn for years, they have already shrunk some, but I still recommend washing and drying everything the way the quilt will be laundered later. That way you are not surprised by one rogue shirt that tightens up after the quilt is finished.
- Wash: normal detergent, no fabric softener if possible
- Dry: tumble dry, because that is what memory quilts usually face in real life
- De-pill: a sweater shaver or fabric comb helps older knits look cleaner, especially on dark shirts
Press the shirts flat. You do not need starch, but a good press makes cutting far more accurate.
Supplies that make it easier
You can absolutely make a T-shirt quilt with basic sewing tools. These additions just smooth out the process.
Must-haves
- Rotary cutter and fresh blade
- Self-healing cutting mat
- Large acrylic ruler (at least 6 x 24 inches)
- Iron and pressing surface
- Walking foot (highly recommended for piecing knit blocks)
- Quality thread (50 wt cotton or a good all-purpose polyester)
Needles and stitches
- Needle: A ballpoint or jersey needle is my default for T-shirt quilts, especially if your shirts are very stretchy.
- Stitch: A straight stitch is usually perfect once the blocks are interfaced. If you ever see skipped stitches, swap needles first.
Interfacing
- Fusible tricot knit interfacing: my first choice for most T-shirts because it supports without making the block feel like cardboard
- Lightweight fusible woven interfacing: good for very flimsy tees, but can feel stiffer and may change drape
Avoid heavy interfacing. Your seams will be bulky, and the finished quilt can feel boardy.
Prep: stabilize before you cut
This is the step that keeps your blocks square. Knit fabric stretches as you handle it. If you cut first, then fuse later, it is easy to accidentally lock in a slightly stretched shape. I like to fuse interfacing to the shirt area first, then cut cleanly through both layers.
Step 1: Find the usable area
Lay the shirt flat and smooth it with your hands. Decide where your block will come from. Watch for:
- Side seams that curve toward the hem
- Necklines and armholes that cut into your design area
- Pockets, zippers, and thick seam ridges
Step 2: Rough-cut the shirt
Cut the shirt apart so it lies flat:
- Cut off sleeves at the seam line.
- Cut up the side seams.
- Separate front and back by cutting across the shoulders.
Do not worry about neat edges yet. You are just making it manageable on the ironing board and cutting mat.
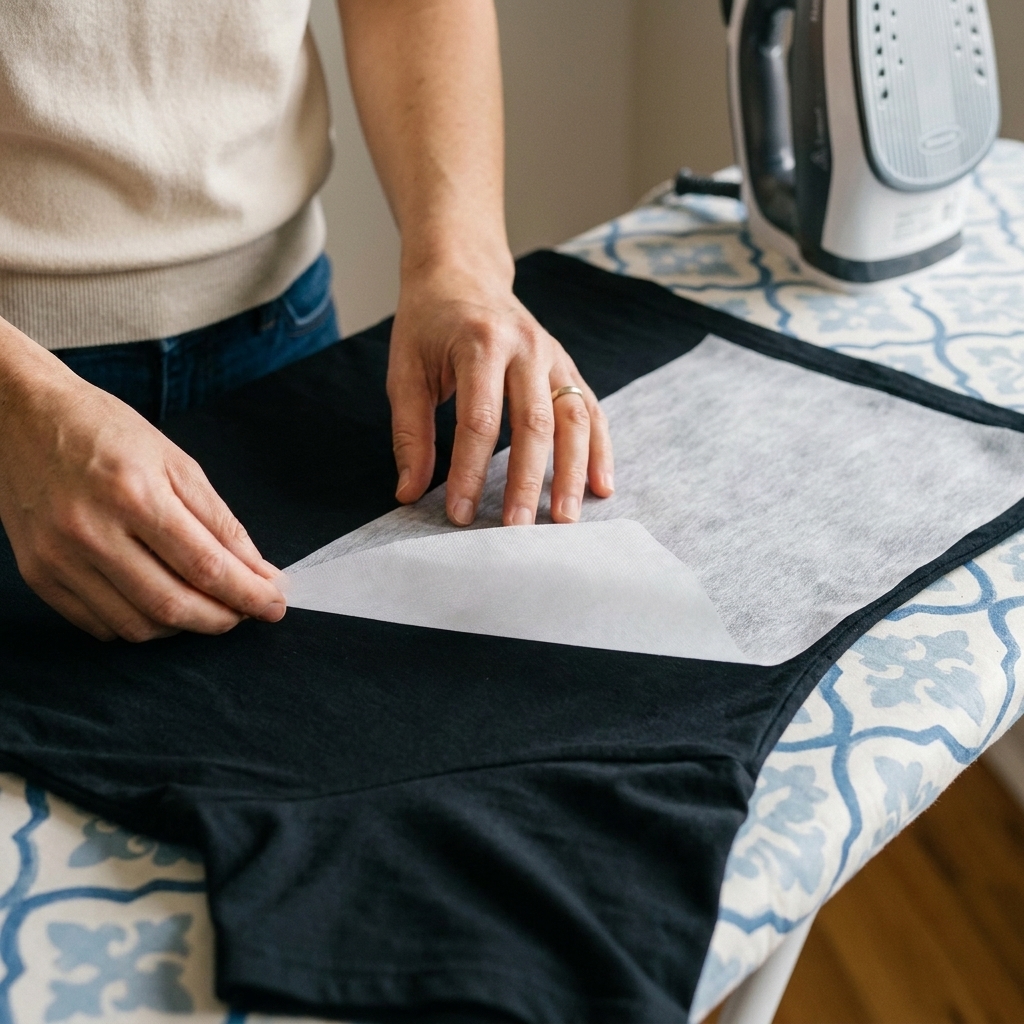
Step 3: Fuse interfacing the clean way
Read the interfacing package, but here are the habits that prevent bubbles, shifting, and gummy irons.
- Place interfacing on the wrong side of the shirt: interfacing always goes on the inside of the block.
- Cut interfacing slightly larger than your planned block: at least 1 inch extra on all sides.
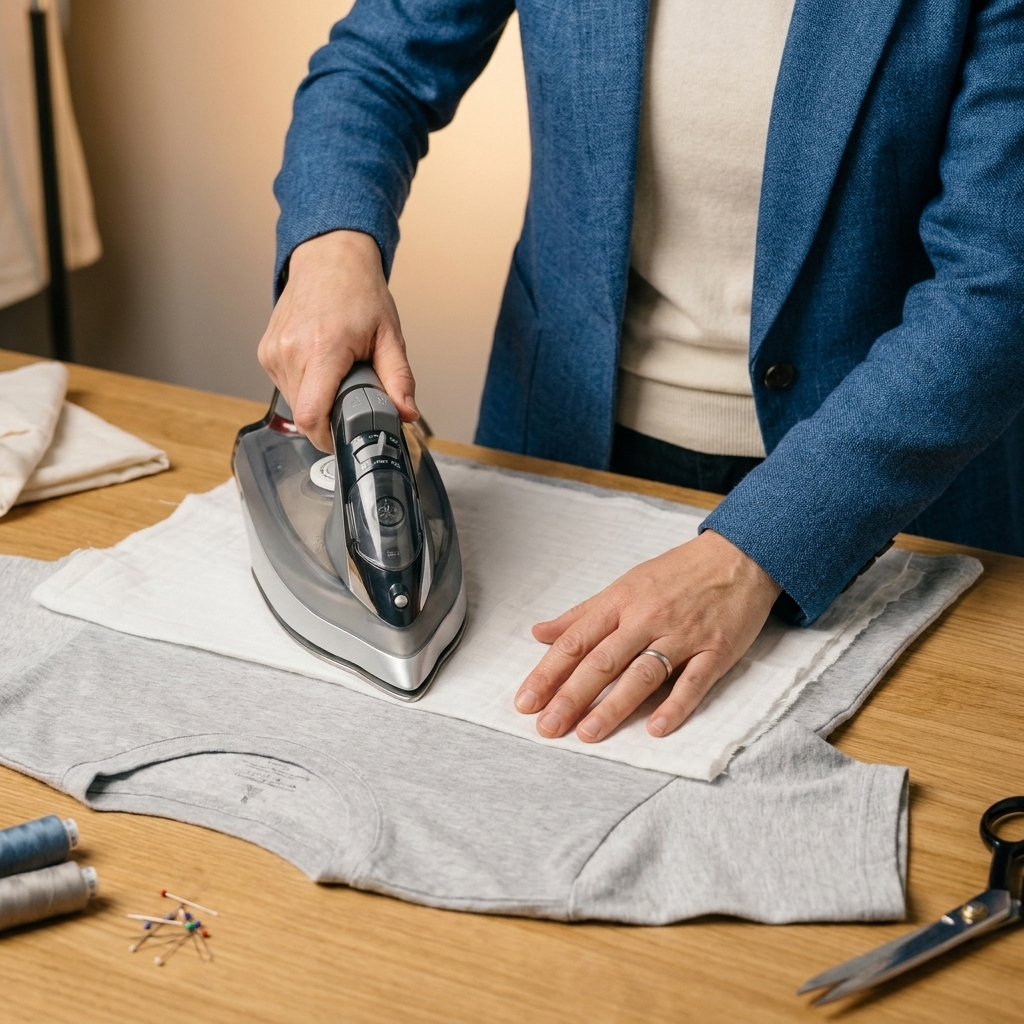
- Use a press cloth: a piece of cotton muslin protects your iron and keeps the knit from getting shiny.
- Press, do not iron: lift and set the iron straight down. Sliding can distort knits.
- Hold time matters: press in sections for the full recommended seconds so the glue melts evenly.
- Let it cool flat: the adhesive sets as it cools, so do not peel it up right away.
Heat and steam tips
- If your interfacing is not sticking, your iron is usually too cool or you are not pressing long enough.
- If you see ripples, you may be stretching the knit while pressing. Ease it flat with your hands first, then press straight down.
- If you are nervous about steam, skip it and just press longer. Many fusibles work beautifully with dry heat.
Cutting blocks: keep it square
Once interfaced, your T-shirt fabric should feel more stable, less floppy, and much easier to cut accurately.
Pick a block size that fits
For adult tees, common finished block sizes (after seams) are 12 inches or 14 inches. For youth tees, 10 inches is often better. Remember: a 12-inch finished block is cut at 12 1/2 inches if you use a 1/4-inch seam allowance on all sides.
How to center a graphic
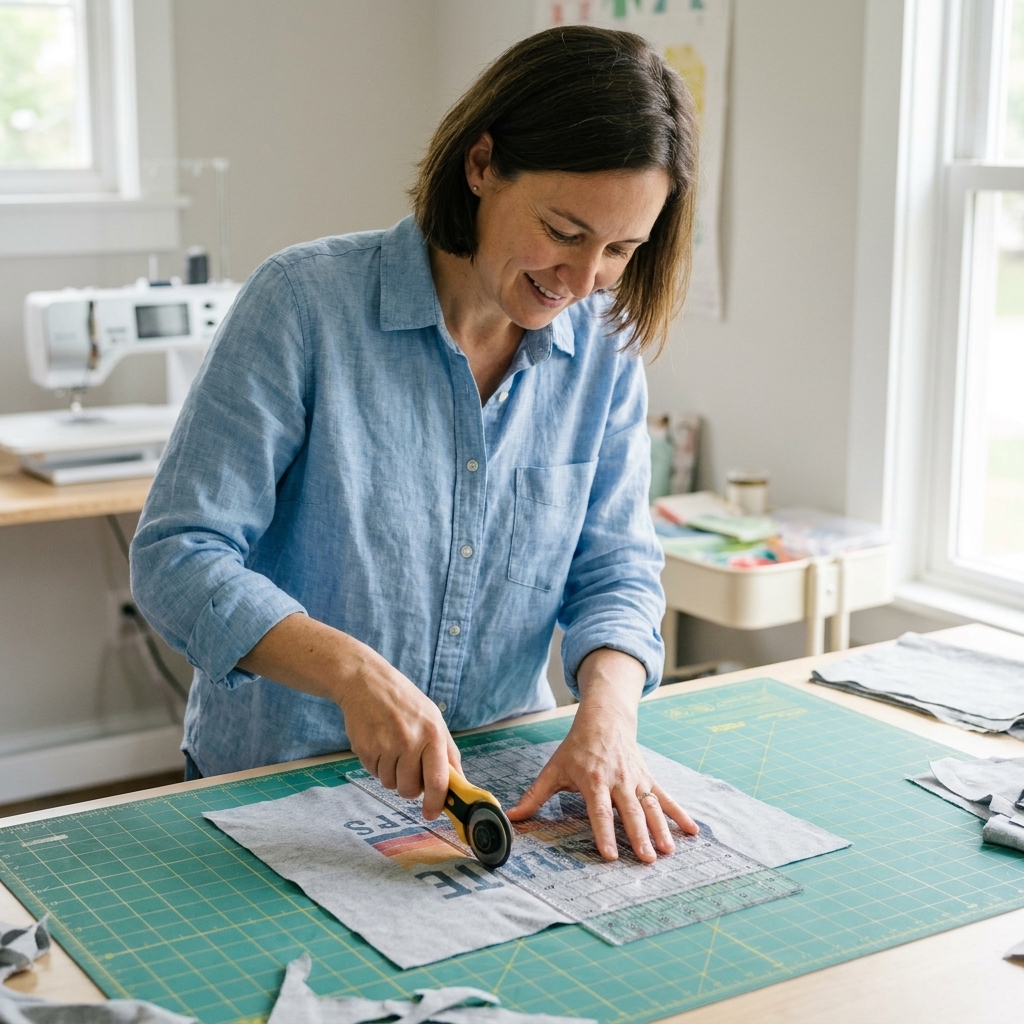
- Place the interfaced shirt panel on your cutting mat.
- Fold it lightly in half vertically and finger-press a crease to find center, then unfold.
- Do the same horizontally.
- Line the ruler up with those crease lines to center your square around the design.
- Cut your square using the ruler and rotary cutter.
When the graphic is bigger than your block
If a design will not fit, you have three friendly options:
- Go bigger on that block and use sashing or frames later.
- Trim the block intentionally so it looks designed, not accidental. Cropping can look modern and sharp.
- Use a panel approach: keep the design large and build the quilt around it like a centerpiece.
Layout: plan a balanced quilt top
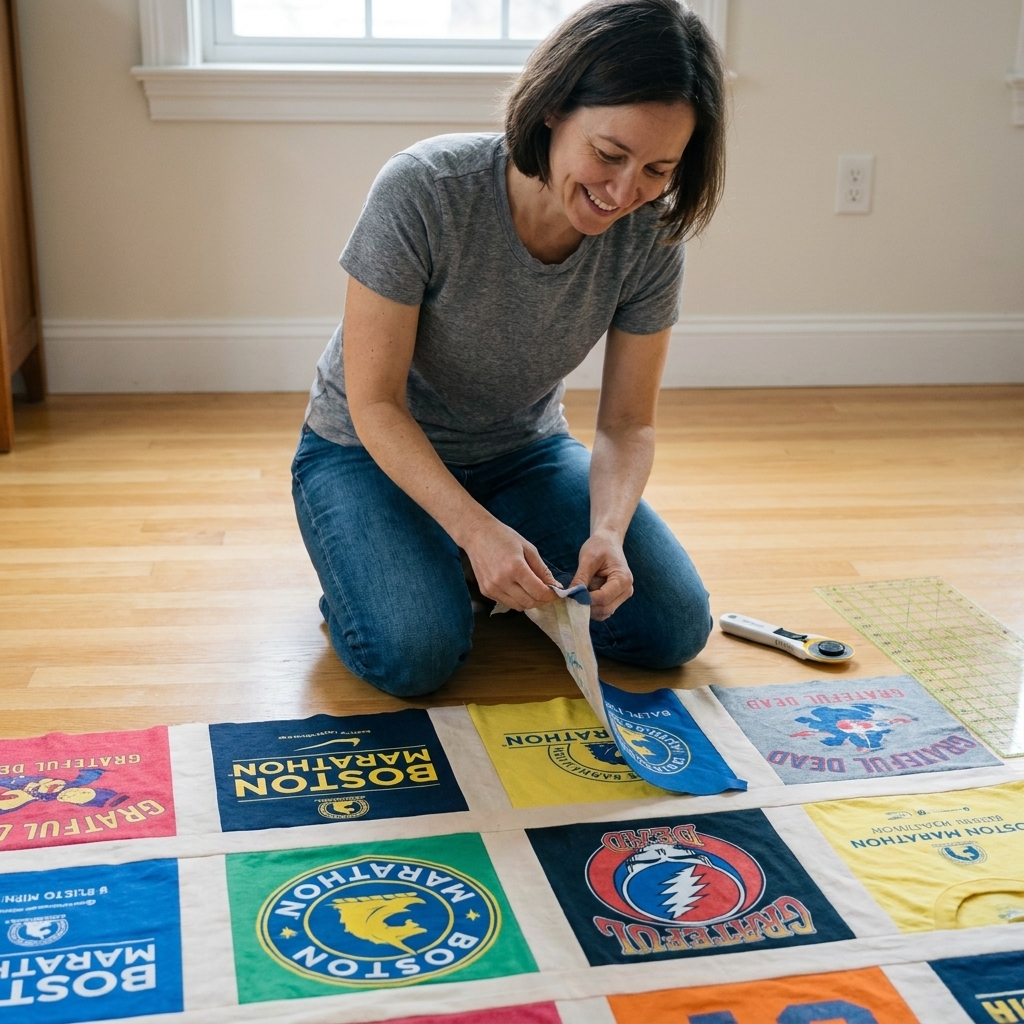
Layout is where a memory quilt becomes more than a stack of shirts. This is your chance to make the stories readable and the whole quilt visually soothing.
Set up a design wall
A design wall is wonderful, but you can also use:
- A clean floor space
- A bed with a flat sheet on top
- A large piece of batting pinned to the wall
Anything that lets you step back and see the big picture works.
Arrange by value first
I like to sort blocks into piles:
- Light: whites, heathers, pale pastels
- Medium: most colors and mid-tone grays
- Dark: navy, black, deep red, forest green
Spread lights, mediums, and darks around the quilt so you do not end up with a heavy dark corner. After that, nudge colors into a pleasant flow.
Watch for the billboard effect
If every logo is perfectly upright and centered, the quilt can feel like a wall of signs. Try mixing it up gently:
- Alternate large and small graphics
- Scatter bold colors rather than clumping them
- Rotate a few blocks only if the text still looks intentional (some quilters keep all text readable, and that is perfectly fine)
Decide on sashing
Sashing is the strips between blocks. It can:
- Make seams easier to match
- Add breathing room between busy prints
- Help combine blocks of slightly different sizes
For most T-shirt quilts, 2 to 3 inches finished sashing looks clean and classic without overwhelming the shirts.
Piecing tips for a flat top
This article focuses on prep, interfacing, and layout, but a few piecing habits make a huge difference once you start sewing.
- Use a 1/4-inch seam allowance consistently. A walking foot helps feed the layers evenly.
- Lengthen your stitch slightly. Try 2.8 to 3.0 mm, and test on scraps first. Some knits want a slightly longer stitch.
- Press seams, do not push them. Lift and set the iron, and let seams cool.
- Mind the bulk. When joining sweatshirt blocks, grade seam allowances or press open if needed to reduce ridges.
- Help your machine over thick joins. If you hit a hump, a seam jumper or a folded scrap of fabric behind the presser foot can keep stitches even.
What comes next
Once the quilt top is pieced, you will make your quilt sandwich (top, batting, backing), quilt it, then bind the edges.
- Batting: A low to mid-loft cotton or cotton blend is a great everyday choice. If your top includes heavy sweatshirts, a thinner batting can keep the whole quilt from feeling too puffy.
- Backing: Choose a backing that can handle the weight of the finished quilt. Quilting cotton works, but many makers love a wide-back cotton or a sturdy flannel for extra coziness.
- Quilting: A walking foot is perfect for straight-line quilting at home. If you send it to a longarm, mention you are quilting over T-shirt prints so they can plan for thicker areas.
Troubleshooting
My blocks are wavy after interfacing
This usually comes from stretching while pressing, or from fusing on a surface where the fabric hangs off and pulls. Support the whole piece on the ironing board, press straight down, and let it cool completely before moving.
The interfacing is bubbling
Not enough heat or not enough pressing time. Re-press with a press cloth, hold longer, and work in small sections. If your iron has cool spots, rotate it slightly as you press.
The block edges are curling
Some tees have strong recovery and still want to curl. Make sure your interfacing covers the entire cut block area. If you stabilized only the graphic area and left edges free, the edges can curl.
My quilt top feels stiff
Interfacing may be too heavy, or you may be using thick shirts with thick prints. Switching to lightweight tricot and keeping seam intersections from stacking can bring back softness. The quilt will also soften a bit after washing, but it should not feel like a board.
Quilt size planning
Block count depends on block size and whether you add sashing and borders, but this gives a realistic starting point for uniform blocks.
Assumption: These are rough estimates based on common quilt dimensions and a simple grid of blocks. Adding sashing or borders changes the math quickly, and mattress sizes vary by brand.
| Target quilt size | Common cut block size | Rough number of blocks | Notes |
|---|---|---|---|
| Lap quilt | 12 1/2 in | 12 to 20 | Great for a smaller shirt collection |
| Twin | 12 1/2 in | 20 to 30 | Add sashing for easier sizing |
| Throw | 14 1/2 in | 16 to 25 | Bigger blocks show graphics nicely |
| Queen | 12 1/2 in | 48 to 64 | Plan extra shirts or use backs too |
If you are short on shirts, add sashing and borders, or incorporate coordinating quilting cotton blocks between shirts. I love a good stash-busting solid or subtle print for that role.
Final checklist
- All shirt panels washed, dried, and pressed
- Interfacing fused to the full block area, cooled flat
- Blocks cut to consistent sizes (or clearly labeled if variable)
- Layout photographed before you start piecing (this saves heartbreak)
- Any special blocks flagged (thick sweatshirt, fragile vintage print, etc.)
Once you have these pieces in place, sewing the top becomes the relaxing part. The shirts stop fighting you, and you get to enjoy the satisfying rhythm of patchwork again.
FAQ
Do I have to use interfacing for a T-shirt quilt?
For most pieced T-shirt quilts, I strongly recommend it. Interfacing keeps the knit from stretching out of shape, helps seams stay straight, and makes your quilt top lie flatter. That said, there are other construction methods and some heavier, very stable shirts that can be pieced with minimal stretch, so think of interfacing as the most reliable path, not the only path.
What interfacing is best for T-shirt quilts?
Lightweight fusible tricot knit interfacing is my favorite for most quilts because it stabilizes while keeping drape. Lightweight woven fusible can work too, especially for ultra-thin tees, but it may feel stiffer.
Should I interface the whole shirt or just the design area?
Interface the entire area you will cut your block from, plus a little extra. If you only stabilize the center, the edges can still stretch and curl.
Can I use a stabilizer instead of interfacing?
In general, tear-away and wash-away stabilizers are made for temporary support, not permanent piecing stability. For a quilt top you want to last, interfacing is usually the better choice because it stays in the quilt and keeps the block shape consistent over time.
What about very stretchy athletic jerseys?
Jerseys can be slippery and stretchy, but they quilt beautifully with interfacing and a walking foot. Handle them gently, press rather than slide the iron, and consider making a test block first so you can confirm your needle choice, stitch length, and seam allowance feel solid before you cut every shirt.