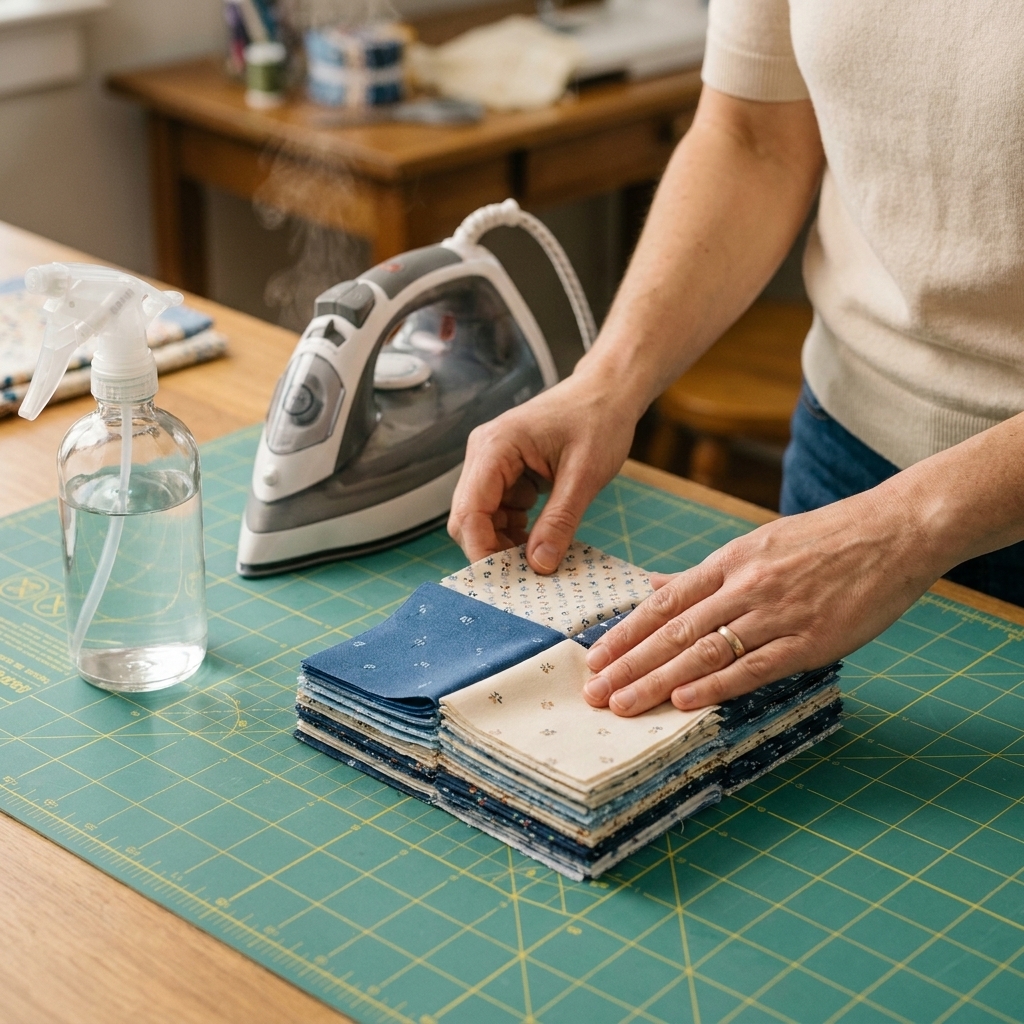
Compare liquid starch, sizing, and pressing sprays, then follow an easy, low-stress process for crisp fabric and more accurate quilt blocks.
The Quilt Mark
October 22, 2026
Working with Flannel Fabric in Quilts
Learn how to prep, pre-shrink, cut, and piece flannel for quilts, plus practical ways to reduce bulky seams so your machine feeds smoothly and your quilt stays cozy.

Clara Jenkins
Clara Jenkins is an avid quilter and fabric enthusiast who has been designing and piecing together quilts for over twenty years. She shares her passion for color coordination, block design, and practical sewing techniques to help makers of all skill levels create beautiful, lasting heirlooms. Through Quiltmark, Clara aims to make the timeless art of quilting accessible, joyful, and deeply rewarding for everyone.
Updated October 22, 2026
Flannel has a way of making a quilt feel instantly loved. It is warm, softly fuzzy, and wonderfully forgiving to sleep under. It can also be a bit of a diva at the cutting table and under the presser foot. Flannel frays, it likes to shrink, and when you stack seams in a block that already has a lot going on, bulk can build up fast.
The good news is you do not need special equipment or perfectionist habits to get beautiful results. A few prep steps and a couple of sewing tweaks will make flannel behave like a friendlier version of itself.
What makes flannel different
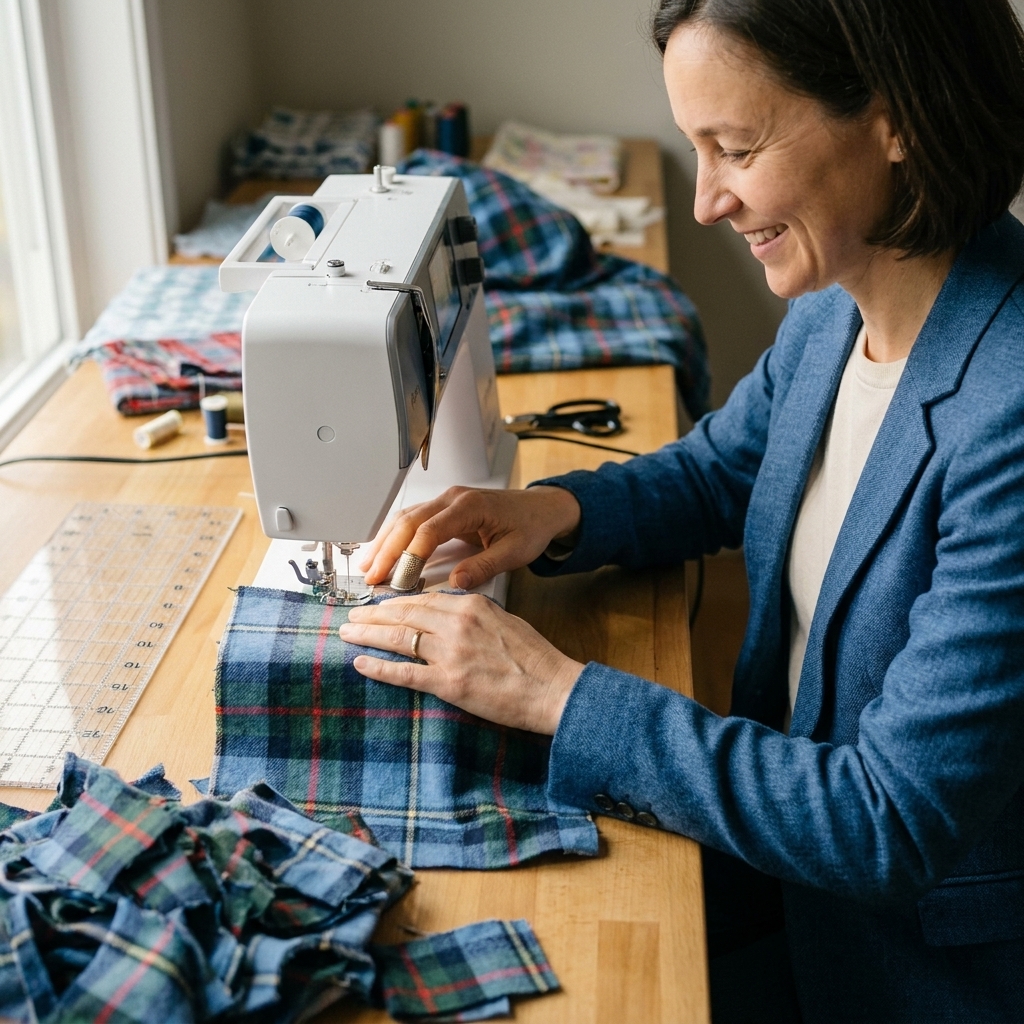
Most quilt-shop flannel is brushed cotton, but not all flannel is. You will also see cotton blends and fabrics marketed as flannel with very little brushing, so it is worth checking the fiber content and feel before you commit.
That cozy brushed surface is what makes flannel such a joy, and also why it comes with a few quirks:
- More shrinkage: flannel often shrinks more than quilting cotton. The amount varies by manufacturer and finish, and it can be uneven, which is where distortion comes from.
- More lint: brushing releases fibers, so your machine and iron area get fluffier faster.
- More fray: cut edges can shed threads, especially on looser weaves.
- More thickness: seams stack up quickly, which can cause skipped stitches, wavy piecing, or feeding problems.
If you treat it like regular quilting cotton from the start, it will remind you it is not. If you prep it like flannel, it is a dream.
Pre-shrinking: decide first, then commit
My rule is simple: pre-shrink flannel unless you are intentionally going for a crinkly, antique look and you are comfortable with extra unpredictability. Flannel shrinkage can be significant, and it is not always even. That unevenness can twist seams, distort blocks, or make borders ripple.
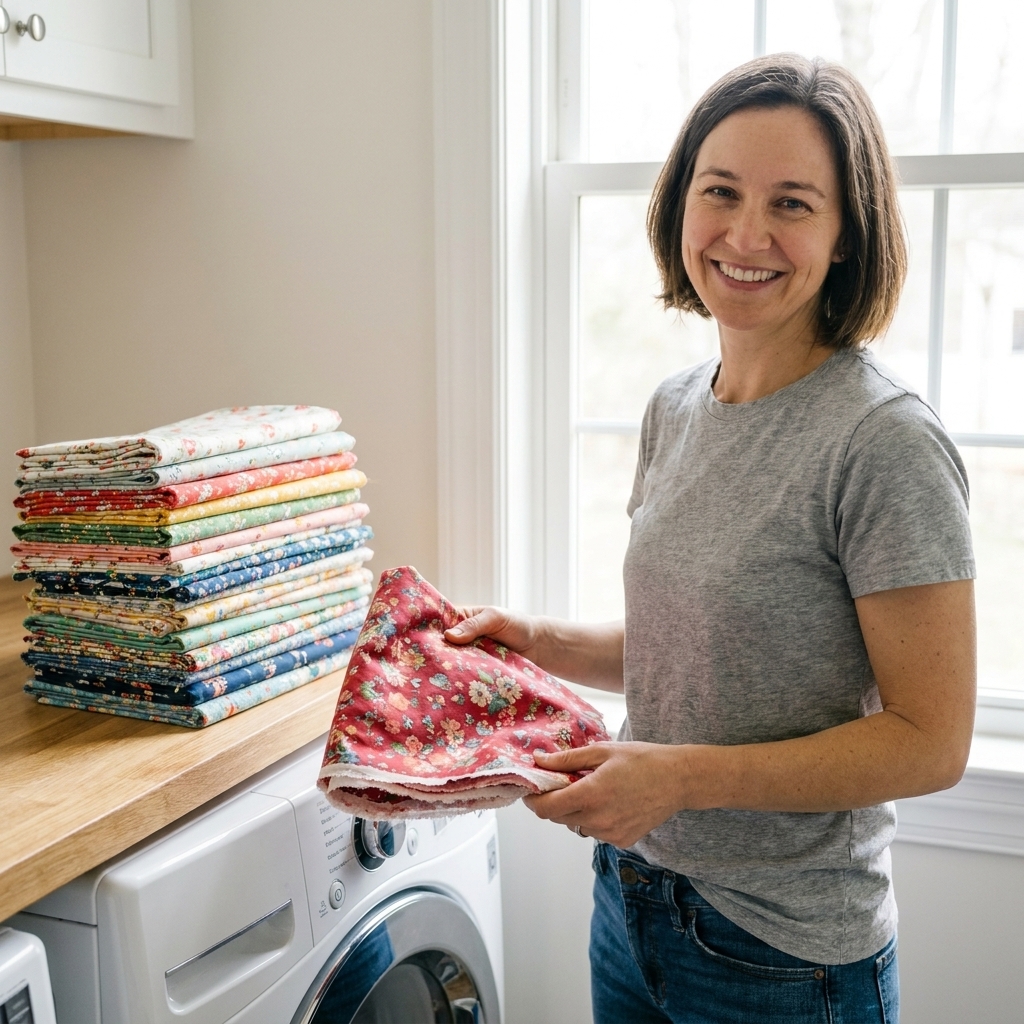
The easiest, reliable pre-wash routine
- Serge or zigzag raw edges of yardage first if you can. If you do not have a serger, a wide zigzag stitch along both cut ends is enough to cut down the fray storm.
- Wash warm, normal cycle with a mild detergent. Warm water encourages the fabric to do its shrinking now, not after you have quilted it.
- Tumble dry medium (or higher if that matches your real life). The goal is to pre-treat the fabric the way the finished quilt will be cared for, so it settles into its final size and texture.
- Press with steam and a little patience. Use a lift-and-press motion instead of dragging the iron, which can stretch the surface.
If you are mixing flannel with quilting cotton in the same top, pre-wash and tumble dry both the way you plan to launder the finished quilt. The goal is for everything in your quilt top to be done shrinking before you start precision cutting.
One more pre-wash note: color bleed
Some flannels, especially deep reds, navies, and saturated plaids, can bleed dye in the first wash. If you are pre-washing multiple colors together, wash like colors and toss in a color catcher.
What if you cannot or do not want to pre-wash?
You can still sew with unwashed flannel, but plan for more movement later:
- Use a slightly larger seam allowance (a true scant 1/4 inch is risky on fray-prone flannel).
- Consider shorter quilting distances and solid quilting around the perimeter to help the quilt hold its shape after washing.
- Expect extra crinkle and possible block distortion after the first wash.
Choosing the right flannel
Not all flannel is equal. Some is tightly woven and stable. Some is loose, stretchy, and eager to fray. Before you buy a lot, do two tiny tests in the shop or at home:
- Light test: hold it up to light. If you can see a lot of daylight through it, it is likely to be looser and more prone to stretching and fraying.
- Tug test: gently pull on the bias (diagonal). A little give is normal. A lot of give means you will want extra starch and extra care when cutting.
For quilt backs, flannel is especially lovely. For piecing, choose a flannel that feels smooth and substantial rather than spongy and thin.
Prep for cutting
If flannel ever makes you feel like your ruler is sliding on a cloud, you are not imagining it. Brushed fabric can shift under acrylic rulers.
Starch helps a lot
A light to medium starching makes flannel crisper, easier to cut, and more accurate to piece. I like to starch after pre-washing and pressing:
- Lay fabric flat on the ironing board.
- Mist starch evenly, especially on areas you will cut into strips.
- Press (do not iron back and forth) until dry.
If you are sensitive to stiffness, remember that starch washes out. You are using it as temporary training wheels.
Cutting tips that actually help
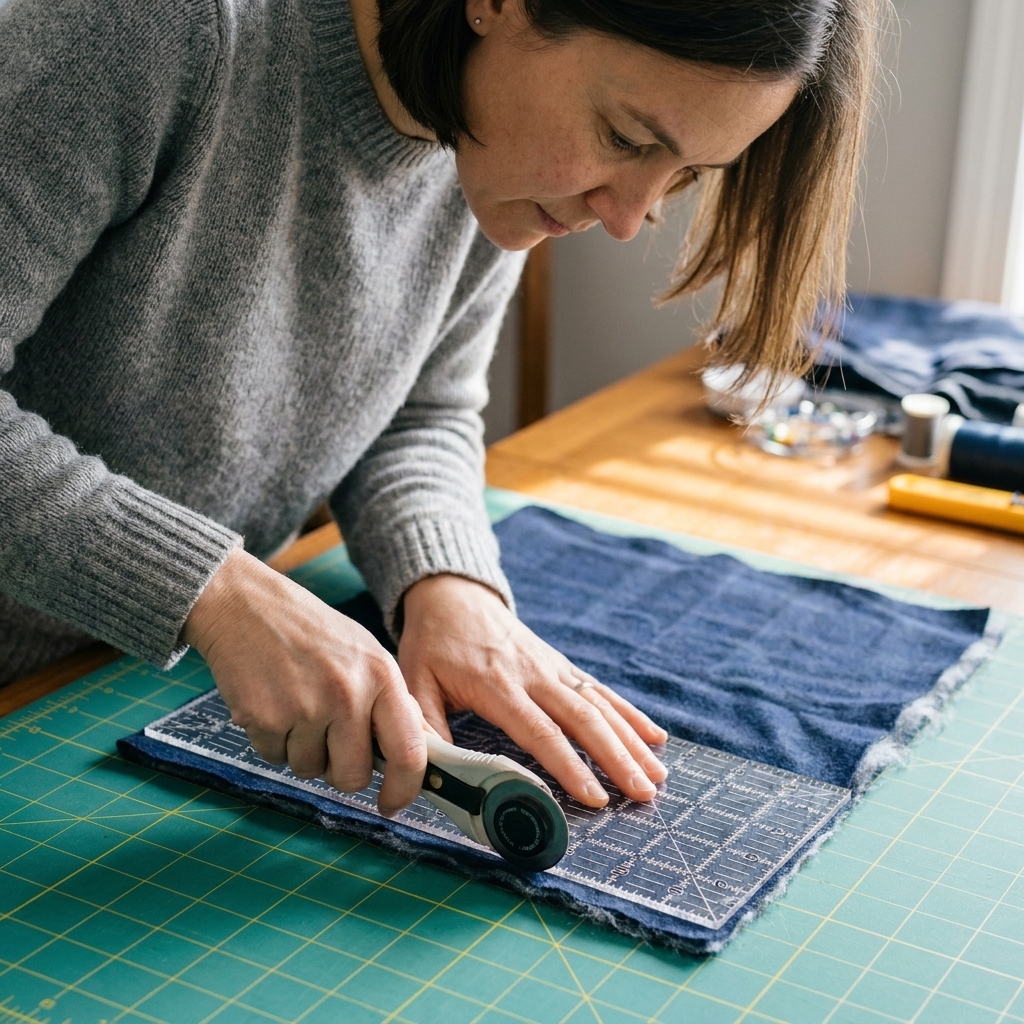
- Use a fresh rotary blade. Flannel can dull blades faster than quilting cotton. A clean cut reduces fraying.
- Use a heavier ruler or add non-slip grips. Little grippy dots make a big difference on brushed fabric.
- Cut single layer for small pieces. For precision blocks, single-layer cutting prevents the bottom layer from creeping.
- Mind the grain. If a piece is even slightly off-grain, flannel will exaggerate it.
Piecing flannel
When flannel misbehaves at the machine, it usually shows up as wavy seams, shifting points, or seams that feel thick and lumpy. These adjustments smooth things out.
Seam allowance and stitch length
- Seam allowance: Aim for a full 1/4 inch (not scant) for most flannel piecing. If your flannel frays aggressively, consider a slightly wider seam and be consistent throughout the quilt.
- Stitch length: Increase slightly to about 2.2 to 2.5 mm. Very tiny stitches can act like a perforation line on softer weaves.
Needle and thread choices
- Needle: Start with a new 80/12 universal for many quilt-shop flannels, and move up to 90/14 if you are sewing through seam stacks or a denser flannel. If you want especially clean punctures, try a microtex in the size that matches your thickness.
- Thread: A good-quality 50 wt cotton or polyester works well. If lint is driving you nuts, polyester thread can add less lint than cotton, but the fabric itself is still the main lint source.
Feeding and shifting fixes
- Pin more than you think you need. Flannel grips itself in odd ways. Extra pins keep seams aligned.
- Try a walking foot for long seams or strip piecing, especially if you notice the top layer creeping.
- Use a leader and ender. Start with a small scrap before your seam and chain piece. This helps prevent the fabric from being pulled down into the needle plate at the start.
And yes, you will make lint. Clean your bobbin area more often than usual. Flannel is cozy, but it is also a tiny fiber factory.
Reducing bulk
Bulk is the flannel hurdle that scares people off. But most bulk problems come from just a few predictable spots: seam intersections, half-square triangles, and any block with lots of pieces converging.
1) Pressing strategy: set, then choose a side
First, press the seam closed to set the stitches. Then press the seam allowance to one side or open, depending on the situation:
- Press to one side when you want strong seams and plan to nest seams for matching. This is my default for flannel.
- Press open when multiple seams will intersect and you need to reduce a hard lump. If you press open, use a slightly longer stitch and be gentle while quilting to avoid stressing the seam line.
2) Spin seams at intersections
At a four-patch style intersection, you can often spin the seam allowance so it distributes around the center instead of stacking in one direction. This creates a flatter intersection and helps the block lie beautifully.
3) Grade and trim seam allowances
Grading means trimming one seam allowance slightly narrower than the other so the thickness steps down instead of stacking evenly. Use it selectively, especially where a seam joins a bulky unit.
4) Clip dog-ears as you go
Those little triangle nubbins add up. Trimming dog-ears as you go keeps units flatter and helps your blocks feed more evenly.
5) Use methods that avoid extra layers
- HSTs: Consider trimming HSTs slightly larger and then squaring up carefully. Accurate squaring reduces the need to tug and press seams into submission.
- Flying geese: Methods that reduce seam overlap in the center can help, especially in flannel.
6) Clamp and press
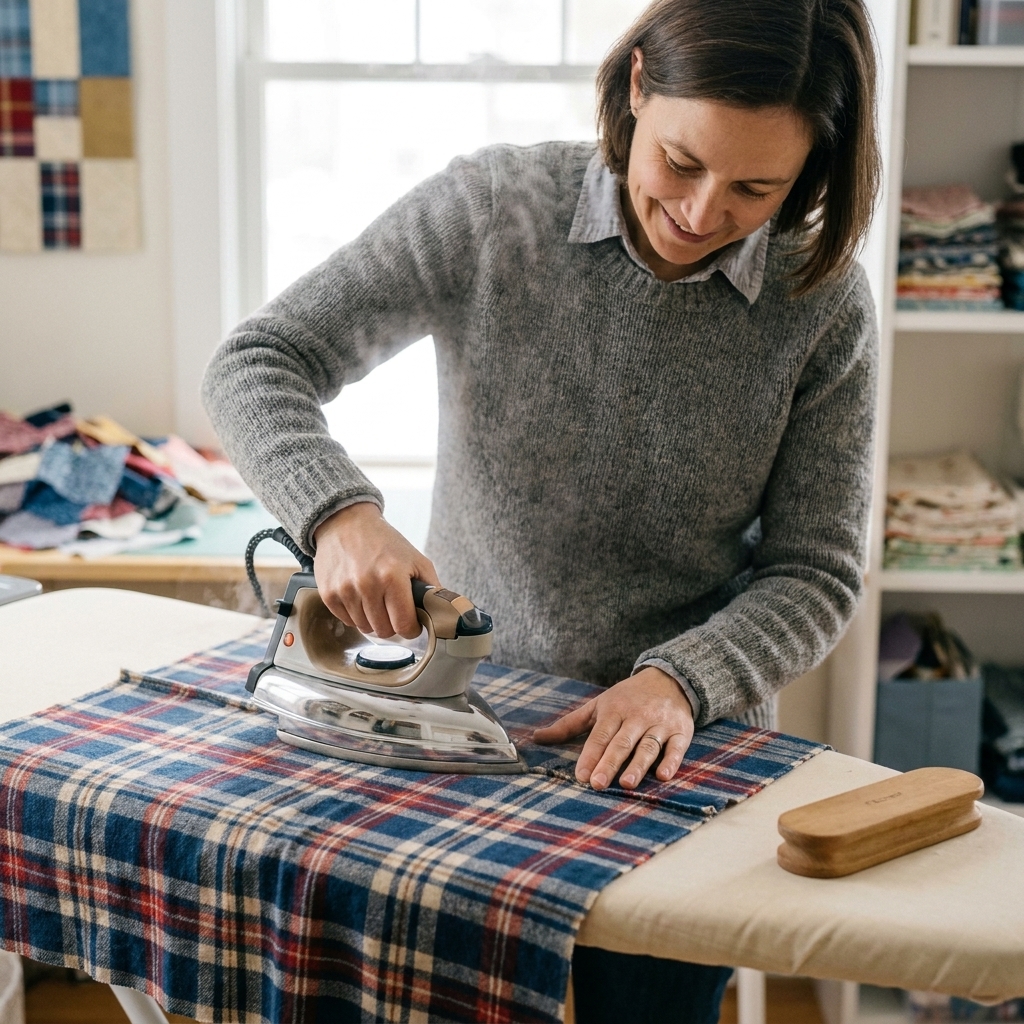
This is old-school and it works: for a stubborn seam intersection, place the block on a hard surface, cover it with a pressing cloth, and give the seam area a firm press. A wooden clapper or seam roller can help those fibers settle. You are not trying to smash your stitches, just encouraging the bulk to relax.
Sewing over thick seams
Even with great pressing, flannel intersections can be chunky. If your machine thunks over them or your stitches get tiny right at the hump, try these:
- Use a hump jumper (or a folded scrap of fabric) behind the presser foot as you approach the thick seam. It levels the foot so your feed dogs can do their job.
- Slow down and hand-walk the needle for the last few stitches into the thickest spot. This helps prevent needle deflection and skipped stitches.
- Keep your stitch length consistent and focus on steady feeding. If you do like the idea of lengthening stitches, test on scraps first so you are not changing settings mid-project without a plan.
- Check presser foot pressure if your machine allows it. Slightly reduced pressure can help thick layers feed without stretching.
Flannel in the quilt sandwich
Flannel is fantastic as a backing, but it can shift more than you expect while basting. Give yourself a little extra control.
Backing tips
- Pre-wash flannel backing so the quilt does not pucker strangely after the first wash.
- Square up the backing after pressing. Flannel can skew after washing.
- Cut your backing bigger than usual. I like 3 to 4 inches extra on each side to account for shifting and squaring up.
- Use more basting than usual. Safety pins closer together or a thorough spray baste helps prevent pleats.
Batting considerations
If your quilt top is flannel and your backing is flannel, the sandwich will be lofty. A lower-loft cotton batting can keep things cuddly without turning the quilt into a heavy sleeping bag. If you love weight, a wool batting under flannel is heavenly, but expect more thickness at the binding stage.
Quilting suggestions
- Start with a new needle. Quilting through flannel fuzz dulls needles faster.
- Quilt a bit denser than you would on plain quilting cotton if you skipped pre-washing. It helps stabilize the shrink that happens later.
- Mind the lint. Pause to clean your bobbin area if stitches start looking inconsistent.
Binding a flannel quilt
Binding is where bulk likes to show up last minute, especially at corners. A few choices can keep it tidy.
- Consider binding fabric carefully. Quilting cotton binding on a flannel quilt is crisp and easy to fold. Flannel binding is extra soft but can get thick quickly.
- Use a slightly wider binding. If your quilt is lofty, a 2 1/2 inch binding strip (or even 2 3/4 inch) can wrap the edge without straining.
- Trim seam allowances at corners. Clip and reduce bulk before turning the binding to the back.
- Hand-finish if you want the flattest edge. Machine finishing is faster, but hand stitching lets you control how the binding settles over thick layers.
Troubleshooting
My seams look wavy
- Starch before cutting.
- Use a walking foot for long seams.
- Do not stretch while pressing. Lift and press.
Points are not matching
- Pin more frequently, especially at the start and end of seams.
- Try a leader and ender to prevent the first edge from getting chewed.
- Check that you are cutting on-grain and using a consistent seam allowance.
My machine hates thick intersections
- Use a hump jumper or folded scrap behind the presser foot.
- Hand-walk over the hump.
- Trim, grade, and consider pressing open at that intersection only.
Lint everywhere
- Clean your bobbin area more often.
- Switch needle size up or down if you see skipped stitches or thread shredding.
- Remember the fabric is the main lint source, and cotton thread can add a little more.
FAQ
Can I mix flannel and quilting cotton in the same quilt top?
Yes. Pre-wash and tumble dry both the way you plan to care for the finished quilt, starch the flannel for cutting accuracy, and keep an eye on thickness where flannel pieces meet at intersections. Many of my favorite baby quilts use flannel for softness with cotton for crisp piecing.
Should I use a smaller seam allowance because flannel is thick?
Usually the opposite. Flannel can fray, and a too-scant seam can weaken over time. A true 1/4 inch is a good baseline. If you go wider, stay consistent and trim blocks to size as needed.
Does flannel fray more when it is pre-washed?
It can, especially along raw yardage edges in the wash. That is why I like to zigzag or serge the cut ends first. Once you start cutting pieces with a fresh blade, fraying is much easier to manage.
What is the easiest flannel project for a first try?
A simple patchwork quilt with larger squares (like 6 to 10 inches finished) lets you enjoy the coziness without creating a million bulky intersections. It is also a perfect stash-buster if you have flannel leftovers from pajamas or baby projects.
A cozy closing thought
Flannel rewards calm, steady sewing. Pre-shrink it so it cannot surprise you later, starch it so it cuts like a dream, and treat bulky seams like a normal part of the process, not a personal failing. Your machine can do this, and so can you. The first time you wrap up under a finished flannel quilt, you will understand why so many of us keep coming back to it.