A quilter’s honest guide to pre-washing: what it prevents, what it can complicate, and step-by-step instructions to wash quilting cotton with minimal fraying.
The Quilt Mark
October 22, 2026
How to Starch Quilting Fabric
Liquid starch, sizing, or pressing spray? Learn how each option affects crispness, accuracy, fraying, and shrinkage, plus my step-by-step method for perfectly pressed quilt pieces.

Clara Jenkins
Clara Jenkins is an avid quilter and fabric enthusiast who has been designing and piecing together quilts for over twenty years. She shares her passion for color coordination, block design, and practical sewing techniques to help makers of all skill levels create beautiful, lasting heirlooms. Through Quiltmark, Clara aims to make the timeless art of quilting accessible, joyful, and deeply rewarding for everyone.
Updated October 22, 2026
There is a special kind of calm that comes from a stack of perfectly pressed quilt pieces. Corners line up. Seams behave. Your ruler stops skidding around like it is on an ice rink. That is the magic of starching, and it is one of my favorite quiet little upgrades for cleaner piecing.
But starch is not one single thing. “Starching fabric” can mean liquid starch, sizing, or a pressing spray, and each one feels a little different under the iron. Let’s compare them honestly, then I will walk you through the methods I use when I want crisp, accurate blocks without turning my sewing room into a sticky mess.
Why quilters starch fabric
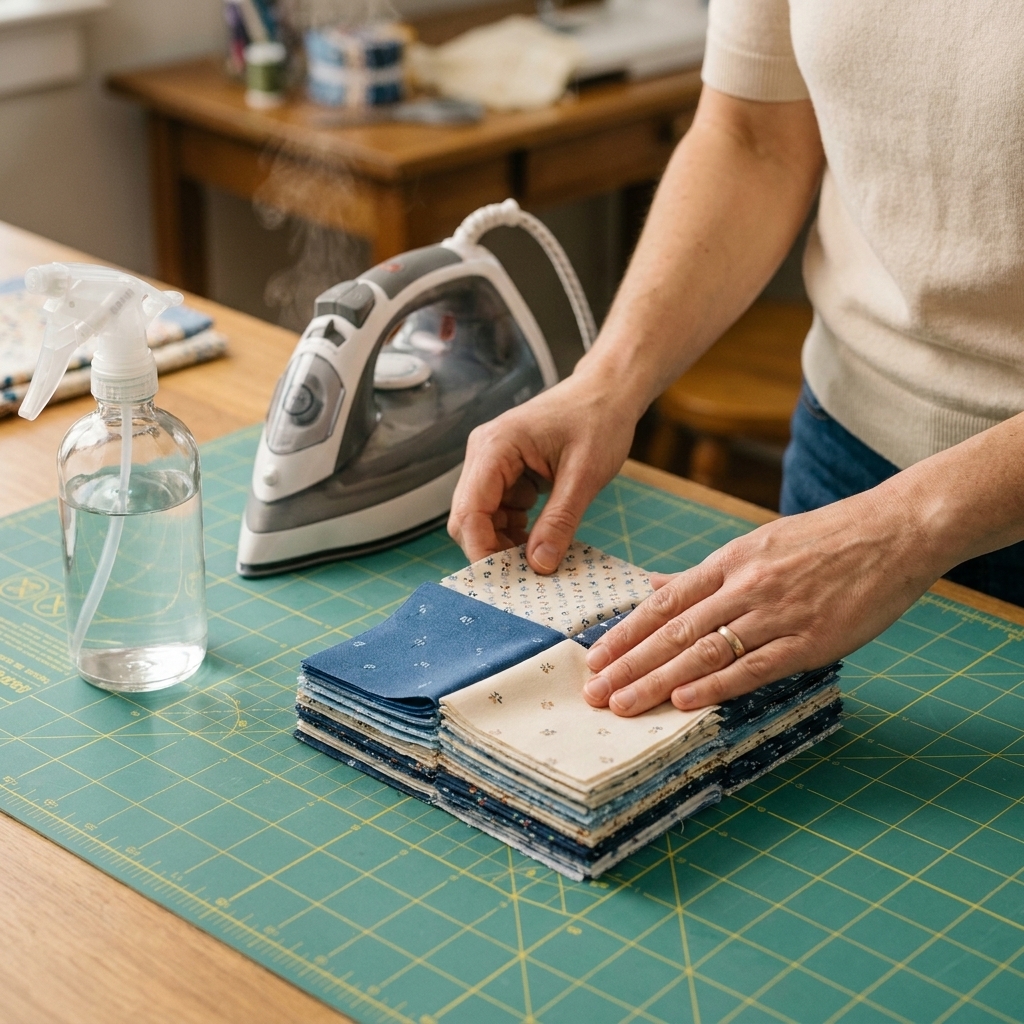
Starch is not about perfectionism for its own sake. It is about control. Quilting cotton is wonderful, but it can stretch on the bias, ripple under the ruler, and fray when you are handling tiny pieces.
- More accurate cutting: Crisp fabric stays put under a ruler and rotary cutter.
- Less stretching: Especially helpful for triangles, curved piecing, and bias edges.
- Less fraying while you work: Starch holds fibers in place temporarily, so cut edges behave better during handling.
- Sharper pressing: Seams finger-press and iron-press more cleanly.
- Better seam matching: When pieces keep their shape, points meet more reliably.
That said, starch is optional. If you love a softer hand, or you are making a very drapey quilt (think wholecloth or big-stitch hand quilting), you may prefer a lighter product like sizing or a minimal spray.
Liquid starch vs sizing vs pressing sprays
Here is the practical difference, in plain quilting-language terms.
Liquid starch
What it feels like: The crispest option. When done right, it makes quilting cotton feel almost like paper, in the best way.
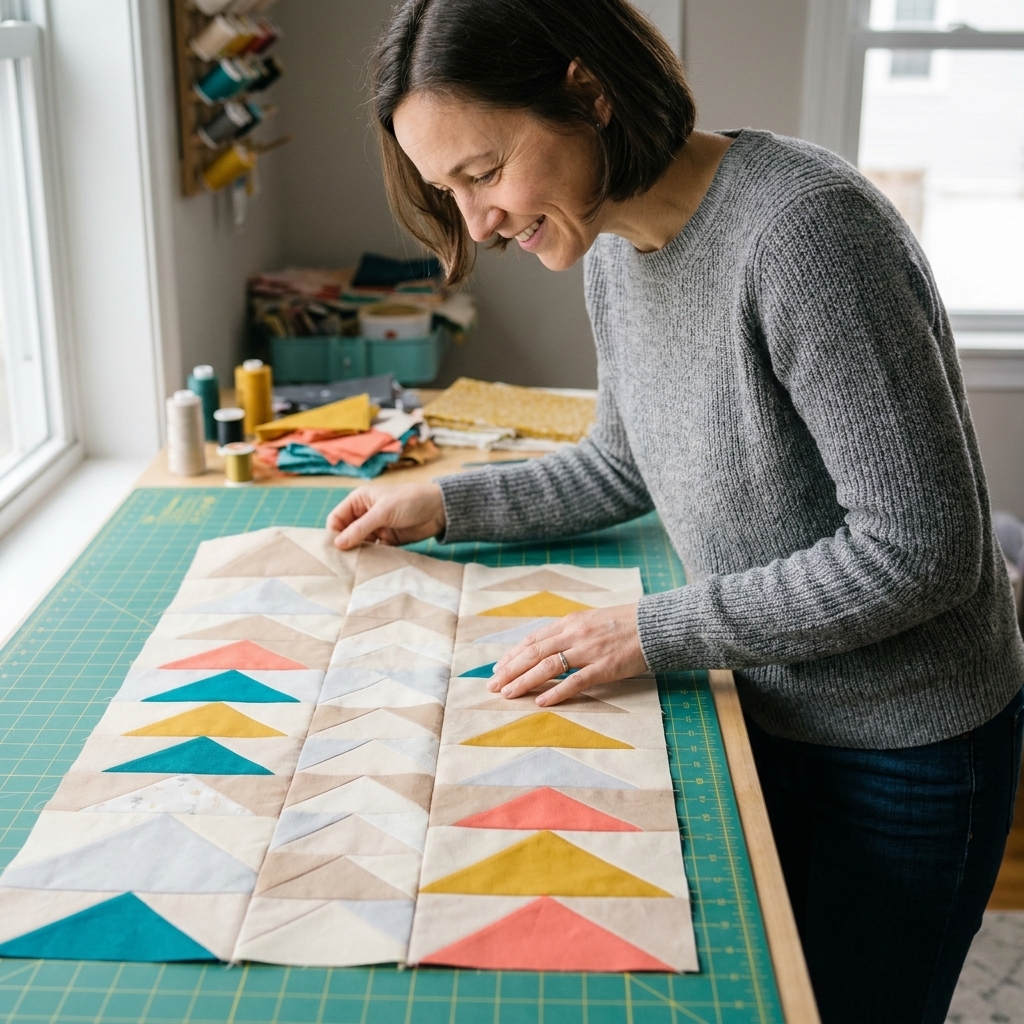
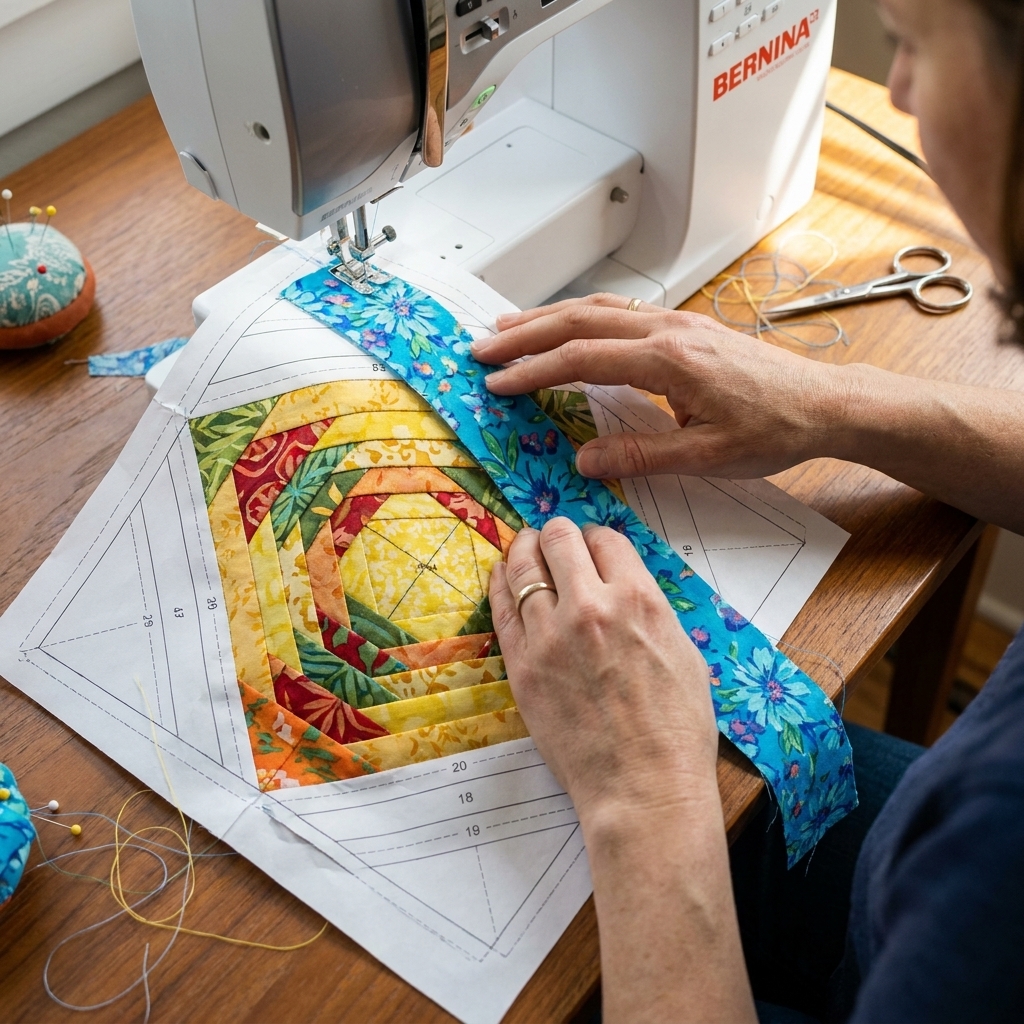
Best for: Tiny piecing, half square triangles, flying geese, foundation paper piecing (to keep things stable), bias-heavy blocks, and any time you are chasing precision.
Pros:
- Maximum stability and crispness
- Great for reducing bias stretch
- Usually the most cost-effective per yard when used in a tub or spray bottle
Cons:
- Depending on the product and how wet the fabric gets, heavy applications can cause shrinkage or slight distortion
- Can leave flaky residue if over-applied or scorched
- More setup and drying time
Sizing
What it feels like: Light body and smoothness rather than stiff crispness. Think “polished” instead of “board-like.”
Best for: General piecing, appliqué backgrounds, and anyone who wants just a little extra control without the crunch.
Pros:
- Less residue than heavy starching
- Lower risk of flaking
- Nice for dark fabrics where residue would show
Cons:
- Not as stabilizing for bias edges and tiny units
- You may need multiple light coats for noticeable effect
Pressing sprays (often starch blends)
What it feels like: Varies wildly. Some are basically scented water with a hint of hold. Others are surprisingly crisp. The “pressing spray” label usually signals convenience.
Best for: Everyday pressing, quick touch-ups while piecing, and quilters who want a simple bottle on the ironing board.
Pros:
- Fast and easy
- Great for pressing seams as you sew
- No tub-dunking, minimal drying time
Cons:
- Some formulas can build up on your iron over time (especially starchy, scented, or silicone-heavy blends)
- More expensive per ounce than mixing liquid starch
- Some formulas leave spots on certain fabrics if over-sprayed
Quick decision guide
- If you are piecing tiny, fussy blocks: liquid starch
- If you want smoother fabric with a natural drape: sizing
- If you want convenience at the ironing board: pressing spray
- If you are prewashing everything: any of the above works, but be consistent across your quilt
My rules before you starch
Rule 1: Choose your timing
You have two common options, and both can work beautifully.
- Starch before cutting: My favorite for accuracy. Fabric cuts cleaner and stays true.
- Starch after cutting: Useful for calming fraying or bias edges, but it can distort smaller pieces if you over-handle them while wet.
If I am making half square triangles, flying geese, or anything with lots of triangles, I starch yardage before cutting.
Rule 2: Be consistent about prewashing
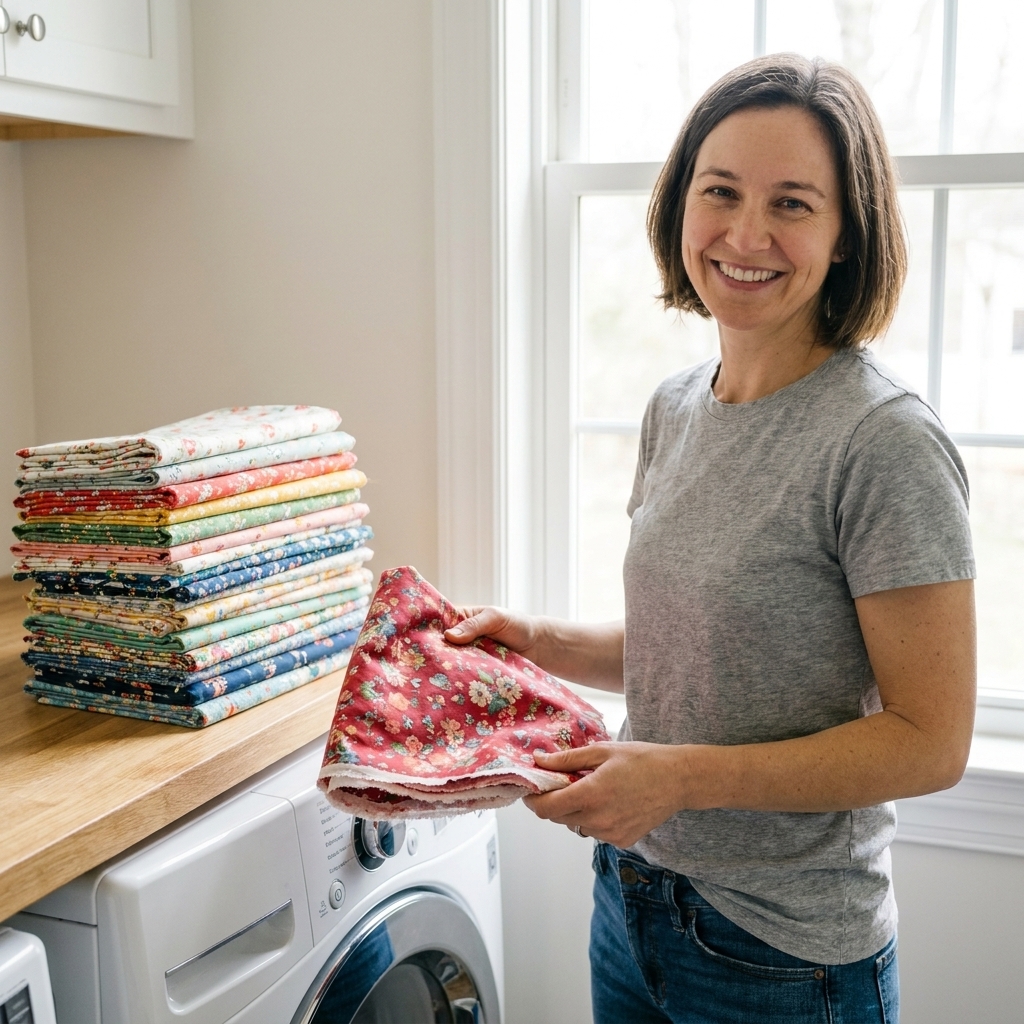
Starch does not replace prewashing. They are separate choices.
- If you prewash, you remove factory sizing and any shrinkage happens up front. Then you can starch for crispness.
- If you do not prewash, that is fine too. Just try to treat all fabrics in the quilt similarly so they behave the same way.
One caution: very wet starching methods can cause shrinkage for some fabrics or products. It is not “bad,” but you want it to happen evenly. If you are mixing prewashed and unwashed fabrics, keep your starching light and consistent.
Rule 3: Test first
If you are using a new product, start with a scrap or the corner of your yardage. This is especially worth doing on dark solids, batiks, and highly saturated prints, where spotting or a light haze will show up faster.
Rule 4: Protect your iron and board
- Use a clean iron plate. If you see a brownish film, clean it before starch day.
- Use a washable ironing board cover or lay down a pressing cloth.
- Follow the manufacturer directions for heat and steam. Some products want a dry iron for maximum crispness, while others behave best with specific settings.
Rule 5: Mind the air
If you are using an aerosol or a strongly scented spray, crack a window, run a fan, or step outside to spray and then press. If fragrances trigger headaches for you, look for unscented options or stick to liquid starch in a refillable bottle.
How to use liquid starch
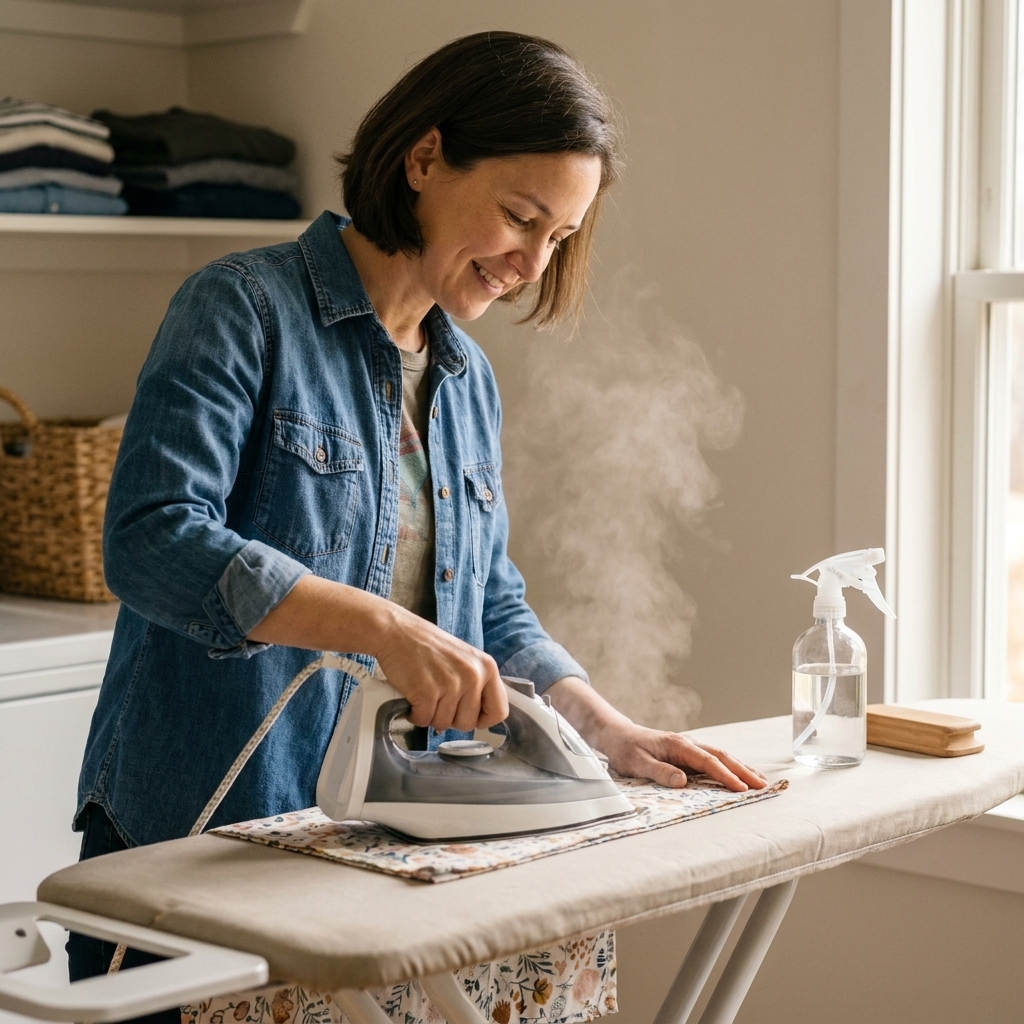
This is the method I use when I want fabric that behaves like a dream under a ruler. It is a little slower, but it pays you back with accuracy.
What you need
- Liquid starch (store-bought liquid starch)
- A clean spray bottle or a shallow tub
- An iron and ironing surface
- Optional: a wooden clapper (wonderful for crisp seams)
Step-by-step: spray and press
- Press out fold lines first. This helps starch go on evenly.
- Lay fabric flat on the ironing board. Smooth it with your hand.
- Mist evenly. You want a uniform dampness, not puddles. If droplets sit on top, you used too much in one spot.
- Let it soak in for 30 to 60 seconds. This helps prevent splotches.
- Press, do not scrub. Set the iron down, lift, move, repeat. Dragging can stretch the grain, especially when damp.
- Flip and treat the wrong side lightly. A quick mist and press on the back can help even out the hand without over-wetting.
- Let it cool flat. Fabric sets as it cools. If you pick it up warm, it can relax.
When I use the tub method
If I am starching a big batch for a quilt-along, I sometimes dunk yardage in a shallow tub of diluted starch, then hang it to dry until it is slightly damp and press it. This gives maximum crispness, but it is also the highest risk for shrinkage and distortion if you wring or twist the fabric. If you do it, handle fabric gently, avoid wringing, and keep your method consistent across all fabrics.
How to use sizing
Sizing is my choice when I want fabric to feel smoother and a bit more stable, but I still want it to drape nicely once quilted.
- Press fabric flat.
- Spray a light, even coat. Think mist, not wet.
- Wait about 15 to 30 seconds.
- Press with steady heat. Lift-and-set rather than pushing hard.
- Add a second light coat if needed. Two thin coats usually look better than one heavy one.
If you are working with dark solids, sizing is often the safer bet because it is less likely to leave a visible haze if you accidentally overdo it.
How to use pressing sprays
I like pressing sprays best as an “as you go” helper. If you are chain piecing and pressing seams at the board, a quick spritz can make blocks look instantly more polished.
Best practices
- Spray the fabric, not the iron. Keep the bottle a few inches back and mist lightly.
- Use a pressing cloth for delicate prints. This helps prevent spotting and shine.
- Keep your iron clean. If you use pressing spray often, wipe the iron plate occasionally and do a deeper clean when you notice drag.
My seam-pressing habit
I press seams in two steps: first “set” the seam closed with the iron, then press it open or to the side. A tiny spritz on bulky seams can help them lie flatter, especially when you are nesting intersections.
Pressing tips that help
Starch helps, but pressing technique is where accuracy really locks in.
Lift and press
When fabric is damp from starch, sliding the iron can pull the grain off course. Lifting and pressing prevents that sneaky stretching that shows up later as blocks that refuse to square up.
Use steam on purpose
Many starch products already add moisture. If you blast fabric with steam on top of that, you can soften the crispness you just created. I typically do one of these, unless the bottle says otherwise:
- Starch + dry iron for maximum crispness
- Light spray + a little steam for gentle shaping
Try a clapper
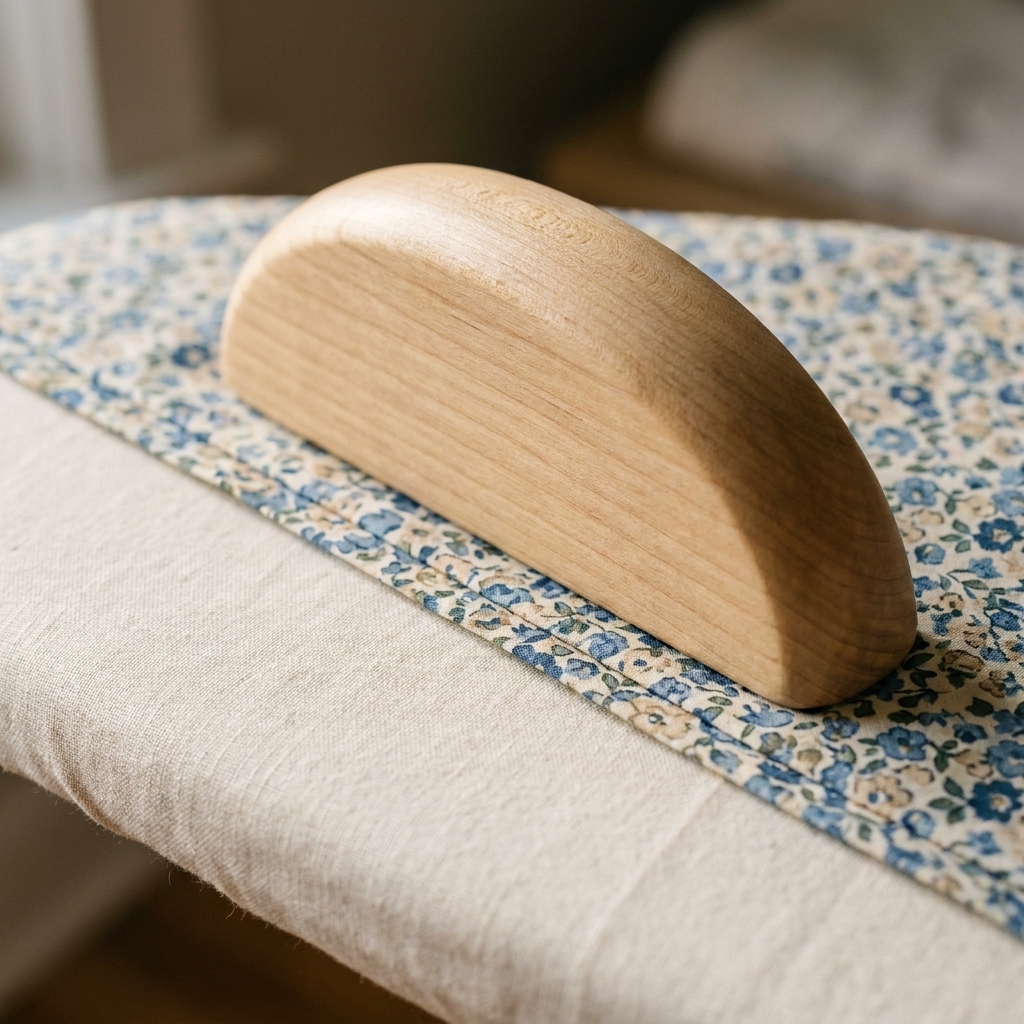
A wooden clapper is not required, but it is one of those old-school tools that just works. Press your seam, then place the clapper on top for a few seconds. It holds heat in the fibers as they cool, setting a flatter crease.
Common problems and fixes
My fabric feels sticky
- Use less product and apply in lighter coats.
- Make sure the iron is hot enough to dry the fabric fully as you press (and use the heat setting recommended by your product).
- If you used a heavy liquid starch soak, rinse and re-press, then switch to a lighter spray method.
I see flakes on my fabric
- This is usually too much starch or an iron that is too hot.
- Try a lighter application, and press with lift-and-set motions.
- Wipe the iron plate and change your pressing surface cover if residue is building.
My pieces warped after starching
- Over-wetting and over-handling are the usual culprits.
- Starch yardage before cutting, or use a lighter product when working with small cut pieces.
- Let fabric cool flat before moving it.
Will starch attract bugs
This worry pops up now and then, especially with heavier, plant-based starches. In my experience, pests are far more attracted to moisture, poor airflow, and anything stored dirty or damp. If you are in a humid area or storing textiles long-term, keep quilts clean, let them dry completely, and store them in breathable conditions. I also avoid storing a quilt long-term with very heavy starch still in it. If I went extra-crisp during piecing, I plan a wash once the quilt is finished.
My simple routine
If you want a plan that works for most quilts, here is what I recommend:
- Prewash or do not prewash, but be consistent.
- Press yardage.
- Starch or size yardage before cutting. Mist, wait, press, cool.
- Cut carefully. Crisp fabric rewards slow cutting more than brute force.
- Use pressing spray sparingly while piecing. Especially at bulky seam intersections.
- Square up as you go. Starch helps, but trimming units keeps the whole quilt on track.
And if you over-starched something and it feels like a cereal box, breathe. You did not ruin it. A wash will take it back to soft, and the quilt will still keep every ounce of love you stitched into it.
FAQ
Should I starch fabric before or after prewashing
If you prewash, starch afterward. Prewashing removes factory finishes, then starch adds back the control you want for cutting and piecing.
Can I starch precuts
You can, but go lightly. Precuts can distort if they get too wet. I prefer a light sizing or a very fine mist of pressing spray, then a gentle lift-and-press with the iron.
Do I need starch for every quilt
Nope. Use it when it supports the style of quilt you are making. Precision patchwork, tiny units, and bias edges benefit the most. Big, simple blocks often do just fine with good pressing alone.
Will starch affect quilting later
Once pieced and quilted, most starch is minimal and typically washes out over time. If you use very heavy starching, consider washing the finished quilt after binding to soften it and remove any residue.
Does this work on other fabrics
It usually does, but results vary. Flannel, linen blends, and looser weaves can respond differently than quilting cotton, so I always do a quick test first and follow the product directions for heat and steam.