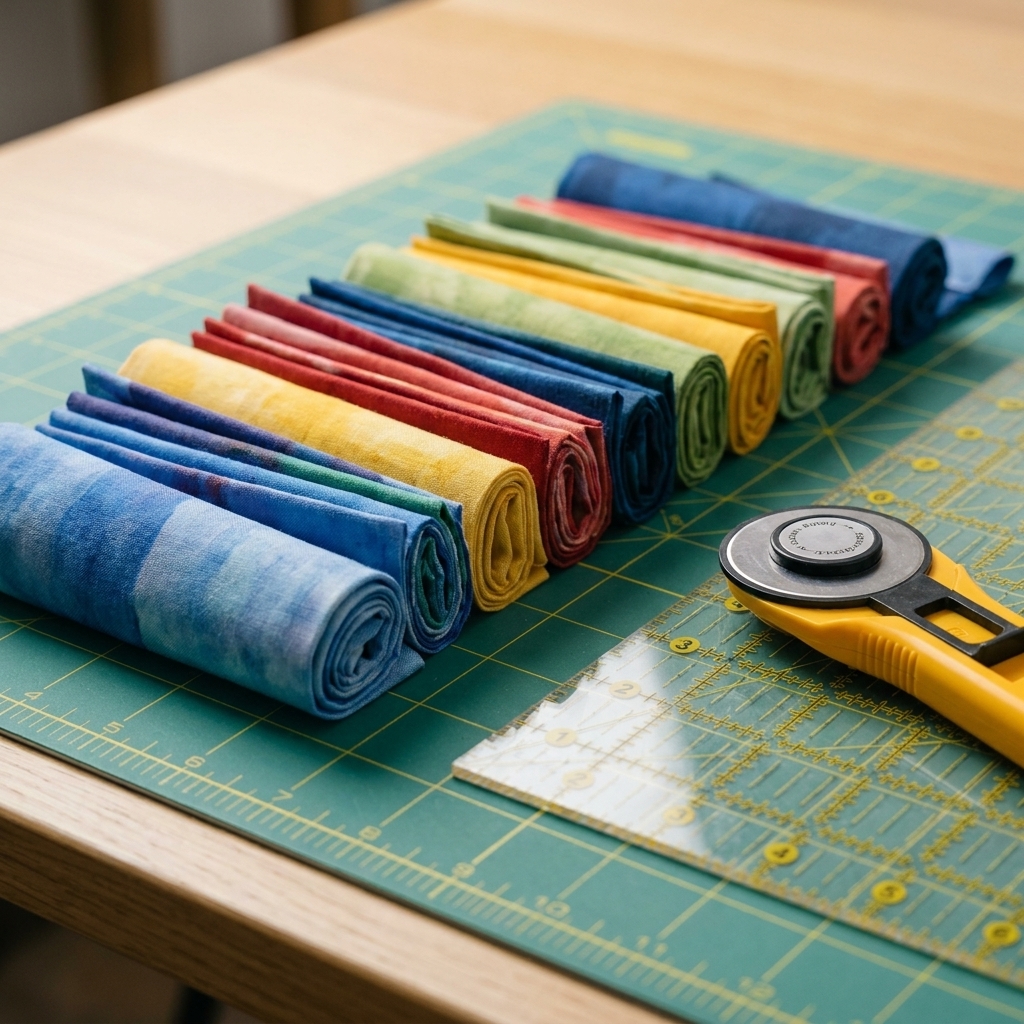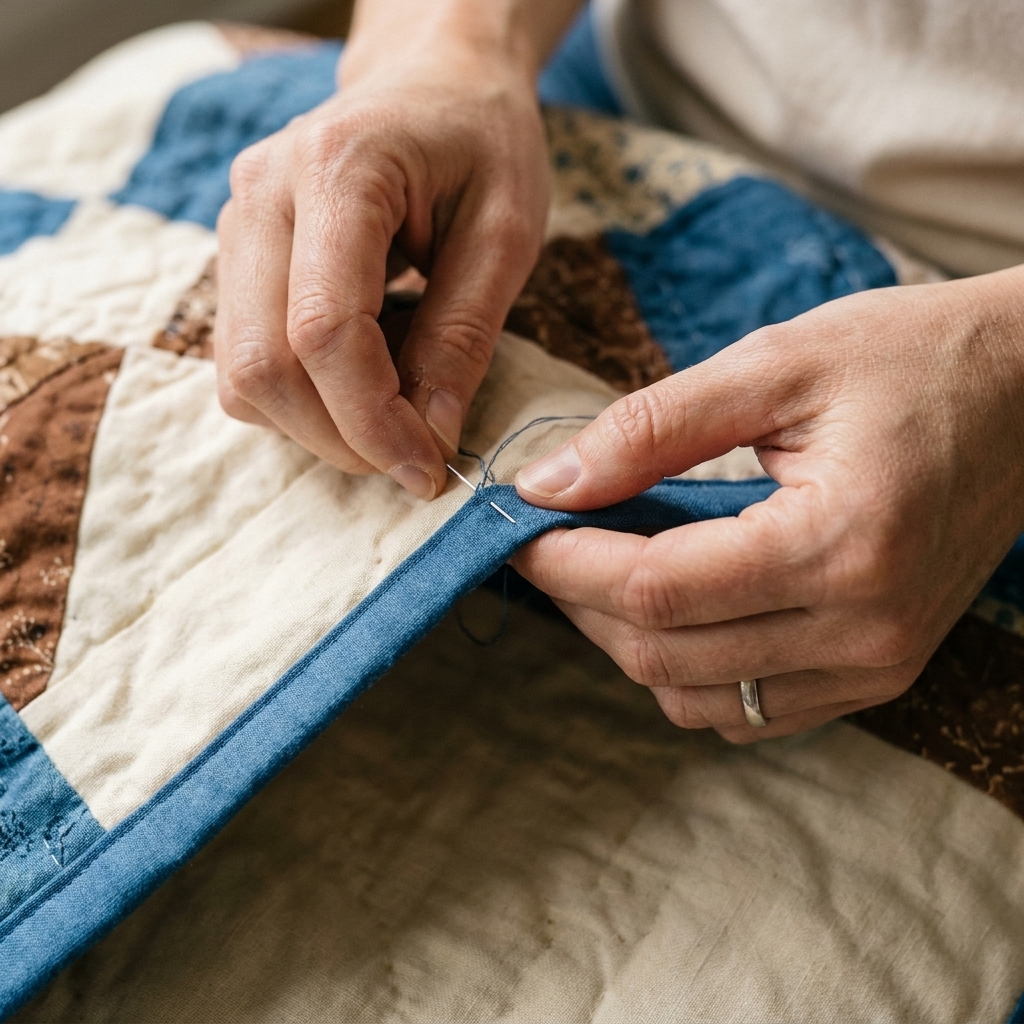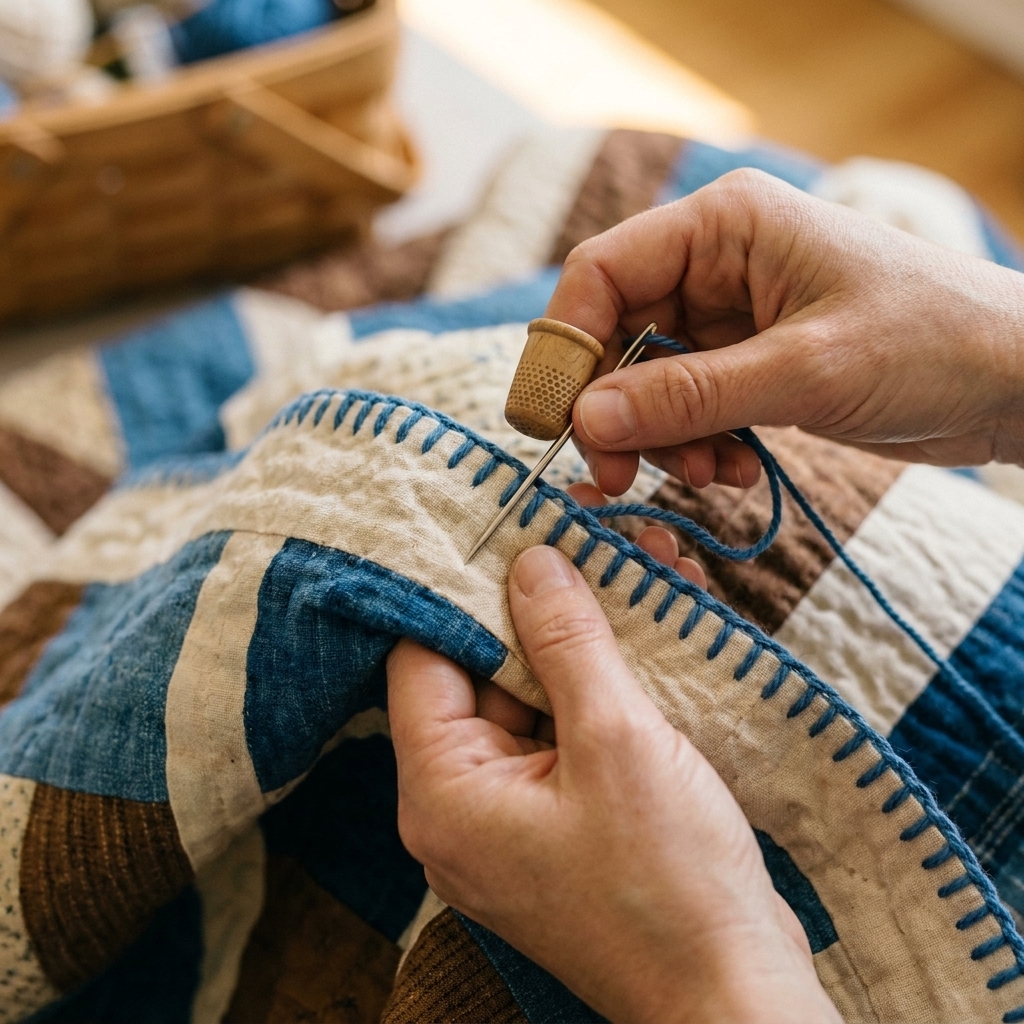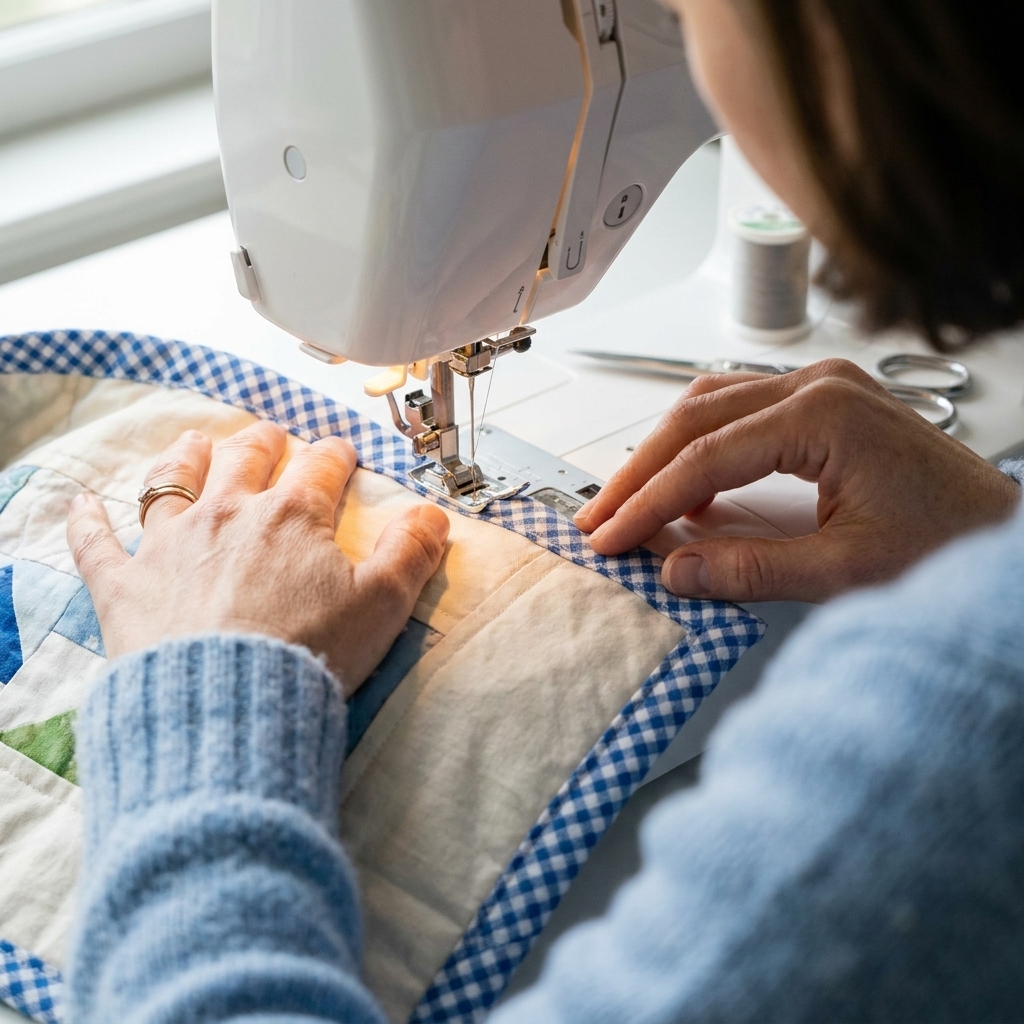
A friendly, step-by-step tutorial for sewing quilt binding by machine from start to finish, including perfect mitered corners and a clean, durable finish.
The Quilt Mark
October 22, 2026
Joining Quilt Binding Ends Seamlessly
Learn a foolproof, flat method for joining quilt binding ends with a diagonal seam. No bulky lump, no twisted binding, just a smooth continuous finish.

Clara Jenkins
Clara Jenkins is an avid quilter and fabric enthusiast who has been designing and piecing together quilts for over twenty years. She shares her passion for color coordination, block design, and practical sewing techniques to help makers of all skill levels create beautiful, lasting heirlooms. Through Quiltmark, Clara aims to make the timeless art of quilting accessible, joyful, and deeply rewarding for everyone.
Updated October 22, 2026
That last step of binding always feels like the home stretch, until you get to the part where the two binding tails have to meet. If you have ever ended up with a tiny pleat, a bulky bump, or a mysteriously twisted binding loop, you are in good company. The good news is that joining binding ends can be wonderfully predictable when you use one consistent method.
This is the approach I rely on for throws, baby quilts, wall hangings, and anything else that needs a clean, flat finish: a continuous join with a diagonal seam that spreads the bulk and blends right into the binding.
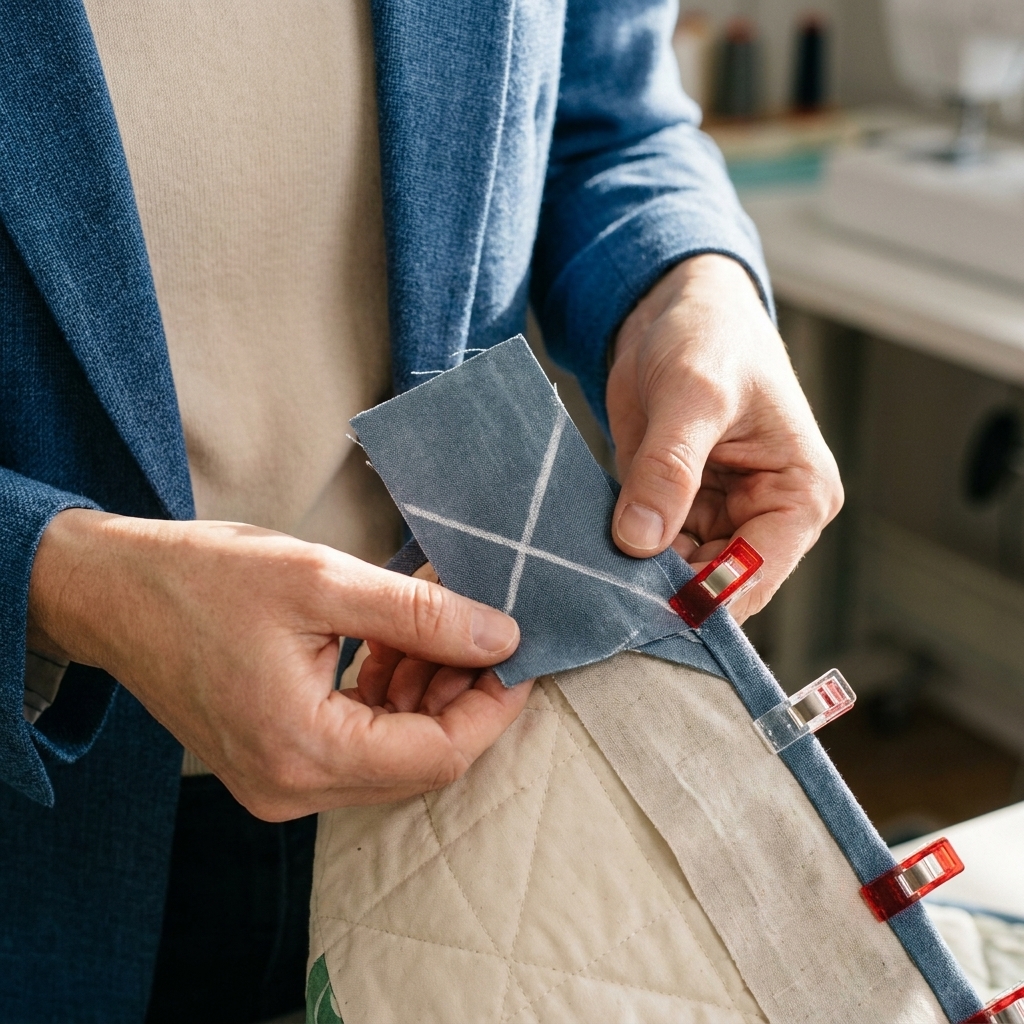
Why the diagonal seam works
A straight seam stacks fabric thickness in one spot. A diagonal seam spreads that thickness across a longer area, so it presses flatter and is less noticeable once the binding is folded and stitched down. It is also one of the best ways to keep your binding width consistent all the way around the quilt.
- Flatter finish: less bulk right where your hand tends to grab the quilt.
- Smoother look: no little step change in binding width.
- More forgiving: slight variations press out more gracefully.
Before you start
What you need
- Your quilt with binding already attached around the edges, leaving two unjoined tails
- Wonder clips or pins
- A marking tool (chalk pencil, water soluble pen, or a hera marker)
- Ruler (a small quilting ruler is perfect)
- Seam ripper (not because you will fail, but because quilting is real life)
Leave enough unsewn space
When you begin attaching binding, plan to leave at least 10 to 12 inches unsewn before your starting point. That open gap gives you room to overlap, mark, and stitch comfortably. If you have less space than that, this method still works, it just gets a little fiddly.
Know your binding width
This method depends on the cut width of your binding strip. Most quilt binding is cut at 2.5 inches for double fold binding, but whatever you used, you will use that exact measurement in a key step below. I will call it W (your binding strip cut width).
The method
We are going to overlap the tails, measure exactly one binding width between them, then sew one clean diagonal seam. The order matters, so read through once before you pick up your scissors.
Step 1: Overlap the tails
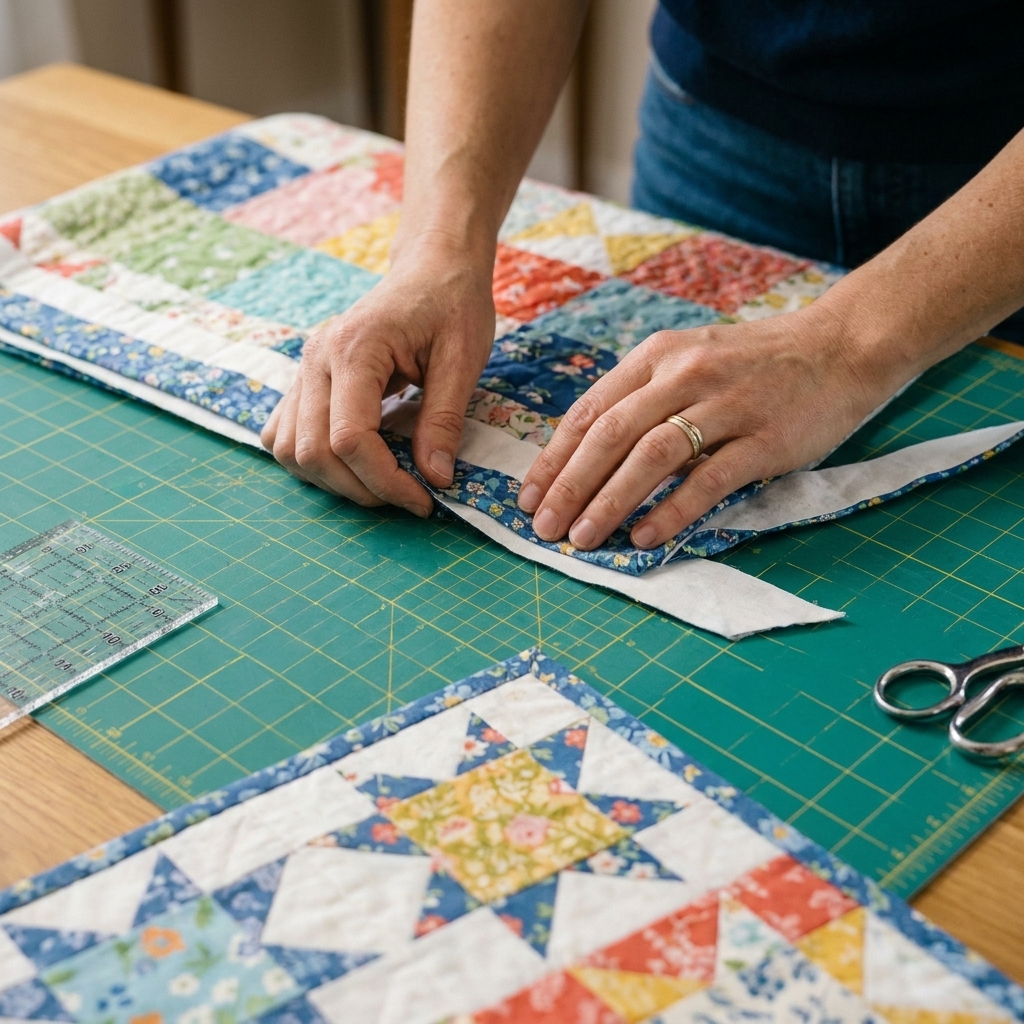
Lay the quilt flat and smooth the binding along the open gap. Overlap the two binding tails so they lie flat along the quilt edge exactly how they will live once finished, with no pulling or stretching.
Adjust the overlap until the binding sits naturally against the quilt edge. If you have to tug to make them meet, you will feel it later as rippling.
Step 2: Trim the first tail
Pick one tail to be the bottom tail. Trim its end straight across (a 90 degree cut). Do not angle anything yet.
Step 3: Measure one binding width (W)
This is the little bit of quilt math that makes the whole join behave.
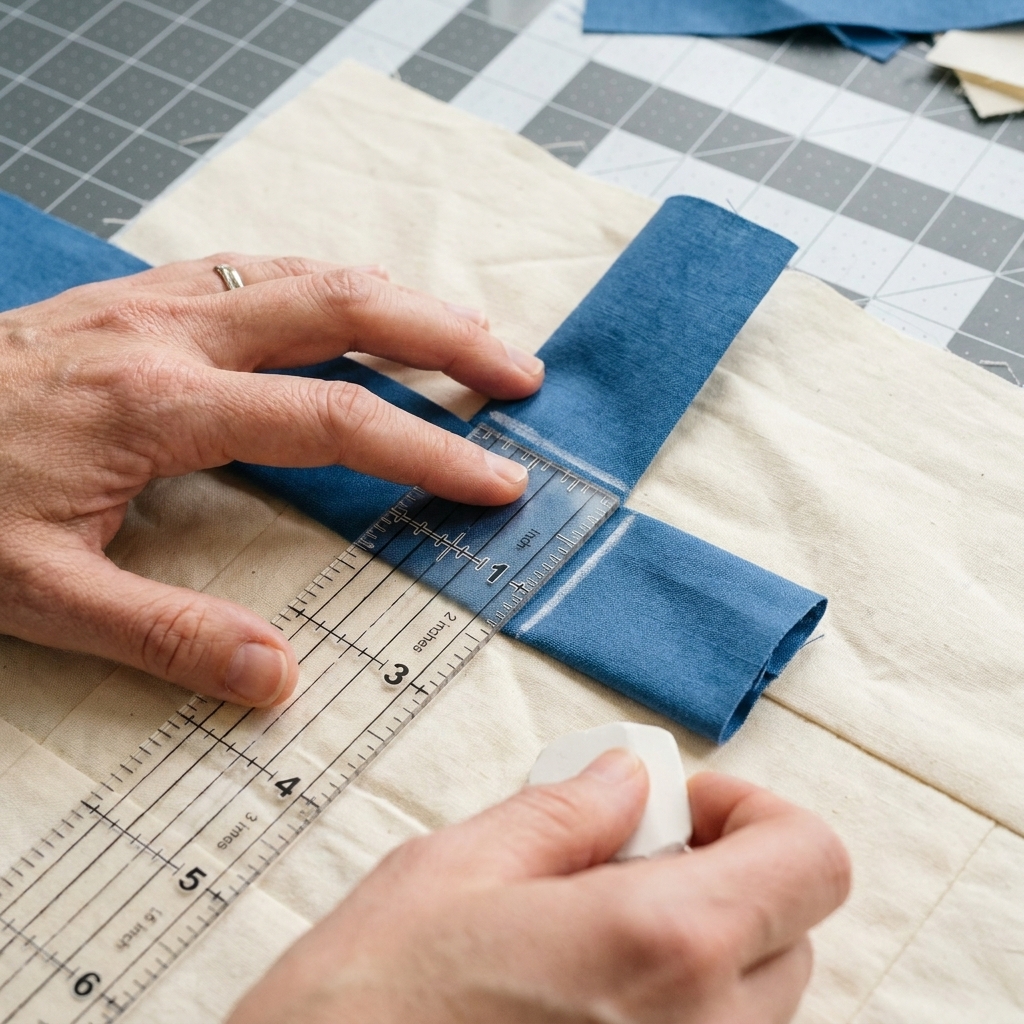
- With the tails still overlapped and lying flat, place your ruler on the bottom tail’s freshly squared end.
- Measure along the length of the binding (in the direction the binding runs around the quilt) by exactly W (your binding cut width, usually 2.5 inches). Do not measure across the binding’s width.
- Mark that spot on the top tail.
- Trim the top tail straight across at that mark.
Now, when the two tails overlap, there is a built-in allowance for the diagonal seam. This is the part that prevents the dreaded too short join.
Step 4: Open and make an L
This is the step that feels strange the first time, but it is the secret to a perfect diagonal join.
- Unfold each binding tail so you are working with single layers at the ends.
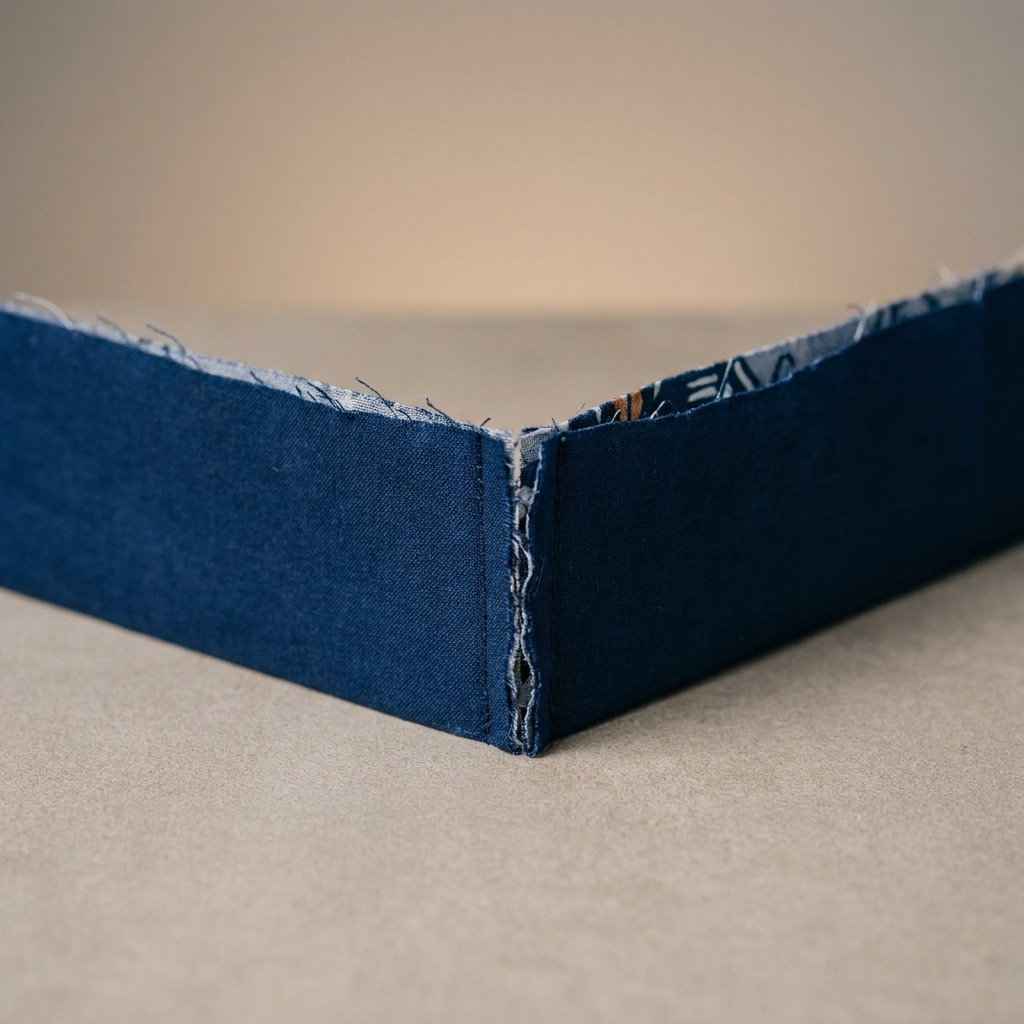
- Bring the two trimmed ends together right sides together.
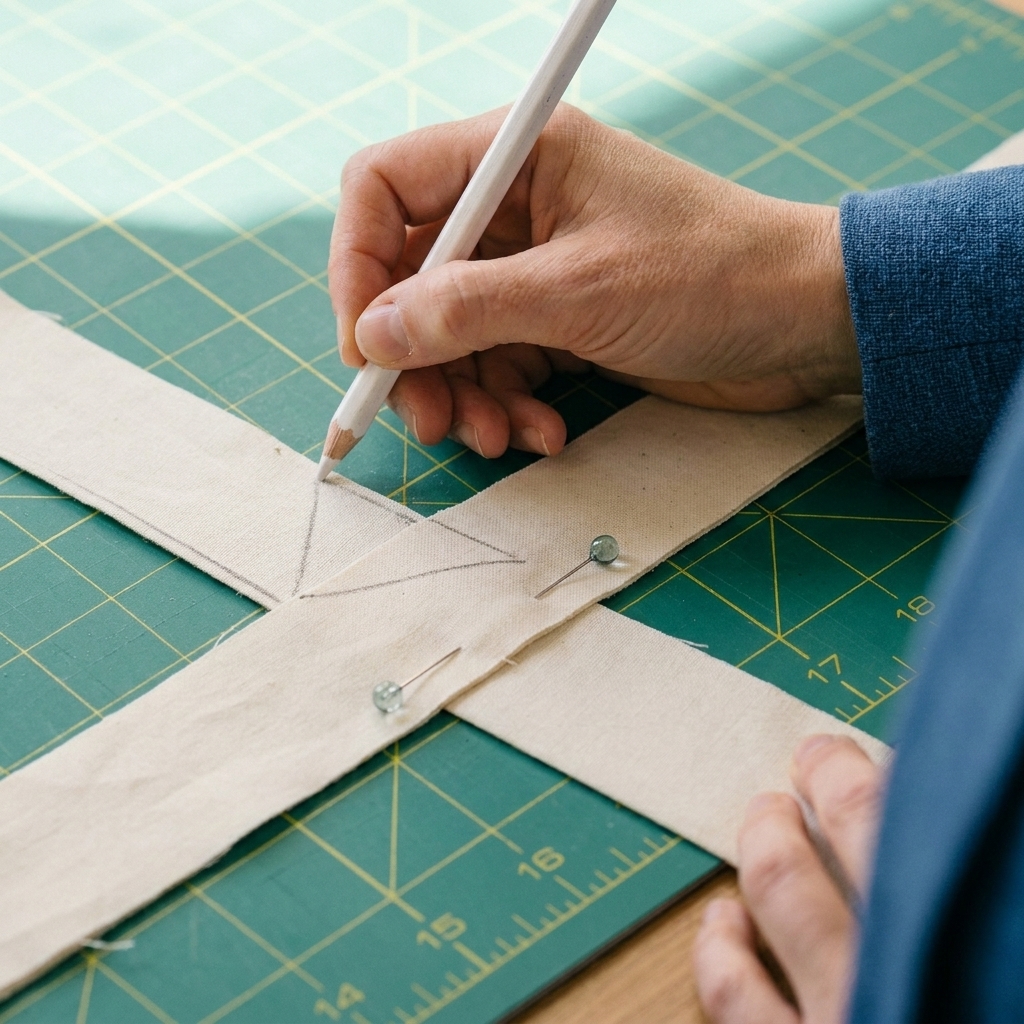
- Arrange them at a right angle like an L, with the raw edges aligned along the two legs of the L.
If your binding has a clear right side, make sure those right sides are touching.
Step 5: Mark the diagonal line
On the top strip, draw a diagonal line corner to corner across the overlap. You want the seam to run the same direction as the diagonal seams used to join binding strips into one long length.
A concrete way to check yourself: after you draw the line, do a quick finger fold test. Pretend you stitched, then fold along that line and see if the strips would open into one straight, untwisted strip. If it looks like it would twist into a loop, flip the diagonal the other way.
Step 6: Sew and test
Sew directly on the drawn diagonal line using a 1/4 inch seam allowance and your usual piecing stitch length. Take 2 to 3 securing stitches at the beginning and end. This seam is a stress point, and you will also stitch over this area again when you finish attaching the binding to the quilt.
Before you trim anything, do this sanity check:
- Open the seam and gently pull the binding into a straight strip.
- Make sure it lies flat and is not twisted.
- Wrap it back around the quilt edge to confirm it fits the gap smoothly without pulling.
If anything looks off, this is the moment for a quick seam rip. It is much easier now than after trimming and pressing.
Step 7: Trim and press
Once you are happy with the test fit:
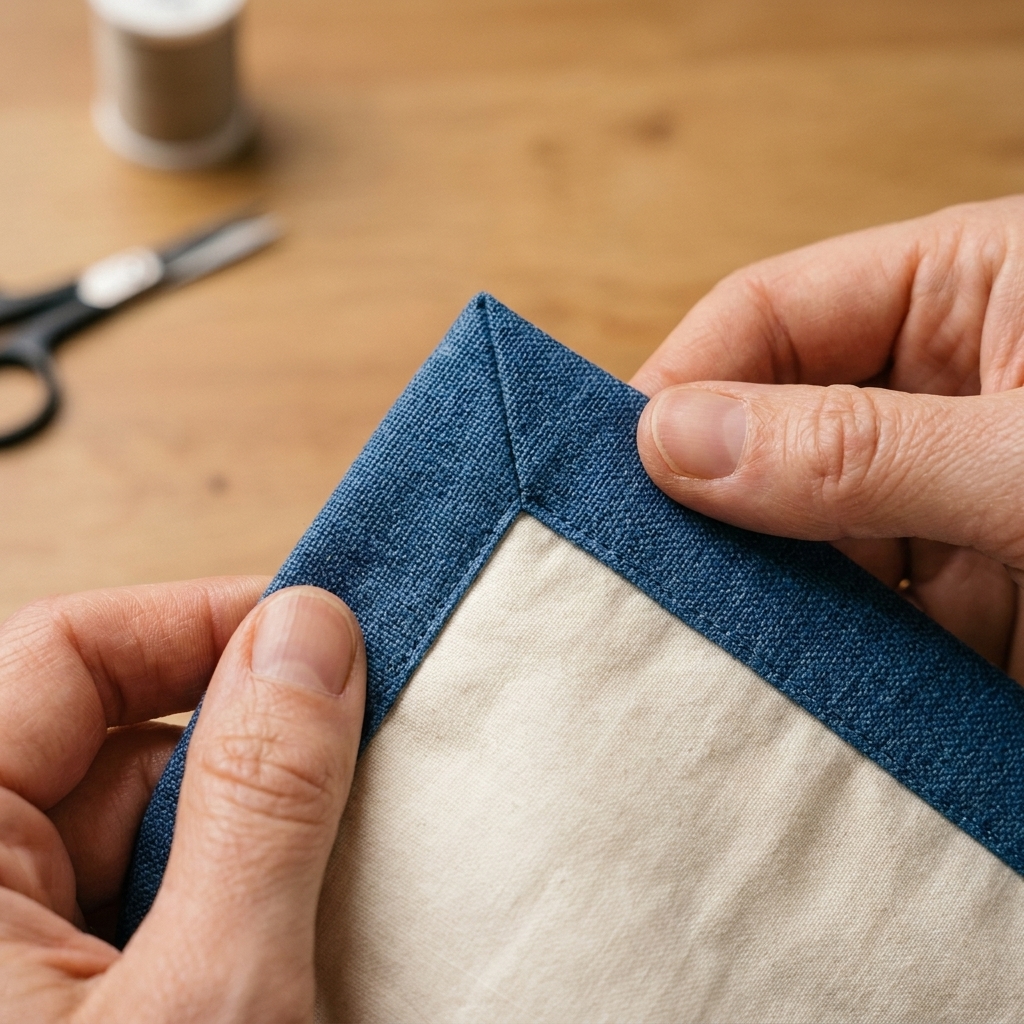
- Trim the seam allowance to about 1/4 inch.
- Press the seam open for the flattest finish, or press to one side if you prefer.
If you are working with a very light binding fabric and a dark print underneath, pressing to one side can help prevent the seam allowance from shadowing through. Either way, press firmly so the join melts into the binding.
Refold the binding along its center crease, then smooth it into place along the quilt edge.
Step 8: Finish stitching
Now you can stitch the remaining open gap to attach the binding to the quilt edge, just as you did for the rest of the quilt. After that, fold to the back (or front, if that is your style) and hand stitch or machine stitch to finish.
Take a moment to run your fingers over the join. It should feel like the binding never ended.
Common problems
My join is too tight and the edge ripples
This usually means your tails were overlapped while the binding was slightly stretched. Unpick the join, then overlap the tails again with the quilt lying flat and relaxed. Make sure the binding is resting against the quilt edge with no tension before you measure and trim.
My join is too loose and there is a floppy spot
This often happens when the overlap shifted while you measured W. Re-do the measuring step with clips holding the overlap steady. Also confirm you used the cut width (W), not the finished folded width.
It twisted after I sewed the diagonal seam
Your diagonal line went the wrong direction, or the strips were arranged wrong sides together. The fix is simple: seam rip, re-form the L with right sides together, and redraw the diagonal. Always do the test fit before trimming.
The join is bulky
Press the diagonal seam open if possible. If you are working with a thick batting or a heavier binding fabric, a careful open press makes a noticeable difference.
Pro tips
- Clip before you cut. Once you find a smooth overlap, clip the tails to the quilt edge so nothing slides while you measure.
- Mark W on your ruler with tape. If you bind often with 2.5 inch strips, a tiny piece of washi tape at 2.5 saves time and prevents brain fog.
- Join away from a corner. If you can choose where the join lands, aim for the middle of a side, not near a corner where there is already extra fold bulk.
- Shorten your stitch a touch. A slightly shorter stitch length on the diagonal seam adds durability where the quilt gets handled the most.
FAQ
Do I have to use a diagonal seam?
You can join with a straight seam, but it creates a thicker lump and is more noticeable. The diagonal seam is the cleanest option for a flat, professional finish.
What if my binding is cut at 2.25 inches or 3 inches?
No problem. Just use your binding strip cut width as W. Measure and trim the second tail exactly W past the first tail’s trimmed end.
Can I do this for bias binding?
Yes. The method is the same. Bias binding has a little extra give, so be especially gentle about not stretching it while you overlap and measure.
Should I press the diagonal seam open or to one side?
For the flattest join, press open. If your fabric frays easily, or if you are dealing with very high contrast fabrics and want to avoid shadowing, pressing to one side also works. The key is pressing it firmly so the join disappears into the binding.
One last pep talk
If joining binding ends has been your quilting nemesis, I want you to know it is not because you lack skill. It is because this step is oddly spatial, and most of us are doing it at the very end when we are tired and ready to be done. Slow down, measure W like it is sacred, and always test before you trim. Your future self will thank you when that binding join feels smooth under your fingertips.