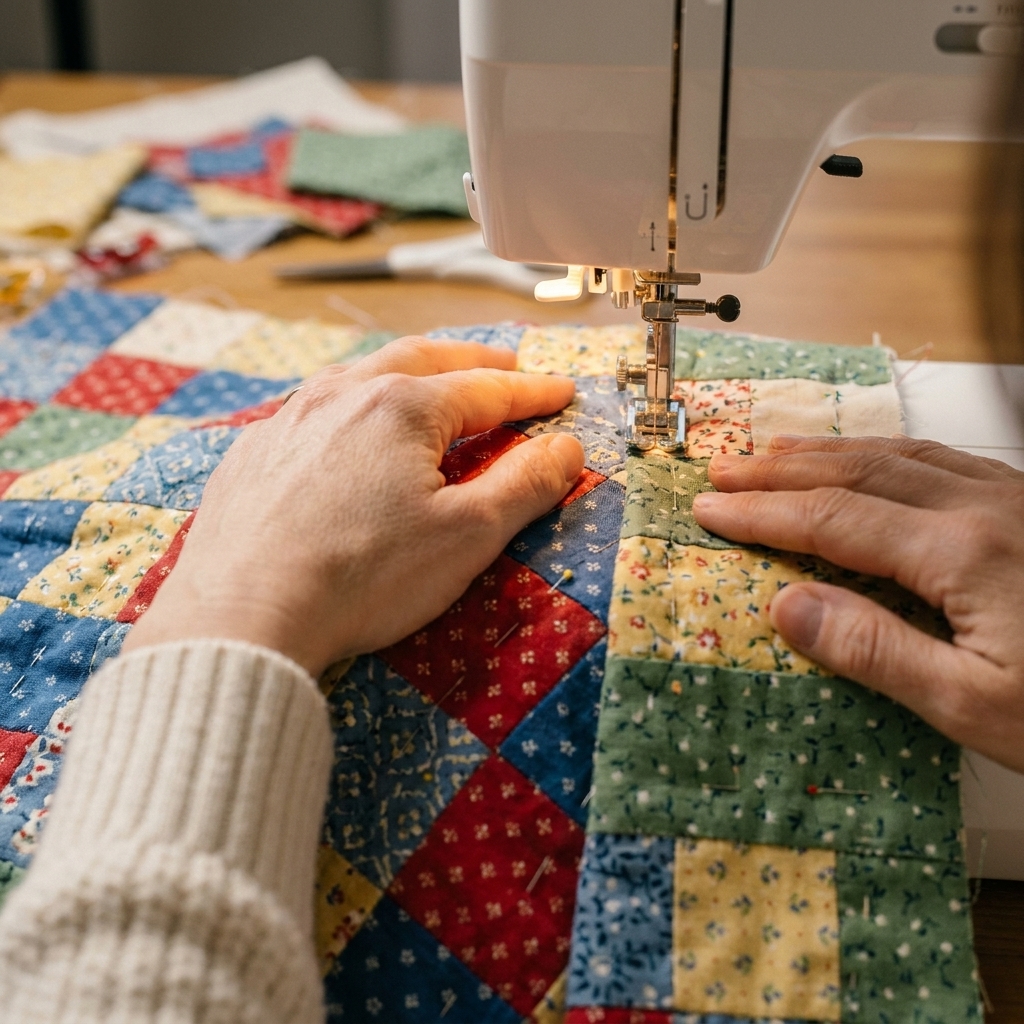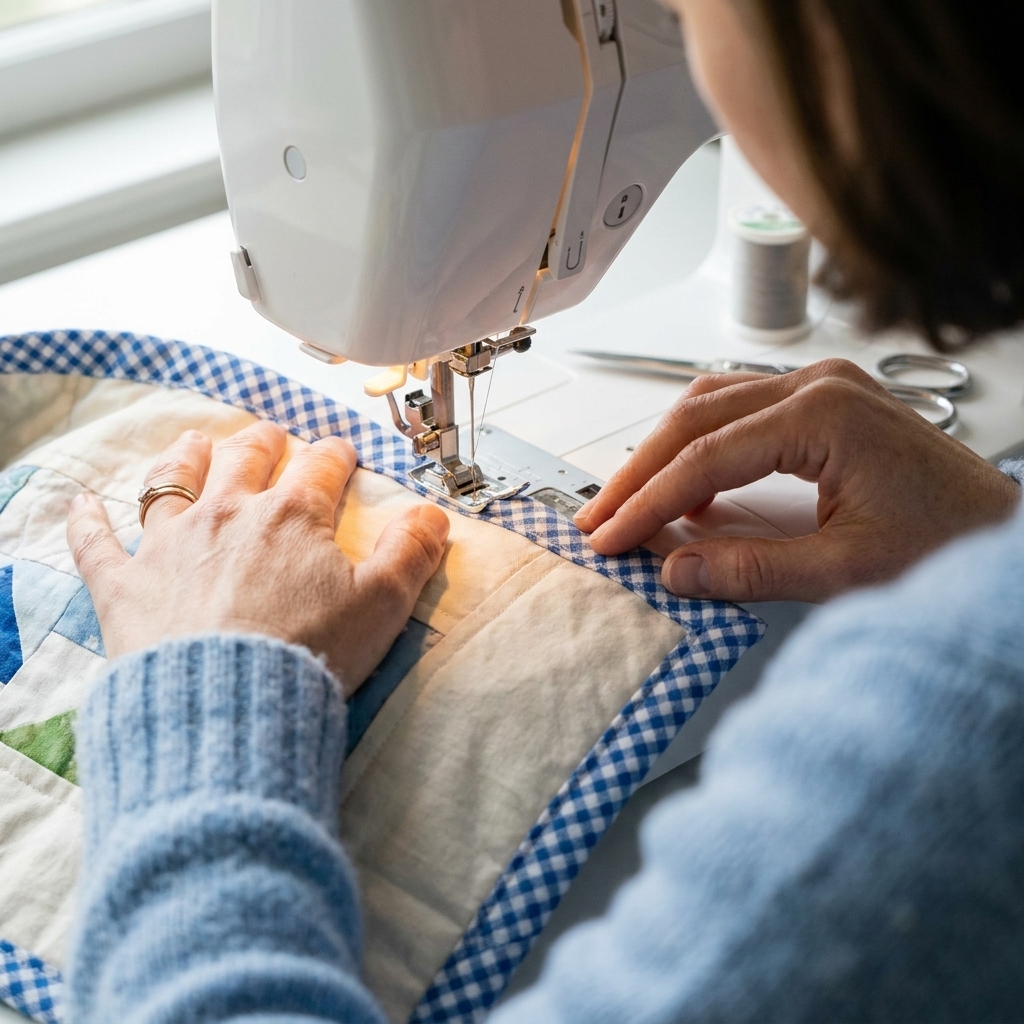
A friendly, step-by-step tutorial for sewing quilt binding by machine from start to finish, including perfect mitered corners and a clean, durable finish.
The Quilt Mark
October 22, 2026
Hand-Binding a Quilt With an Invisible Blind Stitch
Learn how to bind a quilt by hand using a nearly invisible blind stitch. Step-by-step tips for crisp corners, smooth curves, and an heirloom-quality finish.

Clara Jenkins
Clara Jenkins is an avid quilter and fabric enthusiast who has been designing and piecing together quilts for over twenty years. She shares her passion for color coordination, block design, and practical sewing techniques to help makers of all skill levels create beautiful, lasting heirlooms. Through Quiltmark, Clara aims to make the timeless art of quilting accessible, joyful, and deeply rewarding for everyone.
Updated October 22, 2026
Hand-binding is one of those old-fashioned finishing steps that feels like a deep exhale. The quilting is done, the bulk is tamed, and now you get to sit with your project and give it a clean, quiet edge that will hold up for years. If you have ever flipped a quilt over and spotted a dashed “ladder” of stitches marching along the binding, don’t worry. With a small shift in needle angle and thread tension, you can make your stitches all but disappear.
What makes it invisible
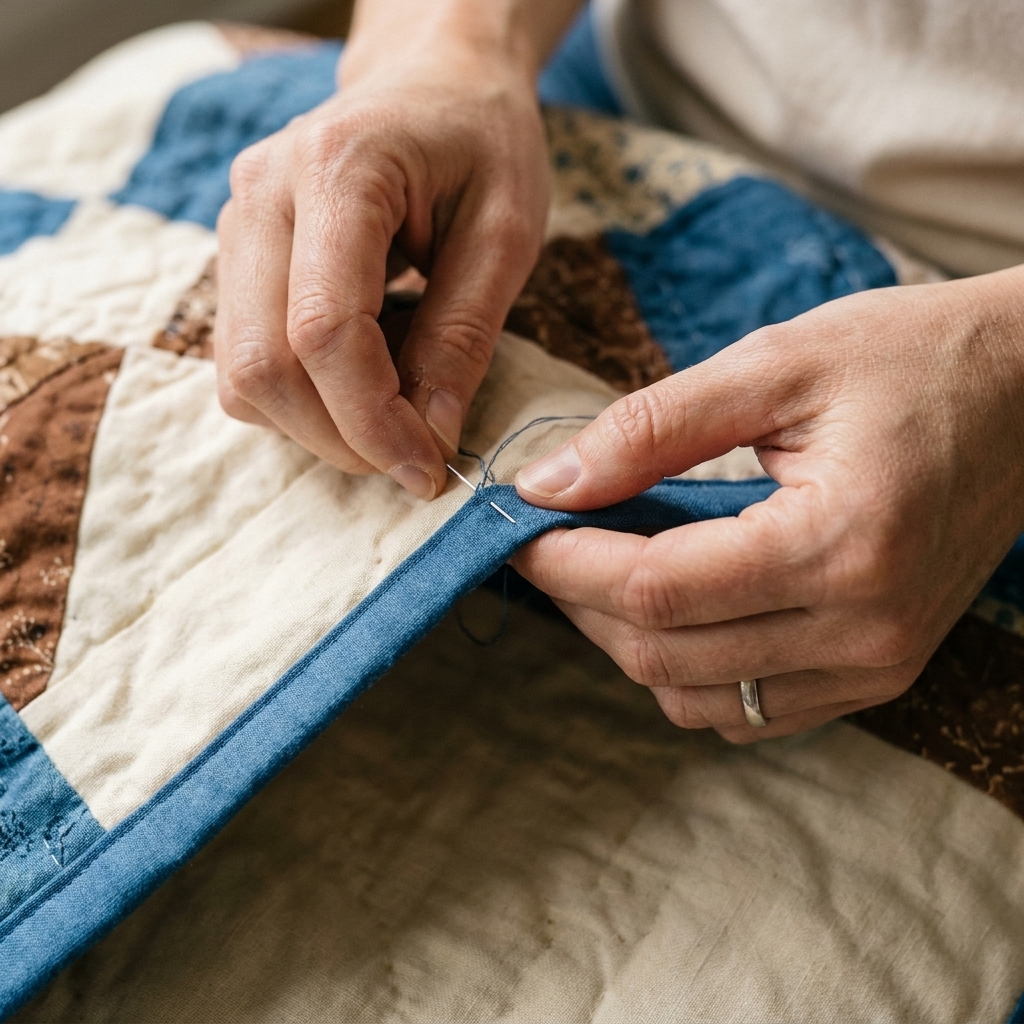
The hand stitch most quilters use for binding is a blind stitch, often taught in a ladder-style rhythm. The idea is simple: your needle grabs the tiniest bite of the backing fabric, then slips through the folded edge of the binding for a longer distance. When you snug the thread, those little bites sink into the fabric weave and the thread vanishes into the fold.
If your stitches are showing, it is almost always one of these:
- You are taking too big of a bite from the backing.
- You are not traveling far enough inside the fold of the binding.
- Your thread is too thick or too contrasting.
- You are pulling too tight and puckering the backing, which “spotlights” the stitch line.
Before you start
This tutorial assumes your binding is already sewn to the front of the quilt by machine, then folded to the back and pressed or finger-creased in place. If you are at the earlier stage, here is the quick setup that makes hand-stitching easier later:
- Binding width: Many quilters love 2 1/2 inch strips for double-fold binding, but 2 1/4 inch can feel less bulky on low-loft quilts. Lofty batting and heavily used quilts often benefit from a slightly fuller binding.
- Seam allowance: A consistent seam allowance on the front helps the binding fold neatly to the back without fighting you. 1/4 inch is common, but some quilters use a wider seam (like 3/8 inch) for extra wrap to the back. The best choice is the one that gives you coverage without strain.
- Trim and square: A squared quilt edge is half the battle for smooth binding.
Now let’s make that back side look like it came from a quilt show.
Tools and supplies
You do not need anything fancy, but the right few tools make the stitch cleaner and the process calmer.
- Needles: Sharps in size 9 or 10, or a milliner’s needle if you like a longer needle to “scoop” stitches.
- Thread: 50 wt cotton works, but my favorite for nearly invisible hand-binding is very fine silk (the kind sold for appliqué) or fine polyester. It sinks into fabric and glides through layers.
- Thread conditioner: Beeswax or a commercial conditioner helps prevent tangles, especially with cotton thread.
- Clips or pins: Binding clips are fast. Fine glass-head pins also work well.
- Thimble: A simple metal thimble, a leather thimble, or a sticky silicone dot. Use whatever lets you push the needle without hand strain.
- Optional: A small iron for re-pressing as you go, and a seam ripper for the occasional “oops.”
A quick thread note: clear monofilament can be tempting for “invisible” stitching, but it can feel wiry, it can be hard to knot neatly, and it tends to show as shine rather than color. A fine thread in the right color usually disappears better.
Step 1: Clip the binding
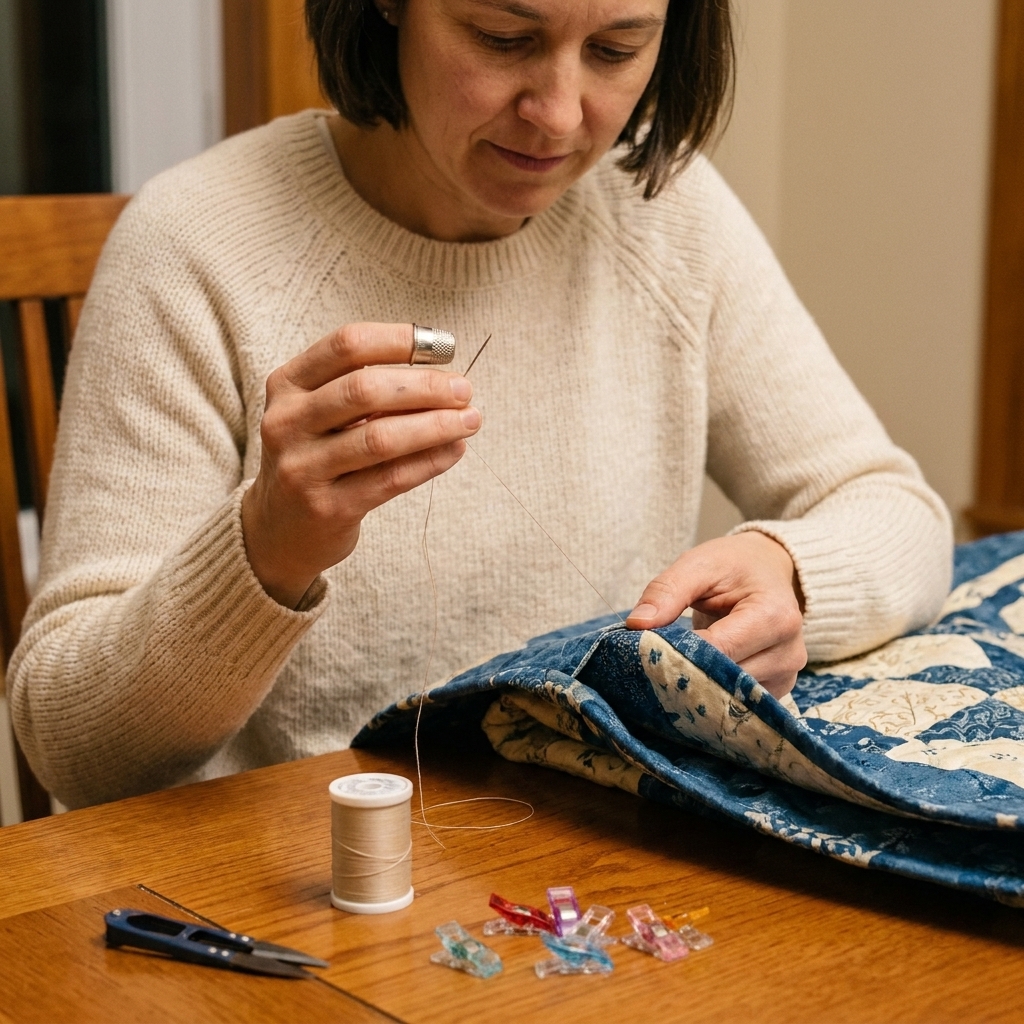
Flip the quilt so the backing is facing you. Fold the binding over the raw edge to the back so the folded edge lands just beyond the machine stitch line from the front.
I like to clip or pin 12 to 18 inches at a time. If you clip the entire perimeter, the binding can creep and you may discover you have accidentally stretched one side by the time you return to it.
Tip: If your binding edge will not stay folded, give it a quick press, then finger-press again right before stitching. Cotton behaves beautifully when it is gently reminded what it is supposed to do.
Step 2: Thread and start
Cut a comfortable length of thread, usually 18 to 24 inches. Longer thread tangles more easily, and tangles lead to yanking, and yanking leads to visible stitches. Ask me how I know.
Two hidden starts
Pick the one that feels natural in your hands.
- Quilter’s knot: Make a tiny knot and bury it under the binding fold by starting your needle in the binding seam allowance and coming out at the fold.
- Knotless start: Take a few tiny backstitches inside the binding fold where they will be hidden, then begin your blind stitch.
Step 3: The blind stitch
Position the quilt so the binding fold is closest to you. You are stitching along the folded edge of the binding, attaching it to the backing.
Anchor in the fold. Bring your needle out right at the folded edge of the binding (or a hair inside the fold), with the knot buried underneath.
Take the tiniest bite of backing. Insert the needle into the backing fabric directly opposite the fold and pick up the smallest bite you can manage, just a whisper of fabric. On some quilting cottons you can count threads, and on others you cannot. Either way, keep it shallow.
Try not to catch batting. If you dip down into the batting, the stitch can look bumpy or show as a little dimple. Aim to skim the backing fabric only.
Travel inside the binding fold. Insert the needle into the fold of the binding and run it 1/4 to 3/8 inch inside the fold, keeping the needle close to parallel with the quilt edge. Bring the needle out at the fold again.
Snug, don’t strangle. Pull the thread until the stitch lies flat and the binding fold kisses the backing. If the backing puckers, ease up.
Repeat. The rhythm becomes almost meditative.
If you want a quick mantra: tiny bite, long slide, gentle snug.
Make stitches disappear
Match thread to the binding
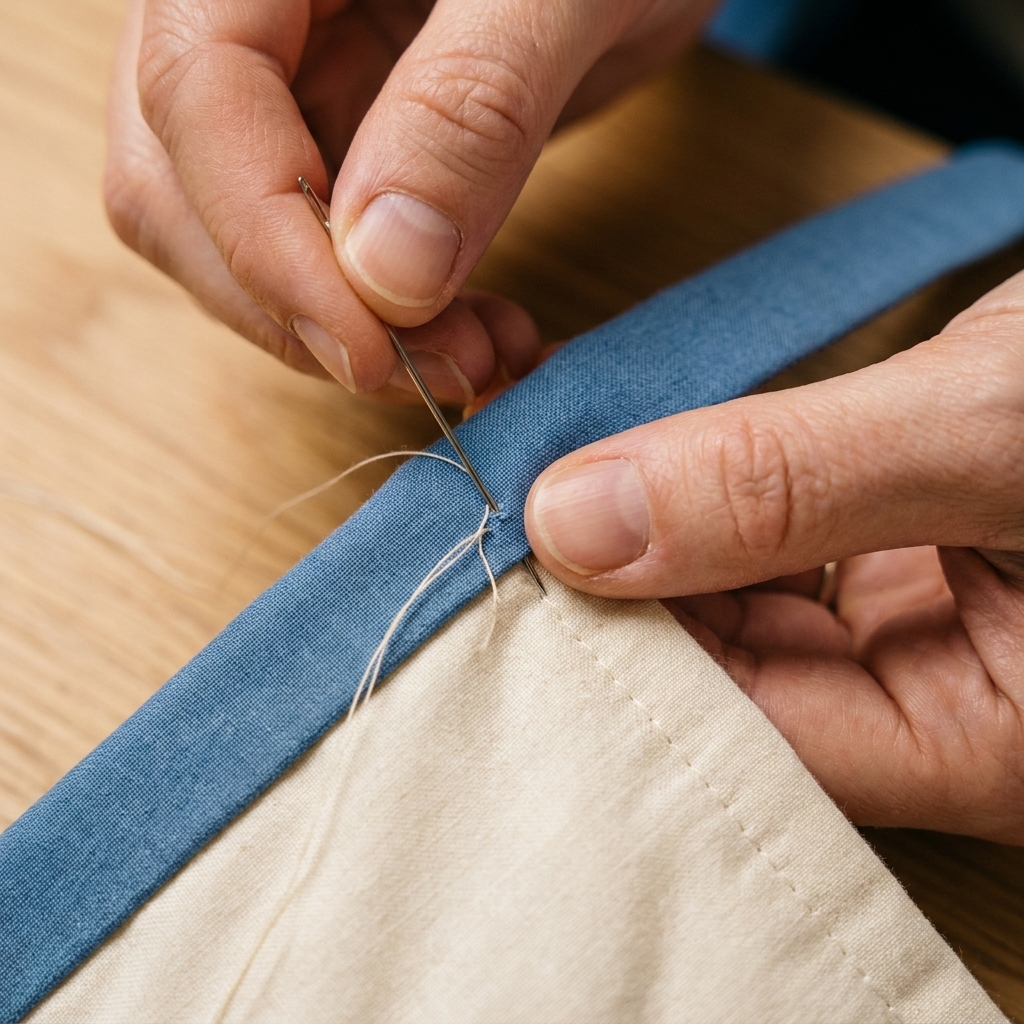
Your thread sits along the binding fold, so match it to the binding fabric. If your binding is scrappy, a neutral that blends with the darkest value usually disappears best.
Keep the needle angle shallow
A steep needle angle digs into the backing and makes bigger bites. Keep your needle close to parallel with the quilt edge.
Let the fold do the hiding
That “travel” stitch inside the binding fold is your camouflage. Too short can look dotted. Too long can ripple. Aim for consistent, medium-length slides.
Use your other hand
As you pull the thread through, use your non-stitching hand to gently press the binding fold down. It helps the stitch settle into the fold instead of floating on top.
Give yourself good light
If you are chasing true invisibility, bright light aimed at your hands helps you take smaller backing bites. If you use reading glasses or a small magnifier for fine work, this is the moment to bring it out.
Mitered corners
Corners are where hand-binding really shines. You can coax everything into place in a way a machine cannot always manage.
Before the corner
Stop about 2 inches from the corner and check your fold. The binding should lie flat with no tugging.
Fold the miter
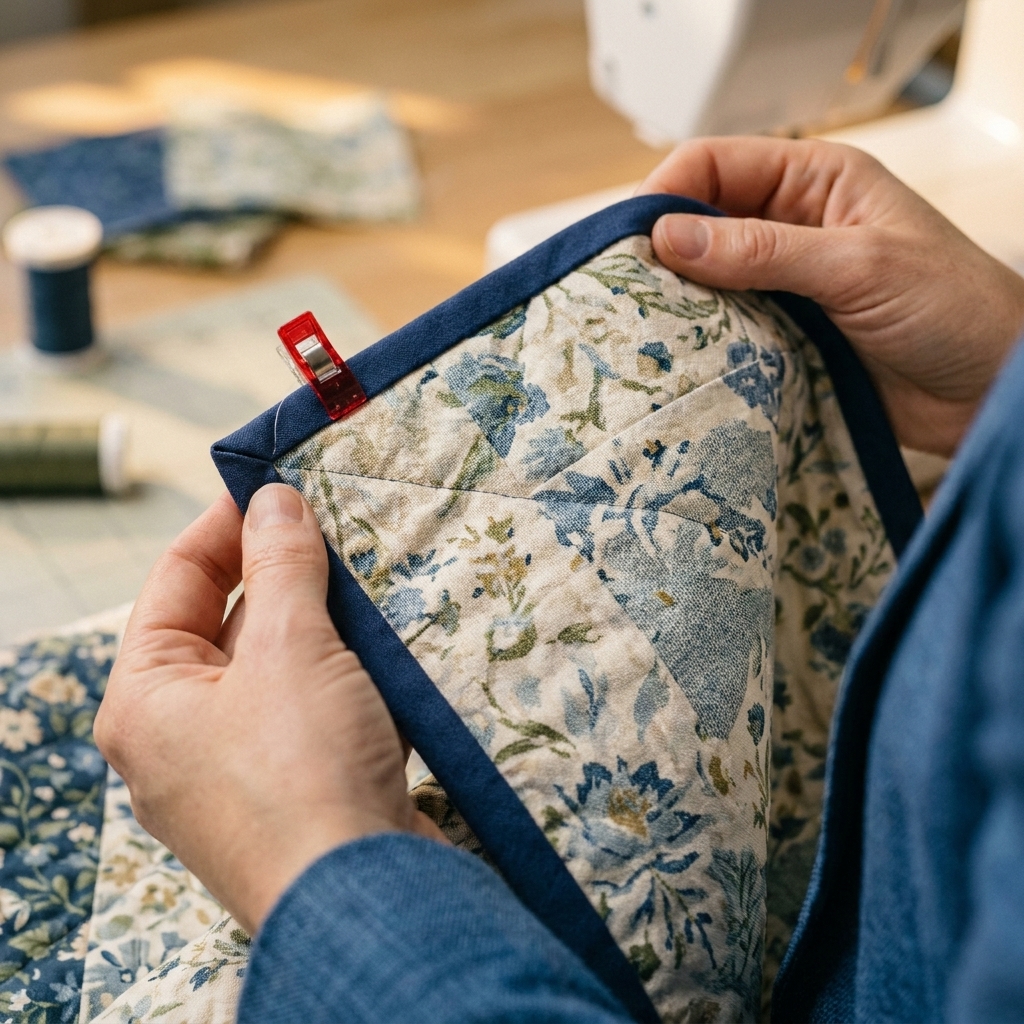
- Fold the next side’s binding down, forming the mitered diagonal at the corner.
- Fold the binding you are stitching over it, aligning the fold with the quilt edge.
- Clip the corner so it cannot pop open.
Stitch it securely
Take an extra small stitch or two right at the corner where the folds meet. I like one tiny stitch into the backing at the corner point, then a small stitch into the fold of the binding. Keep it neat and minimal. You want secure, not bulky.
Curves and scallops
Binding a curved edge is more about preparation than heroics.
- Use more clips: Clip every 1 to 2 inches on gentle curves, closer on tighter curves.
- Ease, don’t stretch: Let the binding relax into the curve. If you pull it, it will wave later.
- Shorten your stitch spacing: Slightly smaller stitches around curves keep the fold from flipping open.
If you find a little ripple, unclip a few inches, finger-press the binding into a smoother curve, and reclip. Hand-binding is forgiving like that.
Finish your thread
When you get near the end of your thread, stop with the needle exiting at the binding fold.
- Make a small stitch into the fold and pull through, leaving a small loop.
- Pass the needle through the loop to form a tiny knot.
- Repeat once more for security.
- Bury the tail by sliding the needle inside the binding fold for 1 to 2 inches, then bring it out and snip close.
The tail will disappear into the layers, and the finish will look calm and uninterrupted.
Troubleshooting
My stitches show
- Take a smaller, shallower bite of backing.
- Switch to a finer thread if you are using 40 wt or thicker.
- Increase how far you travel inside the binding fold.
- Check that you are not catching batting in the backing bite.
My backing puckers
- Ease up on tension. Snug is enough.
- Check that your quilt sandwich is flat and not being pulled as you stitch.
- If your batting is very lofty, take slightly longer inside-the-fold stitches to reduce bulk.
My binding will not cover the front stitches
- Your binding might be too narrow, or the seam allowance on the front might be too wide for that binding.
- Fix in the moment by folding the binding a hair farther to the back and clipping more frequently.
- For next time, cut binding a bit wider or sew it to the front with a slightly smaller seam allowance.
My corners look lumpy
- Trim seam allowance bulk at the quilt corners before binding.
- Use fewer securing stitches at the corner, not more.
- Press the corner fold and clip it firmly before you sew.
A routine that helps
If you are new to this, give yourself permission to go slow. I often bind in short sessions with a cup of herbal tea nearby and good light on my hands. The first 12 inches feel fussy, and then your fingers learn the motion.
One last encouragement: an “invisible” stitch is not about perfection. It is about consistency. Tiny bites, steady spacing, gentle tension. Your quilt will thank you every time it gets tugged, washed, loved, and passed along.
FAQ
How long should my stitches be?
A good starting point is taking a backing bite every 1/4 inch, with the travel inside the binding fold also about 1/4 to 3/8 inch. On curves or thick quilts, shorten the spacing slightly.
Do I need matching thread?
Matching helps, but technique matters more. If you only have a close match, use it and focus on tiny backing bites and steady fold travel. Fine thread hides better than thick thread.
Should I wash before or after?
Generally, wash after the binding is attached. Binding is your protective edge, and you want it in place before the first wash. Some quilters do prewash fabric or even prewash quilt components on purpose for shrink control, so follow your usual approach, but do not leave a newly finished quilt unbound for its first trip through the wash.
Is hand-binding stronger than machine binding?
Hand-binding can be very durable, especially with secure corners and buried thread tails. Machine-stitched binding is often faster and can be extra tough for heavily used quilts. For an heirloom finish and a nearly invisible back, hand-binding is hard to beat.