A friendly, step-by-step tutorial for sewing quilt binding by machine from start to finish, including perfect mitered corners and a clean, durable finish.
The Quilt Mark
October 22, 2026
Scrappy Quilt Binding: Measure, Cut, and Piece
Learn how to make scrappy quilt binding from leftover fabric strips. Step-by-step measuring, cutting, piecing, pressing, and joining for a smooth, colorful finish.

Clara Jenkins
Clara Jenkins is an avid quilter and fabric enthusiast who has been designing and piecing together quilts for over twenty years. She shares her passion for color coordination, block design, and practical sewing techniques to help makers of all skill levels create beautiful, lasting heirlooms. Through Quiltmark, Clara aims to make the timeless art of quilting accessible, joyful, and deeply rewarding for everyone.
Updated October 22, 2026
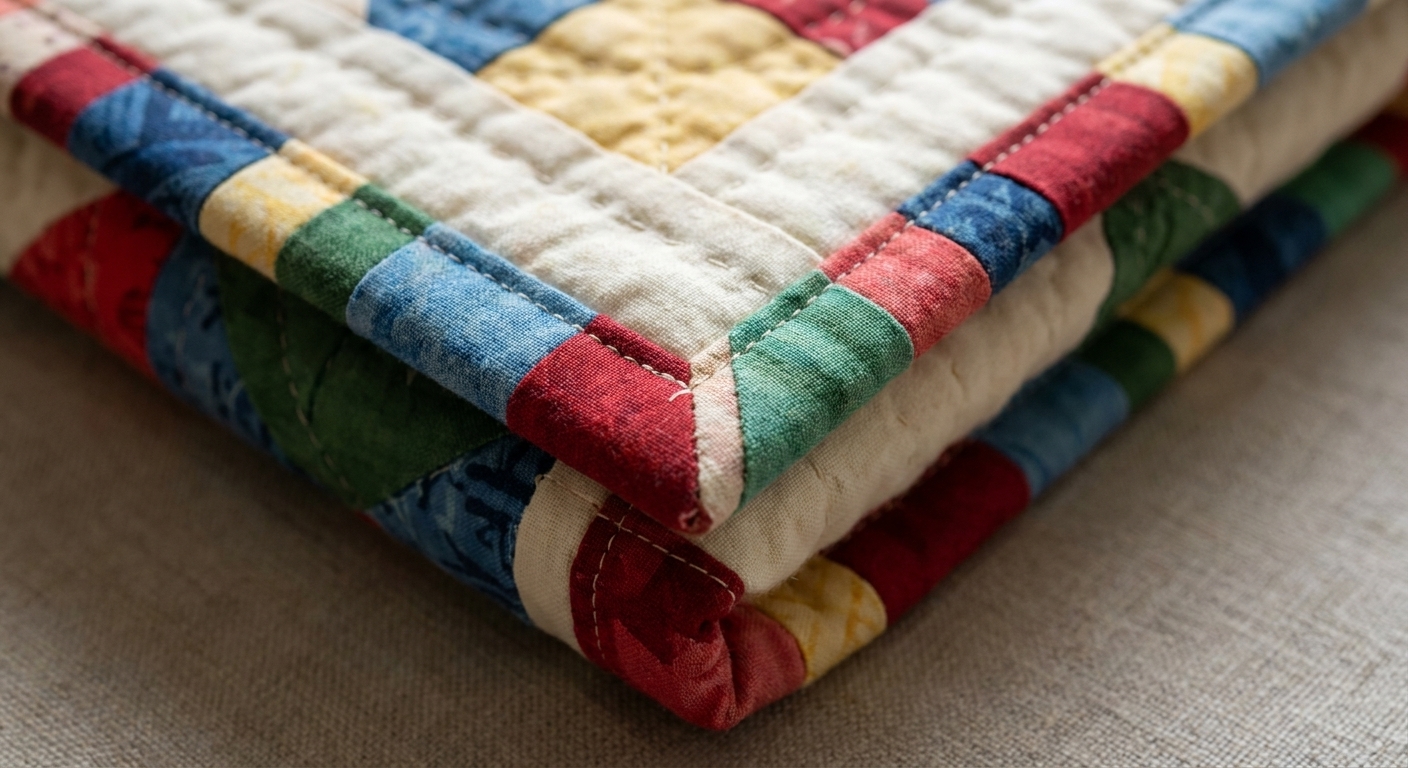
Scrappy binding is my favorite kind of “use what you’ve got” magic. It frames your quilt like a little patchwork necklace, it forgives tiny fabric shortages, and it turns those odd leftovers into something that looks intentional and joyful.
Below, I’ll walk you through measuring your quilt, calculating how many binding strips you need, cutting from scraps, piecing them into one long binding, and getting it pressed and ready to sew on. No perfectionist pressure. Just a sturdy, happy edge that makes your quilt feel finished.
What makes binding “scrappy”
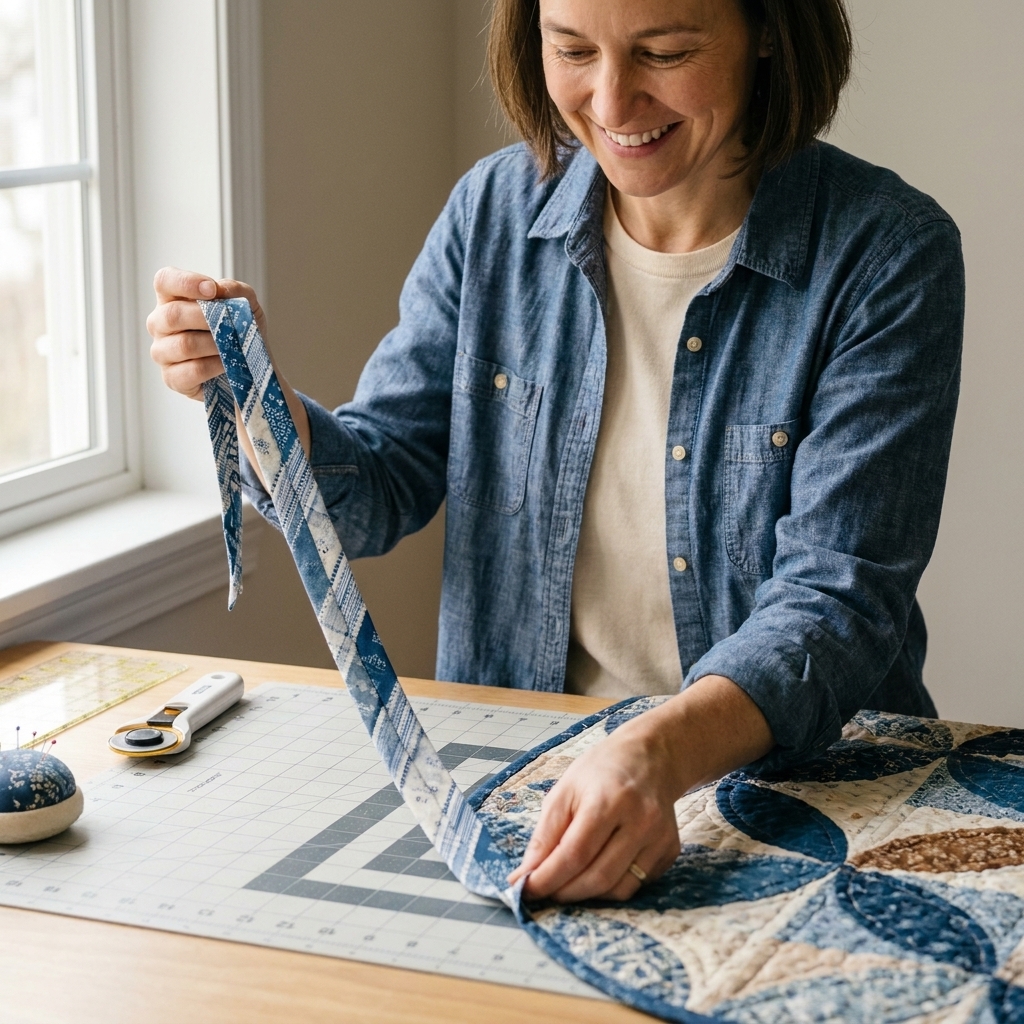
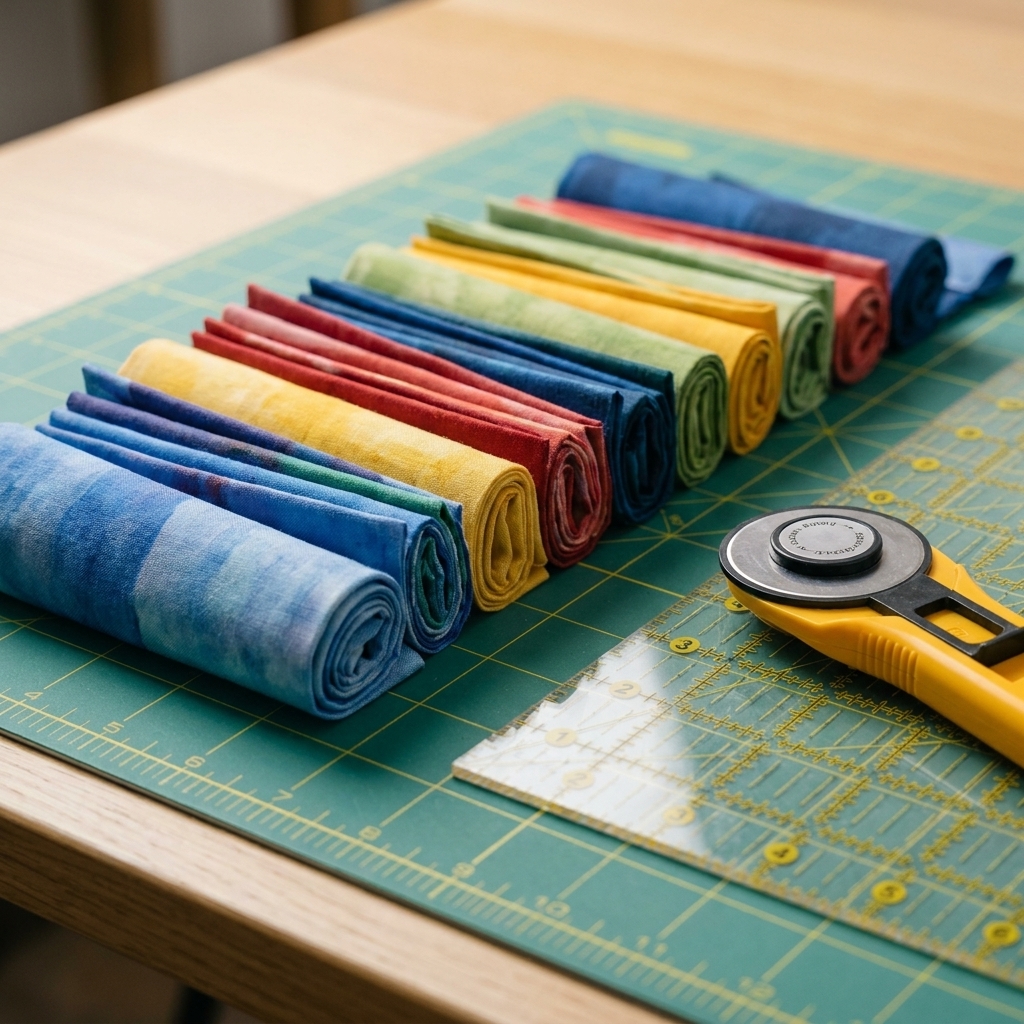
Scrappy binding is simply binding made from more than one fabric. Instead of cutting all your strips from a single yardage, you piece together shorter strips from your stash.
- It can be planned (a repeating color order or curated palette).
- It can be truly scrappy (whatever is on hand, mixed prints and solids).
- It can be subtle (all blues, all low volume, all tone-on-tone).
The technique is the same either way. The only real difference is how you choose fabrics and how often you want the color changes to happen.
Tools and supplies
- Finished quilt sandwich (quilted, trimmed, and squared up)
- Binding scraps (quilting cotton is easiest)
- Rotary cutter, mat, and quilting ruler
- Sewing machine and thread (neutral or a color you love)
- Iron and pressing surface
- Wonder Clips or pins
- Optional but helpful: walking foot, seam roller, starch or sizing
Quick note on fabric weight: If you mix fabrics, try to keep them similar in thickness. A single heavier canvas strip tucked into mostly quilting cotton can create a lumpy spot right where you want smooth wrapping.
Step 1: Measure your quilt for binding
For binding math, we care about the quilt’s perimeter. Measure your quilt after it is quilted and squared up.
The perimeter formula
(Width × 2) + (Length × 2) = Perimeter
Then add extra for corners and joining.
How much extra to add
- Add about 10 inches for a baby or throw quilt
- Add about 12 to 20 inches for larger quilts (I usually add 15 inches and call it good)
Example: If your quilt is 60" × 72":
- Perimeter = (60 × 2) + (72 × 2) = 264"
- Add 15" extra = 279" total binding length
Write that number down. It becomes your target when you start piecing scraps together.
Step 2: Choose your binding width
Most quilters use double-fold binding (also called French fold). You cut strips, sew them into a long strip, press in half lengthwise, and then stitch it to the quilt.
Common binding strip widths
- 2.5 inches: The classic. Sturdy and forgiving.
- 2.25 inches: Slightly narrower, a bit less bulky.
- 2.75 inches: Great for lofty batting or if you like a fuller edge.
If you are new to binding, choose 2.5 inches. It behaves nicely at corners and gives you plenty to wrap around to the back.
Step 3: Calculate how many strips you need
Now we turn your total binding length into a number of strips. If you cut strips across the width of fabric (WOF), one strip is typically about 40 to 42 inches usable after trimming selvages and squaring up (fabric width varies, but this range keeps you in the safe zone).
Easy strip estimate
Number of strips = Total binding length ÷ 40 (round up)
Example: 279" ÷ 40 = 6.975, round up to 7 strips worth of length.
Scrappy twist: You are not cutting full WOF strips from one fabric, so think in terms of total inches of strip length. Your goal is still 279 inches of binding, but it can come from many shorter pieces.
Step 4: Gather and prep your scraps
This is where stash-busting gets satisfying. Pull anything that complements your quilt: leftover backing, fat quarters, jelly roll leftovers, even binding remnants from other projects.
What to look for
- Length: Pieces at least 10 to 12 inches long are easier to handle, but smaller can work.
- Grain: For straight-of-grain binding (most common), cut strips parallel to the selvage or perpendicular to it. Avoid cutting on the bias unless you specifically want bias binding.
- Color: If your quilt is busy, a calmer scrappy binding feels like a tidy frame. If your quilt is calm, a wild binding is pure fun.
- Directional prints: If you care which way words or motifs face, plan for it now. Piecing scraps can flip print direction in a way you might not notice until the binding is on the quilt.
Step 5: Cut scrappy binding strips
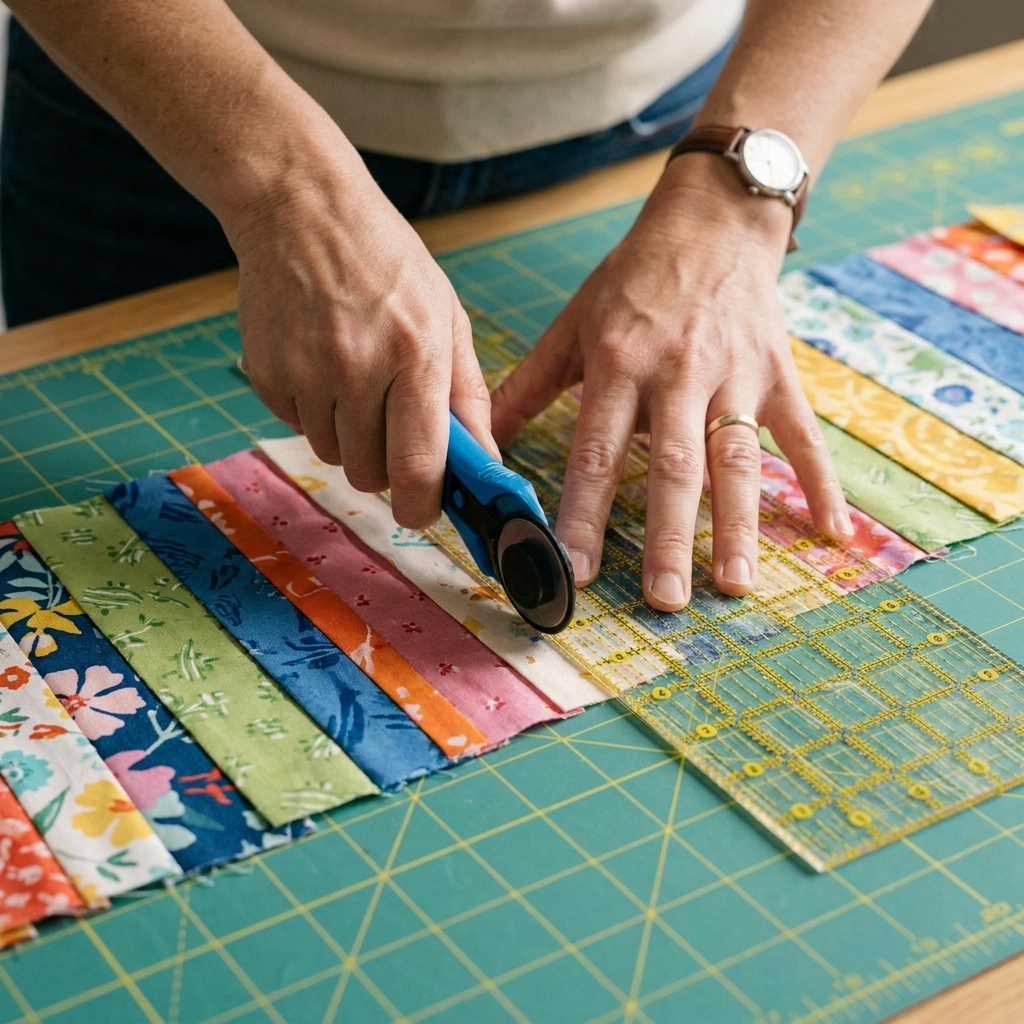
Cut your scraps into strips the width you chose, most often 2.5 inches. The lengths can vary. I like a mix of 10-inch to 20-inch pieces because the color changes feel lively without becoming frenetic.
You can cut your strips two main ways, depending on what your scraps look like.
Straight strips (most common)
Square up one edge of your scrap, then cut 2.5-inch strips. Keep them as long as the scrap allows.
WOF strips from a larger leftover
If you have a larger remnant, cut full WOF strips. These quickly build your total length and reduce the number of seams.
Tip from my own mistake pile: If a scrap is wrinkly or stretched, give it a quick press before cutting. Wavy strips lead to wavy binding, and binding already asks a lot of your patience.
Step 6: Piece the strips together
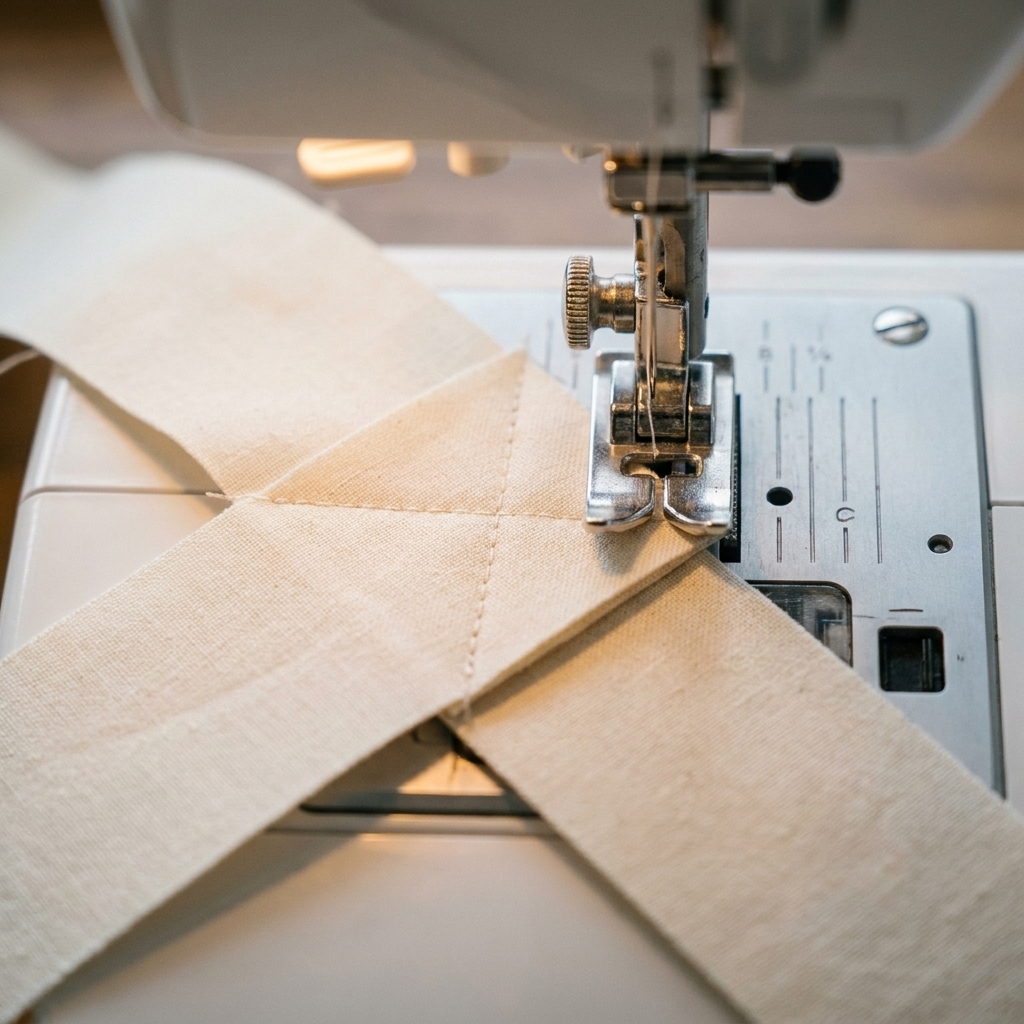
You can join binding strips with a straight seam or a diagonal seam. Both work. The diagonal seam spreads bulk across a wider area, so it is my go-to for scrappy binding.
Diagonal seam method (recommended)
- Place two strips right sides together at a right angle, forming an L shape.
- Draw a diagonal line from corner to corner (or eyeball it once you’ve done it a few times).
- Sew on the line.
- Double-check the orientation by opening the strips before trimming. You want one long, straight strip, not a little surprise kink.
- Trim the seam allowance to 1/4 inch.
- Trim off the little triangle “dog ears” at the ends of the seam allowance if they stick out.
- Press the seam open (flattest) or to one side (faster). I usually press open for binding.
Keep it looking intentional
Scrappy does not mean chaotic, unless you want it to. A few tiny habits make it look beautifully “designed” even when it is made from leftovers.
- Separate similar fabrics: Avoid placing two very similar prints next to each other if you want the scrappy effect to read clearly.
- Repeat a favorite: If you have one fabric you love, sprinkle it through the binding every so often like a chorus in a song.
- Watch value: A mix of lights, mediums, and darks is more lively than all mediums.
- Avoid seam piles: Try not to land several seams within a few inches of each other.
If you want a more random look, toss your cut strips into a basket, pull without looking, and piece in that order. It is oddly freeing.
Step 7: Press the binding
Once your strip is long enough (your target length plus a little cushion), it is time to press.
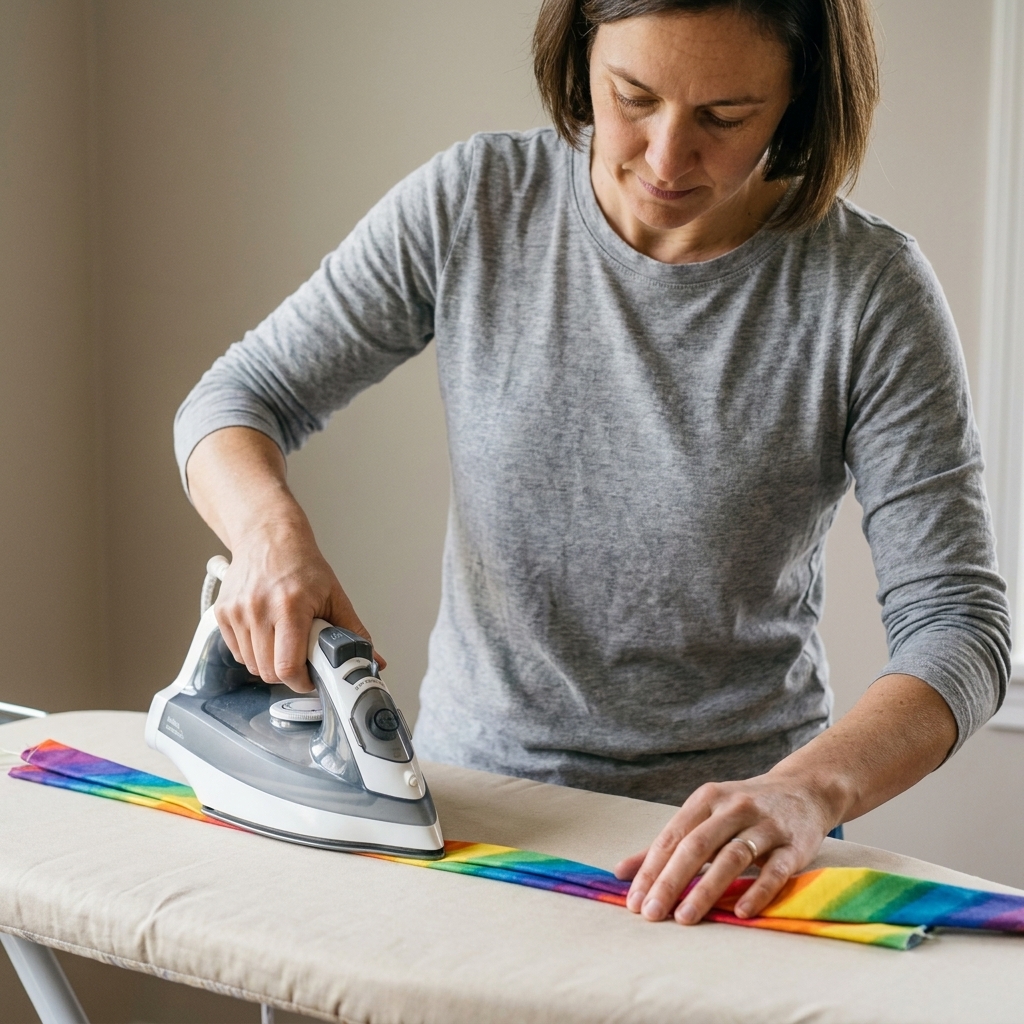
- Press the entire binding strip flat first, smoothing seams as you go.
- Fold the strip in half lengthwise, wrong sides together.
- Press along the fold, taking your time at seam intersections.
My favorite trick: A bit of starch or sizing helps scrappy binding behave, especially if your scraps came from different prewashing histories.
Step 8: Attach the binding (quick)
This post is all about making the scrappy binding, but it helps to know how it will be sewn on so you can prep for success.
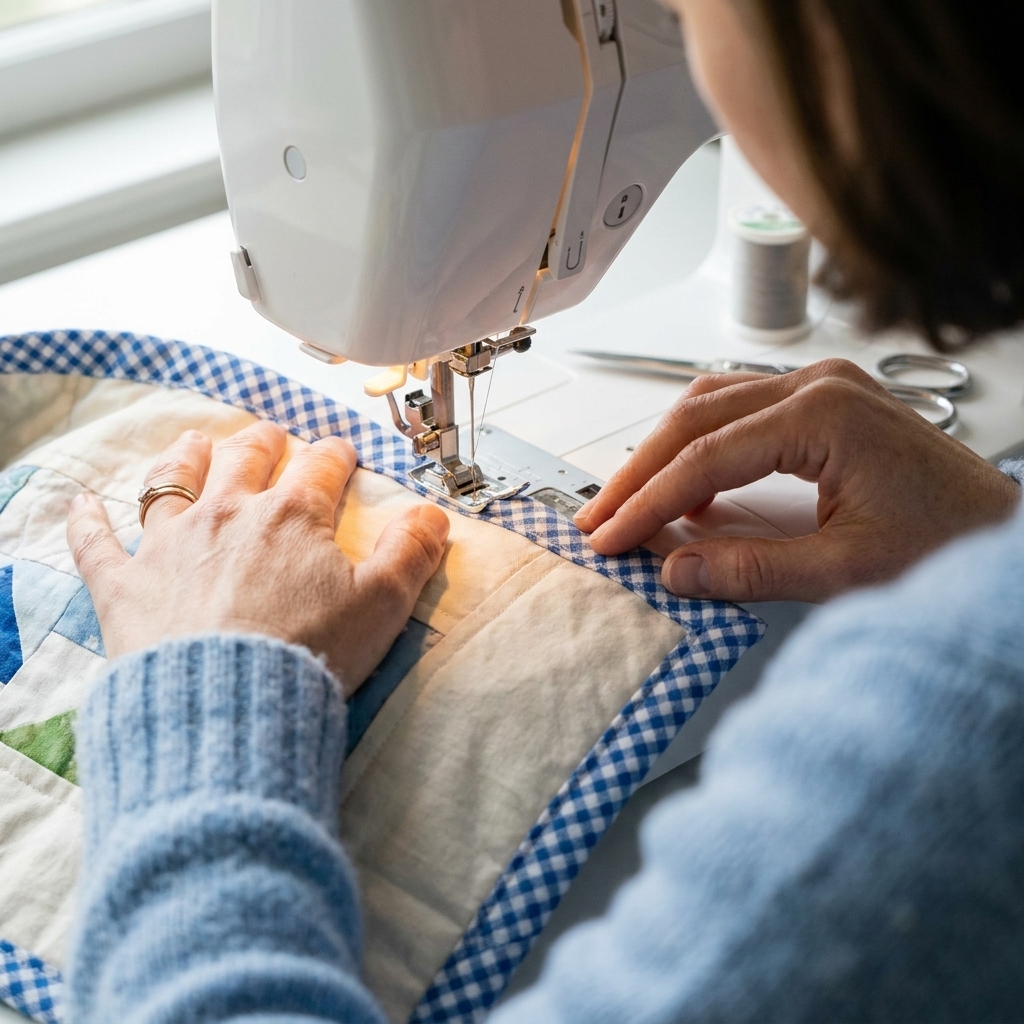
Machine stitch to the front
- Many quilters start mid-side so the join is less noticeable, but anywhere works.
- Align raw edges of binding with raw edge of quilt.
- Use a 1/4-inch seam allowance (or match your preferred binding method).
- Use a stitch length around 2.5 to 3.0 for a nice balance of sturdy and easy-to-remove-if-you-must.
- Leave an 8 to 10 inch tail at the start so you have room to join the ends later.
- Miter corners as you go.
If you are brand new to binding corners, slow down, breathe, and remember: quilts are remarkably forgiving. A “nearly mitered” corner still looks charming after a wash or two.
Step 9: Join the ends neatly
This part intimidates a lot of beginners, and I get it. It feels like quilt math shows up at the last second. Here is the calm version.
Overlap + diagonal join
- When you get back near your starting point, stop sewing about 10 inches away, leaving a gap.
- Lay the two tails flat along the quilt edge so they overlap without pulling.
- Before you trim anything, do a quick test wrap: Pin or clip the tails in place and make sure the binding will lay smoothly around the edge without being tight or floppy.
- Trim so the overlap is about 2.5 inches if your binding is 2.5 inches wide. As a general rule, the overlap length matches your strip width.
- Open the tails, place right sides together, and sew a diagonal seam (the same method as when you pieced your strips).
- Check the join by folding the binding in half again and laying it along the quilt edge. If it looks good, trim seam allowance to 1/4 inch, press open, then finish stitching the remaining gap to the quilt.
Why that overlap works: With double-fold binding, matching the overlap to the strip width gets you very close to the perfect length when your seam allowance is consistent. If your seam allowance is different than 1/4 inch, your quick test wrap is the thing that saves you.
Step 10: Finish on the back
Once the binding is attached to the front, fold it over to the back and finish by hand or machine.
Hand finish (my cozy favorite)
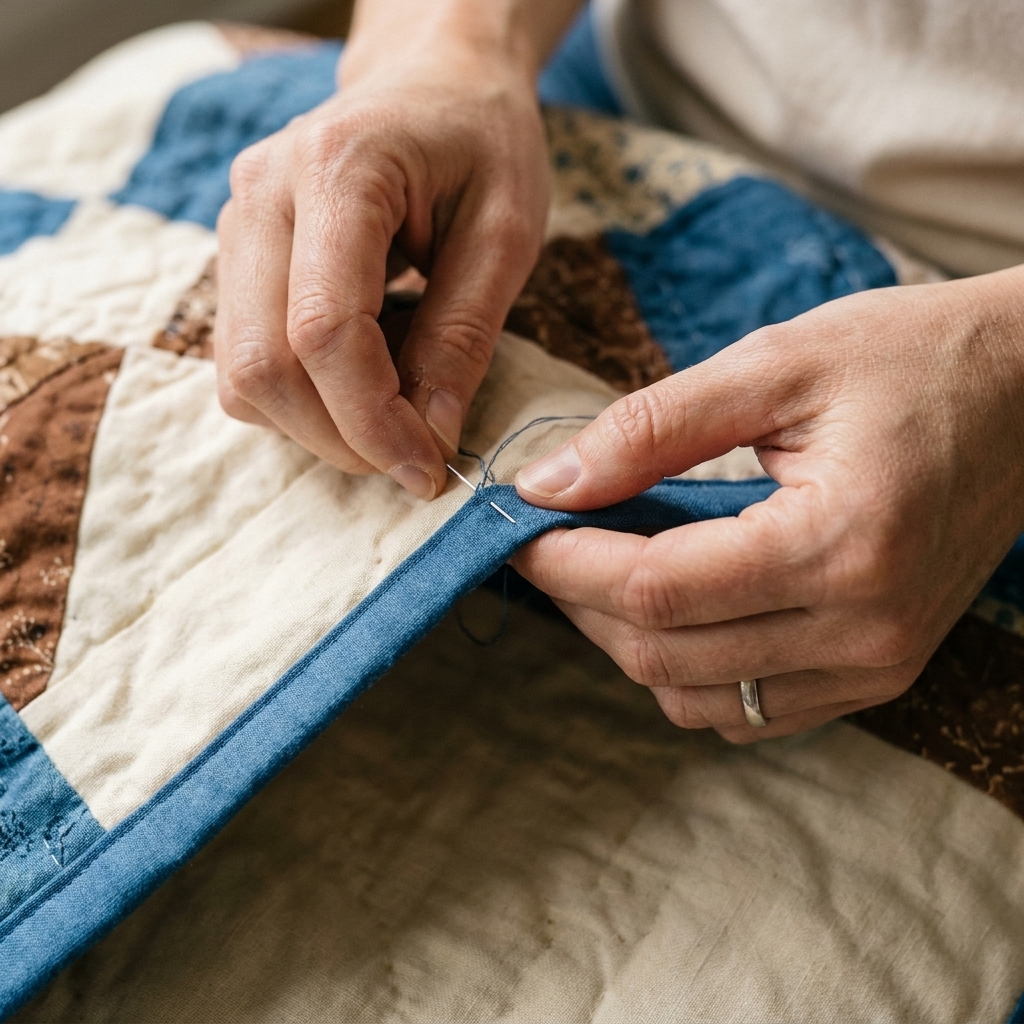
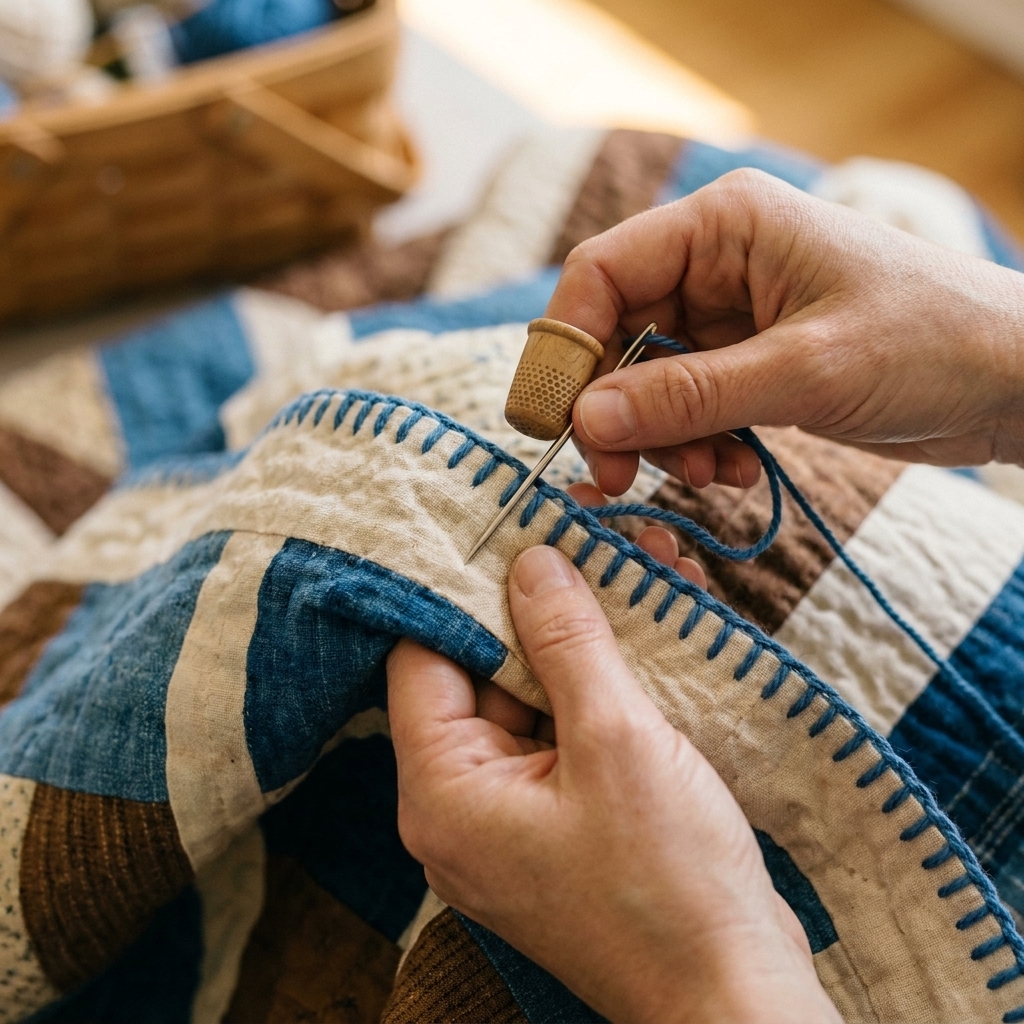
Use a ladder stitch or slip stitch, catching the backing fabric and the folded edge of binding. This gives a soft, classic look.
Machine finish (durable and fast)
Stitch in the ditch from the front, or topstitch on the front for a clean frame. If you machine finish, use clips and go slowly around corners to keep everything caught.
Troubleshooting
My binding is wavy
- Press more and tug less while sewing.
- Use a walking foot.
- Avoid stretching as you attach it. Let the feed dogs do the work.
Seams feel bulky
- Use diagonal seams and press open.
- Trim seam allowances consistently.
- Avoid placing seams right at corners if you can.
My binding is too short
- Add a new strip and keep going. This is scrappy binding’s superpower.
- If you are only short by an inch or two, unpick the last few inches and rejoin with a slightly smaller seam allowance at the join. Do this sparingly and only if needed.
My scrappy colors look “off”
- Insert a calming solid or a low-volume print to act like a pause between loud prints.
- Repeat one fabric a few times to make the mix feel intentional.
Scrappy binding ideas
- Rainbow run: Piece strips in color order for a gentle spectrum.
- Two-color mix: Alternating light and dark strips makes the edge pop.
- Back-to-front echo: Use leftover backing and leftover fabrics from the quilt top for a tied-together look.
- Seasonal stash-bust: All autumn tones, all holiday reds and greens, all beachy blues.
FAQ
Is scrappy binding less durable?
No. If anything, it is just as durable as regular binding as long as your seams are solid and your binding is attached with a consistent seam allowance. The quilt does not care whether the binding is one fabric or twenty.
Should I use bias binding for scrappy binding?
Only if you need bias binding, like when your quilt has curved edges or you want extra give around corners. For straight-edged quilts, straight-of-grain binding is perfect and easier to piece from scraps.
How short is too short for a binding piece?
I avoid pieces under 6 inches long because the seams start stacking up quickly. That said, if you are determined to use tiny scraps, put them in the middle of a quilt side, not at corners.
What seam allowance should I use when piecing binding strips?
Use 1/4 inch. Consistency matters more than anything. A wobbly seam allowance is the sneaky reason scrappy binding ends up mysteriously too short.
A last little encouragement
Scrappy binding is one of those finishing touches that feels like a victory lap. You already did the hard part. Now you get to frame your work with personality and color, one small strip at a time. If your joins are not perfectly crisp on your first go, welcome to the club. Quilting is a long, lovely practice, and binding gets better with every quilt you finish.