A friendly, step-by-step tutorial for sewing quilt binding by machine from start to finish, including perfect mitered corners and a clean, durable finish.
The Quilt Mark
October 22, 2026
Continuous Bias Binding for Curves
Learn to cut true bias strips, sew continuous bias binding, and apply it smoothly to scallops, circles, and curved quilt edges with clean, flexible results.

Clara Jenkins
Clara Jenkins is an avid quilter and fabric enthusiast who has been designing and piecing together quilts for over twenty years. She shares her passion for color coordination, block design, and practical sewing techniques to help makers of all skill levels create beautiful, lasting heirlooms. Through Quiltmark, Clara aims to make the timeless art of quilting accessible, joyful, and deeply rewarding for everyone.
Updated October 22, 2026
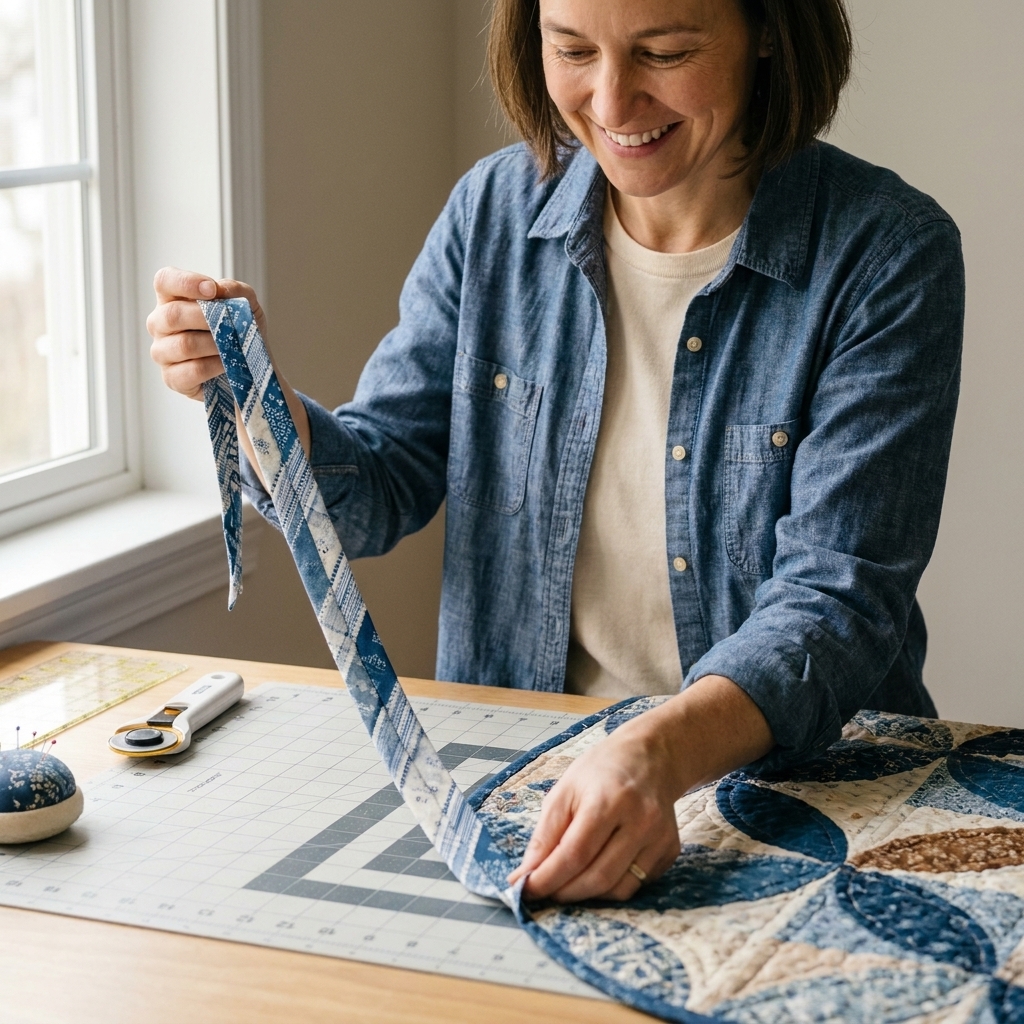
Curved edges are where binding stops being “just the last step” and starts acting like a little piece of engineering. Straight-grain binding wants to behave like a ruler. Bias binding behaves like a ribbon. It stretches, it hugs, and it forgives. If you are finishing a scalloped border, a round baby quilt, or any edge with a gentle curve, continuous bias binding is the calm, reliable method that helps everything stay smooth.
Today I will walk you through two things: how to make continuous bias binding from one square of fabric, and how to apply it to curves so it lies flat with no puckers, no ripples, and no mysterious little pleats that appear after you press.
Why bias binding helps on curves
Fabric has grain, and grain matters most at the edges. When you cut binding on the bias, you are cutting at a 45-degree angle to the straight grain. That angle gives the strip built-in flexibility, which is exactly what a curve needs.
- Bias binding stretches slightly, so it can follow a curve without pulling the quilt edge into waves.
- It conforms around scallops and rounded corners with less bunching.
- It handles wear nicely on curves because the binding is not constantly resisting the shape.
To be fair, straight-grain binding can work on very gentle curves with careful easing and clipping. Bias just makes the job easier, especially once the curve gets real.
Tools and supplies
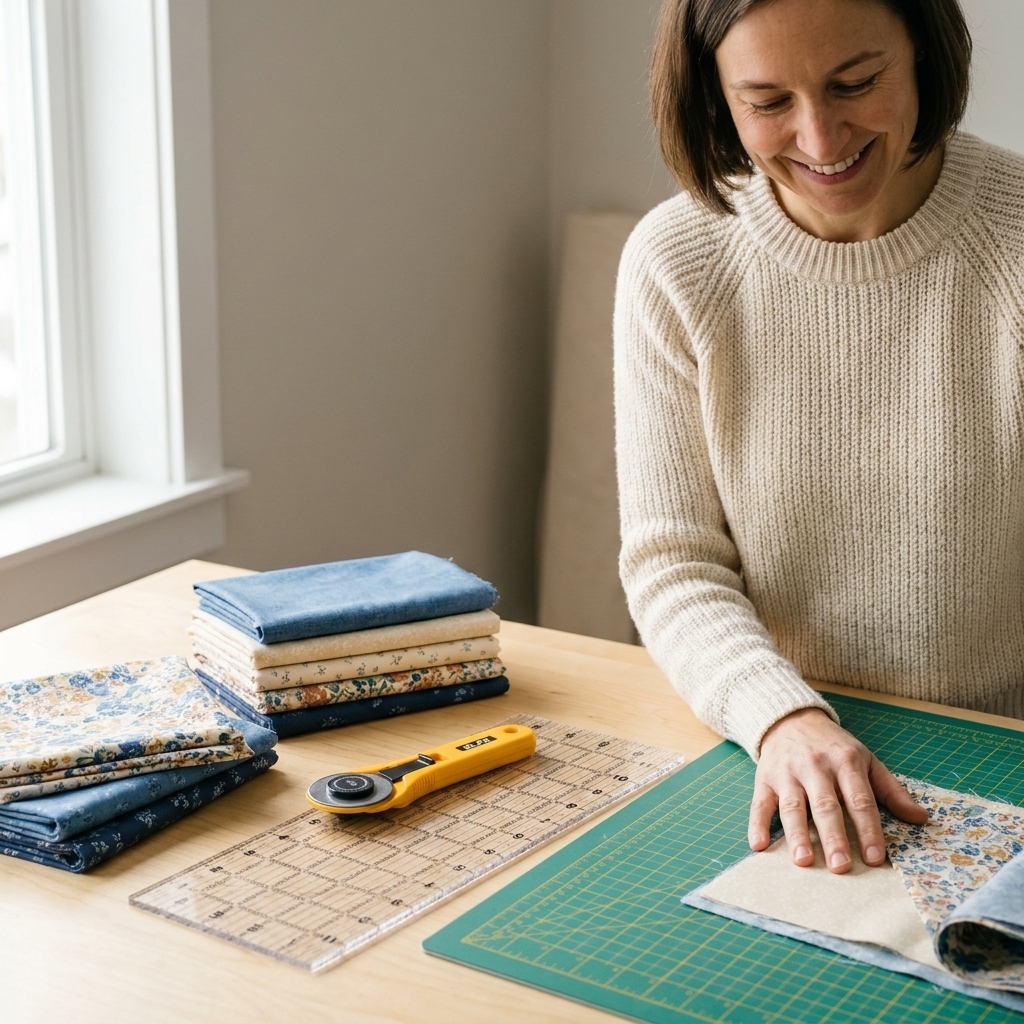
- Binding fabric (quilting cotton works great)
- Rotary cutter, mat, and ruler
- Fabric marker or pencil
- Iron and pressing surface
- Sewing machine and thread
- Wonder Clips or pins (clips are lovely for curves)
- Walking foot (helpful, not required)
Binding width
For most quilts, I cut bias binding at 2.5 inches. It is the sweet spot: enough fabric to wrap the edge comfortably, and it plays nicely with common seam allowances.
- 2.25 inches: a slightly tidier, narrower finish, and it can behave better on tight curves, but it is less forgiving on thick seams.
- 2.5 inches: my everyday choice for quilts and curved edges.
- 2.75 inches: helpful for very thick quilts or heavily quilted, dense edges.
What will it look like when it is finished? A 2.5-inch strip sewn on at 1/4 inch typically yields a finished binding on the front of roughly 3/8 to 1/2 inch, depending on thickness and how tightly you wrap to the back.
In this tutorial, I will assume 2.5-inch strips and a 1/4-inch seam allowance when sewing the binding to the quilt.
Step 1: How much binding to make
You do not need fancy math, just a decent estimate plus a little wiggle room for joining.
For scallops or regular quilts
Measure the perimeter (all the way around the edge) and add 12 to 18 inches.
For round quilts
Measure the diameter across the widest part. Then use:
Circumference = diameter × 3.14
Add 12 to 18 inches for joining and insurance.
If you are between sizes, round up. Extra binding is a blessing. Short binding is a whole mood.
Step 2: Continuous bias binding
This method looks a little magical the first time, but once you do it, you will want it in your back pocket forever. Continuous bias binding gives you one long, uninterrupted strip with fewer joins, which is especially nice on curves.
Choose your starting square
A larger square yields a longer strip. If you are unsure, start with a generous square. Leftover bias binding stores beautifully on a binder ring.
Important: yield depends heavily on your square size and strip width. The fastest way to predict length is this simple estimate:
Approximate length (inches) ≈ (square size in inches × square size in inches) ÷ strip width in inches
This estimate is intentionally conservative. You lose a bit to the diagonal seam, trimming, and squaring up, so I still build in extra.
Here are rough starting points for 2.5-inch binding (approximate length):
- 18-inch square: about 130 inches (around 3.6 yards)
- 22-inch square: about 190 inches (around 5.3 yards)
- 24-inch square: about 230 inches (around 6.4 yards)
- 28-inch square: about 310 inches (around 8.6 yards)
- 32-inch square: about 410 inches (around 11.4 yards)
If your quilt is large, err on the bigger square or make two batches. Being slightly long is peaceful. Being short is a plot twist.
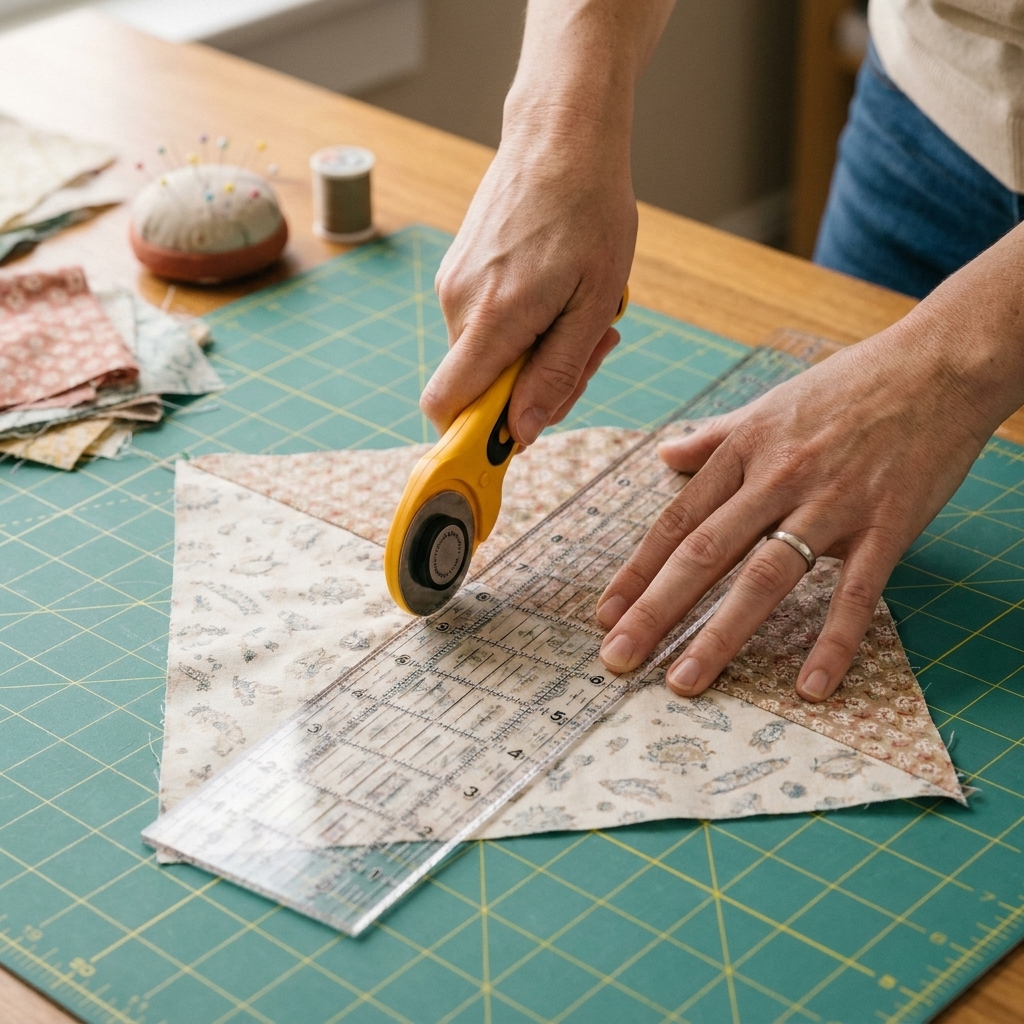
2A. Cut into triangles
- Press your fabric square flat.
- Cut the square diagonally from one corner to the opposite corner, making two triangles.
2B. Sew into a parallelogram
- Place the triangles right sides together.
- Rotate one triangle so a short edge of one triangle aligns with the short edge of the other triangle. The long cut edges will form the outside of a parallelogram.
- Sew the aligned short edges with a 1/4-inch seam allowance.
- Press the seam open (or press to one side if your fabric feels bulky).
You have now turned your square into the shape that makes continuous bias binding possible.
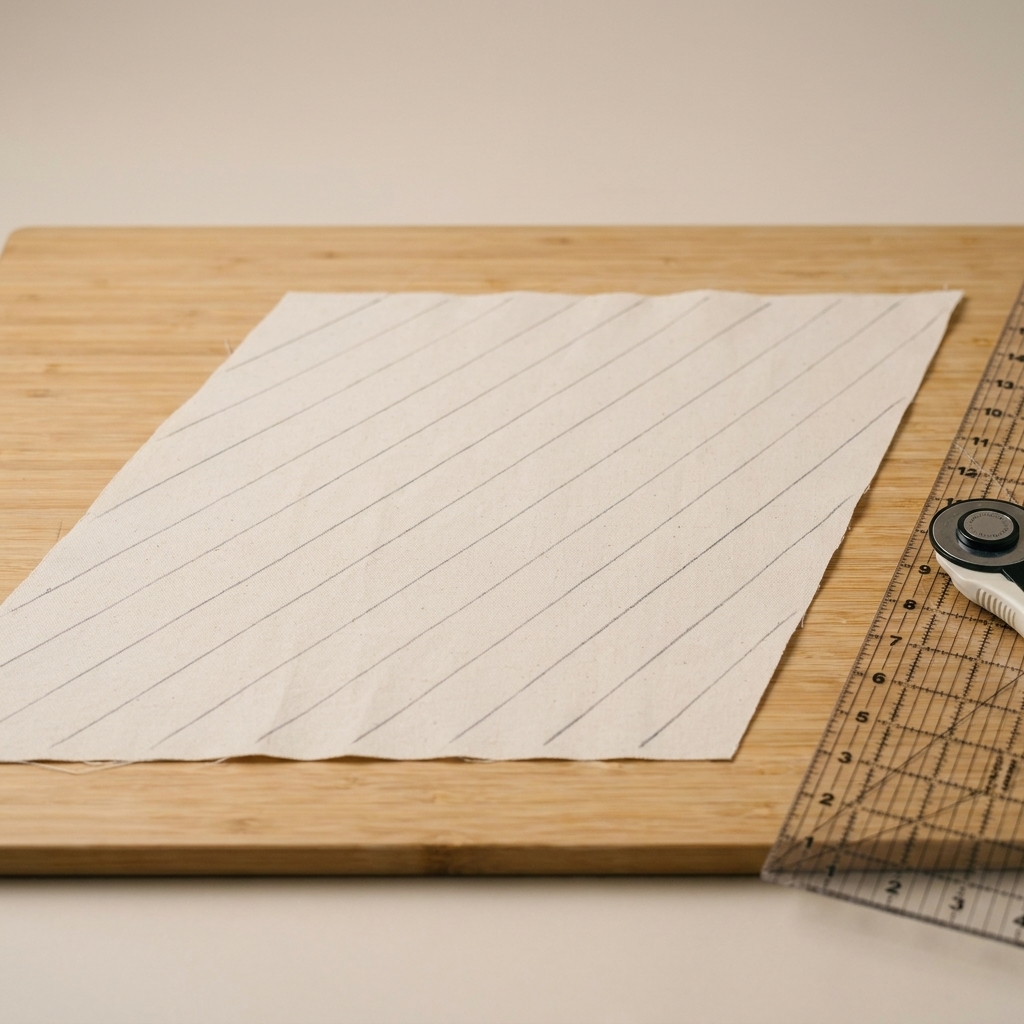
2C. Mark strip lines
- On the wrong side of the parallelogram, use a ruler to draw lines parallel to one long edge.
- Space the lines at your chosen binding width, for example 2.5 inches.
Take your time here. Clean marking leads to clean strips.
2D. Sew the tube with an offset
This is the step that creates the continuous spiral.
- Bring the two short ends of the parallelogram together right sides facing, forming a tube.
- Offset the ends by one strip width. In other words, the first line on one end should meet the second line on the other end.
- Match the drawn lines at the seam. When you pin, you should see a clear little “stair step” of lines across the seam. That stair step is the whole trick.
- Pin well and sew the short-end seam with a 1/4-inch seam allowance.
- Press the seam open as best you can (a seam roller can help if the tube is fussy).
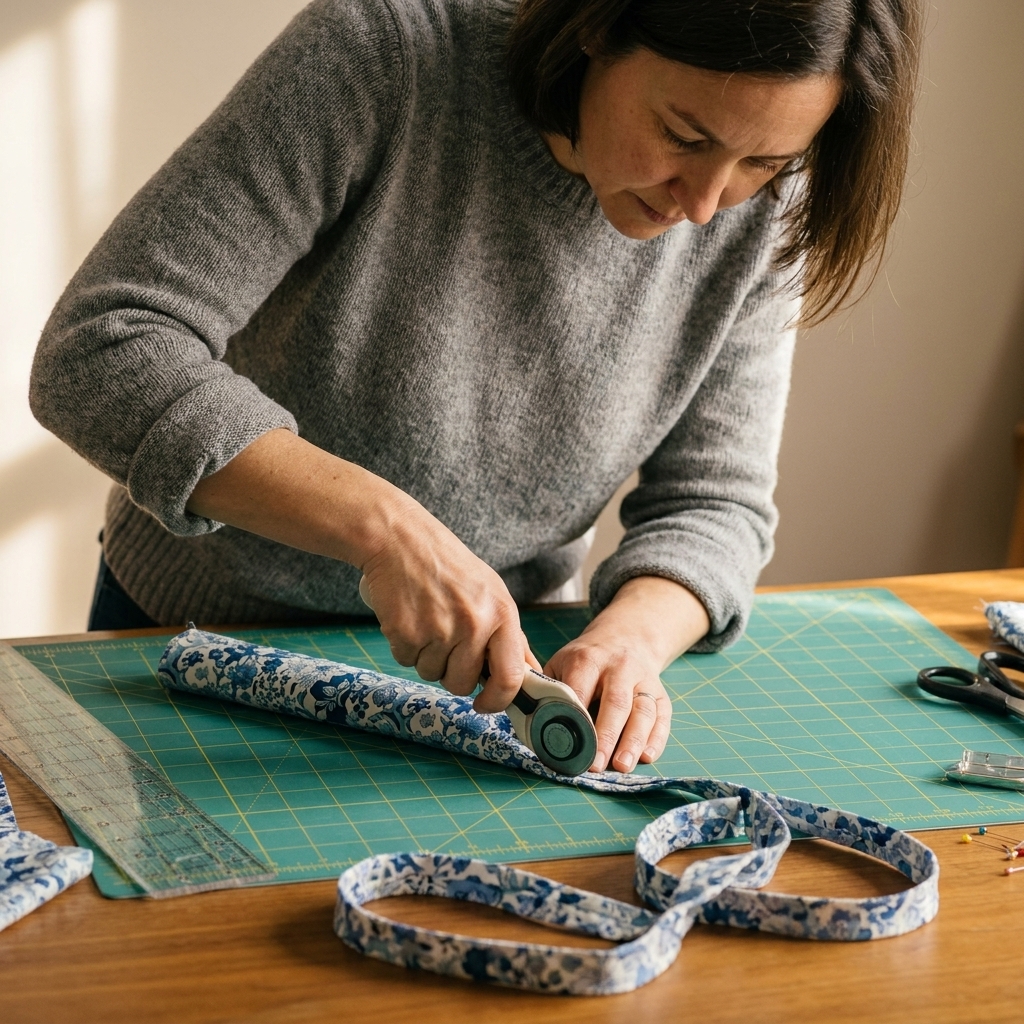
2E. Cut the continuous strip
- Starting at one marked line, carefully cut along the line, spiraling around the tube.
- Keep cutting until you reach the end. You will have one long bias strip.
Press your strip in half lengthwise, wrong sides together, to make double-fold binding.
Step 3: Join strips neatly
If your continuous strip is not quite long enough, or you are combining strips, use a diagonal join. It distributes bulk and looks smoother on curves.
- Lay two binding ends right sides together at a right angle, forming an L shape.
- Sew diagonally from corner to corner.
- Before trimming, finger-press the strip open to confirm it forms a straight line.
- Trim the seam allowance to about 1/4 inch and press open.
That 10-second finger-press check can save you from one very creative angle later.
Step 4: Prep the edge
Bias binding behaves best when the edge it is wrapping is stable and smooth.
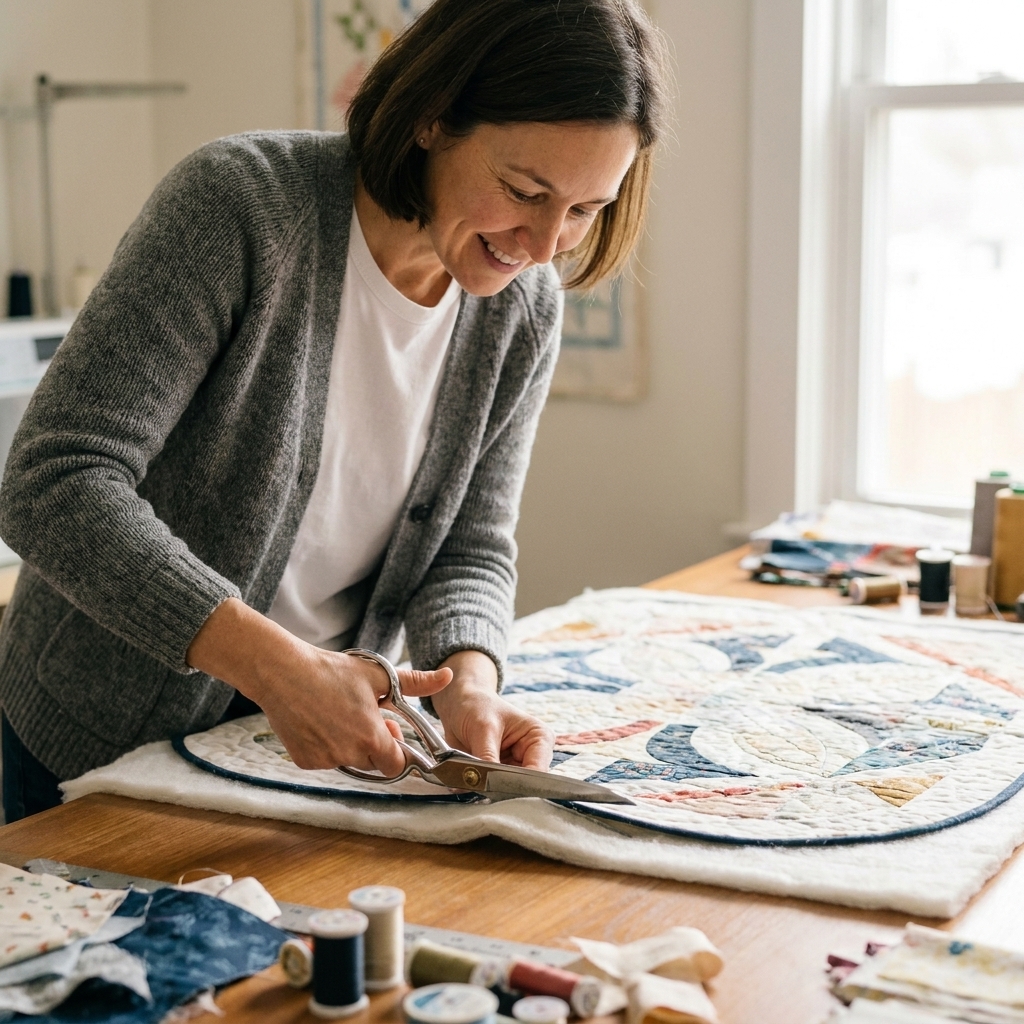
- Trim the quilt sandwich evenly. On scallops, take your time trimming so the curve is consistent.
- Check the edge for lumps. Bulky seam intersections near the edge can translate into ripples.
- Staystitching helps on bias edges. If your quilt edge includes a lot of bias (common on circles), sew a line of staystitching just inside where your binding seam will fall (often about 1/8 inch inside the edge, but adjust to match your binding seam allowance). This can prevent stretching while you attach the binding.
Step 5: Sew binding on curves
Curves love two things: gentle stretching on the outside of the curve, and tiny little easing motions on the inside of the curve. Bias binding can do both.
5A. Start on a gentle curve
Choose a section that is not the tightest curve and not a corner. Leave a 10-inch tail unsewn at the start for joining later.
5B. Keep the seam allowance consistent
Sew the binding to the front of the quilt with a 1/4-inch seam allowance for typical binding. If you cut wider binding or your quilt is thick, you may prefer a hair more, but keep it consistent.
5C. Let the binding lead
This is my biggest curve-binding tip: keep the quilt supported so it is not hanging and pulling, and guide the binding with your fingers so it lays against the edge naturally.
- On outside curves (convex, like the outside of a circle): gently stretch the binding just a touch as you sew. Not tug-of-war stretch. Think “coaxing.”
- On inside curves (concave, like valleys between scallops): do not stretch. Instead, let the binding ease in. If needed, use more pins or clips close together.
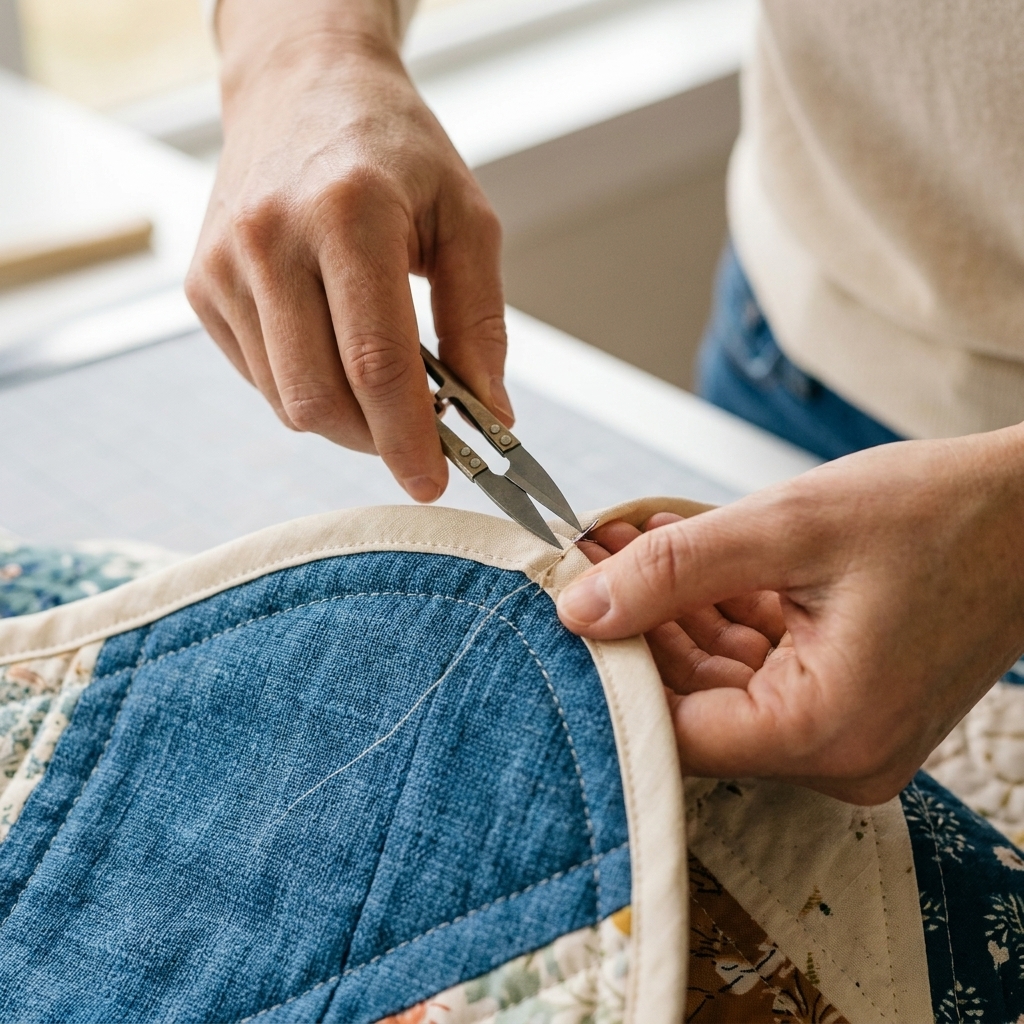
5D. Clip or notch the seam allowance
After you stitch the binding on and before you turn it, help the seam allowance relax around curves.
- Outside curves: make small notches in the seam allowance (tiny V shapes) to remove bulk.
- Inside curves: make small clips straight into the seam allowance, stopping just shy of the stitching line.
Go slow. Your stitches are the cliff edge here.
Step 6: Join the ends
Joining ends neatly matters on curves because a bulky join can create a flat spot. Here is a reliable method for double-fold binding.
- Stop sewing when you are about 10 to 12 inches from where you started, leaving enough space to work.
- Lay the two tails flat along the quilt edge so they meet without pulling.
- Trim the tails so they overlap by the width of your binding strip. For 2.5-inch binding, overlap by 2.5 inches.
- Open the ends. Place them right sides together at a right angle (the same diagonal join as strip joining).
- Sew diagonally corner to corner, then test by finger-opening before trimming.
- Trim seam, press open, refold binding, and finish sewing it to the quilt.
If your join lands on a tight curve, it is worth nudging it a few inches to a gentler section. Your future self will thank you while hand stitching.
Step 7: Turn and finish
Once the binding is stitched to the front, press it away from the quilt first, then wrap it to the back. That first press sets the seam and helps the binding roll cleanly over the edge.
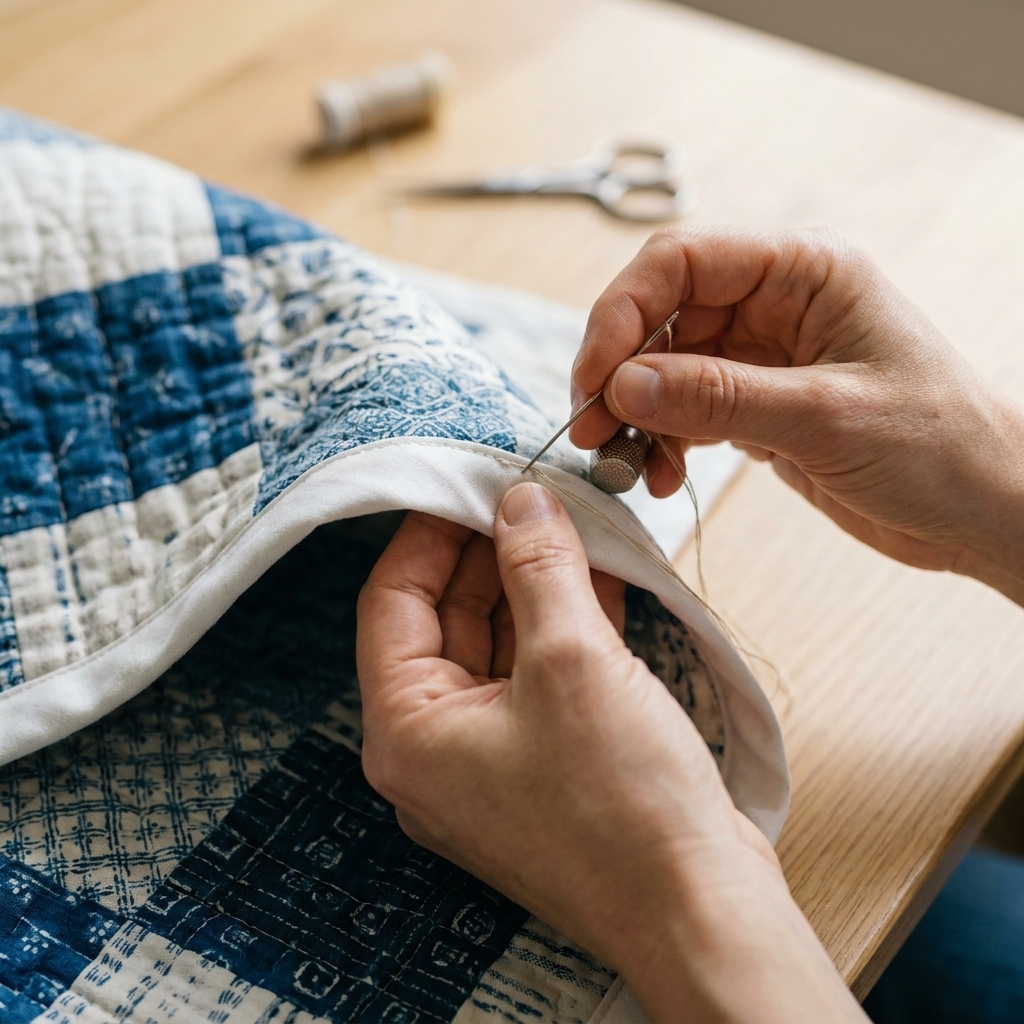
Hand or machine finish
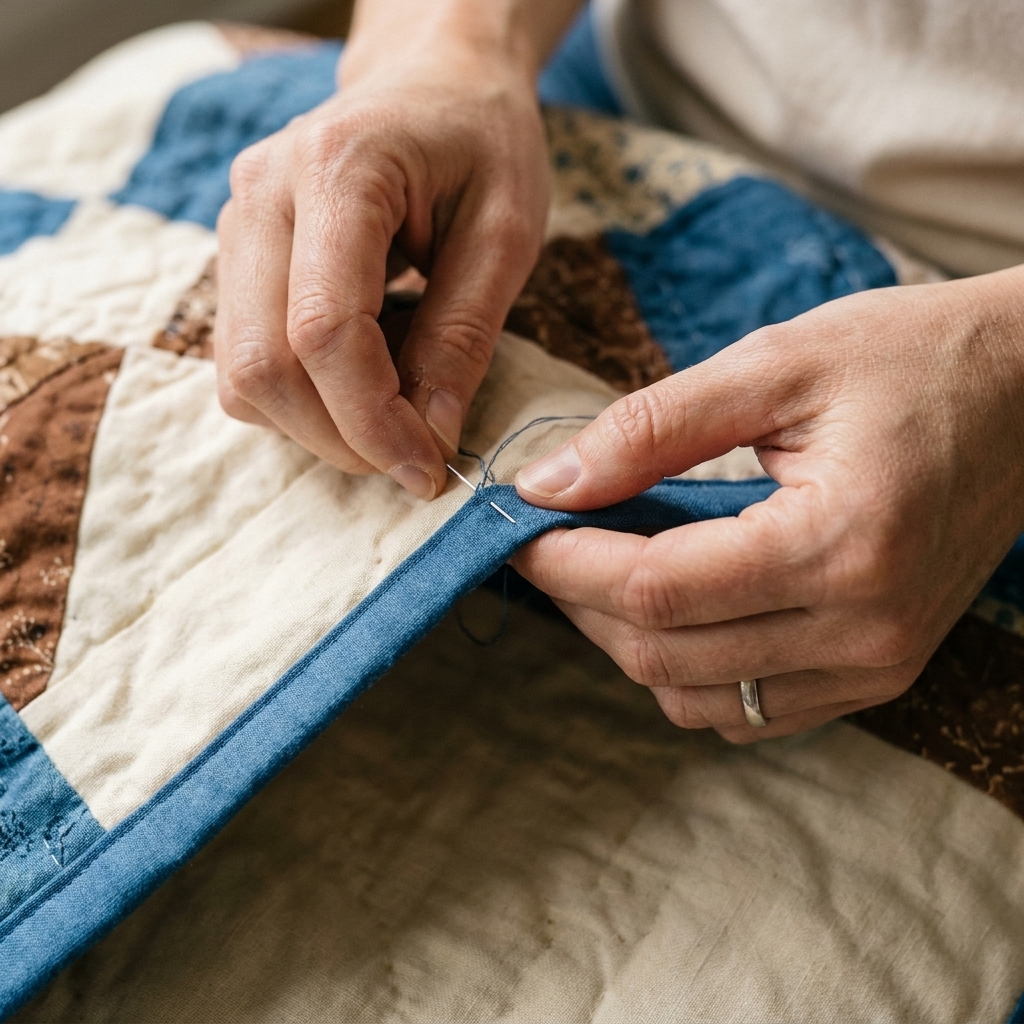
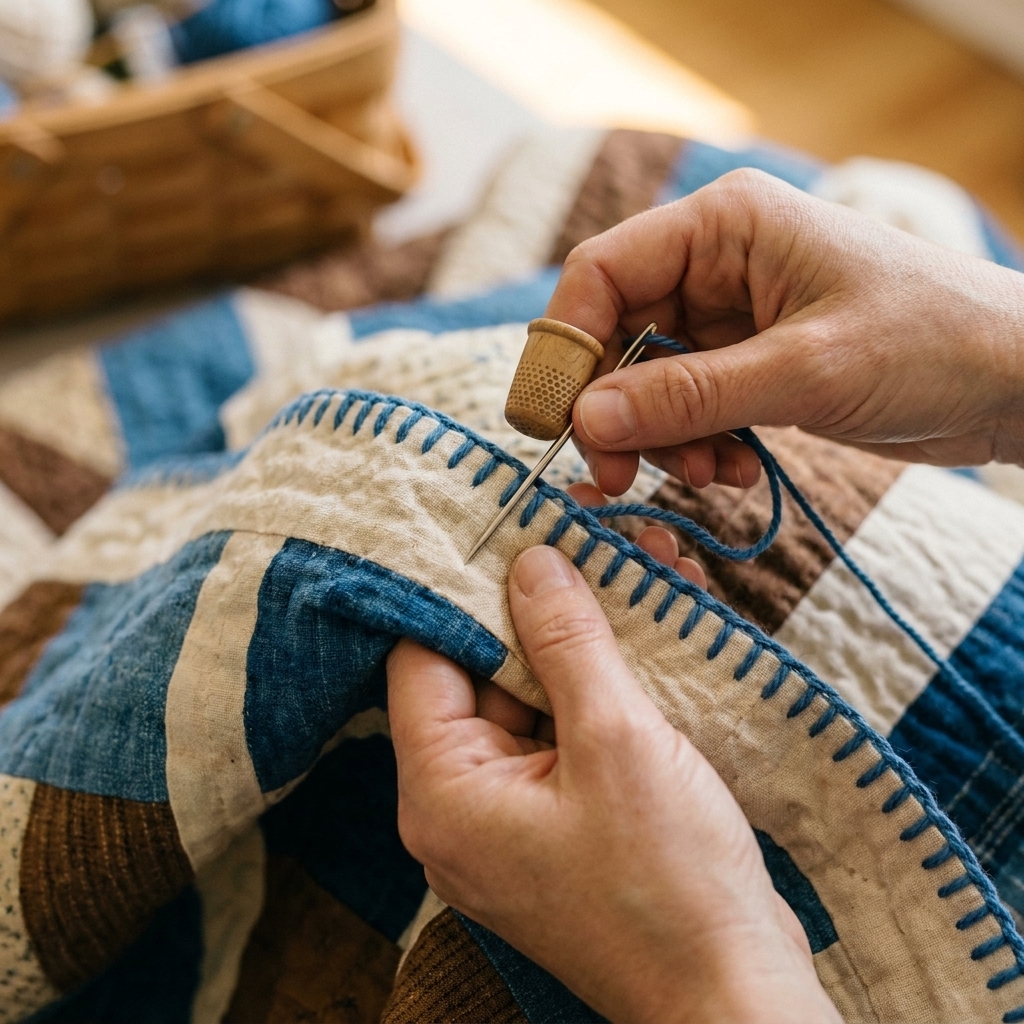
- Hand stitching is wonderfully forgiving on curves. You can finesse fullness with tiny adjustments.
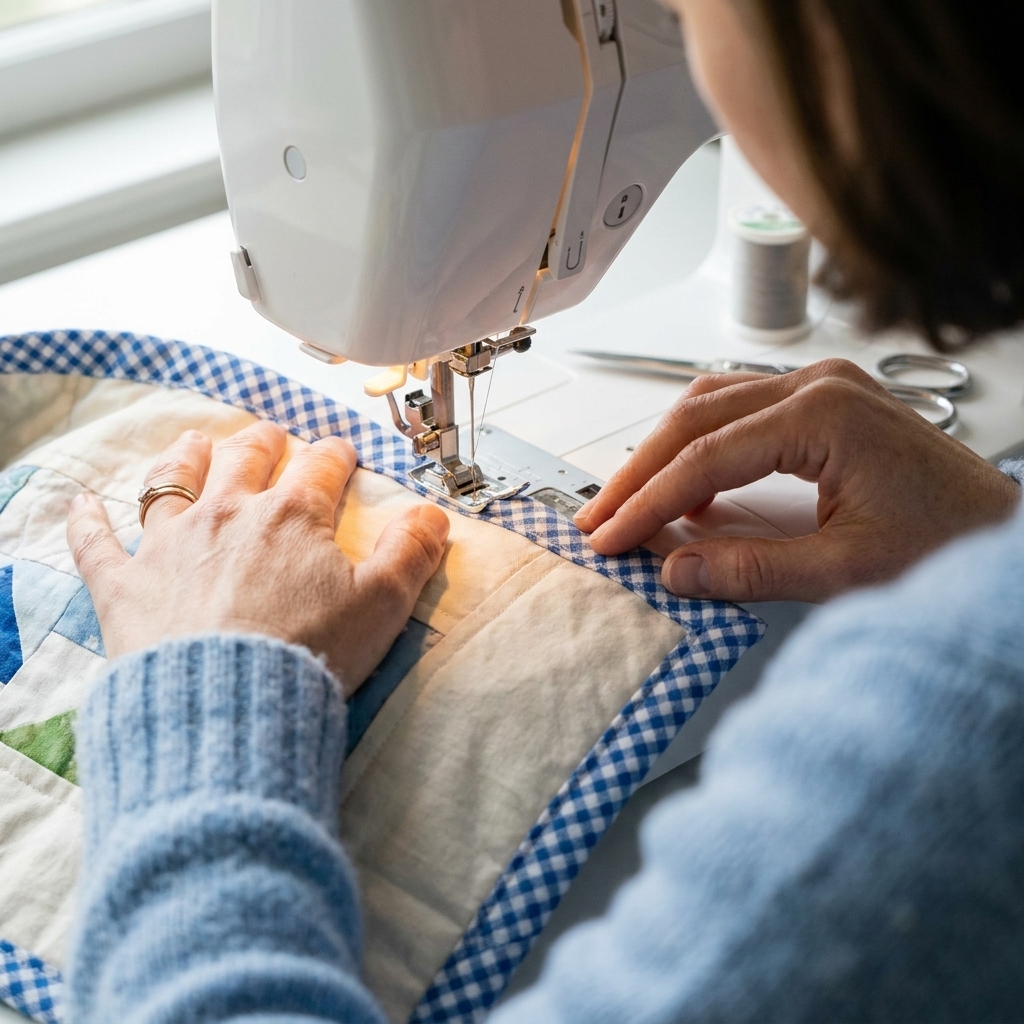
- Machine stitching is faster. If you machine-finish on the front, use clips and go slowly, especially around scallops.
Optional settings for thick edges
- A slightly longer stitch length (around 2.8 to 3.2) can feed bulky seams more smoothly.
- A fresh 90/14 needle is a simple upgrade if you are sewing through dense quilting.
Pressing tip
Press, do not iron. That means lift and set the iron rather than sliding it. Sliding can stretch the bias and introduce waves. Steam is helpful, but let the fabric cool before moving it so the curve sets.
Troubleshooting
Ripples on an outside curve
- You likely stretched the quilt edge rather than the binding. Support the quilt on the table and avoid letting it hang.
- Try a slightly smaller seam allowance or a more consistent one.
- Pressing too aggressively can also stretch bias. Use lift-and-set pressing.
Puckers on inside curves
- Clip the seam allowance more frequently, stopping just short of the stitching line.
- Use more pins or clips closer together in the valley.
- Slow down and sew with the quilt on top if it helps you see and control the curve.
A flat spot in the curve
- A join or bulky seam may be sitting right on a tight curve. Move the join next time, or re-do that section and relocate it.
- Not enough easing on an inside curve can pull it open. Clip and re-press.
Uneven binding width after turning
- Check that your binding was pressed evenly in half before sewing.
- On curves, tiny changes in seam allowance show up quickly. A walking foot can help feed layers evenly.
Quick checklist
- Cut on the true bias for flexibility.
- Press binding in half neatly before attaching.
- Stretch binding gently on outside curves, ease on inside curves.
- Clip or notch seam allowance so it can relax.
- Press with lift-and-set motions, let it cool.
- Keep joins off the tightest curves when possible.
Curves can feel fussy, but once you sew a few inches and see that binding settle into place, it becomes almost meditative. You are not wrestling fabric. You are guiding it. And that is when the finishing step starts feeling like the reward.