A complete beginner walkthrough for a simple patchwork quilt: choose fabrics, cut squares, piece rows, quilt the layers, and bind a cozy finished quilt.
The Quilt Mark
October 22, 2026
Drunkard’s Path Block: Curved Piecing Without the Tears
Conquer curved piecing with a foolproof Drunkard’s Path tutorial. Learn template cutting, pinning and easing, stitch settings, and pressing tips for smooth, accurate curves.

Clara Jenkins
Clara Jenkins is an avid quilter and fabric enthusiast who has been designing and piecing together quilts for over twenty years. She shares her passion for color coordination, block design, and practical sewing techniques to help makers of all skill levels create beautiful, lasting heirlooms. Through Quiltmark, Clara aims to make the timeless art of quilting accessible, joyful, and deeply rewarding for everyone.
Updated October 22, 2026
The first time I tried a Drunkard’s Path block, I treated that curve like it was going to bite me. I pinned too much, pulled too hard, and ended up with a lumpy little crescent that looked more like a potato chip. If that sounds familiar, breathe. Curved piecing is not a mysterious talent you are either born with or not. It is a handful of small habits that add up to a smooth curve.
This tutorial will walk you through a classic two-piece Drunkard’s Path unit, then show you how to turn four units into a block. We will focus on three things that make the biggest difference: accurate cutting, calm pinning, and pressing that supports the curve.
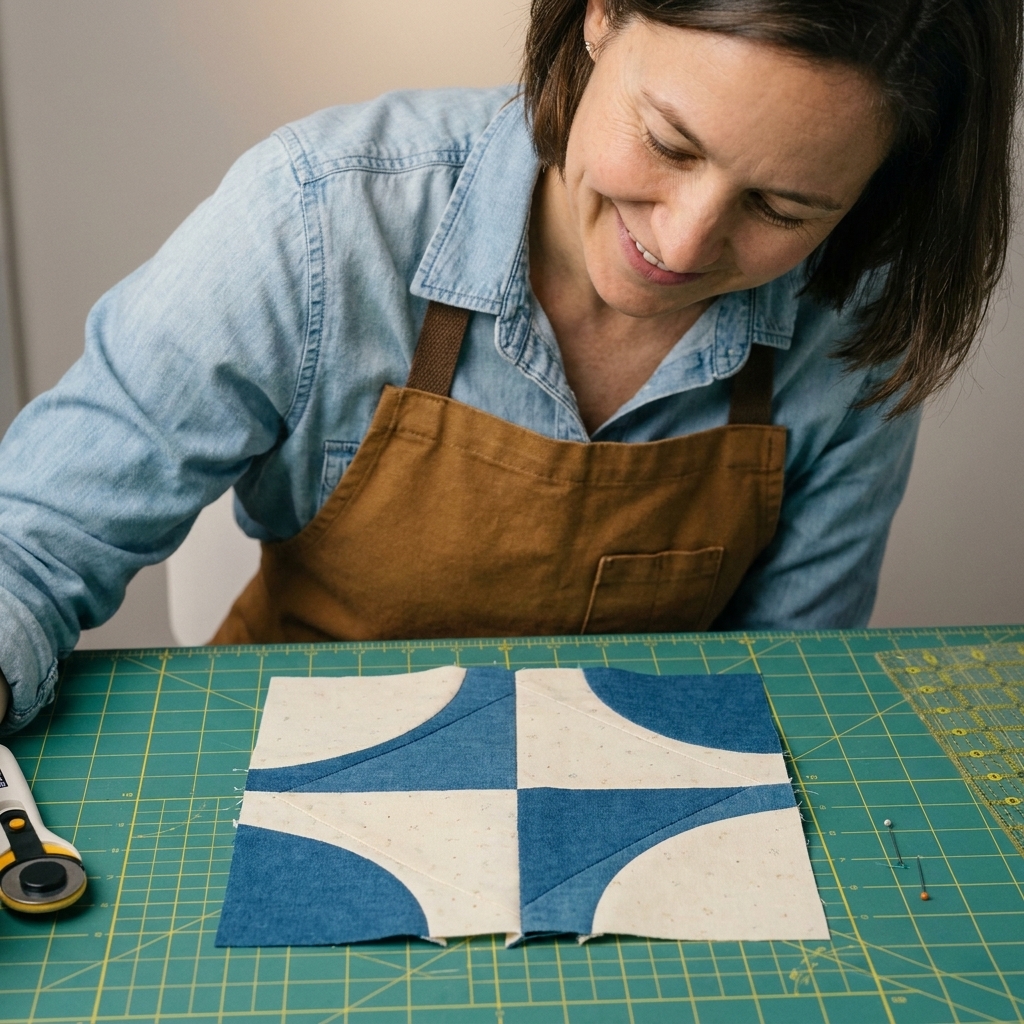
What it is
A traditional Drunkard’s Path block is made from four curved units. Each unit pairs:
- One concave piece (the “L” or background piece with an inner curve)
- One convex piece (the “quarter-circle” or pie piece with an outer curve)
Those curves create motion, puddles, petals, and pathways depending on how you rotate the units. It is a classic for a reason: the block looks complex, but it is built from one repeatable seam.
Tools and supplies
- Fabric for background and feature (or two contrasting prints)
- Drunkard’s Path templates (acrylic template set, plastic template, or paper template)
- Rotary cutter and mat
- Fine pins or clips (I prefer pins for curves)
- Sewing machine with a fresh needle (80/12 universal or microtex is great)
- Thread (50 wt cotton is a dependable choice)
- Iron and pressing surface
- Optional but helpful: starch or pressing spray, tailor’s chalk or washable marker
If you are brand new to curves, choose quilting cottons that are not too slippery. Save silky batiks and bias-prone rayon blends for later, when you feel bossy.
Pick a size
Templates are often labeled by the finished size of the curved unit (after it is sewn into the block), but not always. Some sets are labeled by finished block size, unfinished size, or even by the starting square size. Before you cut a whole stack, check the manufacturer’s chart or the pattern so your pieces and trimming step match.
Common starting points:
- 4-inch finished units (block finishes at 8 inches): a sweet spot for learning
- 3-inch finished units (block finishes at 6 inches): doable, but fussier
- 5-inch finished units (block finishes at 10 inches): easiest curve to sew, uses more fabric
Whatever size you choose, keep your seam allowance consistent at a scant 1/4 inch. Curves are unforgiving when the seam allowance wanders.
A quick size example
Let’s say you are making a 4-inch finished unit (a very common template size).
- The unit should square up to 4 1/2 inches unfinished.
- Four units sewn into a 2 by 2 block will finish at 8 inches, and measure 8 1/2 inches unfinished before it is sewn into a quilt.
Cutting
How you can cut the pieces
You can cut Drunkard’s Path pieces three main ways:
- With acrylic templates: fastest and most accurate for repeat cutting.
- With paper templates: great if you want to test the technique without buying tools. If you love it, transfer the shapes to template plastic.
- With specialty rulers or dies: also wonderful, but the principles below still apply.
Prep fabric so it behaves
- Press first. Wrinkles become wonky cuts.
- Lightly starch if your fabric feels floppy. A little crispness helps curves sew cleanly.
- Mind the grain. Curves include bias edges. Gentle handling is part of the plan.
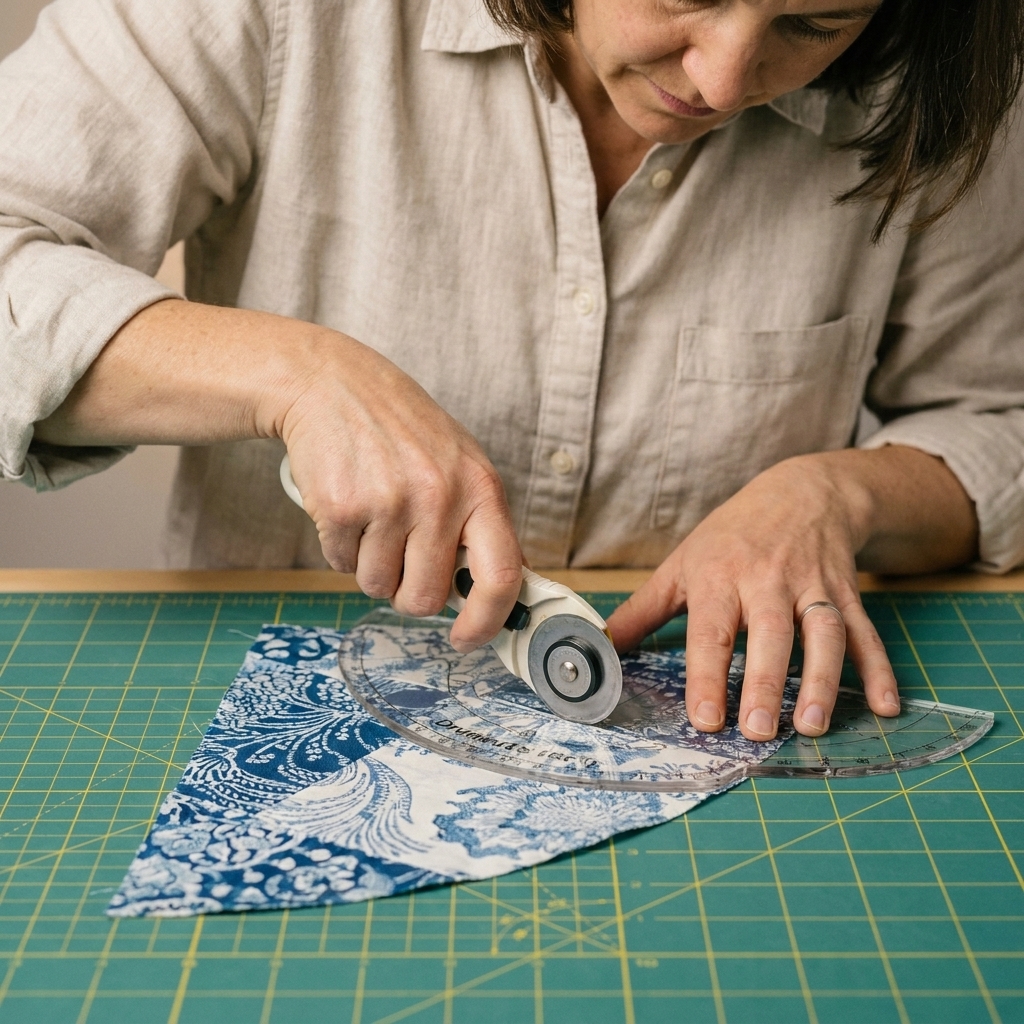
How to cut cleanly
- Align the template on straight grain when the template provides a grainline. If it does not, aim to keep the straight edges on straight grain as much as possible.
- Use a sharp blade. Dull blades tug the curve.
- Cut with steady pressure, rotating the mat if needed so your hand motion stays comfortable.
- Keep pieces stacked neatly and avoid stretching the curved edge as you pick them up.
Pro tip from the land of hard lessons: do not “fix” the curve with extra trimming unless the template tells you to. It is tempting, but it changes the geometry and the pieces stop matching.
Mark and match
Most curved piecing frustration comes from trying to align two different curve lengths all at once. We fix that by matching in a few key spots.
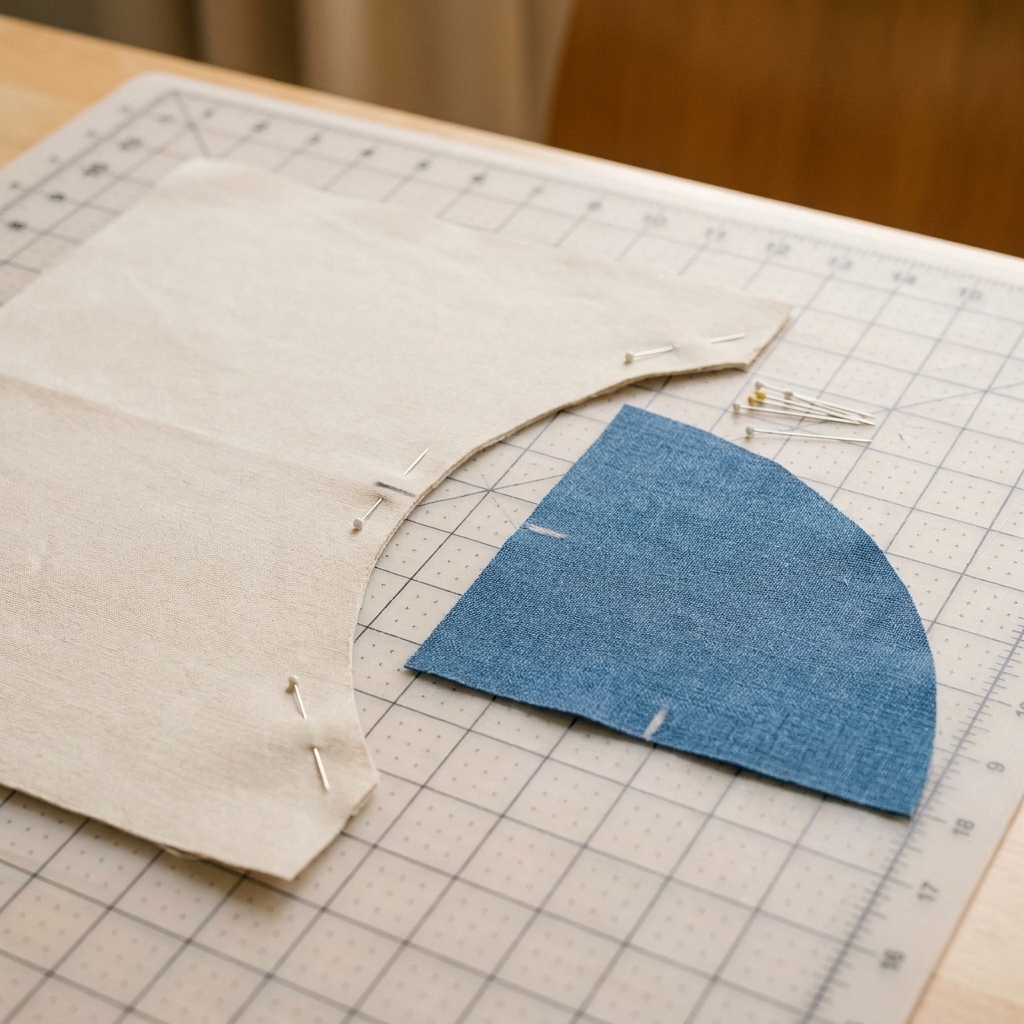
Make registration marks
On both pieces, mark:
- The midpoint of the curve
- Both ends of the curve (where the stitching line begins and ends)
If your templates include notches, use them. If not, fold the curve gently in half to find the midpoint, then make a tiny mark inside the seam allowance.
Pinning
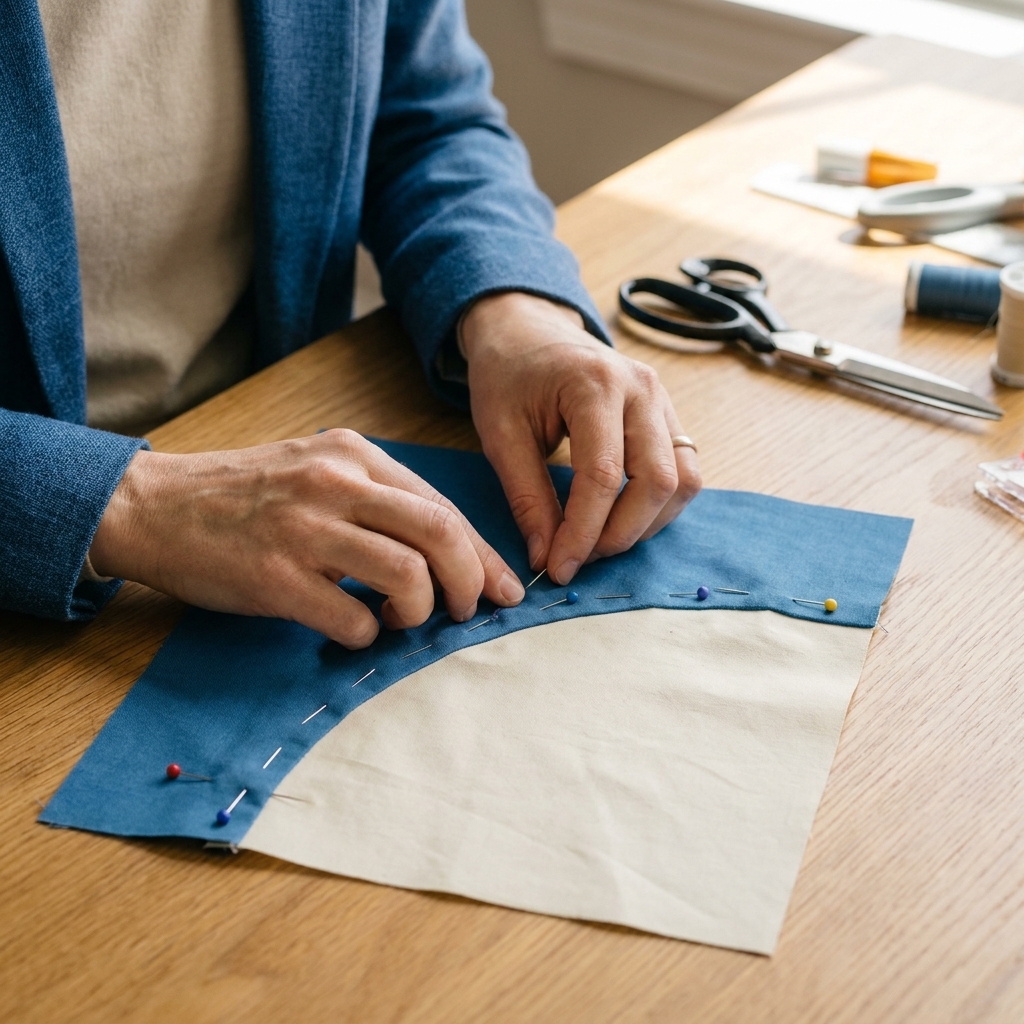
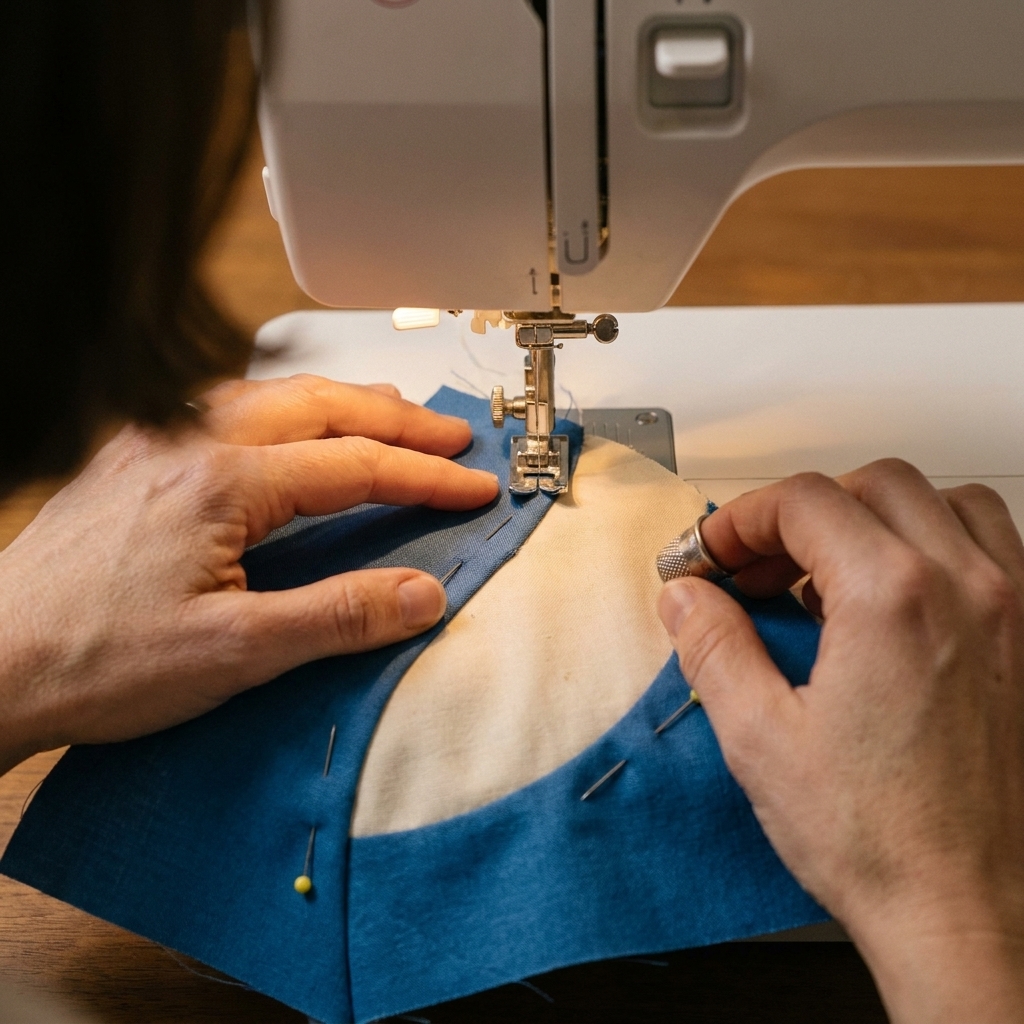
Here is the trick: you are not forcing the pieces to match. You are easing them together in sections.
Right sides together
Place the pieces right sides together. I recommend sewing with the convex piece on top because it is easier to see and gently guide as it curves. Some quilters prefer the concave piece on top. Try both on scraps and pick what feels steady for your hands.
Pin in this order
- Pin the ends of the curve first, matching where the seam will start and stop.
- Pin the midpoint of the curve.
- Pin the midpoints of each half if needed. Keep subdividing until the curve feels relaxed, not wrestled.
Use fewer pins than you think, but place them intentionally. Too many pins can make you sew in tiny jerky movements, and that is when tucks happen.
Important: Do not stretch the bias edge. If you feel tension, lift the top piece and re-pin. The fabric should lie together like it is agreeing with you.
One more small thing that saves a lot of swearing: place pins perpendicular to the seam and remove them as you approach the needle. Sewing over pins is a great way to get a bump or a shifted edge.
Sewing
Settings that help
- Stitch length: 2.0 to 2.2 mm (slightly shorter helps the curve hold)
- Needle: fresh 80/12
- Presser foot pressure: slightly reduced if your machine allows it (helps prevent stretching)
How to get a scant 1/4 inch
If “scant 1/4 inch” always feels like folklore, here is the practical version: sew a quick test seam on scraps, press it open, then measure. If your unit finishes small, you need a hair wider seam. If it finishes big, you need a hair narrower seam. A 1/4-inch foot is helpful, but the test seam is what makes it true on your machine.
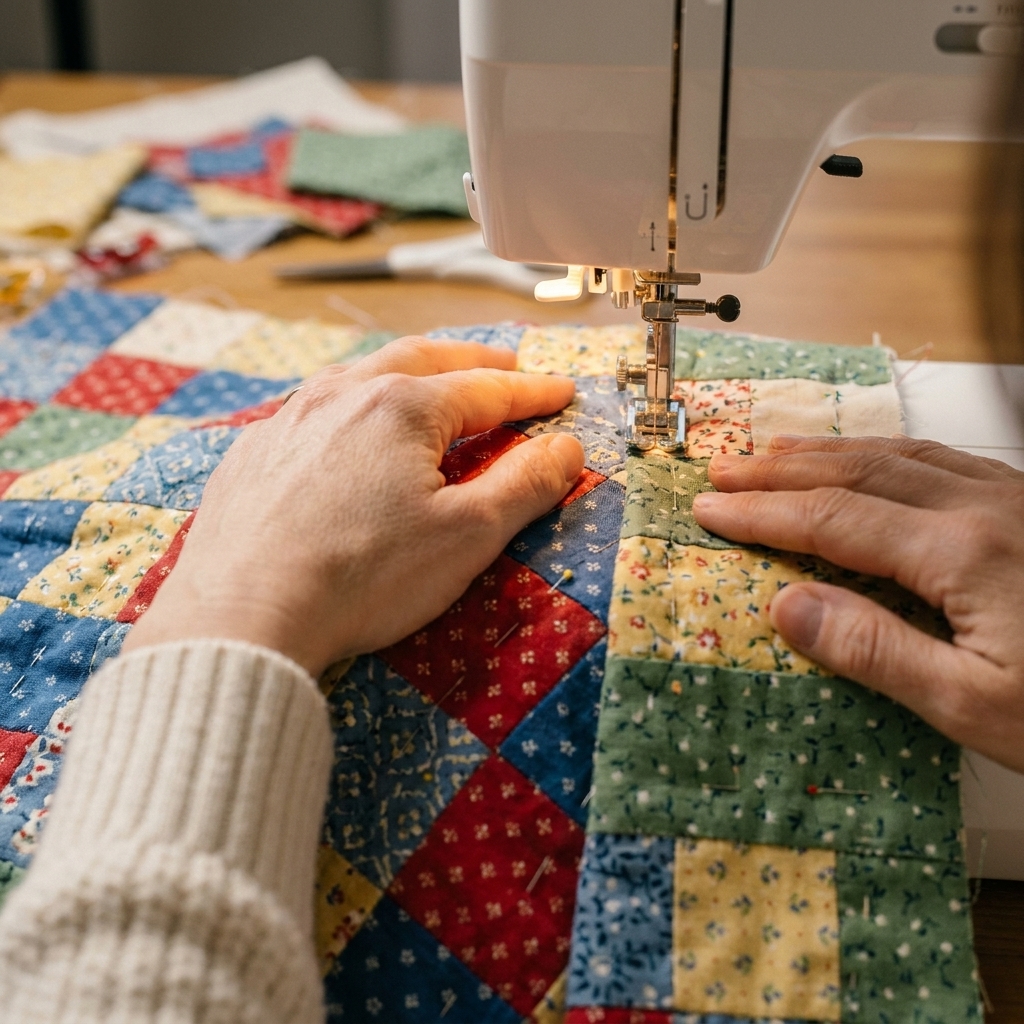
How to stitch without puckers
- Start with a leader scrap if your machine likes to eat edges.
- Sew slowly, keeping your seam allowance consistent.
- Stop with the needle down as needed, especially near pins or when you feel the layers shifting. Lift the presser foot, then smooth the next section so the raw edges stay aligned.
- Let the feed dogs do the work. Your job is to guide, not pull.
- Watch the raw edges, not the curve shape. If the edges are aligned, the curve will behave.
If you get a tiny ripple in the seam allowance, do not panic. Minor ripples often relax after clipping and pressing. If you stitched a visible tuck on the right side, it is worth a quick unpick now. Curves only get more obvious once you start assembling blocks.
Clip and press
Pressing is where curved piecing goes from “I made it through” to “Oh wow, that’s pretty.”
Should you clip?
Usually, yes. Curves need space to relax.
- Clip the concave seam allowance (the inside curve) with small snips perpendicular to the seam, stopping a thread or two before the stitching line.
- Make clips about 1/2 inch apart, and closer together for smaller units or tighter curves.
Do not notch out triangles. Simple clips are cleaner and safer.
Pressing direction
For a classic Drunkard’s Path unit, I often press the seam toward the concave background piece. It can help the quarter-circle sit nicely and can reduce shadowing when your background is lighter. That said, plenty of quilters press toward the darker fabric instead, and sometimes that is exactly what looks best. There is no quilt police. Press the way that lies flattest for your fabric combo.
Pressing steps
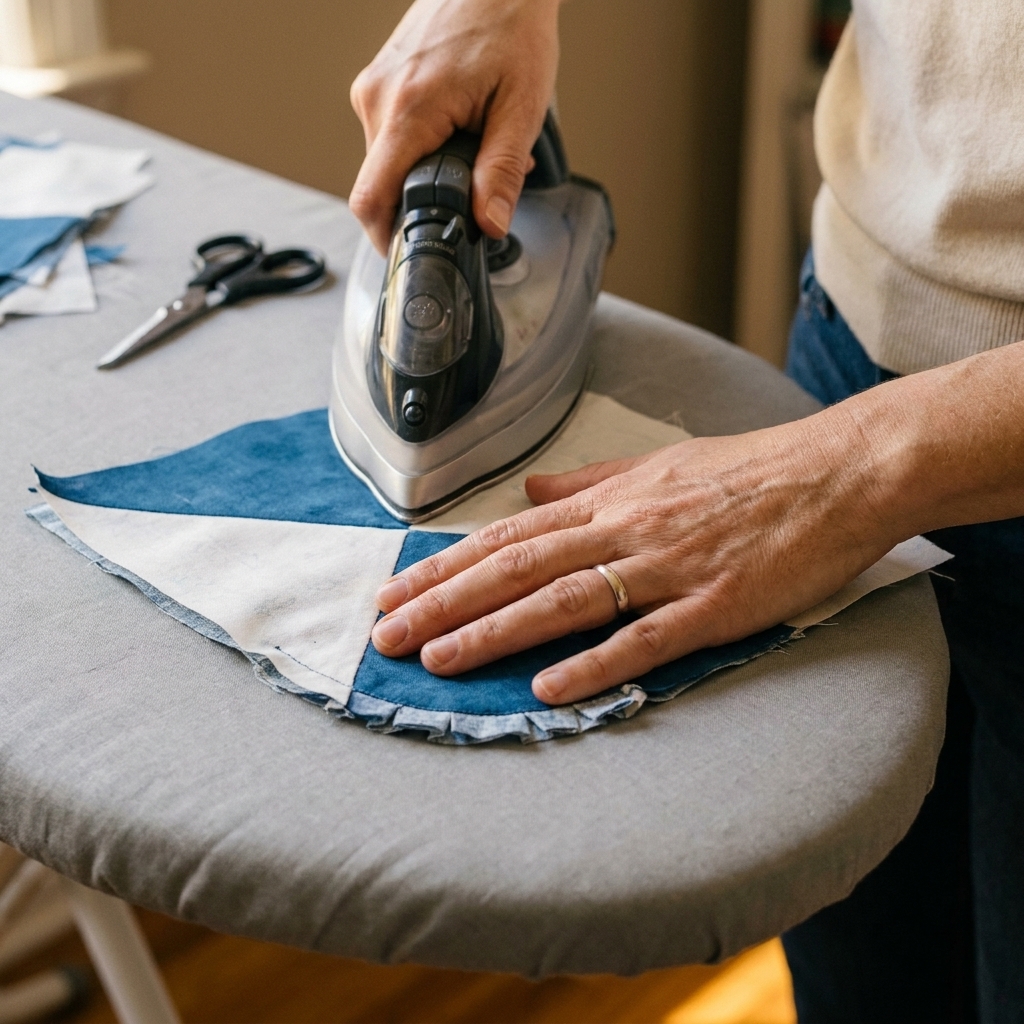
- Set the seam first: press the unit closed, right after sewing, to settle the stitches.
- Press, do not iron: lift and place the iron, following the curve. Avoid sliding the iron, which can stretch the bias.
- Use your fingers to coax the seam as you press so the curve stays smooth.
Trim and square up
Even careful curved piecing can come out a whisper off. Squaring up makes the next steps feel like a deep exhale.
When to square
Square up each curved unit after pressing. Trying to trim before pressing is like trying to cut a sandwich while it is still sliding around on the plate.
How to square up
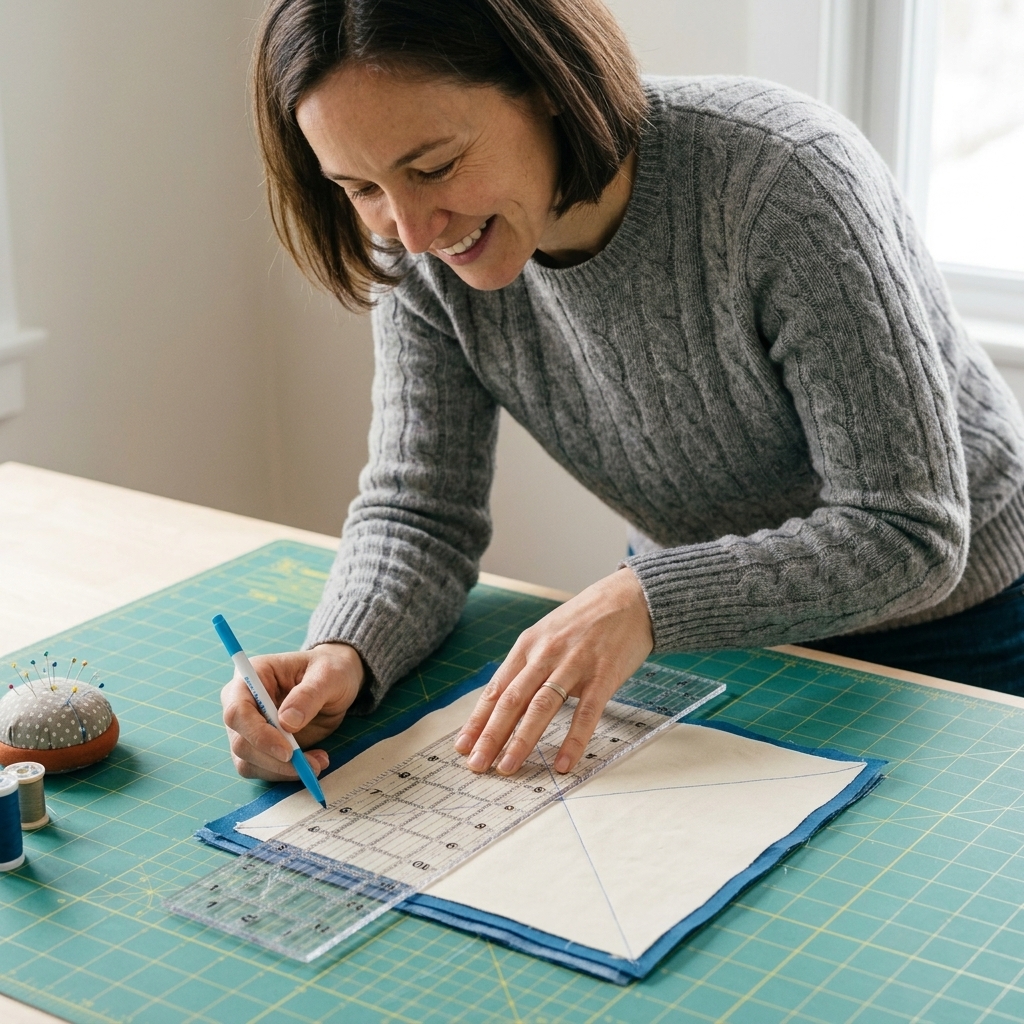
- Use a square ruler that is larger than your unit.
- Align the ruler so the unit’s straight edges are truly straight on the grid.
- If your ruler and your unit allow it, use the curve’s midpoint mark as a reference so the arc stays centered, not drifting to one corner.
- Trim to the unit’s unfinished size (finished size plus 1/2 inch).
If you are using a template set, it often includes the intended unfinished size or a trimming guide. If it does not, check the packaging or the pattern you are following.
Assemble the block
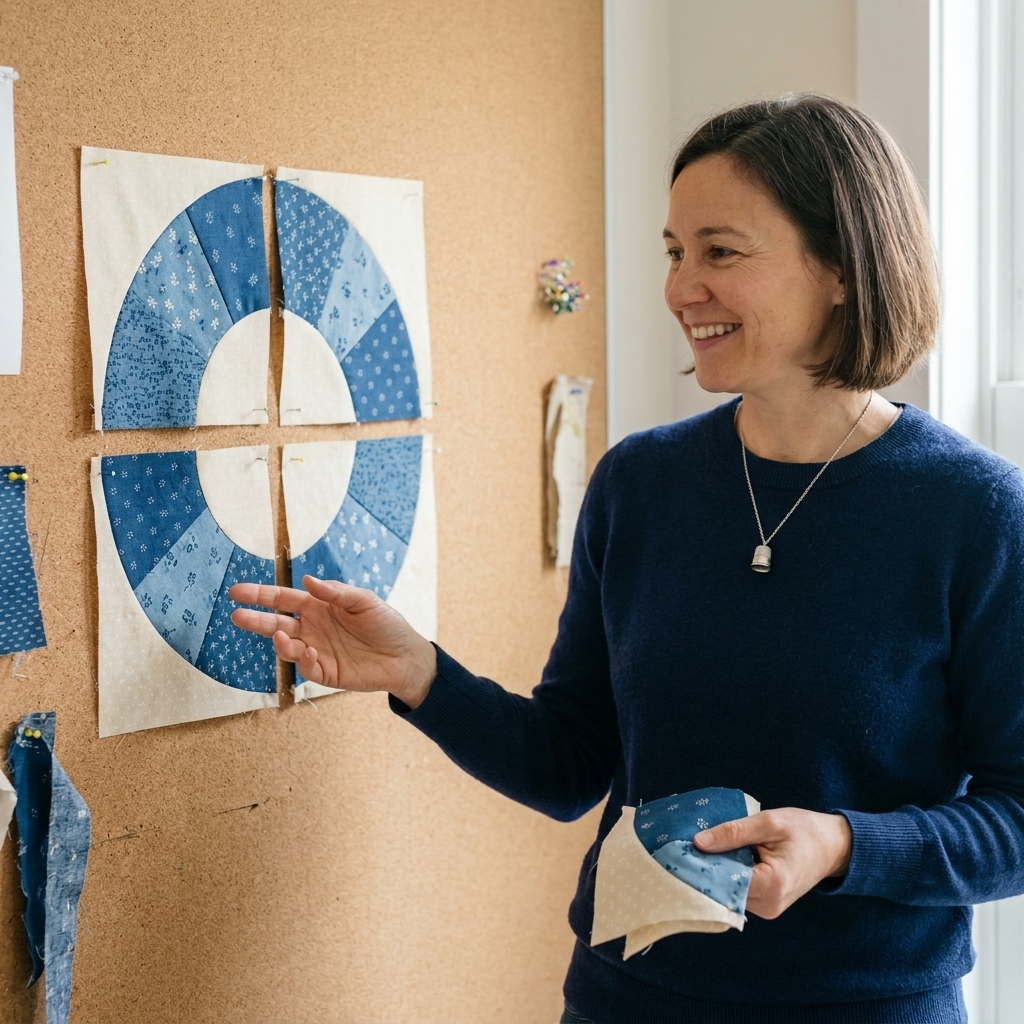
Once you have four matching curved units, the rest is familiar patchwork.
- Lay out your four units to create the design you want. Rotate them until the curves make a pleasing path, circle, or pinwheel-like shape.
- Sew the top two units together, then sew the bottom two units together, pressing the seam allowances in opposite directions so they will nest.
- Sew the two rows together, matching the center seam carefully.
- Press the final seams so the block lies flat. A little steam can help, but keep your iron more “lift and press” than “push and drag.”
Troubleshooting
Puckers along the curve
- Cause: pulling the fabric or sewing too fast.
- Fix: re-pin using midpoint matching, sew slower, and pause with needle down to smooth the next section.
The unit is wavy
- Cause: stretched bias edge or overzealous pressing.
- Fix: starch future pieces, reduce handling, and press with lifting motions. If it is only slightly wavy, squaring up often solves it.
The curve leans and corners miss
- Cause: inconsistent seam allowance or trimming too early.
- Fix: focus on a steady scant 1/4 inch and square up each unit after pressing.
A little pleat at one end
- Cause: the ends were not matched at the stitching line.
- Fix: unpick just the tucked area, re-pin the last inch carefully, and re-stitch.
If you only remember one thing: match the ends and midpoint, then ease the rest. Curves hate being forced, but they love being guided.
Practice plan
If you want to get comfortable fast, do this:
- Cut two extra units from scrap fabric.
- Sew one unit with lots of pins and one unit with midpoint pinning only.
- Press both and compare which one lies flatter.
Most quilters are shocked to see the calmer approach wins.
FAQ
Do I need special templates?
You need some way to cut two matching curves accurately. Acrylic templates are the easiest for repeatability, but paper or plastic templates work beautifully if you take your time cutting and tracing.
Pins or clips?
Pins usually give better control on curves because they hold the fabric right at the stitching line. If you use clips, use more of them and sew slowly so the layers do not shift.
Can I press the seam open?
You can, especially for bulky fabric combinations. For quilting cotton, pressing to one side is common and sturdy. If you press open, keep your seam allowance even and be gentle so you do not distort the curve.
Best fabric for learning?
Regular quilting cotton with a bit of body is ideal. Light starch helps. Save extra-soft, drapey fabrics for when your hands already trust the curve.
One last pep talk
Your first few curved seams might feel awkward. That is not failure, that is your muscles learning a new motion. Give yourself permission to make a practice unit, to unpick a tuck, and to celebrate the moment your curve comes off the machine and lies down flat like it was always meant to.
When you are ready, make a small set of blocks in stash fabrics. Drunkard’s Path is a scrap-lover’s dream, and nothing builds confidence like a growing pile of smooth, cheerful curves.