A friendly, foolproof tutorial for the 8-at-a-time HST magic method, including a starting-size cheat sheet and trimming guidance for crisp, accurate units.
The Quilt Mark
October 22, 2026
How to Sew an Economy Quilt Block
Master the Economy (square-in-a-square family) quilt block with crisp points and clean centers. Includes correct sizing math, trim-as-you-go steps, and fussy cutting tips.

Clara Jenkins
Clara Jenkins is an avid quilter and fabric enthusiast who has been designing and piecing together quilts for over twenty years. She shares her passion for color coordination, block design, and practical sewing techniques to help makers of all skill levels create beautiful, lasting heirlooms. Through Quiltmark, Clara aims to make the timeless art of quilting accessible, joyful, and deeply rewarding for everyone.
Updated October 22, 2026
The Economy block is one of those deceptively simple classics that can look sharp and modern or sweet and traditional depending on your fabric pull. It is also one of the best ways to spotlight a tiny favorite print, a novelty motif, or even a charming bit of vintage fabric. The magic is in the square-in-a-square construction, and the secret to making it look polished is trimming at the right moments.
If you have ever ended up with a slightly wobbly center or points that feel like they are playing hide and seek, you are in the right place. We are going to slow it down, make the math friendly, and build a block that comes out square, crisp, and ready to repeat.
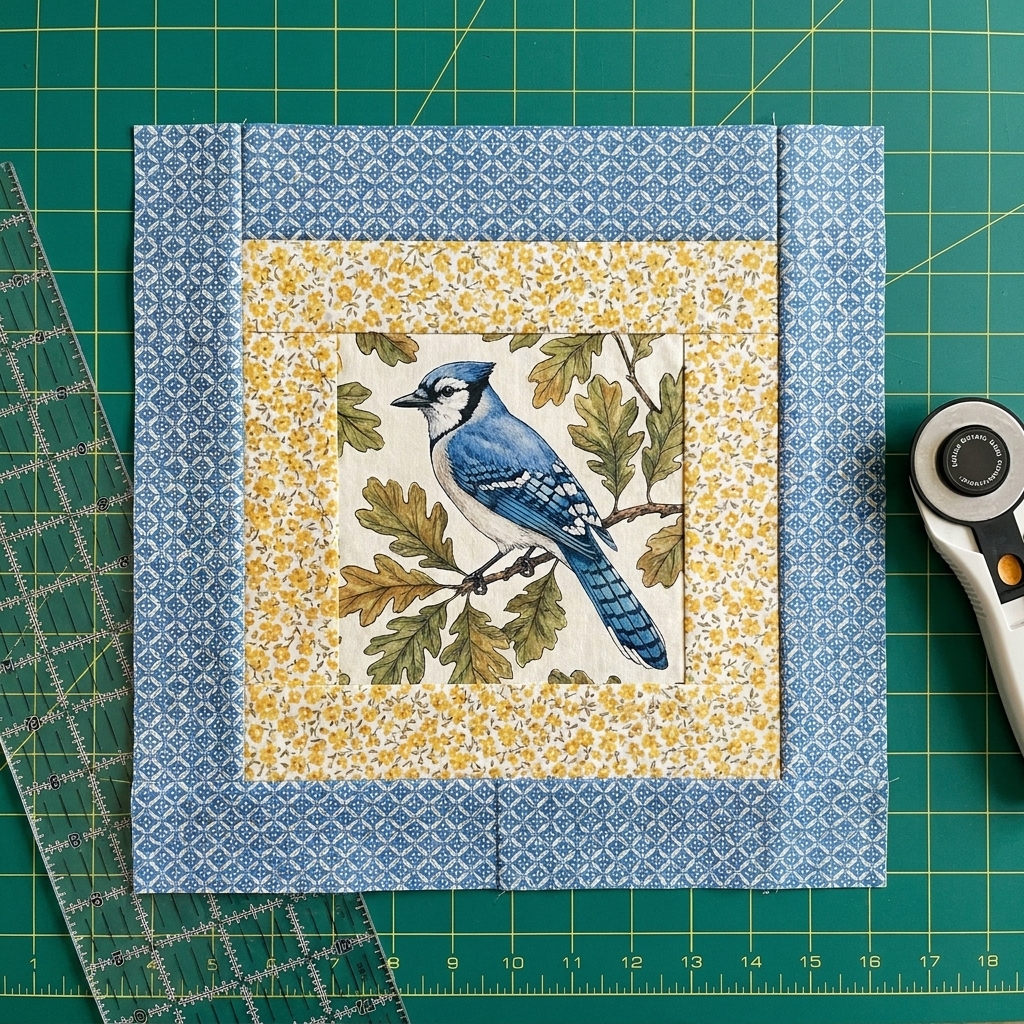
What is an Economy block?
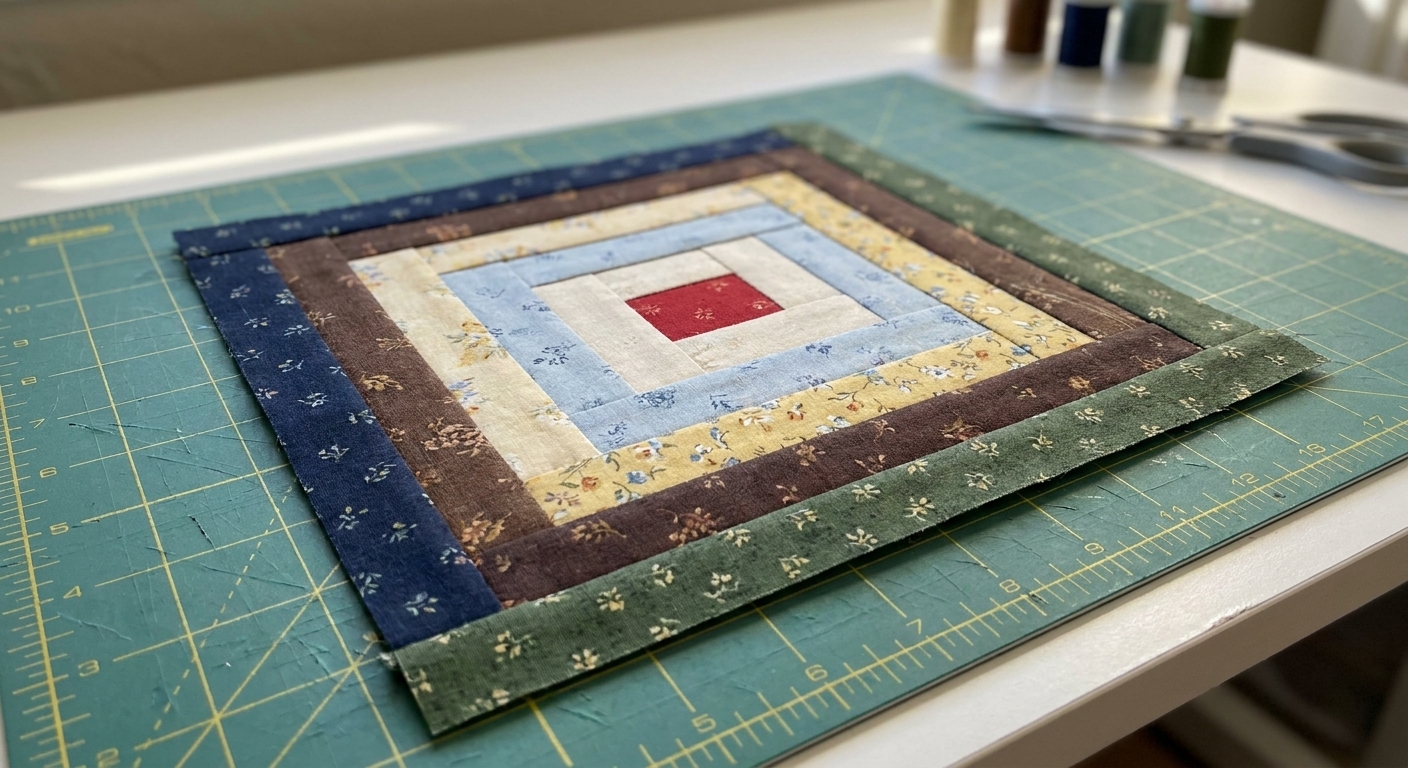
An Economy block is a two-round framed square that many quilters group under the larger square-in-a-square family. You start with a center square, add a round of triangles that turns it into a diamond, then add a second round of triangles that squares the block back up.
It is a pointy, frame-within-a-frame shape that is perfect for:
- Fussy cutting a motif in the center
- Scrap busting with coordinated frames
- Adding sparkle to sampler quilts, borders, and medallions
- Chain piecing a whole stack once you get the rhythm
Tools and materials
- Sewing machine and neutral thread
- Rotary cutter, mat, and quilting ruler (a square ruler is especially handy)
- Iron and pressing surface
- Fabric for: center square, inner frame triangles, outer frame triangles
- Optional but helpful: starch or pressing spray, and a marking pencil
Seam allowance: Use a consistent scant 1/4 inch. Tiny inconsistencies add up quickly in this block, so this is a great time to do a quick seam test on scraps.
Pick your size and do the math
There are a lot of ways to draft an Economy block, but this tutorial focuses on the classic look where the diamond points land at the midpoints of the block edges. When you trim that way (like we do here), the sizing is not arbitrary.
Quick vocabulary (worth reading once): Finished means the size after the block is sewn into a quilt (seams taken). Unfinished means the size of the block right now, with raw edges, before it is sewn to anything. Unfinished sizes are typically finished size + 1/2 inch.
The key rule
For a traditional 2 round Economy block: the finished block size is exactly 2 times the finished center size.
- 2 inch finished center makes a 4 inch finished block
- 3 inch finished center makes a 6 inch finished block
- 4 inch finished center makes an 8 inch finished block
This is the part that saves you from heartbreak later. If you want a 6 inch finished Economy block, you need a 3 inch finished center for this style of block.
The cutting formulas (trim-as-you-go)
Start by choosing your finished center size. Your finished block size will be double that number.
- Cut center square: finished center + 1/2 inch
- Inner triangles: cut 2 squares at (finished center + 1 1/4 inches), then cut each square once diagonally to make 4 triangles
- Trim after round 1 to: (finished center × 1.414) + 1/2 inch, rounded up to the nearest 1/8 inch
- Outer triangles: cut 2 squares at (trimmed size after round 1 + 1 1/4 inches), then cut each square once diagonally to make 4 triangles
- Trim final block to: (finished center × 2) + 1/2 inch
Why the 1.414? That is the square root of 2, which shows up whenever a square becomes a diamond. You do not need to love the math. You just need to let it do the work once.
Mini cheat sheet (common sizes)
| Finished block | Finished center | Cut center square | Cut inner squares (2) | Trim after round 1 | Cut outer squares (2) | Final trim (unfinished) |
|---|---|---|---|---|---|---|
| 4 inches | 2 inches | 2 1/2 inches | 3 1/4 inches | 3 3/8 inches | 4 5/8 inches | 4 1/2 inches |
| 6 inches | 3 inches | 3 1/2 inches | 4 1/4 inches | 4 3/4 inches | 6 inches | 6 1/2 inches |
| 8 inches | 4 inches | 4 1/2 inches | 5 1/4 inches | 6 1/8 inches | 7 3/8 inches | 8 1/2 inches |
Note: That round 1 trim is where most people get nervous. Rounding up (not down) gives you a little breathing room so you do not trim away your points. Your final trim is the finish line.
Example: 6 inch finished block (3 inch finished center)
| Part | What you want finished | What to cut |
|---|---|---|
| Center square | 3 inches | 3 1/2 inches square |
| Inner frame squares (to cut into triangles) | Frame to fit center | 2 squares at 4 1/4 inches, then cut diagonally |
| Trim after round 1 | Center becomes a diamond inside a square | About 4 3/4 inches square |
| Outer frame squares (to cut into triangles) | Frame to reach final size | 2 squares at 6 inches, then cut diagonally |
| Final trim | 6 inches | 6 1/2 inches square |
Fussy cut the center
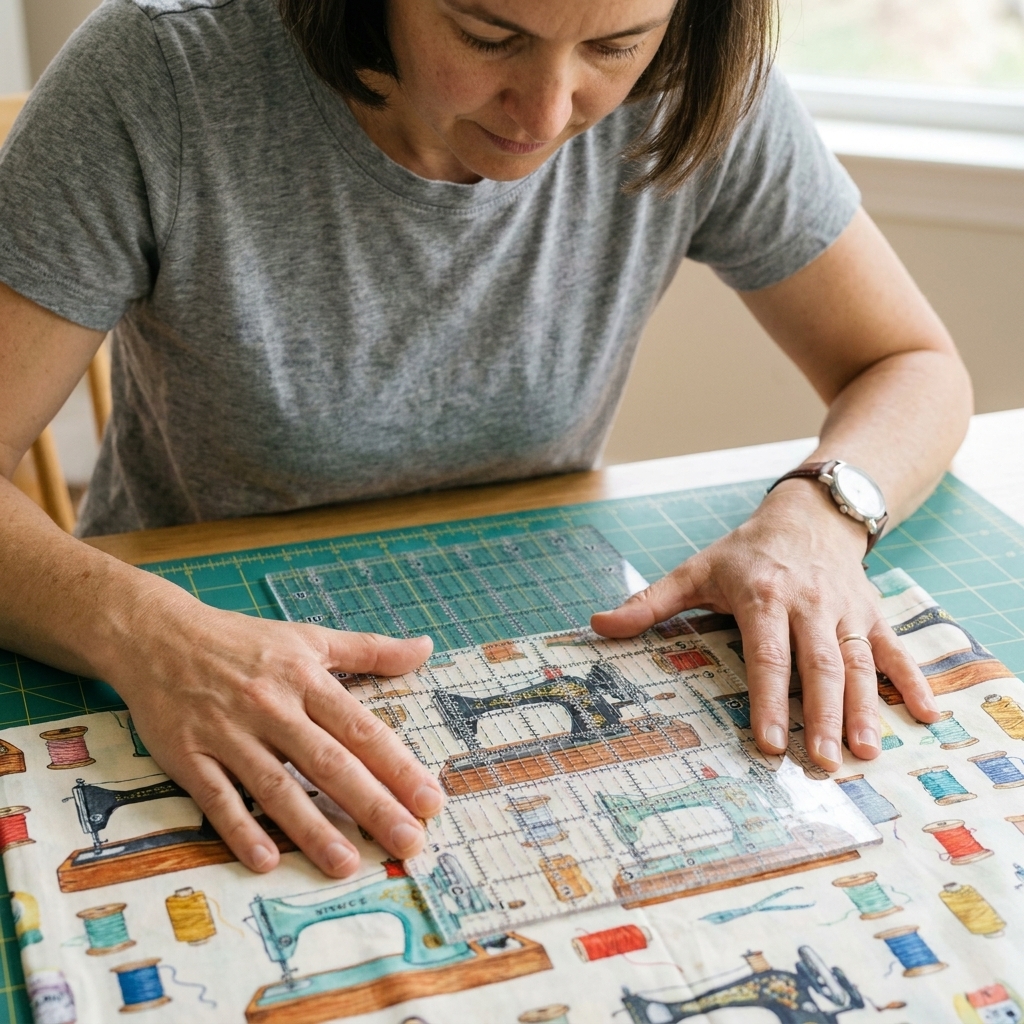
Fussy cutting is where this block really shines. A tiny cat face, a strawberry, a single star, a perfect little bouquet. The trick is to find the true center of the motif and match it to the true center of your cut square.
Directional print heads up: If your center print has an obvious up and down, decide your orientation before you sew. The triangles will frame it, but you want the motif itself to stay pointing the way you intended across the whole quilt.
My low-stress method
- Find the motif you want and smooth the fabric so it is not skewed.
- Fold to locate the motif center if possible. For a symmetrical motif, a gentle finger crease works well.
- Use your ruler to frame the cut size (center finished + 1/2 inch). Slide the ruler until the motif sits where you want it.
- Check the grain. Try to keep the motif square aligned with the fabric grain. If the print is slightly off grain, choose what looks best visually, but be consistent.
- Cut slowly and do not lift the ruler until the last cut is complete.
How to sew the block
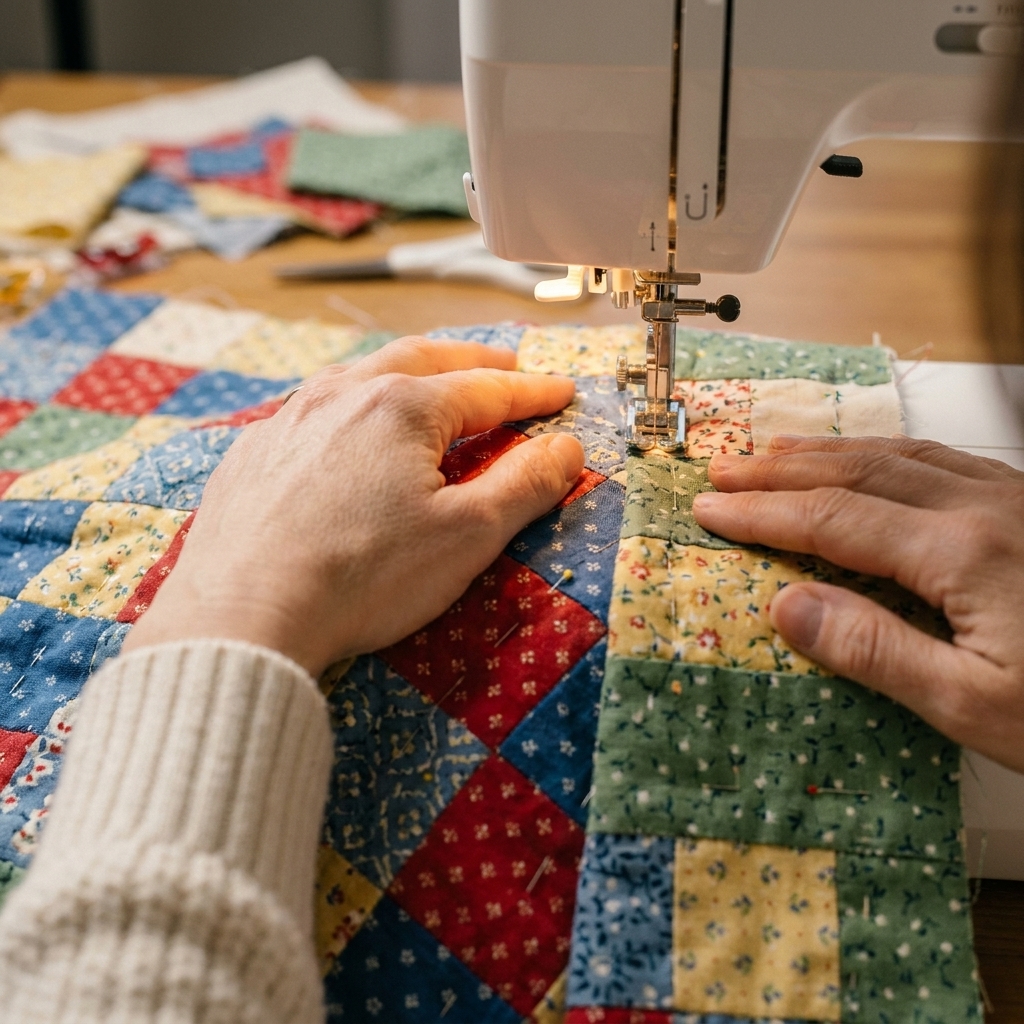
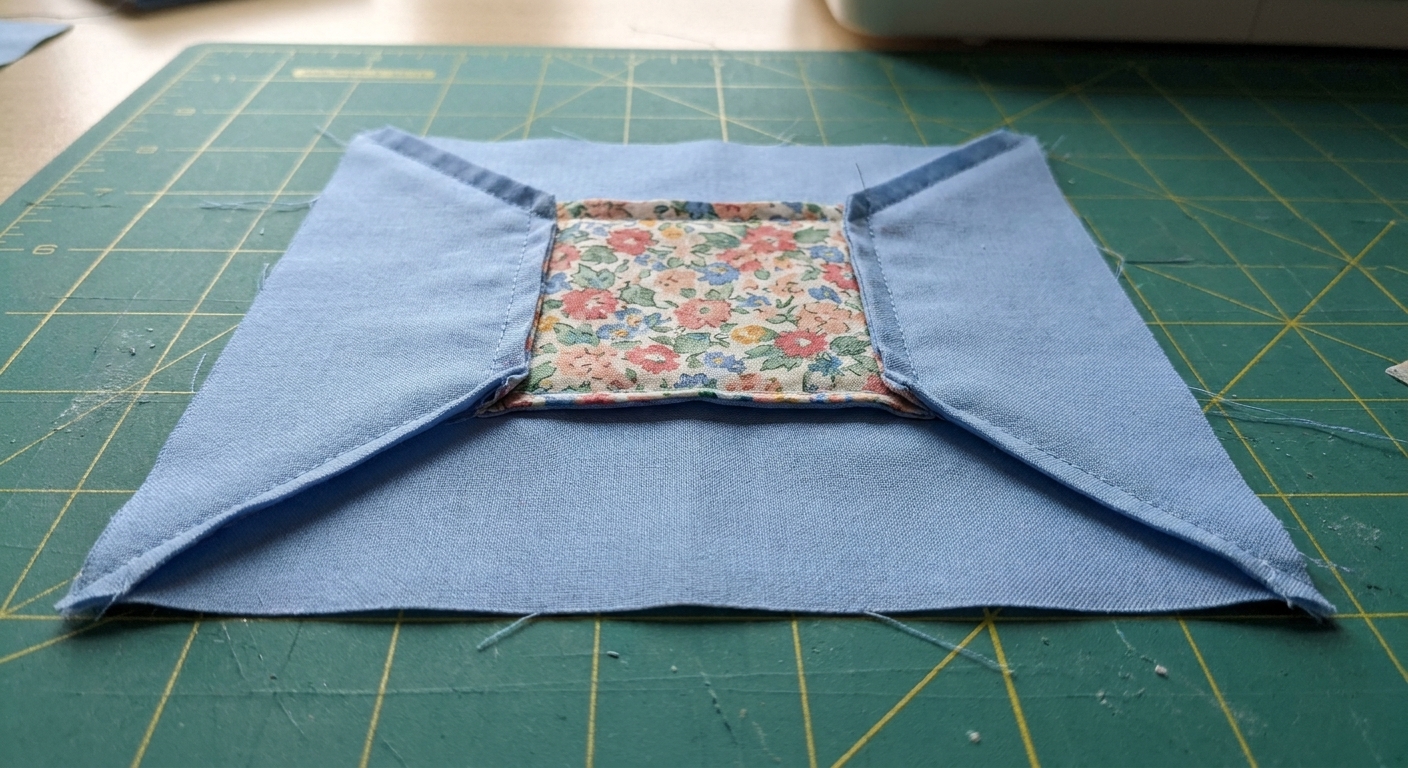
This is the method I wish someone had shown me early on: sew two opposite triangles first, press, then add the remaining two. It keeps the center square from creeping.
Prep the triangles
For each round, you will cut squares in half diagonally to make triangles. Keep your pairs stacked so the bias edges do not stretch as you move them around.
Bias-edge reminder: The long diagonal edge is on the bias and can easily warp if you tug it. Let the feed dogs do the work and keep your iron more like a press than a scrub brush.
Round 1: inner frame
- Mark the center of each side of the center square with a tiny crease or a small removable mark.
- Take two inner triangles and align the midpoint of the triangle’s long edge with the midpoint of one side of the center square, right sides together.
- Sew with a scant 1/4 inch seam. Repeat on the opposite side of the center square.
- Press seams outward toward the triangles. Press, lift, press again. No dragging.
- Add the remaining two triangles to the other two sides. Sew, then press outward again.
- Trim to size for round 2. Square it up carefully, centering the diamond. (Details below.)
Trim after round 1
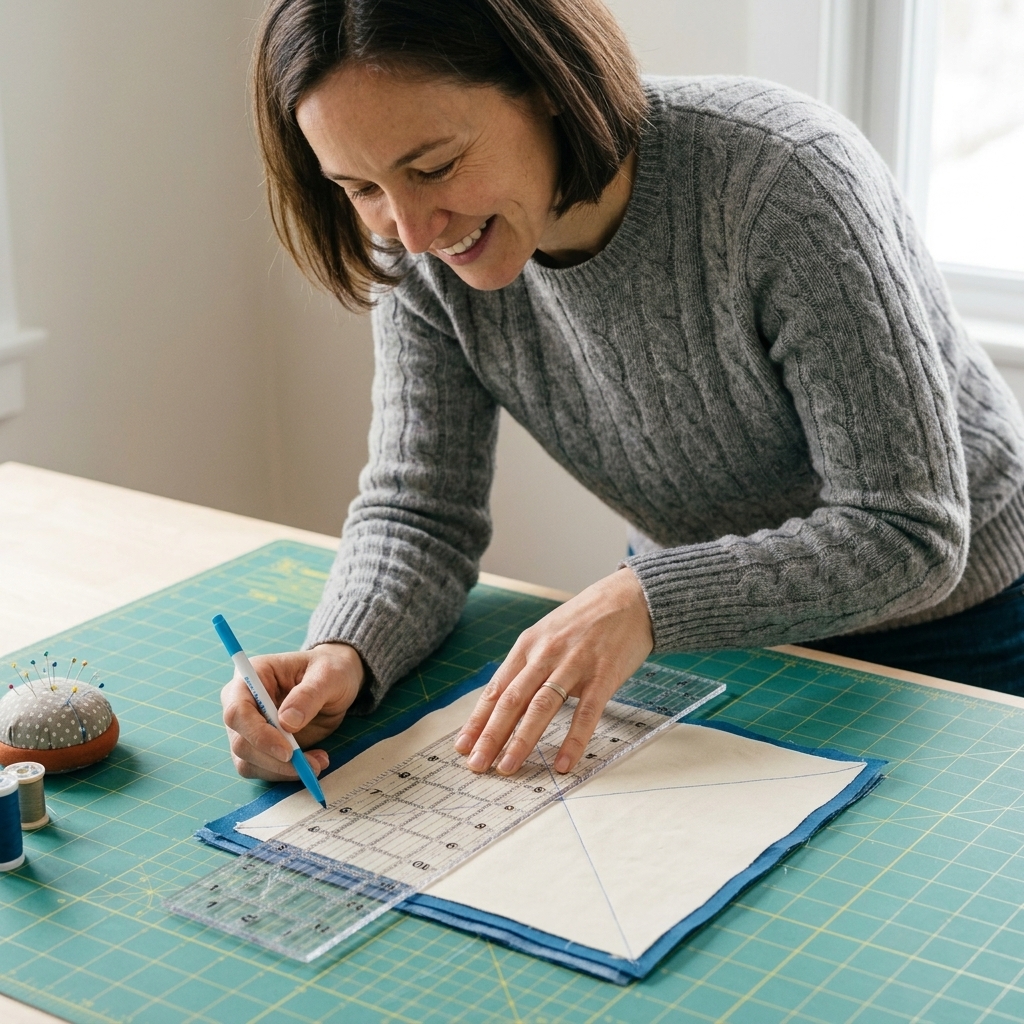
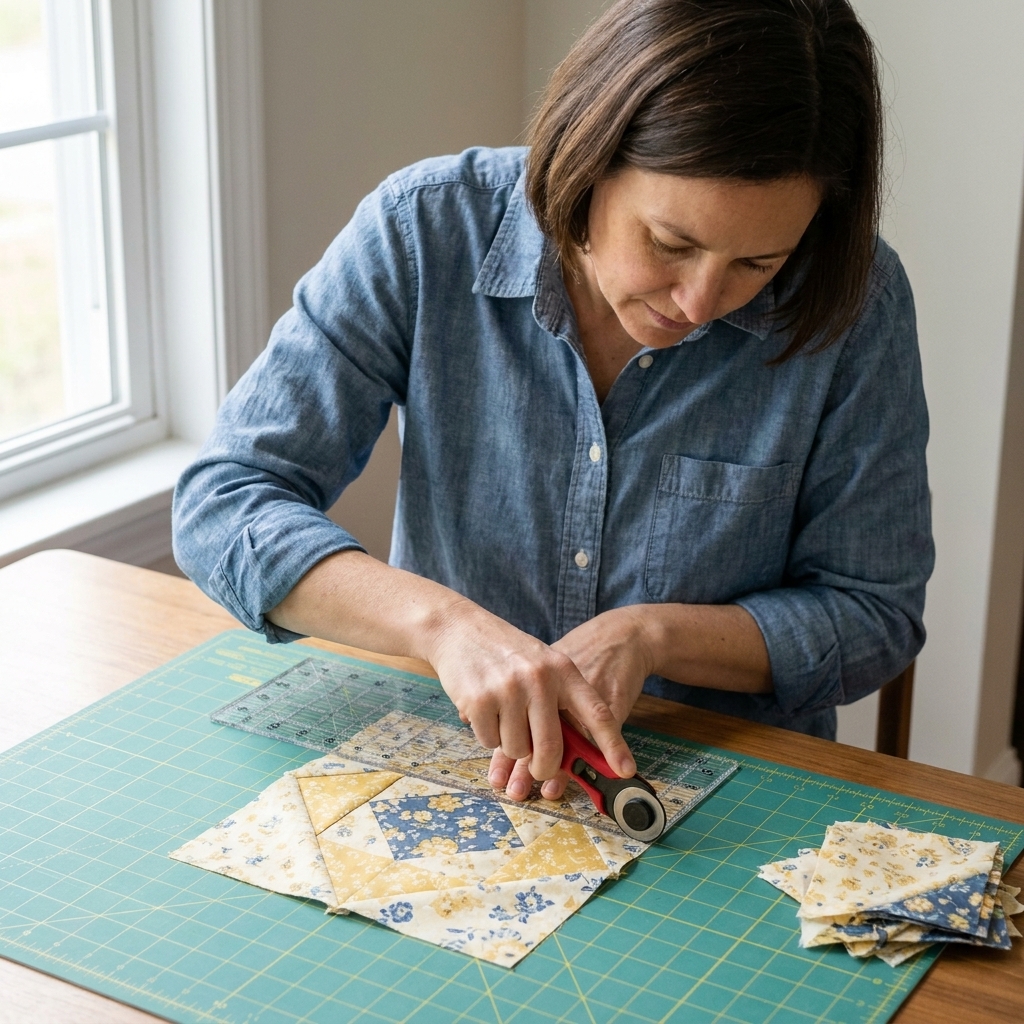
This is where an Economy block goes from “pretty good” to “crisp and consistent.” After round 1, you should have a square with a diamond in the middle. We want the diamond points to land exactly at the midpoint of each side once trimmed.
How to trim cleanly
- Measure the target trimming size (from the formula or your chosen pattern). If you are between marks, round up.
- Place the block on your mat and use a square ruler if you have one.
- Center the diamond by lining up the ruler’s 45 degree line with one diagonal seam, then check the opposite diagonal seam is also parallel to the ruler’s diagonal reference.
- Trim two sides.
- Rotate and realign, then trim the remaining two sides to the exact size.
Tip from my own trial and error: If you are unsure which way the block is drifting, measure from each diamond point to the raw edge. Those four distances should match after trimming.
Round 2: outer frame
- Repeat the same opposite-sides-first approach. Align the midpoint of the triangle’s long edge with the midpoint of the trimmed square.
- Sew two opposite triangles, press outward, then add the remaining two.
- Press outward again so the block lies flat and the seams do not stack up in the center.
- Final trim to unfinished size: (finished center × 2) + 1/2 inch.
Pressing tips
- Press, do not iron: lift and set the iron to avoid stretching bias edges.
- Press seams outward: it reduces bulk around the center and helps the block sit flatter.
- Use a little starch: especially if your fabric is loosely woven or you are working with small pieces.
- Let the block cool: after pressing before you move it. Cooling helps seams set and prevents warping.
Common problems
My block is too small
This usually comes from one of three things: seam allowance slightly too wide, triangles cut a hair too small, or trimming too aggressively after round 1. For your next block, try:
- Sewing a true scant 1/4 inch
- Rounding triangle cut sizes up by 1/8 inch
- Trimming more conservatively after round 1, then letting the final trim bring everything to the finish line
My center looks crooked
This is almost always stretch on the bias edges or the triangles creeping as you sew. Two fixes:
- Sew opposite sides first (always)
- Pin at the midpoint and at the corners of the center square, then sew without pulling
My points got chopped
Points disappear when the seam line crosses the point instead of skimming just next to it. Before you commit to sewing the block into a quilt, do a quick check:
- Place a ruler along the edge where the seam will be sewn (1/4 inch in from the raw edge). If the diamond point is at least a thread or two away from that line, you are safe.
My block is wavy
Waviness usually means stretched bias or too much iron movement. Starch your triangle squares before cutting, and press with a gentle up-and-down motion.
Design ideas
Once you can piece one good Economy block, you can make a hundred that all feel different. A few of my favorite approaches:
- Fussy cut novelty centers: animals, food, tiny seasonal icons, anything with personality
- Low volume inner frame: keeps the eye on the center and gives a clean, modern look
- Dark inner frame, light outer frame: creates a crisp “spotlight” effect
- Scrappy outer frame: use four different prints for the second round for a playful, stash-busting block
- Matchy-matchy sets: repeat one center print across the quilt for a cohesive theme
FAQ
Can I use flying geese instead of triangles?
You can, especially for very large blocks, but the classic Economy construction uses triangles to create that clean, centered diamond. If you are chasing ultra precision, trimming between rounds is often more helpful than changing units.
What is the best fabric for the center?
Stable quilting cotton is the easiest. If you want to use something special like a vintage feed sack or a softer lawn, you can consider adding a lightweight woven fusible to the back of the center square for stability, but test first. Some delicate or vintage fabrics can shift, shine, or stiffen with heat and adhesive.
Do I have to trim after round 1?
You can skip it, but your accuracy needs to be spot-on to avoid drift. Trimming after round 1 is my favorite permission slip step because it corrects small sewing inconsistencies before they snowball.
How many blocks should I make before starting a quilt?
Make three. If they all end up the same size after trimming and your points look consistent, you are ready to chain piece the rest. If one behaves differently, it will teach you what to adjust while the stakes are still low.
Next step
If you want to practice without committing to a full quilt, sew four Economy blocks and join them into a single cushion top, or make a mini wall hanging that lets those fussy-cut centers steal the show. The more you make, the more your hands learn the rhythm.
And if your first one is a little wonky? Welcome to quilting. That is not failure, that is proof you started.