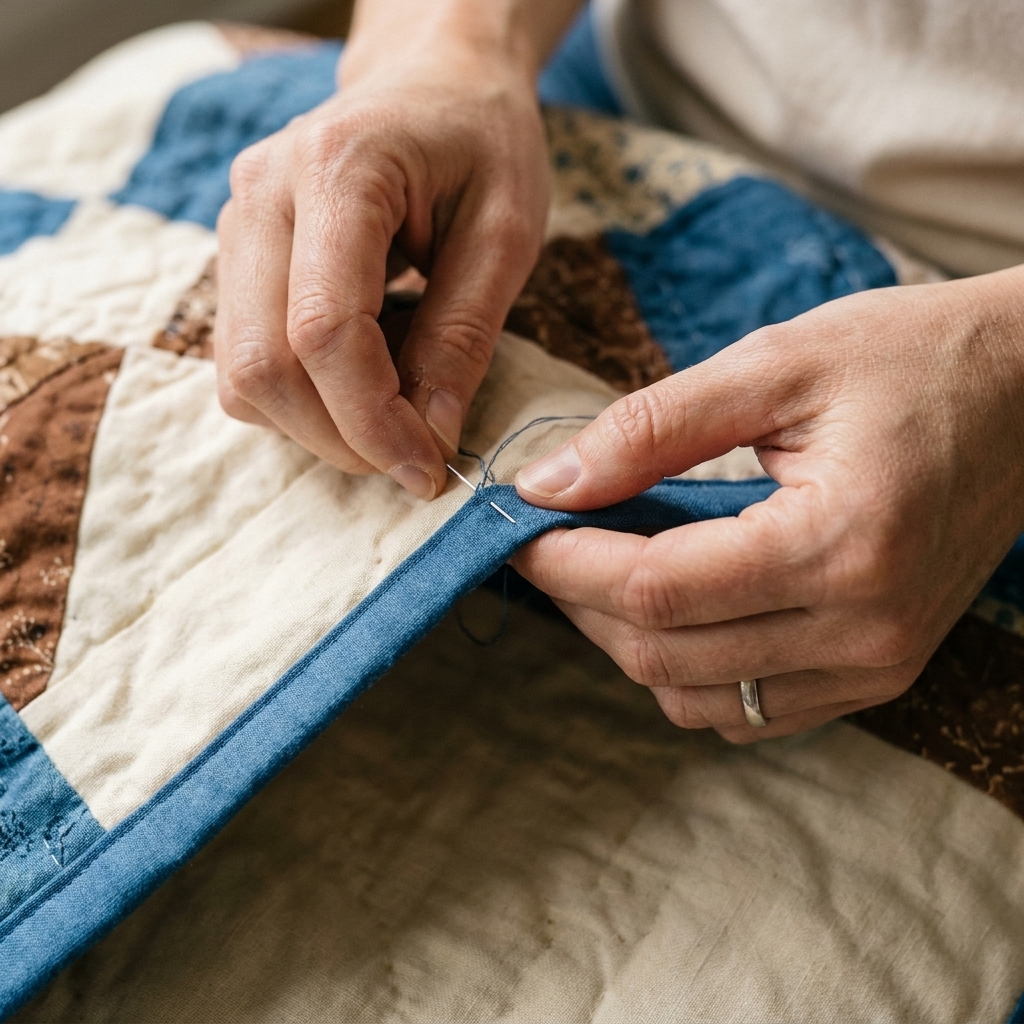
A calm, step-by-step guide to hand-stitching quilt binding to the back with a tidy, nearly invisible blind stitch, plus corner tricks and troubleshooting.
The Quilt Mark
October 22, 2026
Big Stitch Hand Binding
Learn big stitch hand binding for quilts with chunky, visible stitches. Tools, threads, stitch spacing, corners, finishing tips, and troubleshooting for a modern rustic finish.

Clara Jenkins
Clara Jenkins is an avid quilter and fabric enthusiast who has been designing and piecing together quilts for over twenty years. She shares her passion for color coordination, block design, and practical sewing techniques to help makers of all skill levels create beautiful, lasting heirlooms. Through Quiltmark, Clara aims to make the timeless art of quilting accessible, joyful, and deeply rewarding for everyone.
Updated October 22, 2026
Big stitch hand binding is one of my favorite ways to finish a quilt when I want it to feel intentionally handmade. Instead of tiny, nearly invisible stitches, you use thicker thread and longer, evenly spaced stitches that show off right along the binding edge. The look is modern, a little rustic, and wonderfully forgiving. If you can thread a needle and take your time, you can do this.
What makes it different
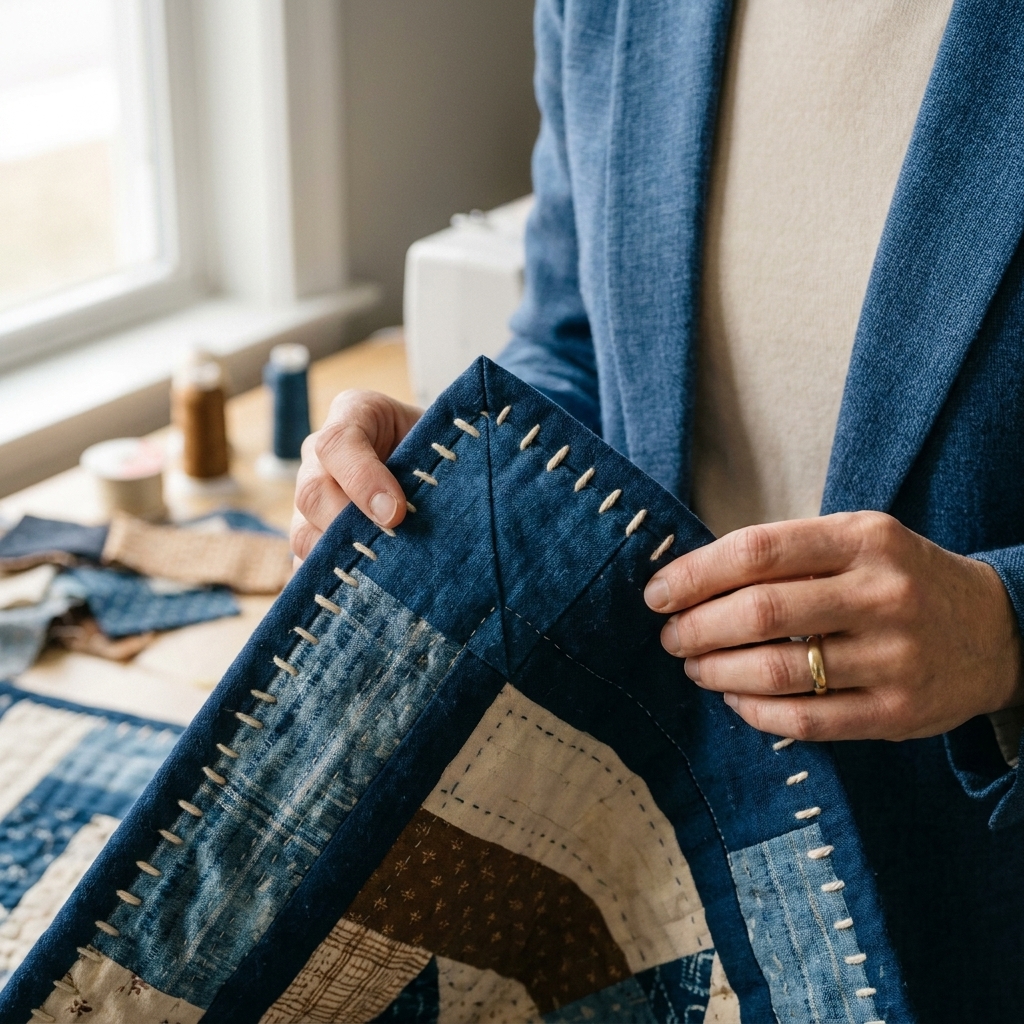
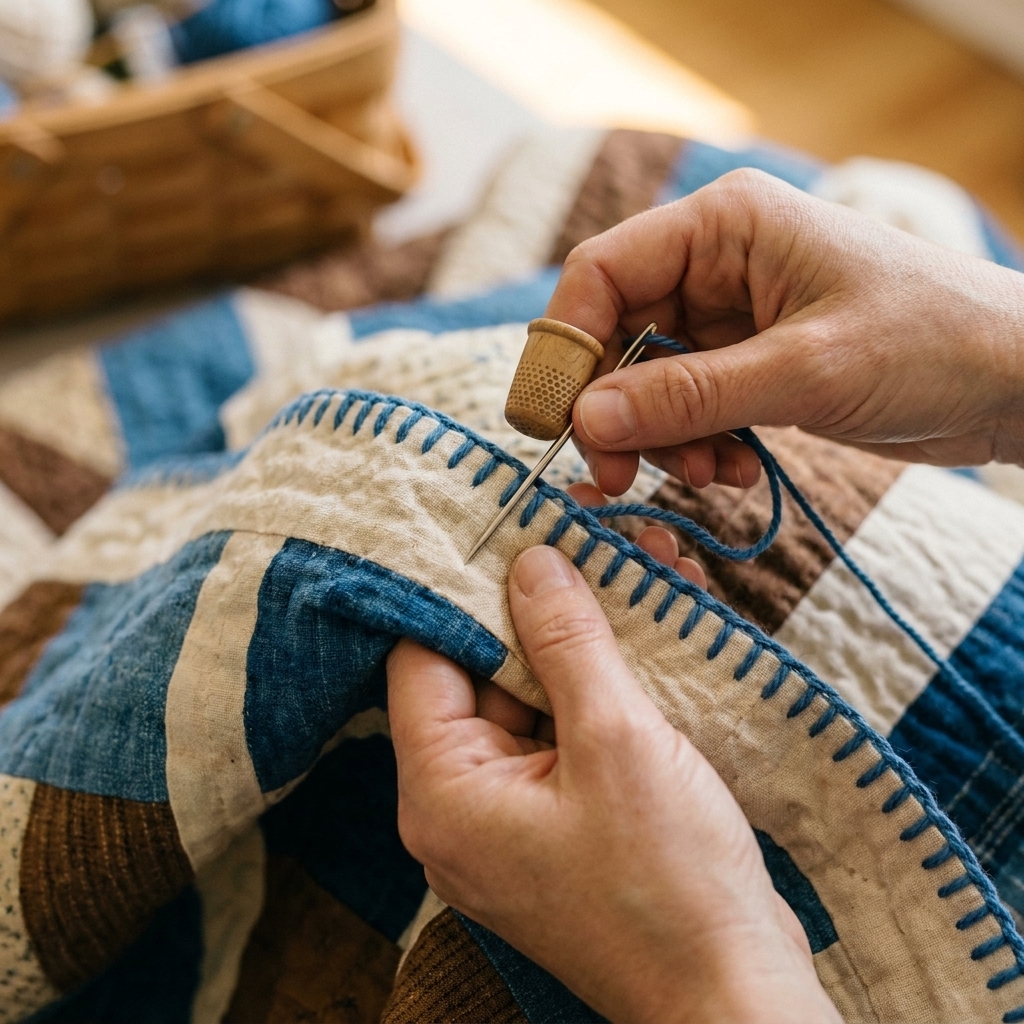
Traditional hand binding aims for stealth. Big stitch binding does the opposite. Your stitches become part of the design, like a tiny running-stitch border that frames the quilt.
- Thread is thicker: perle cotton is the classic choice.
- Stitches are longer: often around 1/4 inch to 3/8 inch, depending on the look you want.
- Spacing is consistent: the rhythm is what makes it look polished.
- It shines on modern quilts: solids, linen blends, wovens, and bold prints all play nicely with visible stitches.
Tools you will use
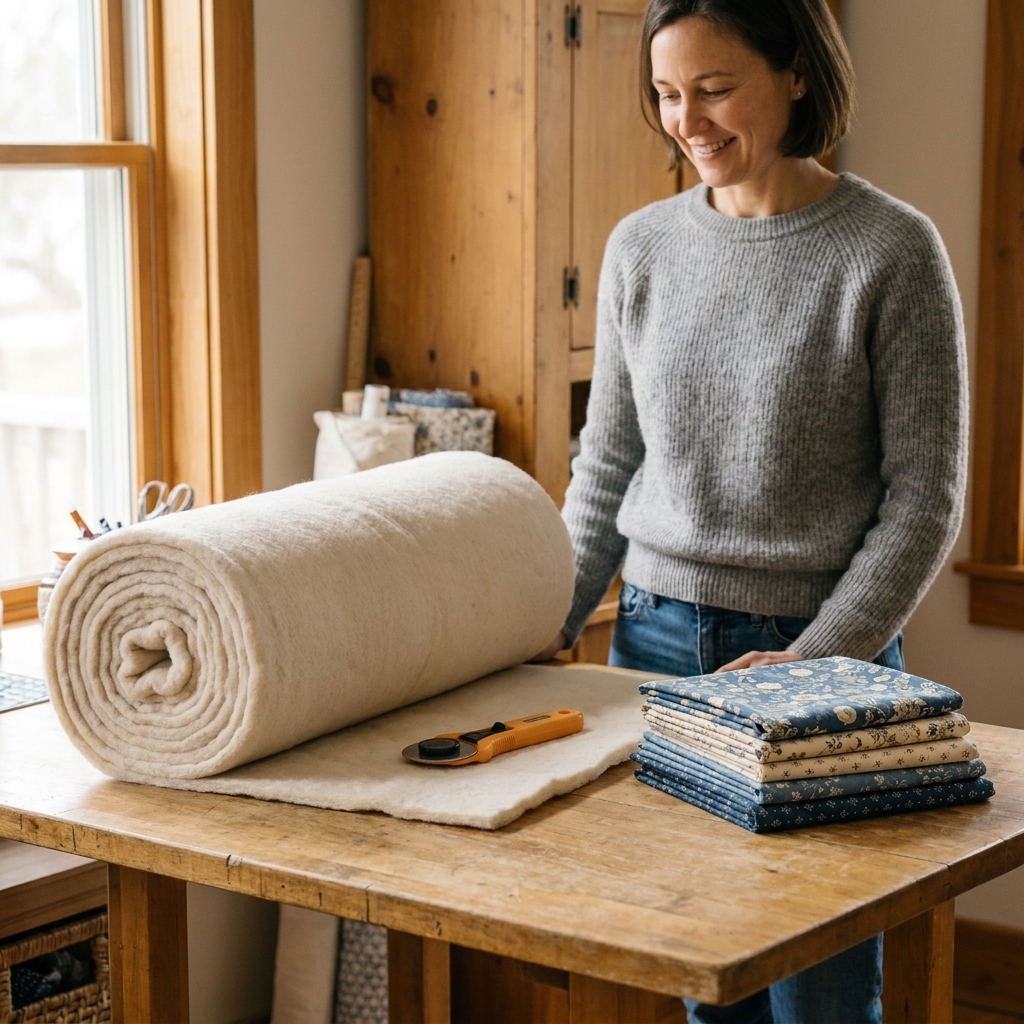
You do not need a fancy toolkit, but the right basics make this feel smooth instead of fussy.
Needles
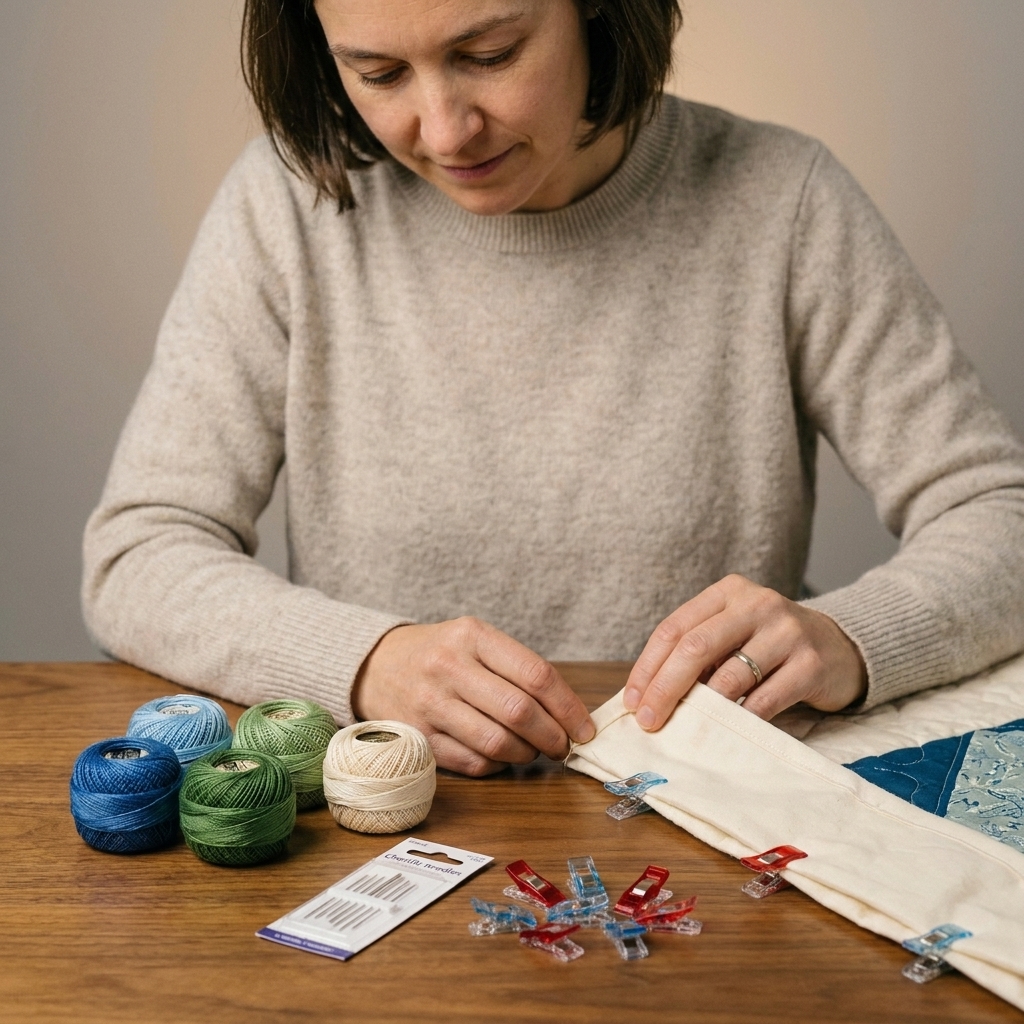
- Chenille needles: my top pick for perle cotton because they have a larger eye and a sharp point. Great for going through binding, quilt sandwich, and backing without a wrestling match.
- Embroidery needles (crewel): also work well, especially in sizes 5 to 7, depending on your thread thickness.
- Milliners (straw) needles: lovely if you prefer a longer needle for a controlled rocking motion, but only if the eye fits your thread.
Tip: if your thread frays as you thread the needle, trim the end at a crisp angle and try a slightly larger needle size.
Thread
Perle cotton is the star here, but it is not your only option.
- Perle cotton #8: the sweet spot for many quilts. Visible, bold, still easy to pull through layers.
- Perle cotton #5: chunkier and more rustic. Gorgeous on utility quilts and textured fabrics, but it can feel bulky in tight corners.
- Perle cotton #12: finer, more delicate, still visible. Nice if you want the look but a slightly quieter line.
- Embroidery floss: can work in a pinch, but it tends to split and fuzz with friction. If you use it, consider using fewer strands and shorter lengths.
- Topstitch thread or sashiko thread: both can give a similar bold effect. Sashiko thread is especially smooth and strong.
Thimble and grips
- Thimble: even a soft leather thimble can save your fingers if you are binding a throw or bed quilt.
- Needle puller or grippy dots: helpful when stitching through a dense quilt sandwich or a tightly packed binding.
Clips, pins, and marking
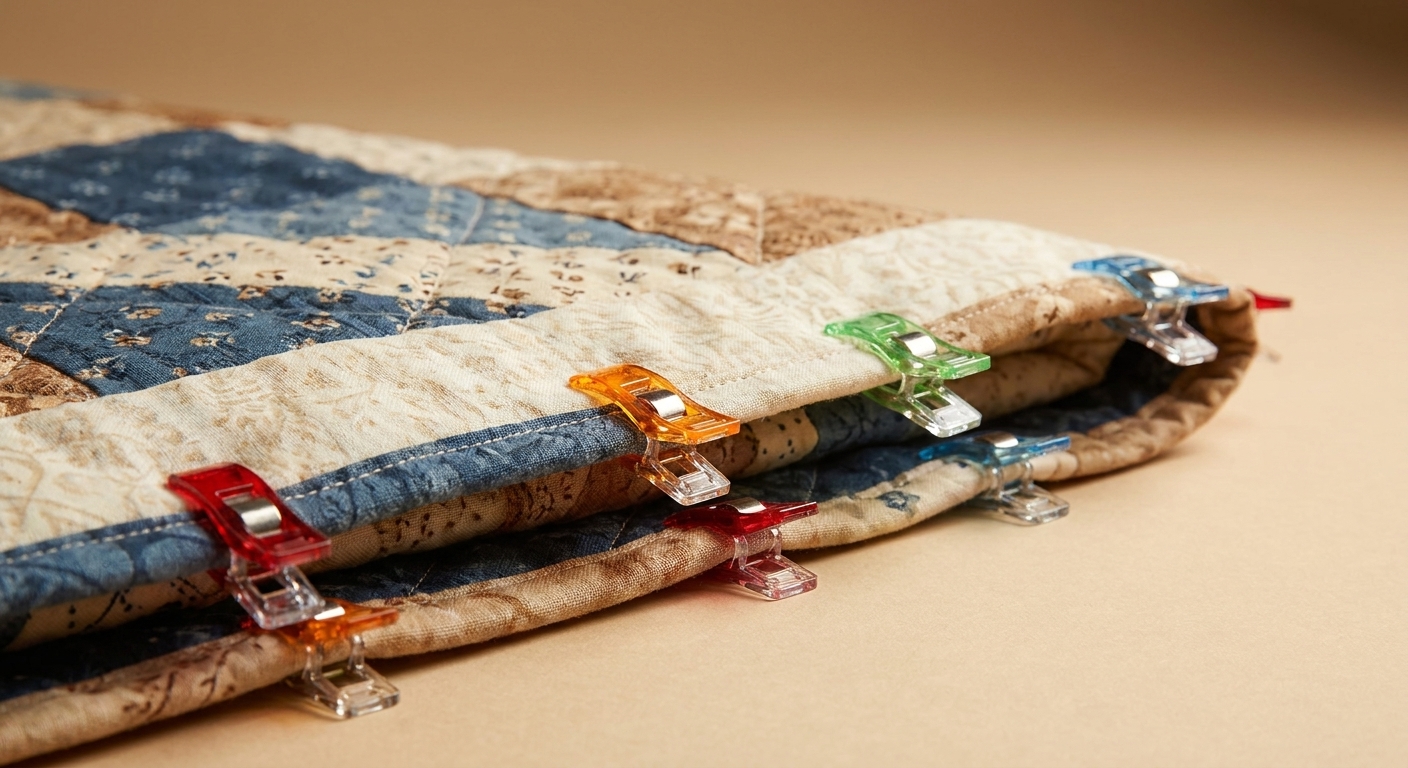
- Wonder clips: my go-to for holding binding in place without warping the edge.
- Fine pins: optional, but handy around corners if your binding wants to spring open.
- Marking tool: a washable pen or chalk pencil can help you keep stitch spacing consistent if you are new to the look.
Picking thread color
The color choice is half the fun, and it changes the whole personality of the quilt.
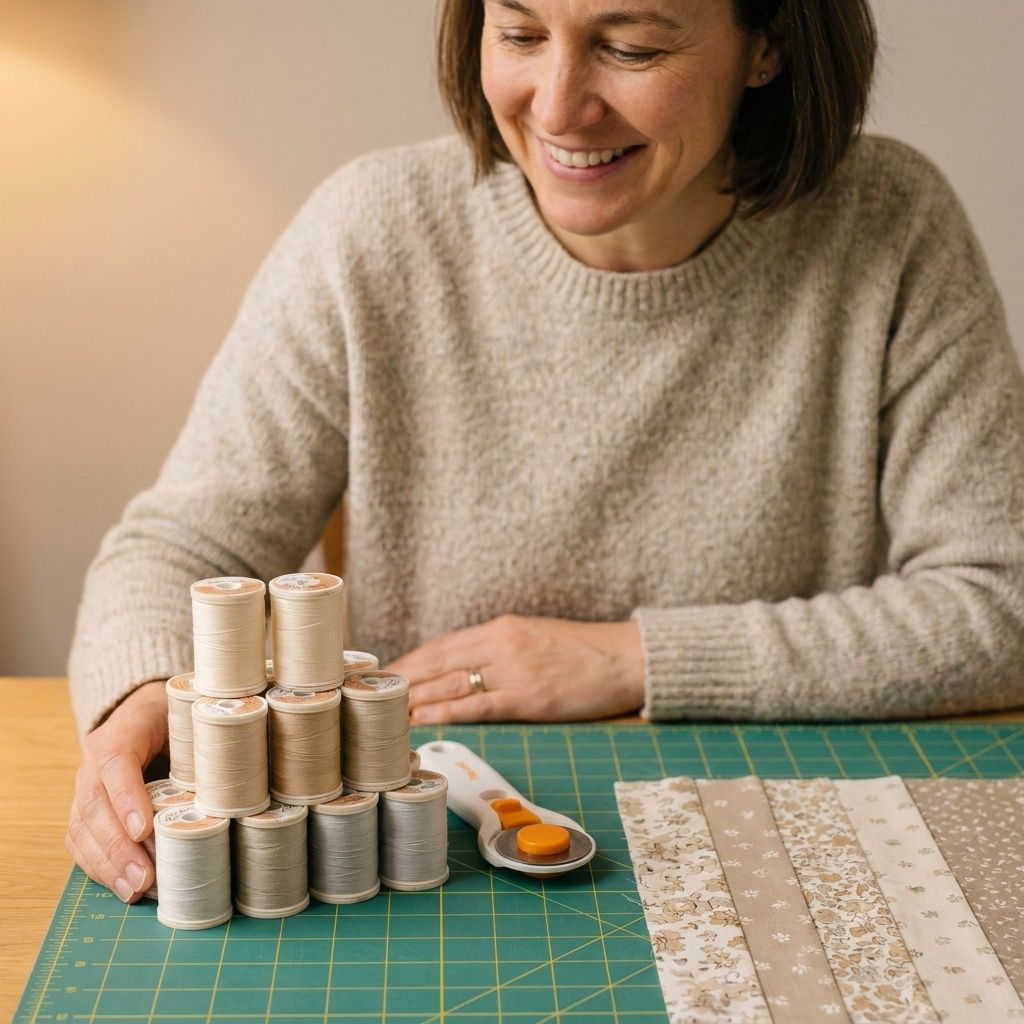
- Match the binding: calm, tidy, and classic. You still get texture without high contrast.
- Match the backing: especially nice if your backing is a feature fabric and you want the stitches to blend when the quilt is flipped.
- Contrast on purpose: my favorite modern look. Try a warm cream stitch on a charcoal binding, or a saturated color that echoes one fabric in the top.
- Go scrappy with thread too: change thread colors by side or by corner for a playful, handmade feel.
If you are unsure, wrap your thread around a corner of the quilt and step back six feet. If it makes you smile from across the room, it is the right choice.
Prep for a clean finish
Big stitches show everything, including a binding that is wavy or a seam allowance that did not get pressed well. A few minutes of prep makes your stitches look instantly more even.
1) Choose your binding cut
For straight quilt edges, straight-grain binding is quick and sturdy. For curved edges or scallops, bias binding is the better choice because it bends smoothly without fighting you.
2) Make sure the binding is the width you want
Big stitch binding looks best when the binding edge is consistent. If you like a slightly heftier frame, cut wider binding strips. Many quilters use 2 1/4 inch strips for machine binding, but for a plumper hand-bound look, 2 1/2 inch is a comfortable starting point, depending on your seam allowance and batting loft.
3) Attach binding to the front by machine
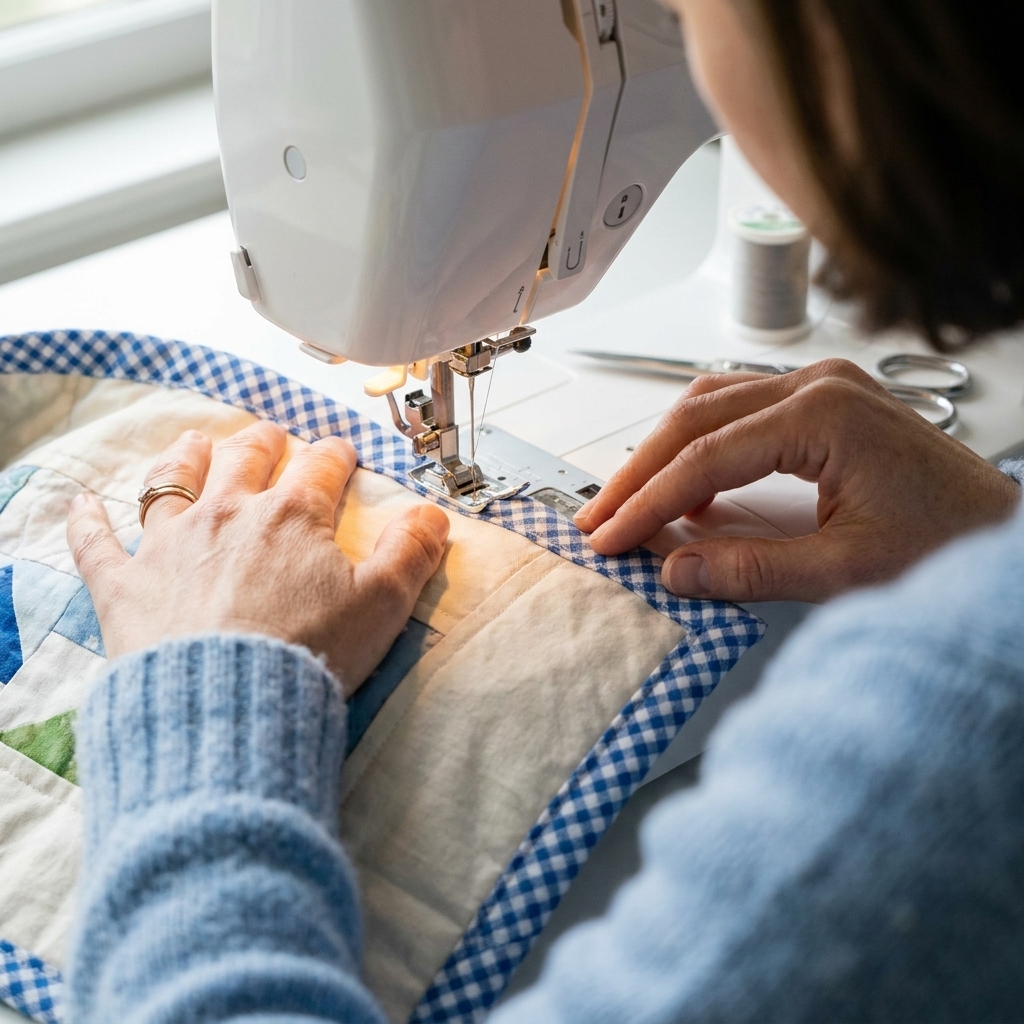
For big stitch binding, I recommend sewing the binding to the front with your machine, then folding it to the back and hand stitching it down with your chunky thread. That gives you a crisp line on the front and the decorative stitches on the back where you can relax into the rhythm.
4) Press and clip like you mean it
After you fold the binding to the back, press it in sections and clip every few inches. Around corners, clip closer together so the binding stays snug while you stitch.
The stitch
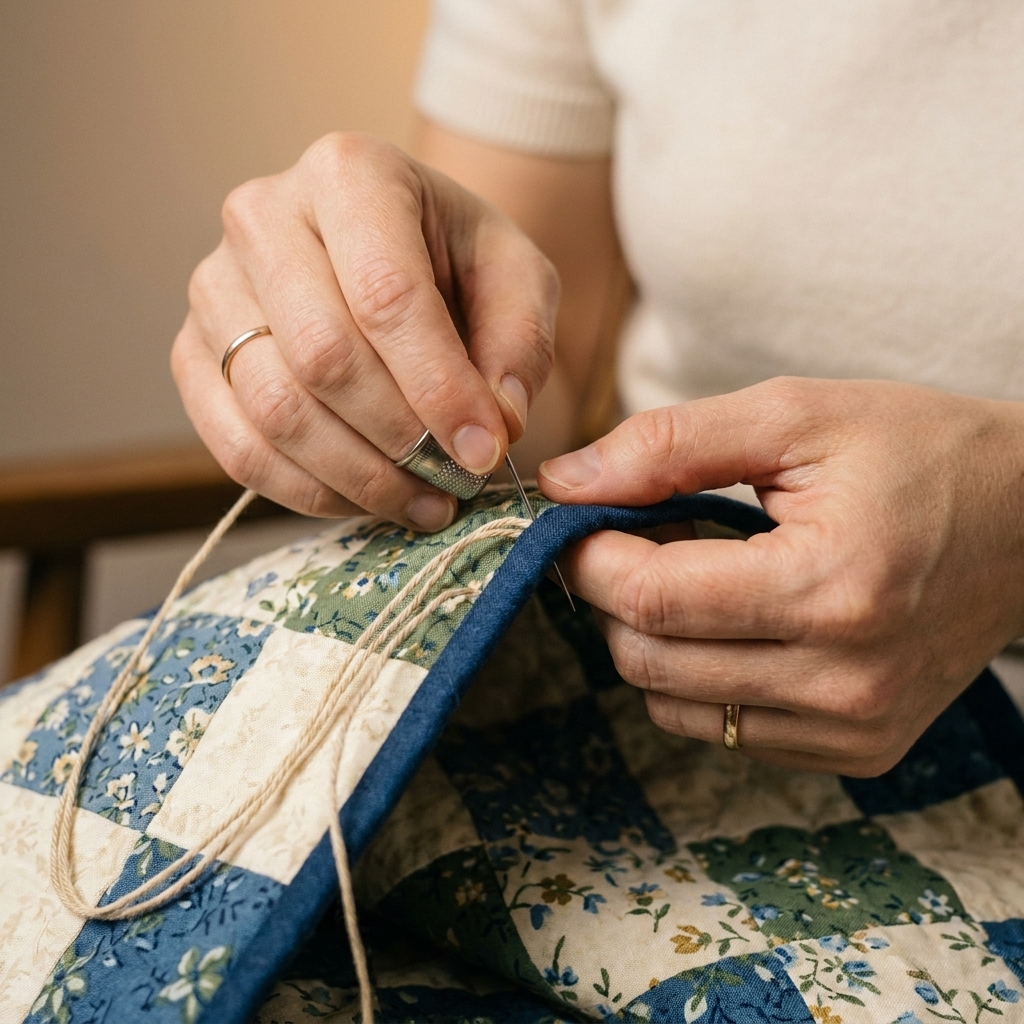
Most big stitch binding is a tidy running stitch. You are catching the folded edge of the binding and a small bite of the quilt back, sometimes with a whisper of batting. Aim for secure stitches that do not distort the edge.
Thread length and knots
- Use shorter lengths: about 18 to 24 inches. Thick thread wears faster as it pulls through layers.
- Knot choice: a small quilter’s knot or a doubled knot works well. You want it to hold, but not create a lump.
- Hide the knot: start between the binding fold and the quilt back so the knot lives inside the binding.
Stitch length and spacing
A common starting point is stitches about 1/4 inch long with about 1/4 inch between them. If you want extra bold, go up to 3/8 inch. The key is consistency, not perfection.
Step-by-step
- Start on a straight edge: avoid starting right at a corner.
- Bring the needle out at the binding fold: hide your knot inside the binding.
- Take a small bite of quilt backing: just beyond the binding fold, keeping your needle parallel to the edge.
- Then take a bite through the binding fold: catch the folded edge cleanly so it lays flat.
- Repeat in a steady rhythm: load 2 to 3 stitches on the needle if that feels comfortable, then pull through.
- Keep tension gentle: snug, not tight. You want the binding to sit flat without puckers.
My personal trick: I rest the quilt on a table and rotate the quilt, not my wrist. Your hands stay relaxed, and your stitches stay consistent.
Corners
Corners are where big stitch binding can look a little clunky if you rush. Slow down, clip well, and treat each corner like a tiny finish line.
Miter first
If your binding is neatly mitered on the back, your stitching will look intentional instead of improvised. Finger press the miter and clip it in place so it cannot drift.
How to stitch the corner
- Stitch toward the corner: stop about one stitch length before the point.
- Take an anchor stitch: make one slightly longer stitch that goes through the mitered layers right at the corner point (catching the fold and backing) to keep the miter from shifting.
- Turn and continue: rotate the quilt and start the next side with the same spacing you used on the first.
If your corner feels bulky, use a slightly shorter stitch length just for the corner area. No one will notice the adjustment, but you will feel the difference while sewing.
Finishing and joining
Joining binding ends
This part is not big stitch specific, but it is where a lot of quilts go sideways. My simplest advice: leave yourself a generous tail, measure the overlap, and join with a diagonal seam so the join is not bulky. Once it is stitched, press the seam open, then finish attaching the last section to the quilt before you start hand stitching.
When you run out of thread
It happens. End your thread on the back side of the binding, then run the needle under the binding fold for about an inch, staying inside the binding layer. Snip the thread. Start the next length the same way, hiding the knot inside the fold and continuing your spacing.
How to end neatly
When you reach your starting point, take one last stitch that matches your spacing, then make a tiny backstitch under the binding fold (hidden), run the needle under the fold for about an inch, and trim close. The goal is secure, flat, and invisible from the outside.
Backing-first option
Most quilters attach binding to the front by machine and hand stitch to the back. But if you want your big stitches to show on the front, flip the order.
- Machine stitch the binding to the back of the quilt.
- Fold binding to the front.
- Big stitch along the folded edge on the front, keeping your spacing even.
This is especially striking on solid quilt fronts where the stitch line becomes a graphic frame.
Troubleshooting
My stitches look uneven
- Clip more frequently so the binding edge does not wander.
- Try lightly marking dots every 1/4 inch for a few inches until your hand finds the rhythm.
- Check your needle angle. Keeping it parallel to the edge helps stitch length stay consistent.
My thread keeps fraying
- Shorten your thread length.
- Use a larger needle eye.
- Let the thread dangle occasionally to untwist. Perle cotton can build twist as you stitch.
The binding edge is wavy
- Make sure you are not pulling stitches too tight.
- Press the binding more firmly before stitching.
- If your quilt edge was stretched during quilting, a steam press and careful blocking can help before binding.
I can see the stitches on the front and I do not want to
- Take a smaller bite of the quilt sandwich, staying closer to the backing fabric.
- Angle the needle slightly so the stitch catches more binding fold and less quilt top.
- Choose a thread that blends more closely with the quilt top if a tiny peek-through is unavoidable.
Care and durability
Big stitch binding is not fragile. Perle cotton and sashiko thread are strong, and the stitch length is longer but still secure when you keep your tension even.
- Reinforce high-wear spots: corners and the area where the quilt gets grabbed and tugged can benefit from a slightly shorter stitch length.
- Wash with kindness: gentle cycle, cold to warm water, and avoid harsh agitation if you used a very lofty batting.
- Expect softening: perle cotton will soften with use and washing, and it may fuzz slightly over time in a cozy, lived-in way.
Quick FAQ
Do I need to wax perle cotton?
Usually no. Perle cotton is smooth and strong on its own. If you are stitching through a very dense quilt or a sticky batting, a light thread conditioner can help, but it is optional.
What size perle cotton should I start with?
If you want that classic chunky look without fighting bulk, start with perle cotton #8. Go to #5 for extra bold, or #12 for a more subtle line.
Is big stitch binding beginner-friendly?
Yes. It is slower than machine binding, but it is less fussy than tiny invisible hand stitches. The goal is consistent, not microscopic.
Can I do big stitch binding on a quilted wall hanging?
Absolutely. It is a beautiful way to add texture and a handmade finish, especially on modern minis.
Before you start
If your first few stitches look a little wobbly, you are doing it right. Big stitch binding is a practice-in-public kind of technique. Settle in with a cup of tea, let the stitches become a steady beat, and watch your quilt edge turn into a frame that feels honest and joyful.