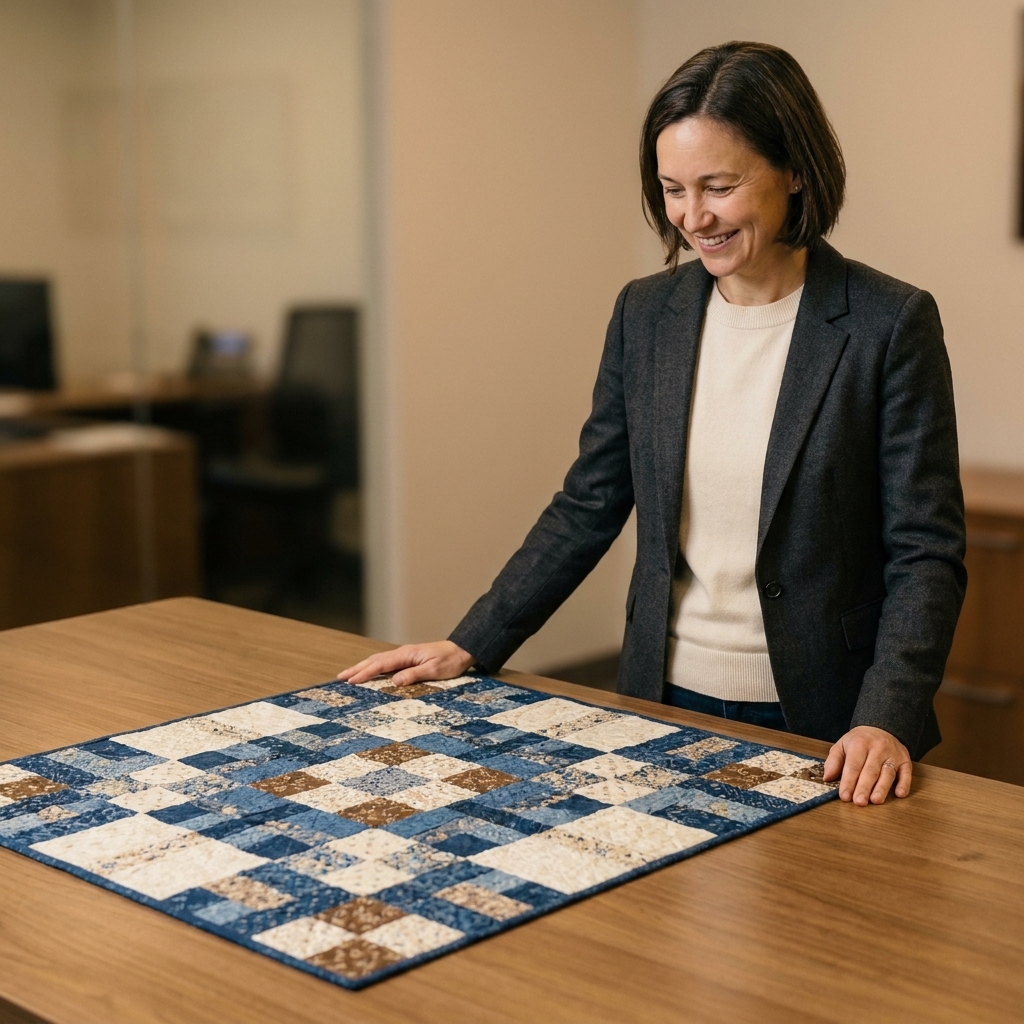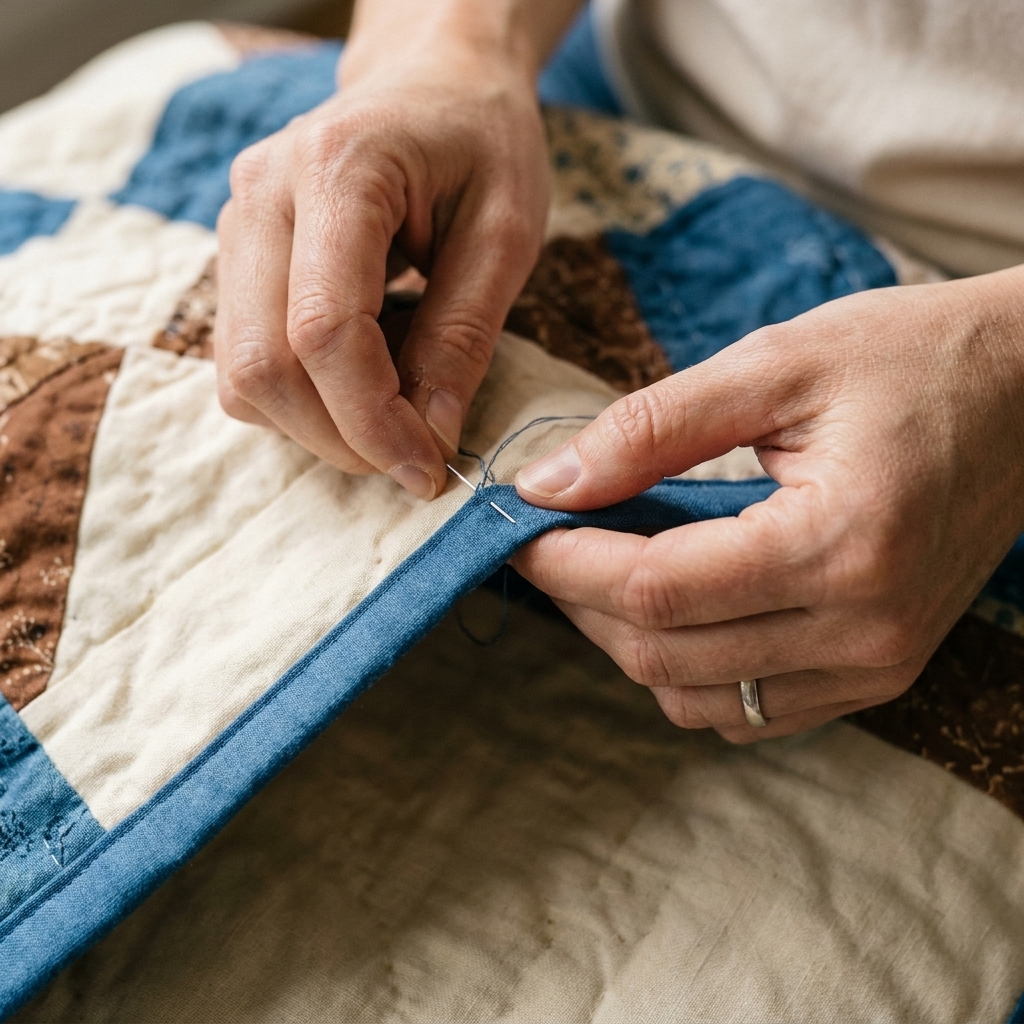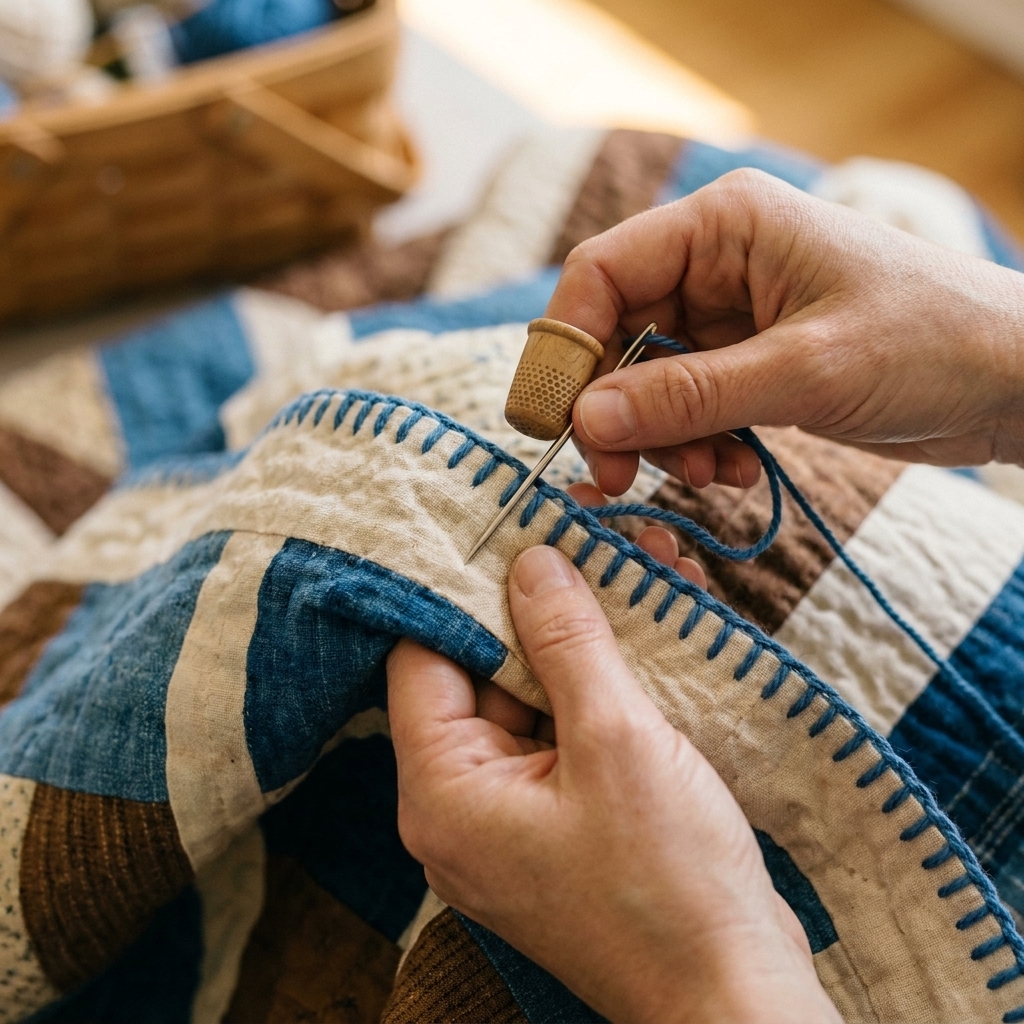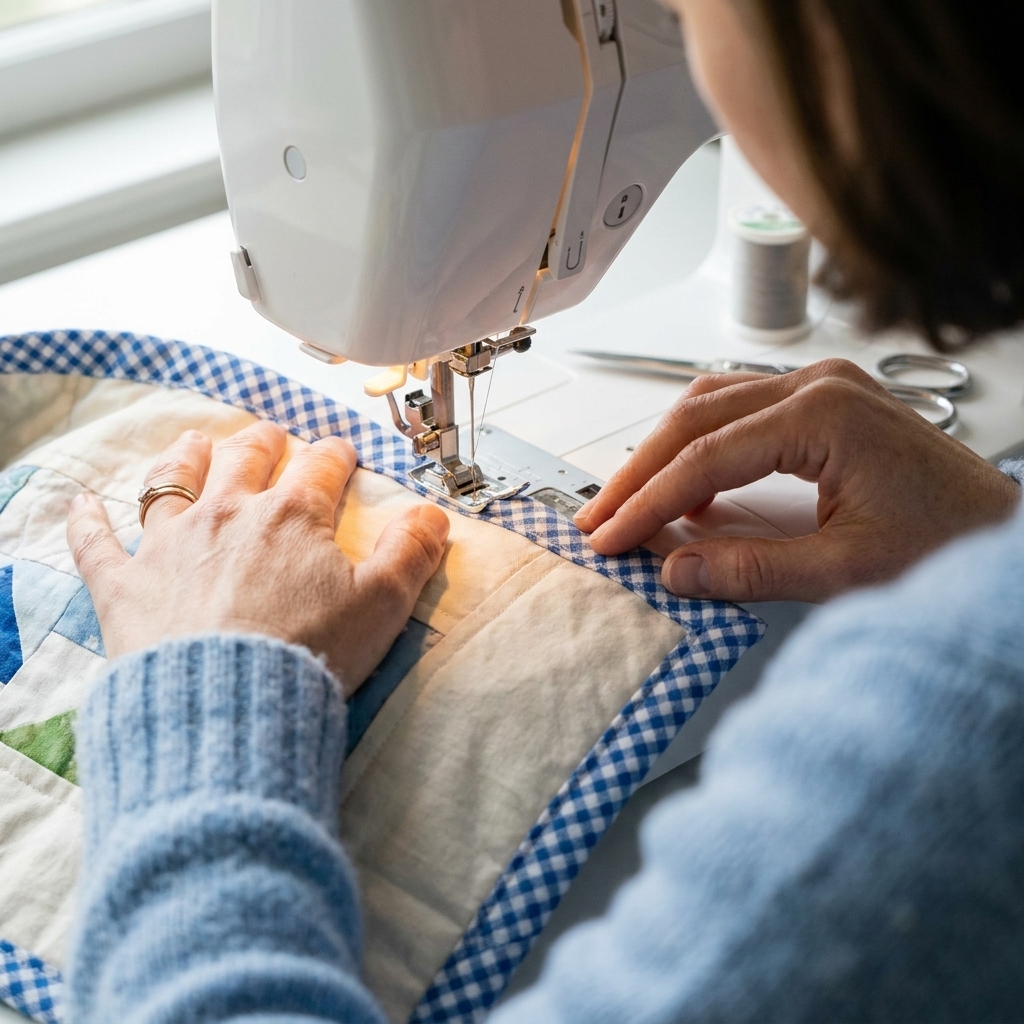
A friendly, step-by-step tutorial for sewing quilt binding by machine from start to finish, including perfect mitered corners and a clean, durable finish.
The Quilt Mark
October 22, 2026
How to Trim and Square Up Your Quilt Sandwich Before Binding
Learn how to measure, trim, and square up your quilt sandwich so your edges are straight, your corners are true, and your binding goes on smoothly.

Clara Jenkins
Clara Jenkins is an avid quilter and fabric enthusiast who has been designing and piecing together quilts for over twenty years. She shares her passion for color coordination, block design, and practical sewing techniques to help makers of all skill levels create beautiful, lasting heirlooms. Through Quiltmark, Clara aims to make the timeless art of quilting accessible, joyful, and deeply rewarding for everyone.
Updated October 22, 2026
Squaring up is the quiet little step that makes binding feel like a victory lap instead of a wrestling match. If your quilt edges are wavy, your corners are a bit "soft," or your binding never seems to land evenly, it is usually not your binding skills. It is the trimming.
Below is the exact routine I use at my cutting table to turn a quilted sandwich into a neat, confident rectangle (or square) with crisp 90-degree corners. Go slow, use a fresh blade, and give yourself permission to trim off quilting that is not perfect. Your finished quilt will thank you.
What “square” means
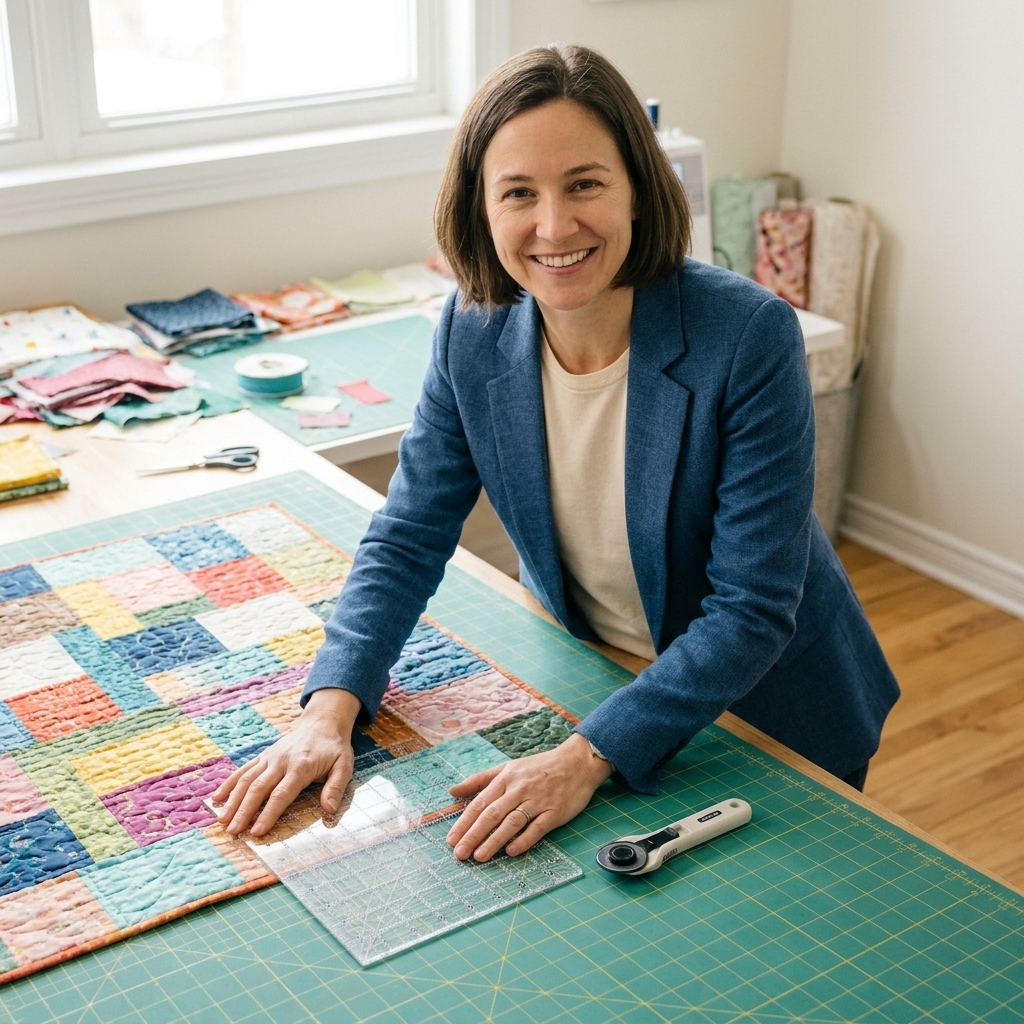
When we say square up, we mean:
- Straight edges: the outer edge does not bow in or out.
- True corners: corners meet at a clean 90-degree angle.
- Consistent size: opposite sides match in length (or are as close as the quilt allows).
A quilt can be beautifully quilted and still be out of square. Quilting stitches, batting loft, and even how the quilt was basted can gently pull things out of alignment. Trimming corrects that so your binding can sit flat and even.
Tools that help
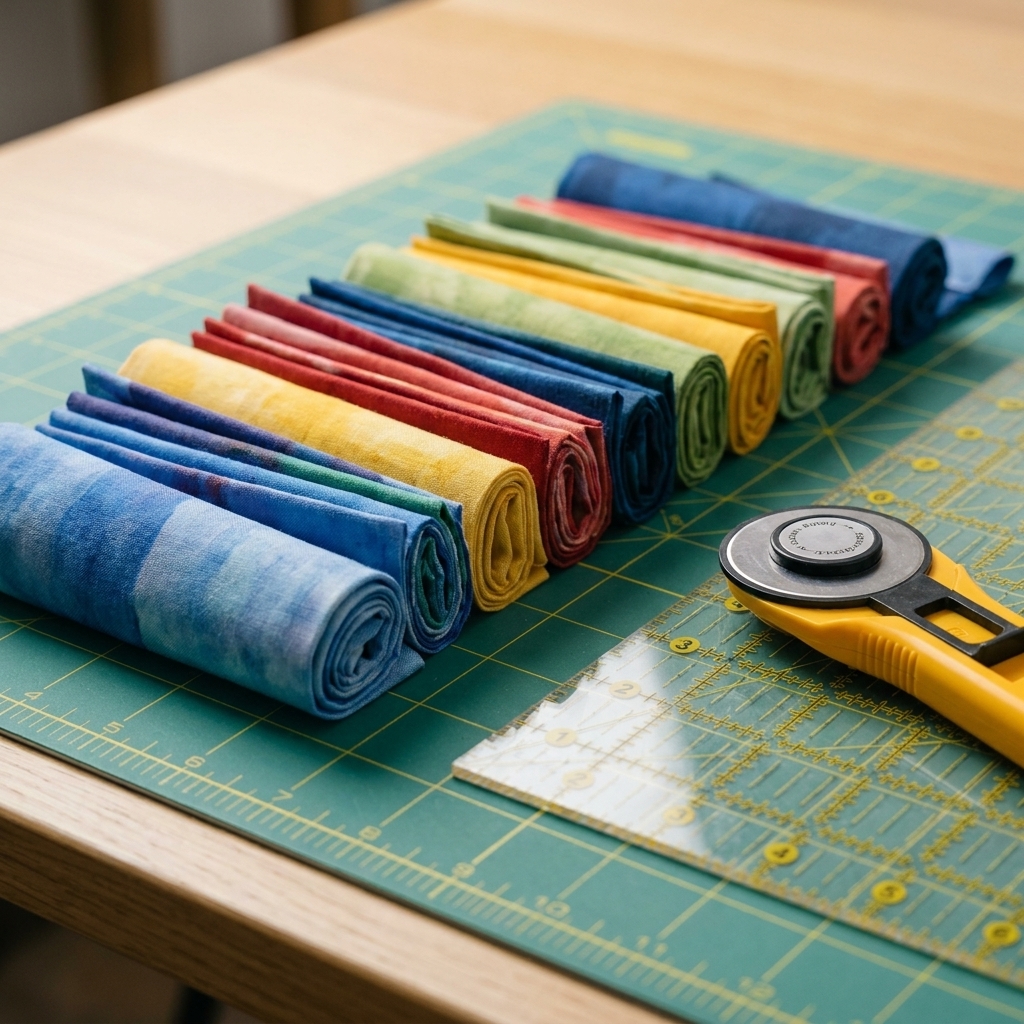
You do not need a fancy studio setup, but a few basics make a big difference.
- Large cutting mat (or multiple mats butted together)
- Rotary cutter with a fresh blade (seriously, it matters here)
- Acrylic rulers: one large square ruler (12.5 in or 15.5 in is wonderful) and one long ruler (6 in x 24 in is a classic)
- Non-slip grips for rulers or a ruler weight (optional, very helpful)
- Painter’s tape or clips to tame the bulk (optional)
- Flat surface big enough that the quilt can rest without hanging and dragging
If you only have one ruler, choose the longest one you own and be prepared to reposition it carefully.
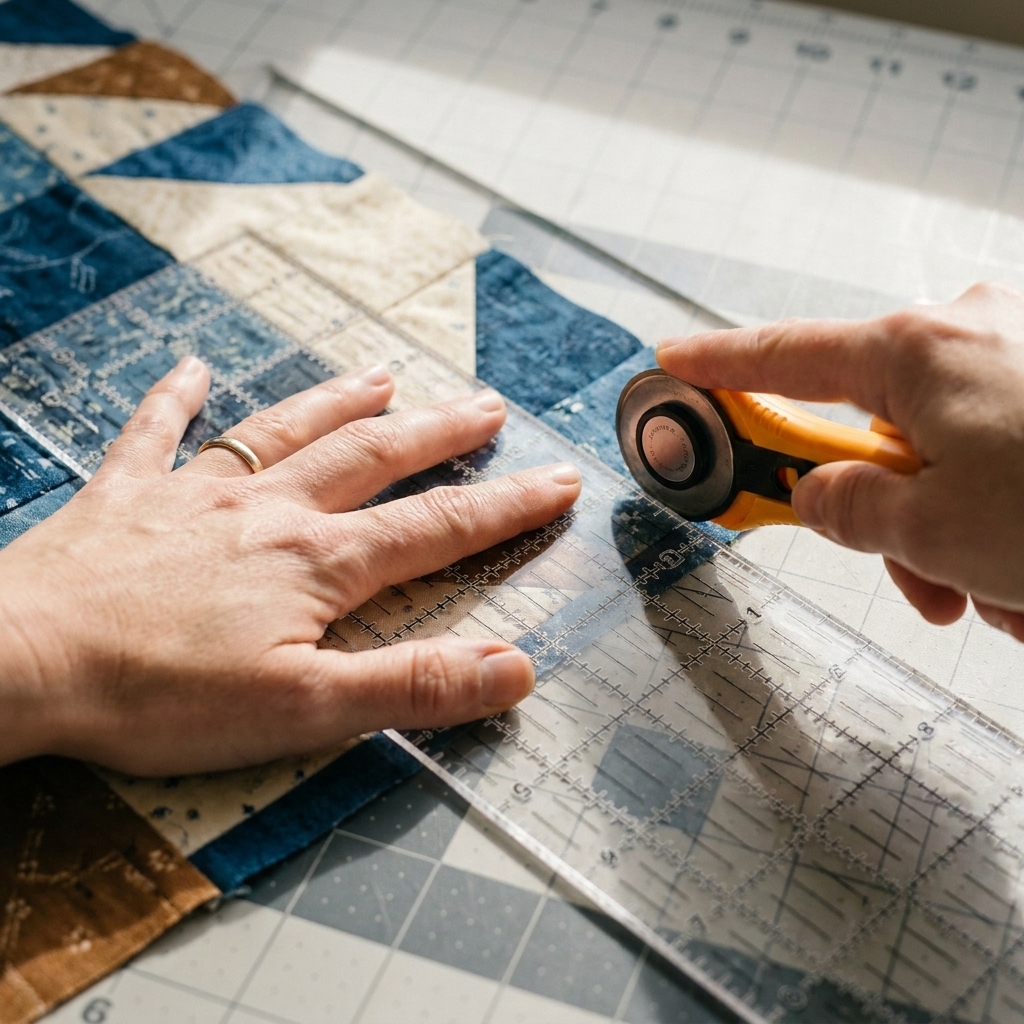
Quick safety and accuracy note: keep your rotary cutter blade straight up and down (not tilted), keep fingers clear of the ruler edge, and take one steady cut instead of sawing back and forth.
Before you trim
1) Finish the quilting
Do all quilting first. If you square up early and then quilt more, the quilt can shift again and your edges may go wobbly.
2) Press only if needed
If your backing has wrinkles or your quilted piece has big ripples, a light press can help. Use a pressing motion more than ironing back and forth, and avoid stretching the edges. If the quilt is heavily quilted with lots of texture, I often skip pressing and focus on careful trimming.
3) Let it settle
Lay the quilt flat and gently smooth it from the center outward with your hands. You are not stretching it, you are just letting it relax into its natural shape.
How to square up
We are going to establish one beautifully squared corner first, then use it to square the rest of the quilt.
Step 1: Choose your best corner
Pick the corner that looks the most square and the least wavy. Starting with your best corner means you will trim less overall.
Step 2: Find the quilt’s natural alignment
Even though a quilt is pieced, it still has a direction it wants to sit. I think of this as the quilt’s natural alignment: the way the seams, borders, and quilting lines relax on the table when you are not pulling on anything.
Set the quilt on your mat so one edge runs close to a grid line. Do not force it to match the grid if the quilt clearly wants to angle a bit. The goal is square corners and straight edges, not obeying the mat at all costs.
Step 3: Create one straight reference edge
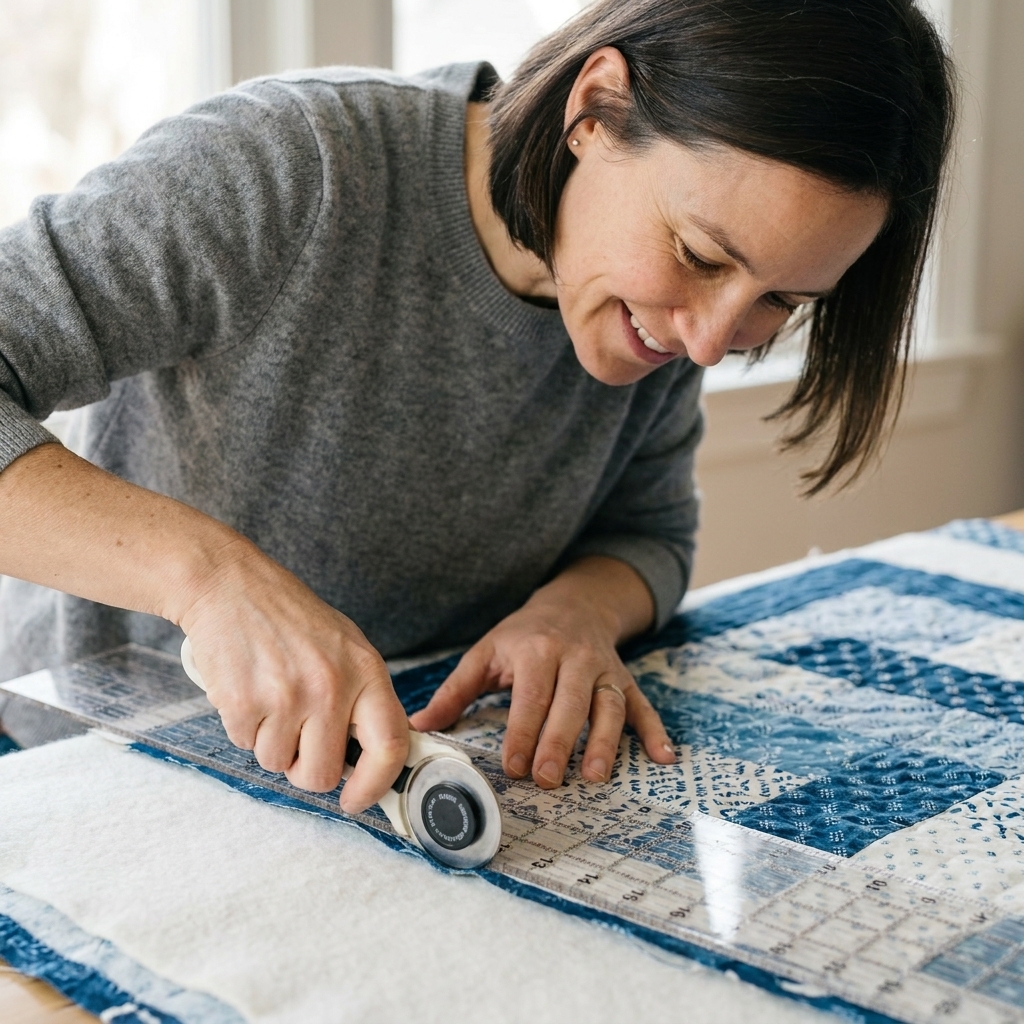
Using your long ruler, choose one side of your chosen corner and make a very small trim, just enough to remove waviness and create a clean, straight starting line. This is your reference edge. Try to take off the thinnest strip that gives you a truly clean cut.
Step 4: Square the first corner
Now use the reference edge to create a true 90-degree corner, even if the neighboring side is still wavy.
- Place your square ruler so one ruler edge is perfectly aligned along your newly trimmed reference edge.
- Slide the ruler until the ruler’s perpendicular edge (or the 90-degree corner of the square ruler) sits at the corner you are squaring.
- Hold the ruler firmly (this is where non-slip grips or a ruler weight really earns its keep) and trim the adjacent side to create a crisp right angle.
After this cut, you should have two clean, straight edges meeting at a 90-degree corner.
Step 5: Square the opposite corner
Now that you have one squared corner, you can use it to square the rest of the quilt without drifting.
Step 5a: Measure and choose a plan
Measure from your squared corner down one edge to the far end. Then measure from your squared corner along the neighboring edge. If one direction is noticeably longer, you have two good options:
- Trim to the smaller measurement for the cleanest, easiest binding.
- Split the difference if trimming to the smaller measurement would cut into important design elements (like a border, points, or a label area).
Step 5b: Check for square (the quick way)
For a rectangle, a classic squareness check is the diagonals. Measure corner to corner in both directions. If the diagonal measurements match (or are very close), you are square. If they are off, you will know which direction needs a whisper of trimming.
Step 5c: Fold check (use with care)
You can also fold the quilt in half gently, matching the squared corner to the opposite corner as best you can. Smooth from the fold outward and see where the quilt is longer or fuller.
One caution: folding a large or heavy quilt can introduce its own distortion. If your quilt is big and bulky, measuring (or recruiting a friend to help support the weight) is often more accurate than wrestling it into a fold.
Step 5d: Trim the far edges
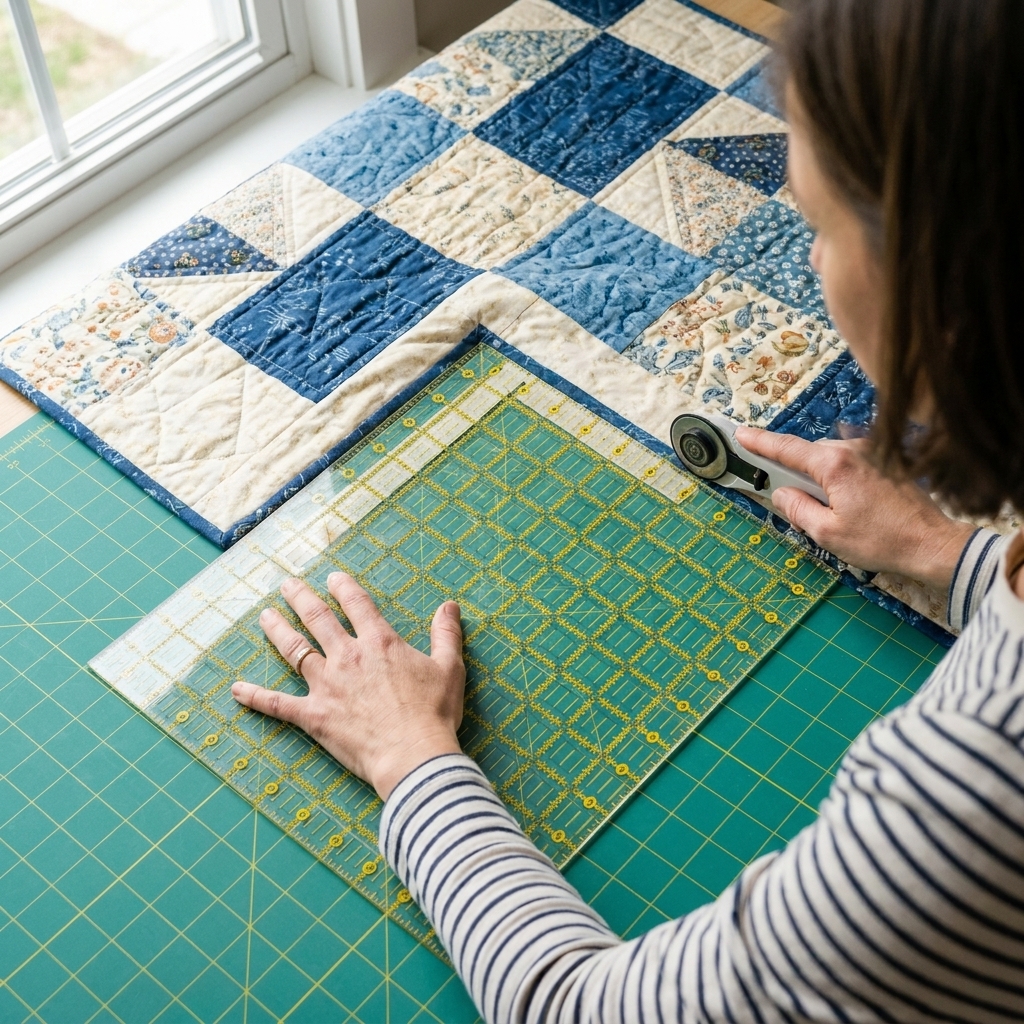
Open the quilt back up, then use your rulers to trim the far edges so the opposite corner becomes a true 90-degree angle too. Work one edge at a time, using the first squared corner and your chosen measurements as your guide.
Step 6: Trim the last corners
Repeat the same corner-squaring process on the remaining two corners:
- Align the ruler to one straight edge.
- Position the square ruler so the cut you are about to make will be truly perpendicular.
- Trim minimally to clean up waviness.
If your quilt has thick seams or dense quilting near the edge, make shorter cuts and reposition your ruler more often. It is slower, but it prevents a long cut from drifting.
Big quilts and small mats
If your quilt is larger than your cutting mat, you can still square it up accurately. The secret is to keep the cutting area flat and supported.
- Roll or accordion-fold the bulk so the section you are trimming lies flat on the mat.
- Reposition the quilt as you go so you are always cutting on a flat, supported surface.
- Keep your ruler doing one job: hold it steady on the cutting line, and move the quilt instead of trying to span huge distances with a single ruler placement.
Also, do not let the quilt hang off the table while you cut. The weight can pull the edge out of line right as you are trimming.
How much to trim
As little as possible while still achieving straight edges and 90-degree corners.
Most quilts need only a narrow haircut, often between 1/8 inch and 1/2 inch per side, depending on how the quilting shifted. If borders are especially wavy (or the quilt moved a lot during quilting), you may need more. If you added extra backing and batting (which you should), trimming is where that extra allowance earns its keep.
A quick reality check
If getting square would require trimming inches off one side, something bigger is going on (basting tension, backing stretched, borders eased too aggressively). You can still square it, but consider whether you want to:
- keep the quilt slightly rectangular instead of forcing a perfect square, or
- add a coping strip or additional border later to restore size.
Special situations
Quilts with borders
Borders love to wave, especially if they were attached a little generously. When trimming, prioritize straight edges over preserving every last sliver of border width. Binding hides a small amount, but it cannot hide a wavy edge.
Points near the edge
If you have star points or triangles close to the perimeter, measure before you cut. Sometimes you can square the quilt by trimming a bit more from the opposite sides so you do not chop off the design. It is a design decision, not a moral failing.
Thick, lofty quilts
High-loft batting can compress under the ruler and spring back after cutting. Use a sharper blade than you think you need, keep steady pressure on the ruler, and make one confident cut instead of repeated little nibbles.
Shaped edges
If the quilt is meant to be shaped (scallops, rounded corners), do not square it like a rectangle. Instead, use a template and trim consistently all the way around. Bind with bias binding for best results.
My simple routine
If you want a quick checklist you can follow every time, here it is:
- Square one corner.
- Trim the two edges that form that corner to create clean reference edges.
- Measure width and length in a few spots to see where the quilt is fuller.
- Check diagonals for square and adjust your plan if needed.
- Square the opposite corner, trimming to match your best measurements.
- Square the remaining corners.
- Do a final pass: lay the long ruler along each edge and shave off tiny bumps only if needed.
This is not about achieving perfection to the tenth of an inch. It is about giving your binding a calm, cooperative edge to wrap around.
Mistakes to avoid
- Cutting before checking the corner angle: straight edges are great, but if the corner is not 90 degrees, your binding will pucker or flare.
- Using a dull blade: a dull blade can chew the backing and skip, especially through dense quilting.
- Letting the quilt hang off the table: the weight pulls and distorts the edge while you cut.
- Chasing the cutting mat grid: use it as a guide, not a judge. Your quilt’s true lines matter most.
- Stretching to make it fit: stretching now creates waves later.
- Letting the ruler slide: if you have ever had a ruler drift mid-cut, you already know. Add non-slip grips, use a ruler weight, and keep firm pressure where your cutter is moving.
FAQ
Should I trim the backing and batting flush with the quilt top?
Yes, for standard binding methods. Before binding, the quilt top, batting, and backing should be trimmed even so the binding wraps the same thickness all the way around. If your backing is slightly larger in one spot, it can create a lump or a tuck in the binding.
The main exception is self-binding (also called backing wrap), where you intentionally leave extra backing and fold it to the front as the finish. If that is your plan, follow the trimming and measuring method for that specific technique.
Do I square up before or after washing a quilt?
Before. Squaring up is part of finishing the quilt, and binding needs a true edge. Washing after binding is fine (and often lovely for that crinkly texture), but it should not be used to fix out-of-square edges.
My quilt is still a little wavy after trimming. Is it ruined?
Not at all. A tiny wave can disappear once the binding is on and the quilt is used and washed. If the waviness is more noticeable, consider whether it is localized. You can sometimes correct a small section by shaving a very thin sliver off that edge, but stop before you distort the overall shape.
Can I use scissors instead of a rotary cutter?
You can, but it is harder to get long, straight, clean cuts through all three layers. If scissors are your only option, mark a cutting line with a long ruler and take your time, keeping the quilt fully supported on a table.
How do I get crisp corners for binding?
It is the combination of a squared 90-degree corner, a smooth edge, and consistent binding width. Squaring up sets you up for success. After that, accurate binding seams and a tidy miter do the rest.
Next: binding prep
Once your quilt sandwich is trimmed and squared, you are officially in the home stretch. Give the edges a quick once-over for loose threads, confirm the corners look clean, and then move on to binding with confidence.
If you want a small, satisfying ritual, this is mine: I pick up the quilt by two corners and let it drape for a second, just to feel the weight and see those straight edges. It is a quiet reminder that all the little steps add up to something lasting.