Compare liquid starch, sizing, and pressing sprays, then follow an easy, low-stress process for crisp fabric and more accurate quilt blocks.
The Quilt Mark
October 22, 2026
Quilting with Essex Linen and Wovens
Love the look of Essex Linen and yarn-dyed wovens, but hate the fraying and stretch? Here’s how to cut, press, piece, and quilt them cleanly without distortion.

Clara Jenkins
Clara Jenkins is an avid quilter and fabric enthusiast who has been designing and piecing together quilts for over twenty years. She shares her passion for color coordination, block design, and practical sewing techniques to help makers of all skill levels create beautiful, lasting heirlooms. Through Quiltmark, Clara aims to make the timeless art of quilting accessible, joyful, and deeply rewarding for everyone.
Updated October 22, 2026
Essex Linen and yarn-dyed wovens have that irresistible texture: a soft, earthy hand, little flecks of natural fiber, and a gentle drape that makes patchwork feel grown-up and timeless. They also have a habit of misbehaving the second you cut into them. If you have ever watched a perfect 1/4 inch seam allowance turn into a fuzzy fringe, or sewn a crisp row that mysteriously waves like a ribbon, you are not alone.
The good news is you do not need “perfect fabric” to make a beautiful quilt. You just need a slightly different approach. These are the techniques I lean on when I want that linen-woven look without the distortion.
Why linen blends and wovens act different
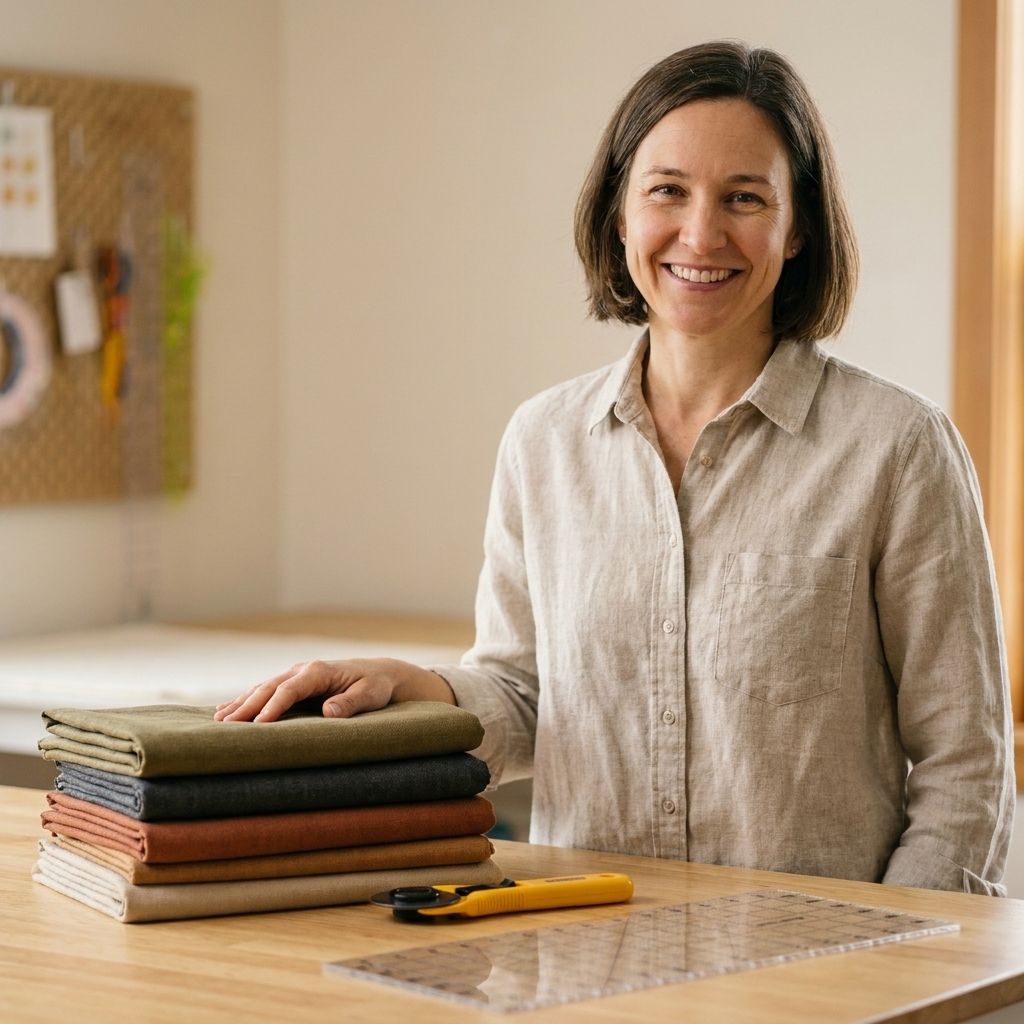
Most quilting cottons are tightly woven and fairly stable on-grain. Essex Linen is a linen-cotton blend, and many yarn-dyed wovens are looser, with more drape and a more open structure. That combination creates two common issues:
- Fraying: Threads slip out at cut edges faster, especially on bias edges and small pieces.
- Stretch and shift: The fabric can grow as you handle it, press it, or feed it through the machine. Even if the fabric itself is not “stretchy,” the weave allows movement.
Also worth noting: “yarn-dyed woven” is a category, not a guarantee. Some behave almost like shot cotton, while others are airy and shifty. Expect variation, even within the same fabric line.
Once you expect those tendencies, you can plan around them.
Pre-wash, starch, or both?
There is no single right answer, but consistency is everything. Pick a method for the whole project so your blocks age and shrink together.
When I pre-wash
- If the fabric is very dark and I am pairing it with light fabrics.
- If I want a softer, more relaxed finish from the start.
- If I am making something that will be washed constantly, like a baby quilt.
Pre-wash caveat: Linen blends can fray more during washing. If I am washing yardage, I usually zigzag or serge the raw cut ends first to keep the washer from turning them into a tassel.
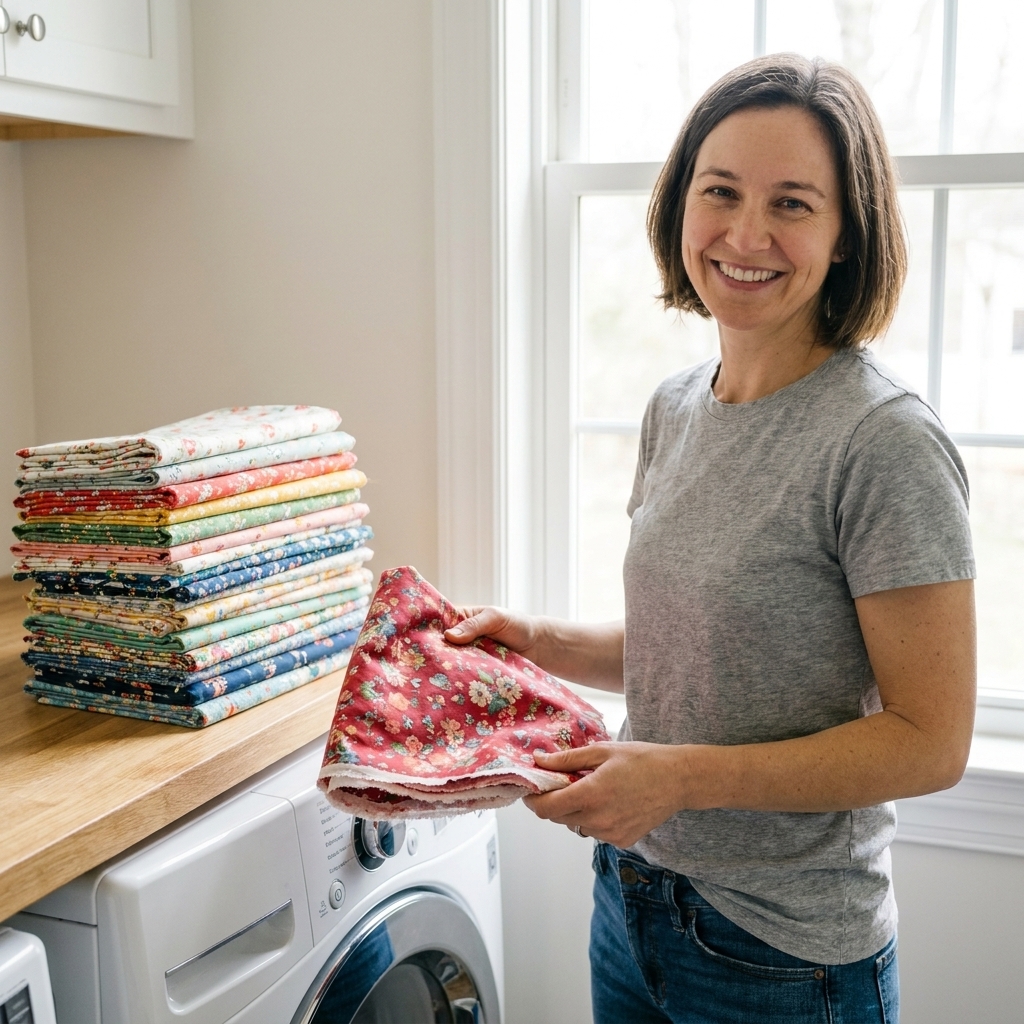
How: Wash gently, then press while slightly damp. Linen blends can wrinkle like they are auditioning for a drama, so a good press matters.
When I do not pre-wash
- If I want maximum crispness and accuracy while piecing.
- If I am working with tiny units like half-square triangles or flying geese.
Starch is your best friend here
Light to medium starch (or a starch alternative) makes Essex Linen behave more like quilting cotton. It reduces edge fuzzing at the cut line and helps pieces stay true while you sew.
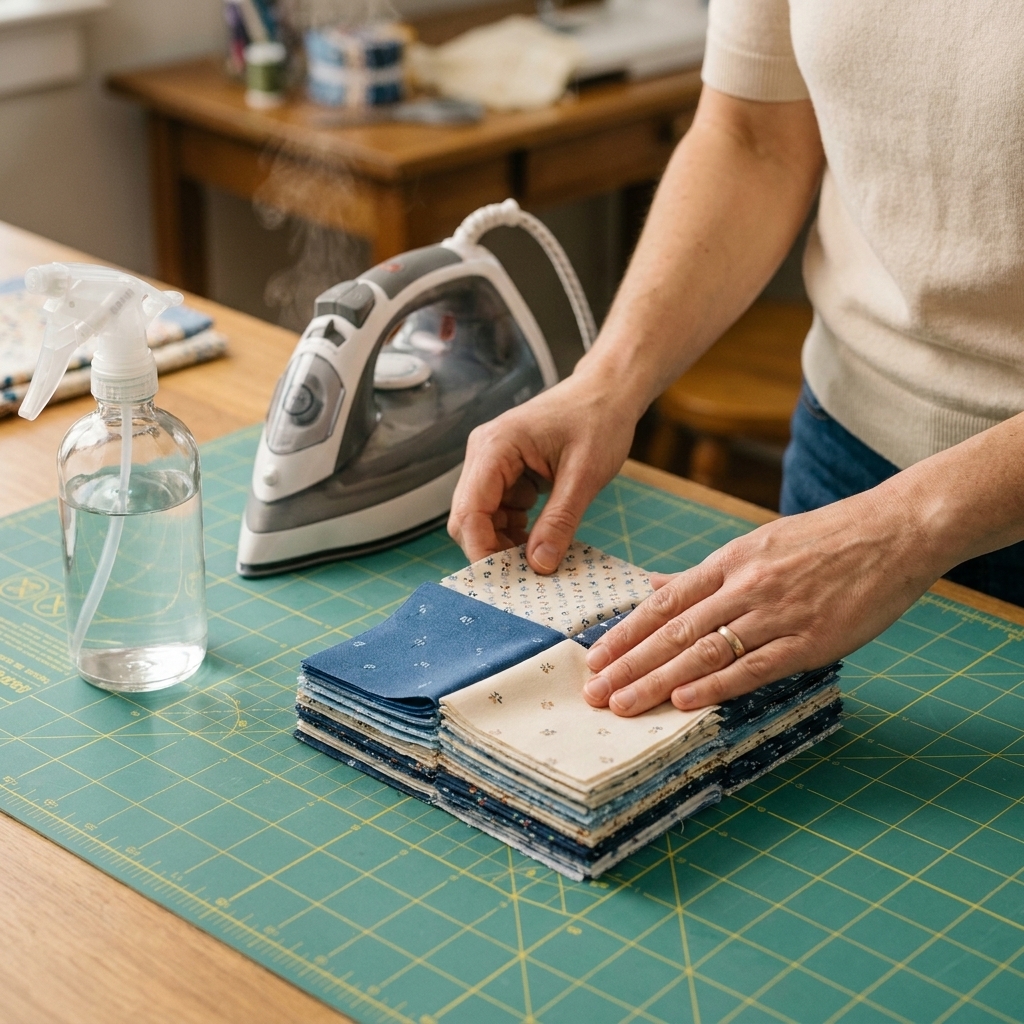
My starch routine: press fabric first, spray lightly, let it soak in for a minute, then press again. Avoid over-saturating. Too much starch can make creases “set” in a way that is hard to undo.
Do a quick test first
If you are new to these fabrics, take five minutes to run a mini test: starch a scrap, sew two small pieces together with your planned stitch length, press it your usual way, and give it a gentle tug. That tiny sample tells you a lot about fray, shift, and whether you want to adjust before you cut an entire quilt.
Cutting for stability and less fray
Most distortion problems start at the cutting mat. A few small habits make a big difference.
Square up the grain before you cut
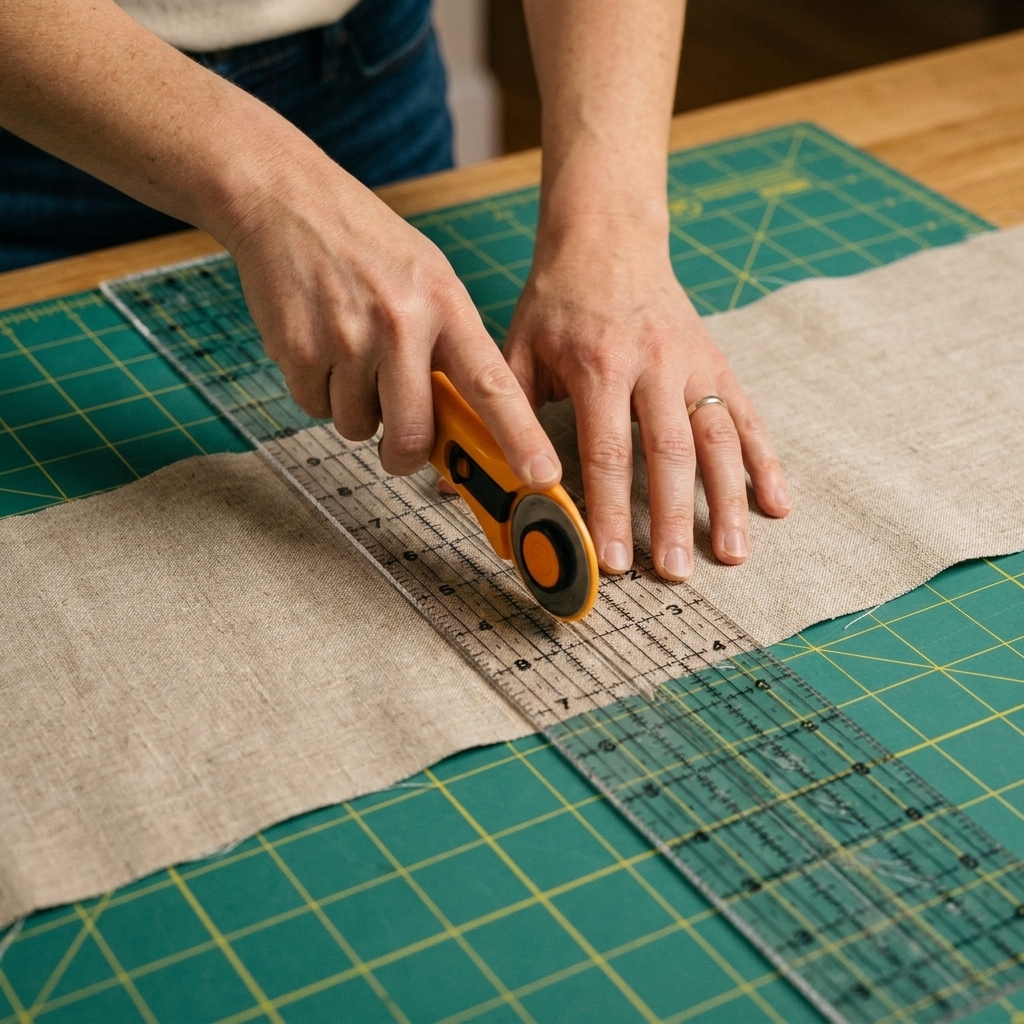
If the fabric is even slightly off-grain, wovens will happily drift as you sew. Make a small snip and tear along the cross-grain (if you are comfortable with tearing), or use a ruler to straighten the cut edge, then press the fabric smooth before measuring.
Use a sharp blade and a firm surface
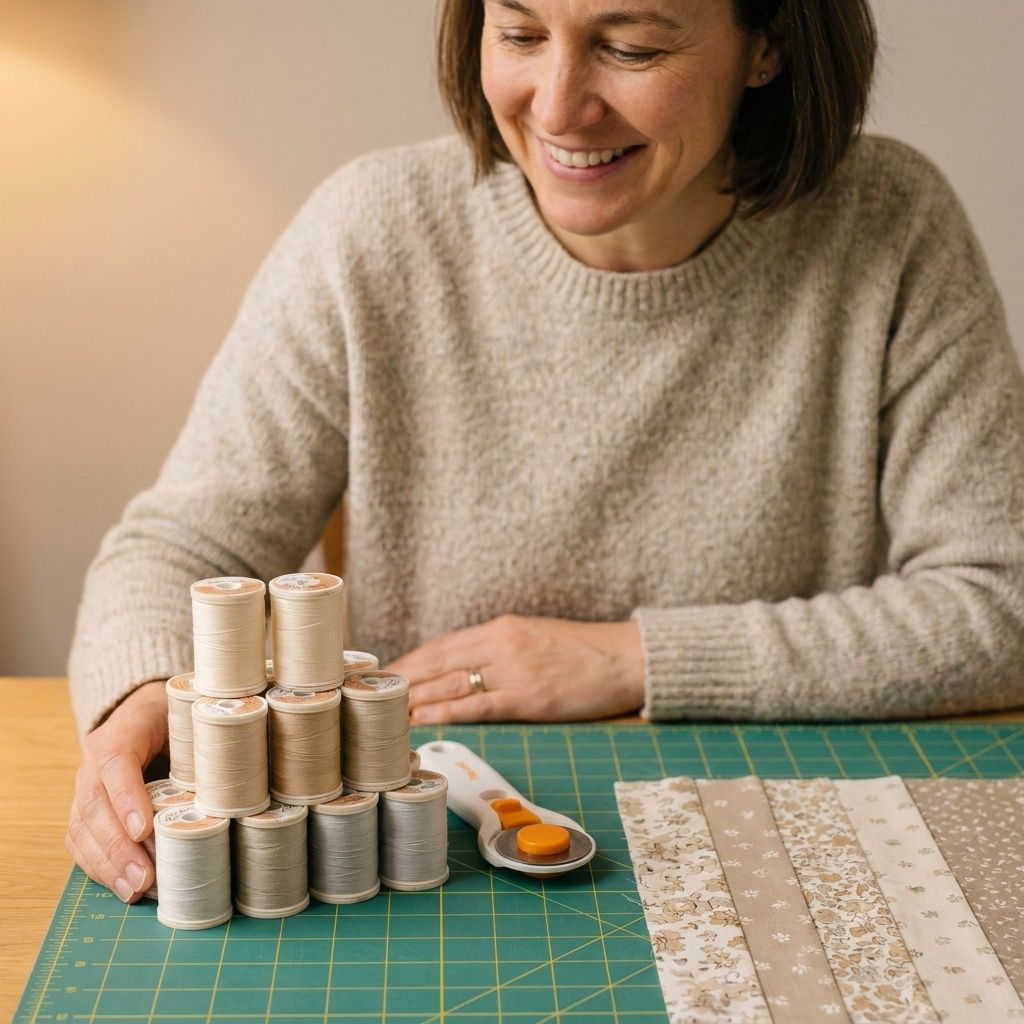
A fresh rotary blade gives you cleaner cuts and edges that are less prone to immediate fuzzing. If your mat is very scarred, it can drag the fabric as you cut, which encourages stretching.
Cut fewer layers at a time
With quilting cotton I might cut four to six layers. With Essex Linen and many yarn-dyed wovens, I prefer one to two layers, three at most. Less shifting equals more accurate pieces.
Respect the bias
Any diagonal edge will stretch more in wovens. If a pattern has lots of bias edges, starch and gentle handling become non-negotiable. Consider cutting slightly larger, then trimming units down after piecing.
Think about grain for borders and strips
If borders are where your quilts usually go wavy, cut long borders on the lengthwise grain when you can. It is typically the most stable direction. No matter what grain you use, measure and cut borders to fit the quilt top, not the other way around.
Seam allowances that hold up to fraying
That classic quilting 1/4 inch seam is not wrong for linen blends, but it is less forgiving if your fabric frays aggressively.
Try a larger seam when you can
If your pattern allows, a 5/16 to 3/8 inch seam allowance can protect the seam line. This works well for simple patchwork and larger blocks. For patterns that demand a true 1/4 inch for accuracy, stay with 1/4 inch and focus on stabilization instead.
Shorten your stitch length
A shorter stitch helps keep the edge from pulling apart. I like:
- 2.0 to 2.2 mm for piecing Essex Linen and many wovens
- 2.5 mm if the fabric is very crisp and stable after starching
Use a leader and ender
Start and end each seam on a scrap. This prevents the machine from chewing the fabric edge, which can trigger fraying and warped corners.
Mind the thread and seam grin
A good quality 50 wt cotton or cotton-wrapped poly works beautifully. If you see seam grin, meaning tiny gaps where the seam line shows when you tug the fabric, try a slightly finer thread, a shorter stitch, and a firm press. If it persists, check your tension on scraps and make sure you are not pressing in a way that distorts the seam.
Pressing: the fastest way to stretch a woven
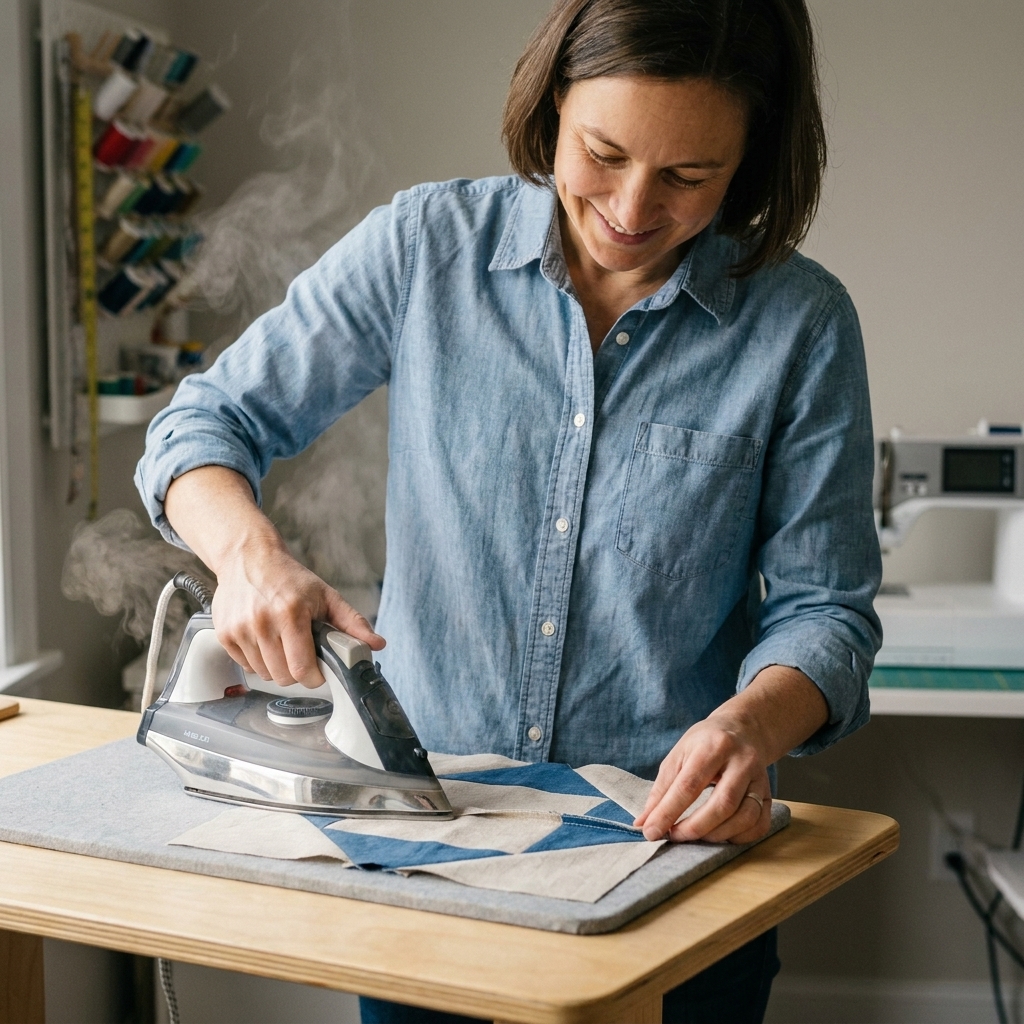
If you take only one thing from this article, let it be this: press, do not iron. With linen blends and wovens, sliding the iron back and forth is a direct route to wavy blocks.
My pressing rules
- Set the seam first: press the sewn seam closed to settle the stitches.
- Lift and press: place the iron down, let the heat do the work, lift straight up.
- Use steam carefully: steam can relax fibers and encourage growth. If you steam, keep it consistent and let units cool completely flat before moving them. A dry, firm press can be your best friend here.
- Let it rest: wovens benefit from a few seconds of cooling on the ironing surface so the shape sets.
Press open or to one side?
Either can work. I usually press to one side for strength and easier quilting. I press open when I want less bulk at intersections, like in tight pinwheels or mini blocks. If fraying is severe, pressing to one side can help enclose edges a bit more securely.
Stabilizers that help without stiffness
You do not need to interface the whole quilt to make wovens behave. Targeted stabilization is usually enough.
Best low-fuss option: starch and gentle handling
For most Essex Linen patchwork, a good starching plus careful pressing is plenty.
When to add a lightweight stabilizer
Consider a stabilizer if:
- You are making a very small-piece design.
- Your woven is loosely woven and frays quickly.
- You are seeing rippling no matter how carefully you press.
What I use: a very lightweight, sew-in stabilizer for tricky sections, or a wash-away starch alternative applied more heavily. If you fuse anything, test first. Some fusing can change the drape and make quilting feel papery.
Staystitching for bias-heavy blocks
If you are working with triangles on the outside edge of a block, a quick staystitch line just inside the seam allowance can keep edges from stretching before assembly.
Piecing strategies that prevent distortion
Chain piece, but do not tug
Chain piecing is great, but wovens dislike being pulled off the machine. Snip your chains and keep everything supported on the table so gravity does not stretch seams.
Pin more than you think you need
I am not a heavy pinner with quilting cotton. With wovens, I pin at the start and end of seams and at any place where pieces want to shift, especially long seams.
Use a walking foot for long joins
When joining rows or sewing long borders, a walking foot can reduce creeping between layers. It is not just for quilting. It is a great keep-it-honest tool for wovens.
Trim units as you go
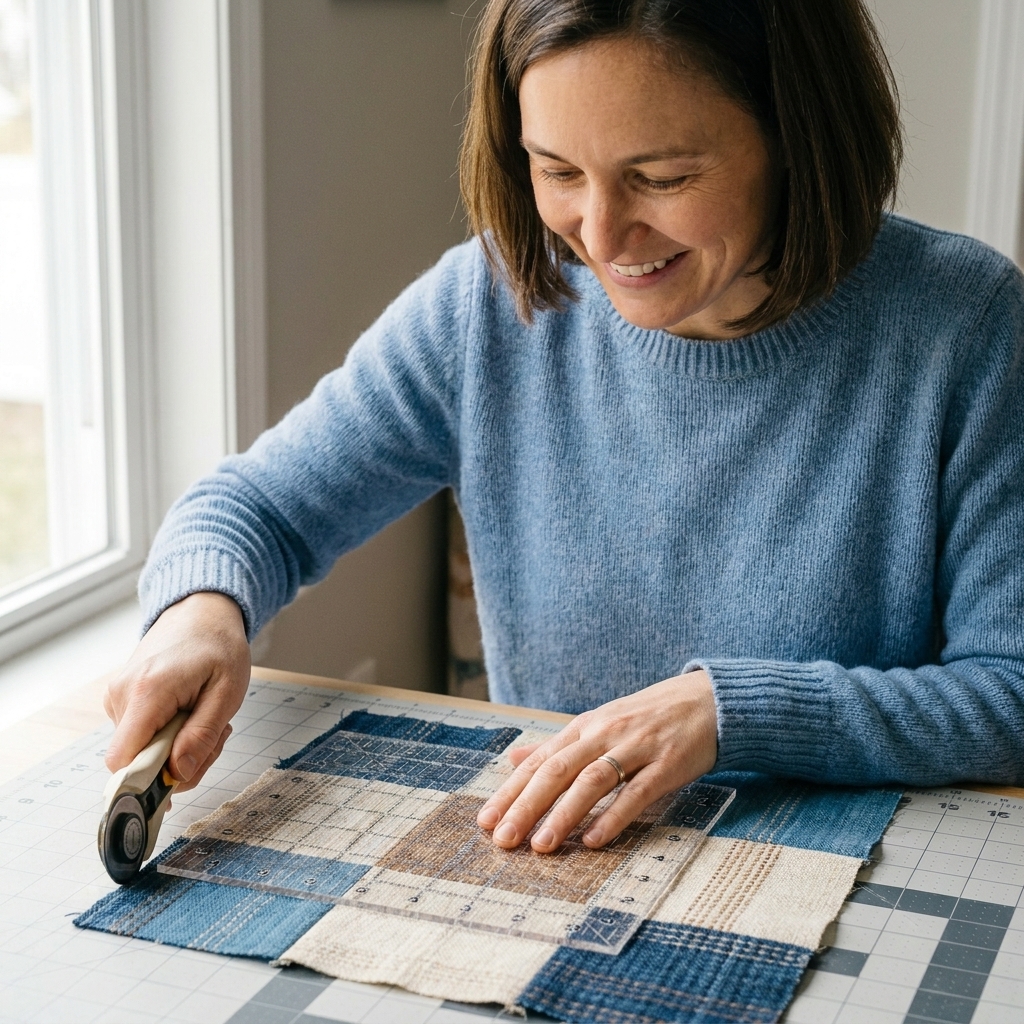
For half-square triangles, flying geese, and anything that can be squared up, I recommend making them slightly oversized, then trimming to size. Trimming is like giving yourself a reset button.
Backing, basting, and quilting without puckers
Once the top is pieced, the soft drape that makes linen blends lovely can also invite puckers if the quilt sandwich is not stable.
Choose batting that supports the drape
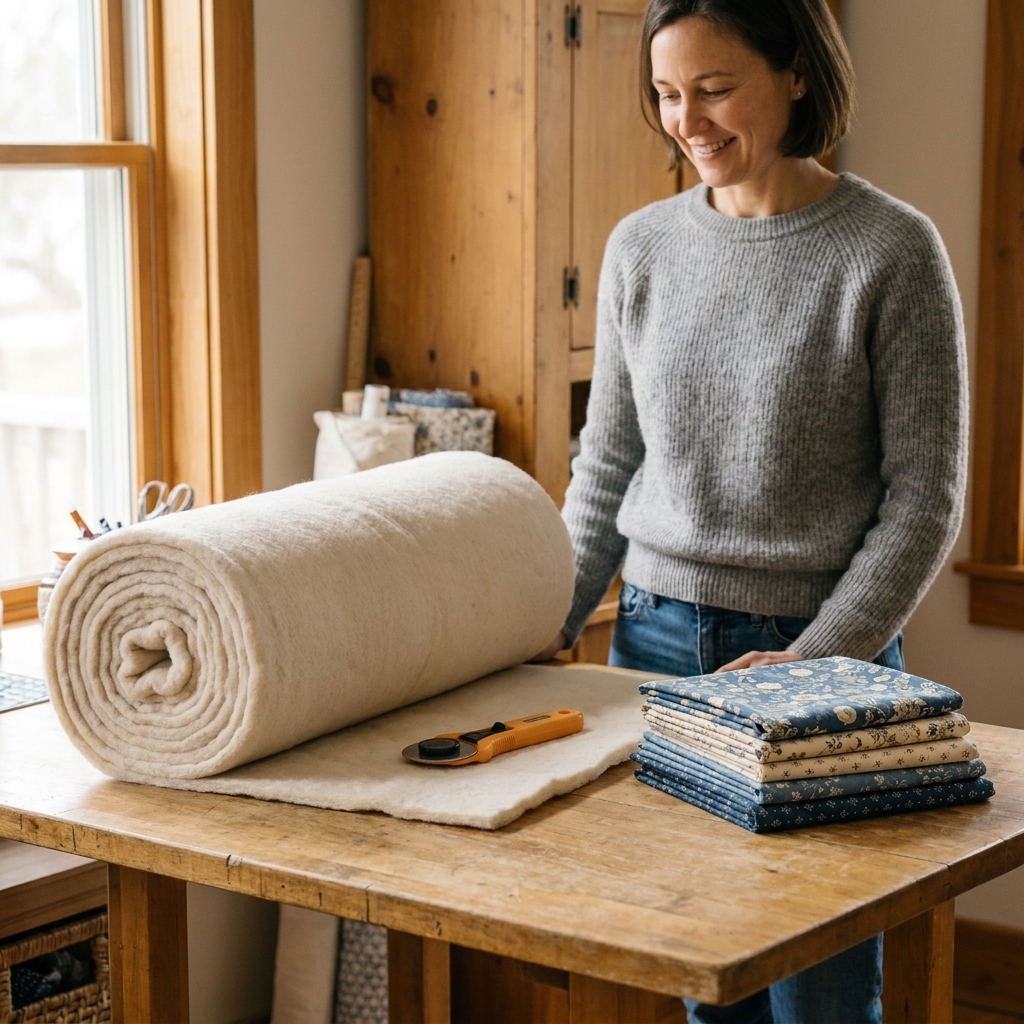
- Cotton batting: classic, stable, and plays nicely with linen blends.
- Cotton blend: a touch more resilience, still easy to manage.
- High-loft poly: can work, but may emphasize ripples if your top is already a little stretchy.
Baste more densely
With wovens, I baste closer than I do for an all-cotton top. Whether you pin baste or spray baste, aim for a secure, even hold so the top cannot shift while quilting.
Quilting motifs that flatter linen texture
Linen blends look gorgeous with quilting that lets the fabric breathe:
- Gentle matchstick lines (not too dense)
- Big, airy loops
- Organic straight lines with a walking foot
- Simple grid quilting that highlights the weave
If your top has any lingering waviness, avoid extremely dense quilting in one direction only. Balanced quilting in two directions, like a grid, can help calm the surface.
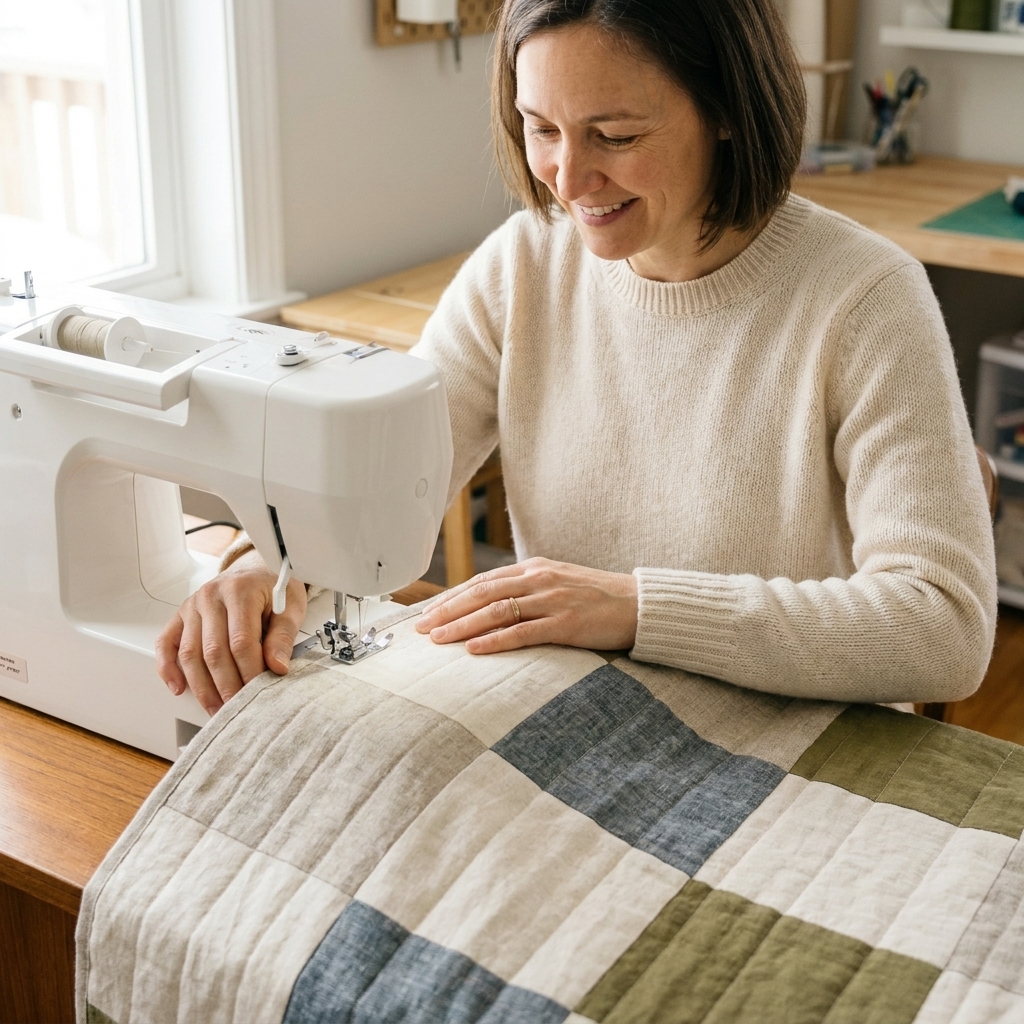
Easy fabric pairings that reduce headaches
Mixing Essex Linen with quilting cotton is absolutely doable, and it can be stunning. The trick is to manage the difference in drape.
If you are mixing fabric types
- Starch both: treat your quilting cotton with the same starch routine so the handling feels consistent.
- Keep similar scale pieces together: use linen blends in larger patches and cotton in smaller, more detailed units if you are worried about shifting.
- Test seam behavior: sew two 2.5 inch squares together, press, and tug gently. If the woven frays too much, plan for shorter stitches or a slightly larger seam allowance where the pattern allows.
Yarn-dyed wovens: check the weave
Some yarn-dyed wovens are wonderfully stable, almost like shot cotton. Others are more open. Hold the fabric up to light. If you can see lots of space between threads, plan on starch and gentle handling from the start.
Troubleshooting: quick fixes
My seams are fraying after I piece
- Shorten stitch length to 2.0 to 2.2 mm.
- Handle blocks less between steps and avoid over-pressing.
- Consider a slightly wider seam where accuracy allows.
My blocks are coming out wavy
- Stop sliding the iron and press with an up-and-down motion.
- Let units cool flat before moving them.
- Use a walking foot for long joins.
- Square up and trim units more frequently.
Points are getting chewed at the start of seams
- Use a leader and ender.
- Start on the leader, then feed the unit in so the needle takes the first 1 to 2 stitches on the scrap before it hits your point.
- Make sure your needle is fresh and appropriate for wovens. An 80/12 Universal is a solid starting point, and an 80/12 Microtex or sharp needle can be even better on tightly woven linen blends. Test on scraps.
My quilt top feels stretched out overall
- Staystitch the outer edge of the quilt top around the perimeter before adding borders or before quilting.
- Measure and cut borders to fit the quilt, do not stretch the quilt to match the border.
- Block the quilt top gently if needed: a light mist, pat into shape, and let dry flat.
A gentle mindset shift that helps
I used to avoid linen blends because I thought every block needed to be ruler-flat to be good quilting. Now I think of Essex Linen and wovens as fabrics with a little poetry in them. They soften corners, they drape, they move. With the right prep and a calm pressing hand, you can absolutely get crisp piecing. But even when a seam is not perfectly identical on every block, the finished quilt often looks more soulful, more lived-in, and more inviting.
If you are new to these fabrics, start with a simple patchwork pattern, starch consistently, and give yourself permission to learn. The texture is worth it.