A friendly, foolproof tutorial for the 8-at-a-time HST magic method, including a starting-size cheat sheet and trimming guidance for crisp, accurate units.
The Quilt Mark
October 22, 2026
Churn Dash Quilt Block: Cutting and Assembly
Learn to piece a classic Churn Dash quilt block with beginner-friendly cutting charts, strip piecing shortcuts, and step-by-step assembly for crisp corners and accurate points.

Clara Jenkins
Clara Jenkins is an avid quilter and fabric enthusiast who has been designing and piecing together quilts for over twenty years. She shares her passion for color coordination, block design, and practical sewing techniques to help makers of all skill levels create beautiful, lasting heirlooms. Through Quiltmark, Clara aims to make the timeless art of quilting accessible, joyful, and deeply rewarding for everyone.
Updated October 22, 2026
The Churn Dash is one of those blocks that feels like quilting comfort food. It is traditional, incredibly versatile, and forgiving enough for beginners while still looking crisp and “pro” when your seams behave. If you can sew a straight line and press a seam, you can make a Churn Dash.
In this guide, we will make a classic Churn Dash with half-square triangles (HSTs) in the corners and quick, accurate strip-pieced side units. Strip piecing is the little shortcut that saves time and helps your units stay consistent, especially when you are making a batch of blocks.
Quick terminology: “Finished” is the size a block is after it is sewn into a quilt. “Unfinished” is the size right now, including seam allowances.
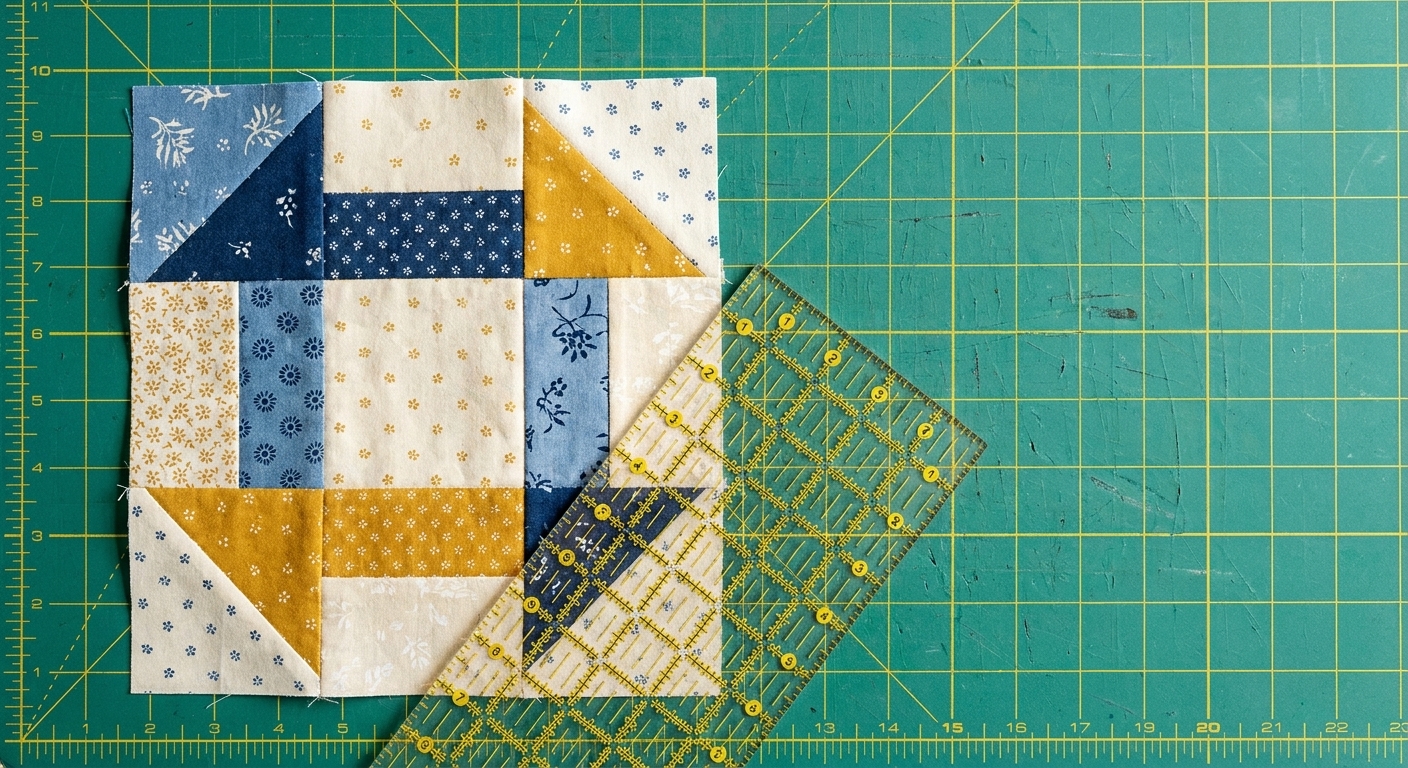
What it is
A traditional Churn Dash block is built from:
- 4 half-square triangles in the corners
- 4 side units (each is two rectangles sewn lengthwise to make a square: one background, one accent)
- 1 center square
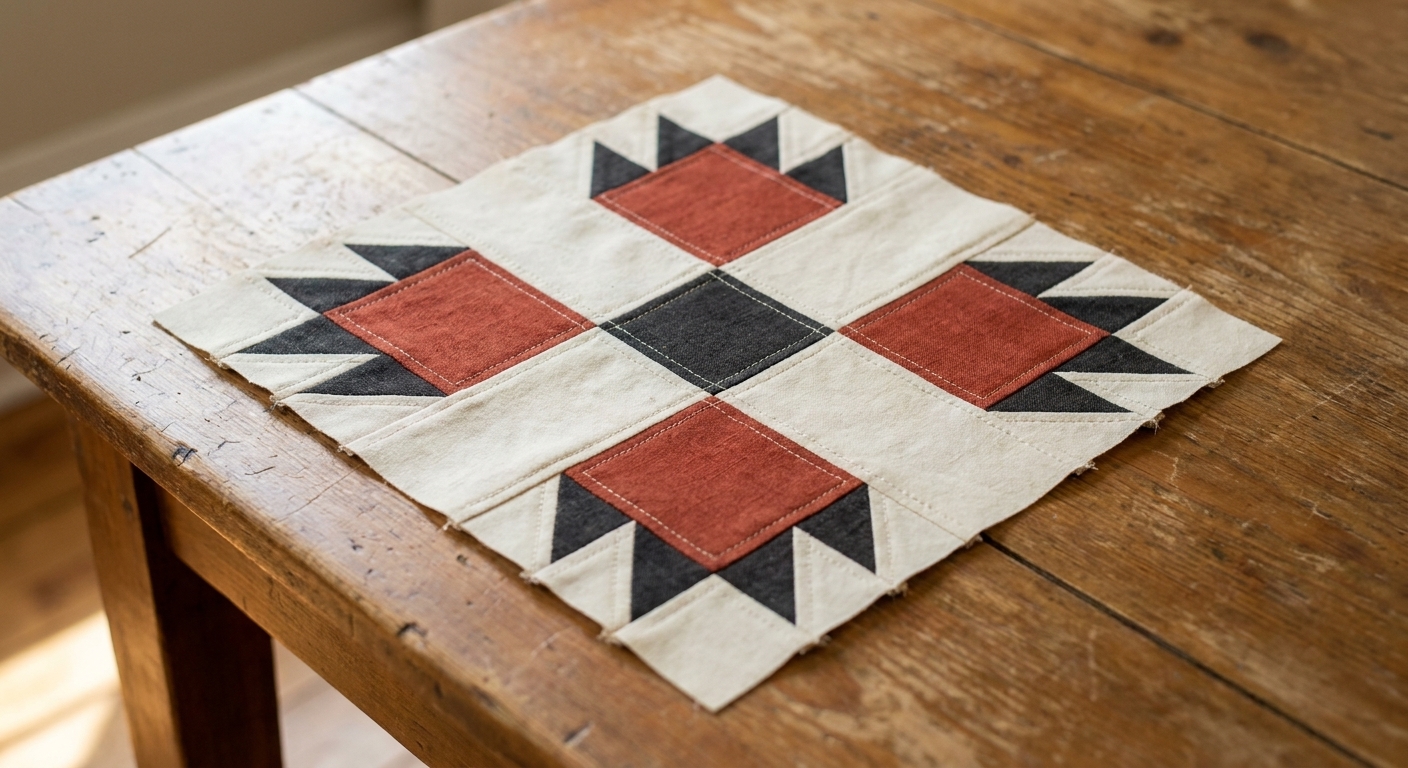
All of that assembles into a simple 3x3 grid. Once you learn the structure, you will start spotting it everywhere in vintage quilts, samplers, and modern “farmhouse” layouts.
Fabric plan
For your first block, I recommend choosing:
- Background fabric: a light solid, tone-on-tone, or small print
- Accent fabric: a darker print for the “dash” pieces
A good rule: pick fabrics with strong contrast so the block design reads clearly from across the room.
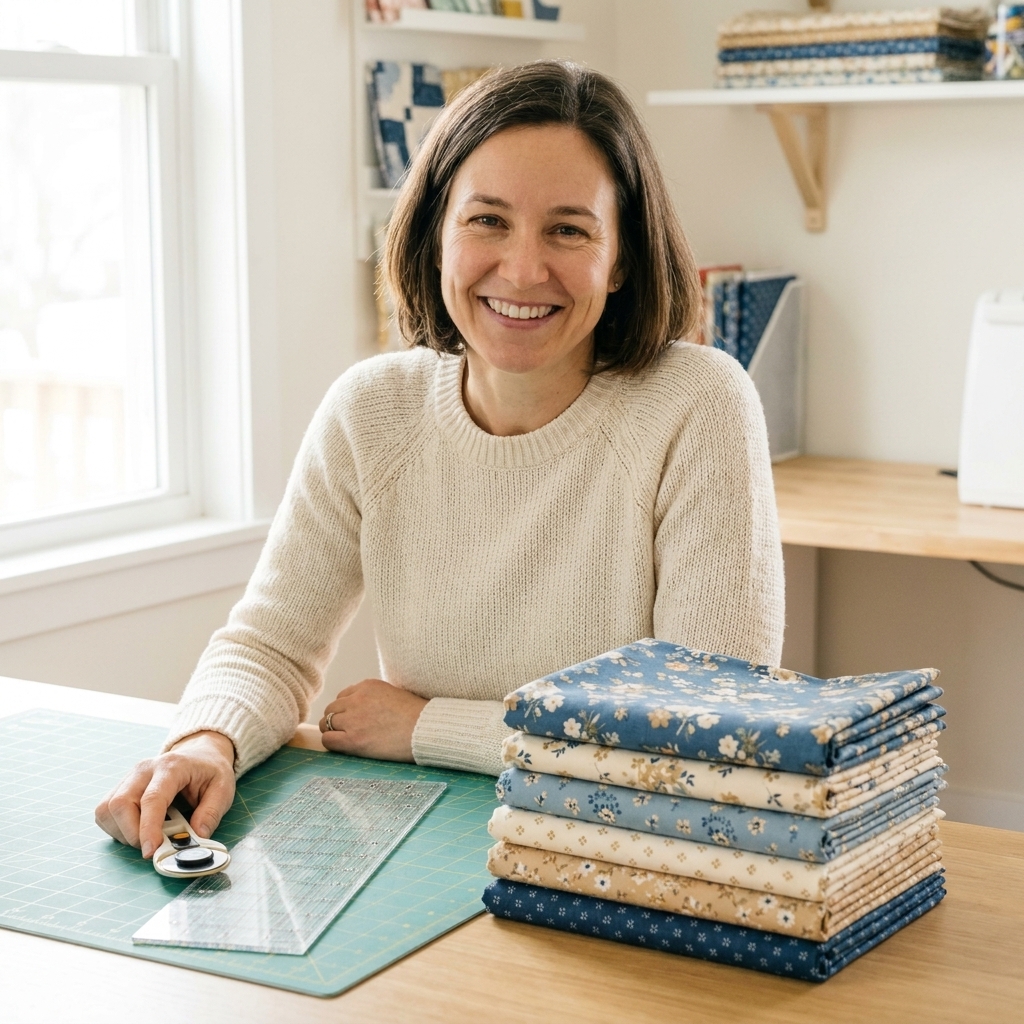
Choose a size
Churn Dash blocks are commonly made at 6 inch, 9 inch, or 12 inch finished sizes. Below are cutting sizes that account for seam allowances.
Cutting chart
| Finished block size | Center square (cut 1) | HST squares (cut 2 background + 2 accent) | Side unit rectangles (cut 4 background + 4 accent) | Optional strip piecing strips (cut 1 background + 1 accent) |
|---|---|---|---|---|
| 6 inch (finishes 6 x 6) | 2 1/2 in | 2 7/8 in | 1 1/2 in x 2 1/2 in | 1 1/2 in x 10 in |
| 9 inch (finishes 9 x 9) | 3 1/2 in | 3 7/8 in | 2 in x 3 1/2 in | 2 in x 14 in |
| 12 inch (finishes 12 x 12) | 4 1/2 in | 4 7/8 in | 2 1/2 in x 4 1/2 in | 2 1/2 in x 18 in |
Notes:
- You are cutting 4 total squares for the HSTs (2 background + 2 accent). You will sew them as 2 pairs, and each pair makes 2 HSTs, for 4 HSTs total, which is exactly what you need for the corners of one Churn Dash block.
- Each side unit finishes as a square in the 3x3 grid. That means the side units should be the same unfinished size as the center square and trimmed HSTs: 2 1/2 inch, 3 1/2 inch, or 4 1/2 inch depending on your block.
- If you are strip piecing, cut the strips a little long so you have room to square the ends before subcutting.
Tools
- Rotary cutter with a fresh blade
- Acrylic ruler (6 x 12 inch is my everyday workhorse)
- Self-healing cutting mat
- Thread you trust (neutral 50 wt cotton is a safe default)
- Iron and pressing surface
- Optional but wonderful: quarter-inch presser foot and a square ruler for trimming HSTs
If you are brand new, the biggest accuracy upgrade is simply pressing as you go. Not ironing back and forth, just lifting and setting the iron to avoid stretching.
Step 1: Make the HSTs
These four corner units do a lot of visual heavy lifting, so we want them tidy. You will sew squares in pairs, get two HSTs per pair, and repeat until you have four trimmed HSTs ready for your corners.
Two at a time method
Pair up one background HST square with one accent HST square, right sides together.
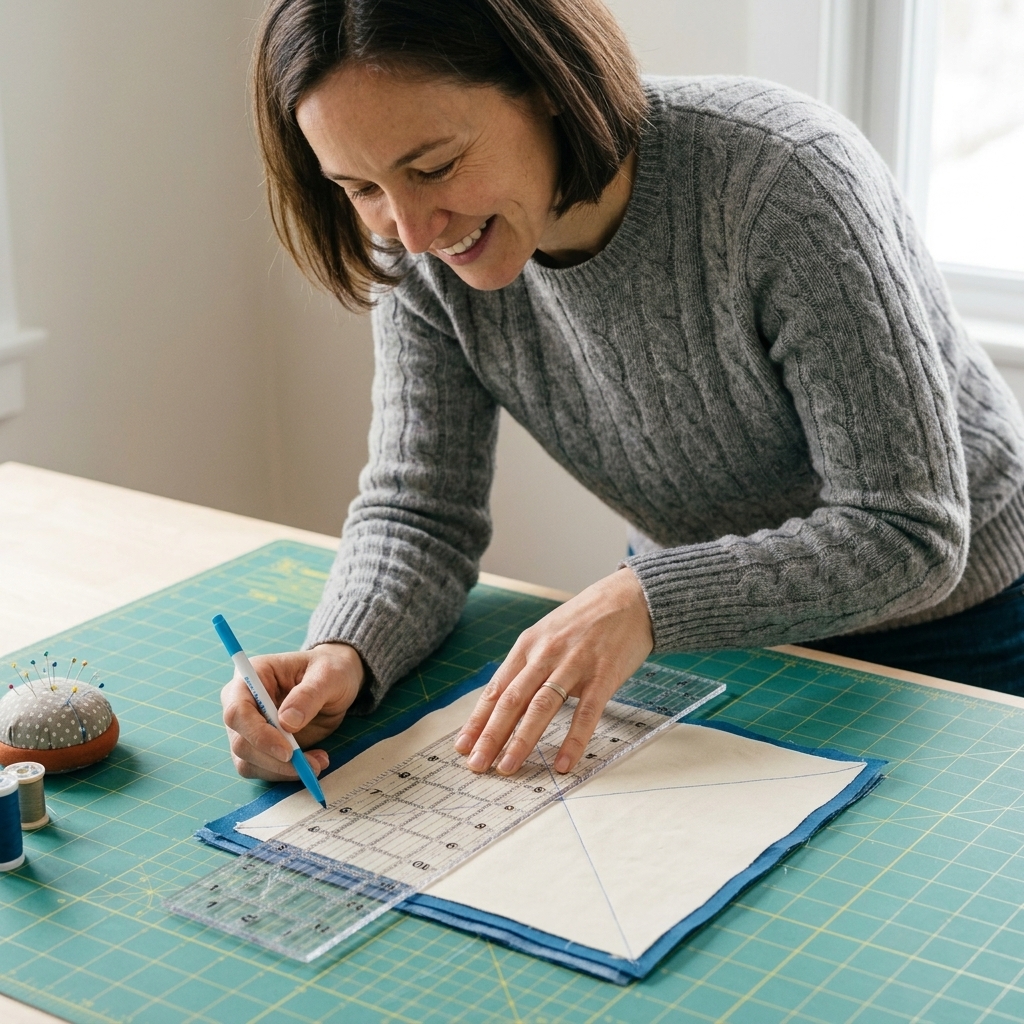
On the back of the lighter square, draw a diagonal line corner to corner.
Sew a line 1/4 inch away from the drawn line on both sides. You are sewing two parallel seams.
Cut on the drawn line to create two HST units.
Press the seam toward the darker fabric (or press open if you prefer flatter seams).
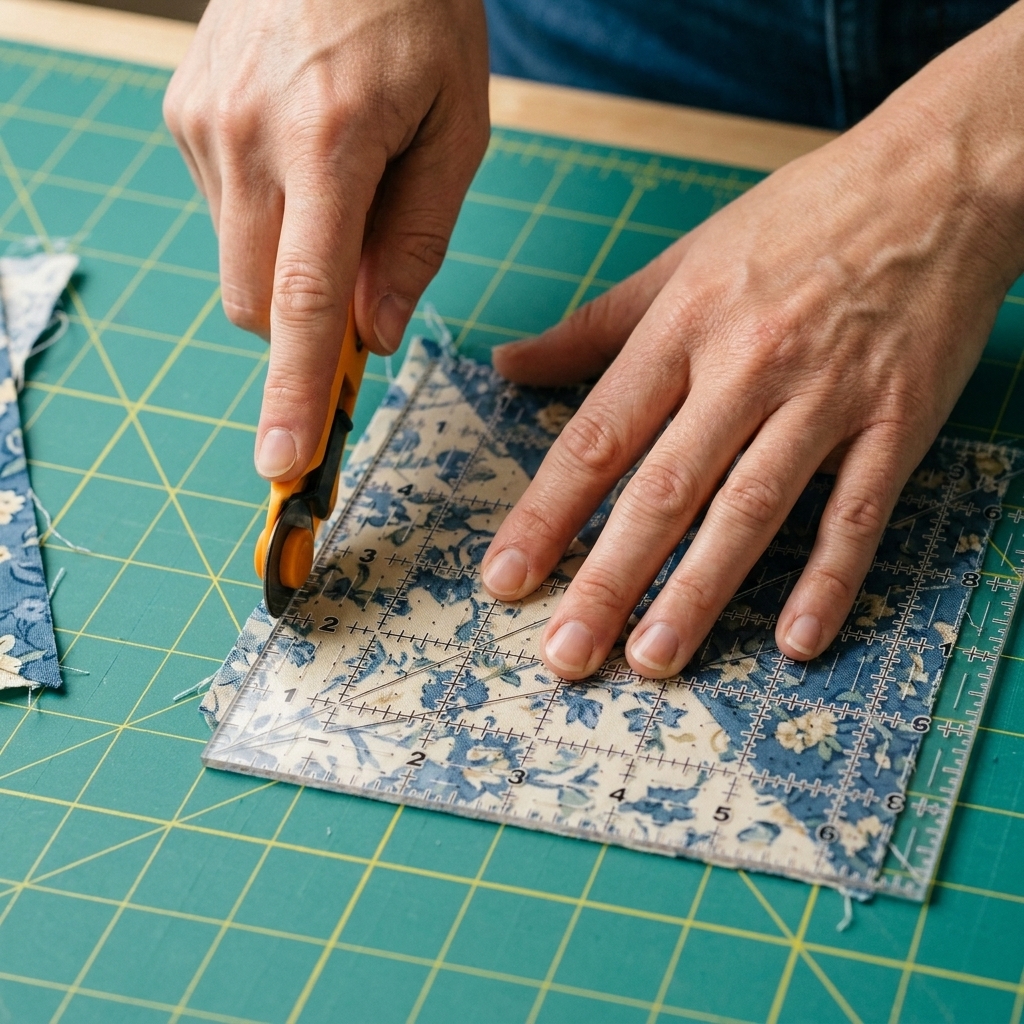
Trim HSTs to the unit size for your block:
- 6 inch block: trim HSTs to 2 1/2 inch
- 9 inch block: trim HSTs to 3 1/2 inch
- 12 inch block: trim HSTs to 4 1/2 inch
Repeat with your second pair of squares. You will finish with 4 trimmed HSTs.
No specialty HST ruler? A square ruler works fine. Line up the ruler’s 45 degree line on the seam, then trim to size. (This is where “cut a hair big, then trim” feels like magic.)
Step 2: Make the side units
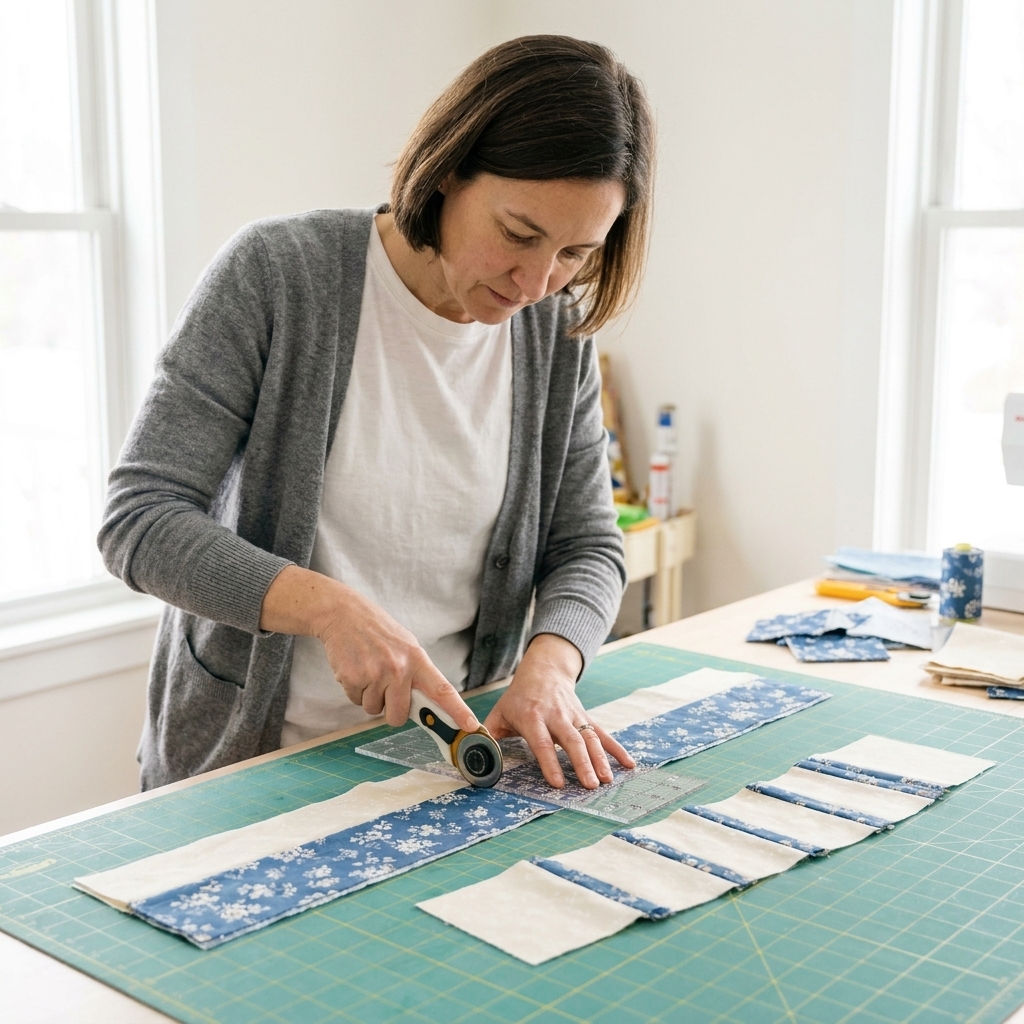
Each side unit is two rectangles sewn lengthwise to make a square. One half is background, one half is accent. Simple, fast, and it fits the 3x3 grid perfectly.
Strip piece option
Cut one background strip and one accent strip using the same width as the side unit rectangles in the cutting chart:
- 6 inch block: strips are 1 1/2 inch wide
- 9 inch block: strips are 2 inch wide
- 12 inch block: strips are 2 1/2 inch wide
Place strips right sides together along a long edge and sew with a 1/4 inch seam.
Press the seam toward the accent (or press open if that is your preference).
Square up one end of the strip set, then subcut four segments at:
- 6 inch block: 2 1/2 inch wide segments
- 9 inch block: 3 1/2 inch wide segments
- 12 inch block: 4 1/2 inch wide segments
You should end up with 4 side units, each a square that matches your center square and trimmed HSTs.
One at a time option
If you would rather skip strips, just sew 4 background rectangles to 4 accent rectangles (right sides together along the long edge), press, and you are done.
Step 3: Lay out the grid
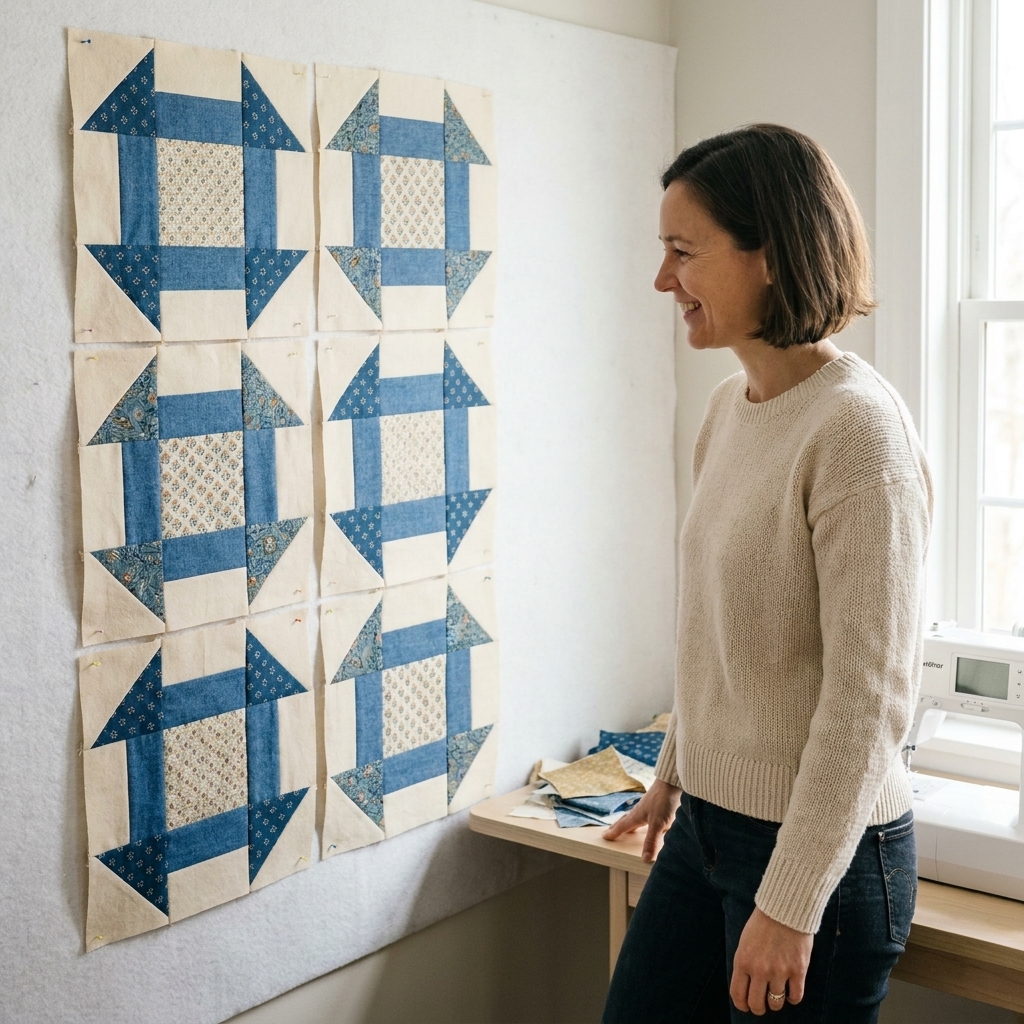
This is where the Churn Dash suddenly appears like magic. Arrange your pieces in a 3 by 3 layout:
- Corners: 4 HST units
- Center: 1 center square
- Middle of each side: 4 side units
Rotate the HSTs so the darker triangles “frame” the center. Rotate the side units so the accent halves create that little spinning motion around the center square.
Step 4: Sew the rows
Sew the pieces into three rows first, then sew the rows together.
Row assembly
Top row: HST + side unit + HST
Middle row: side unit + center square + side unit
Bottom row: HST + side unit + HST
Press the seams in alternating directions to help them nest:
- In row 1, press the seams to the right
- In row 2, press the seams to the left
- In row 3, press the seams to the right
Nesting seams is one of those small habits that makes matching intersections feel calm instead of chaotic.
Step 5: Join the rows
Pin at the seam intersections (especially where the side units meet the center square) and sew row 1 to row 2.
Press the seam. I usually press these long seams open for a flatter block, but you can press to one side if that is your preference.
Sew row 3 to the bottom of the block.
Give the whole block a final press, then square it up if needed.
Your block should measure:
- 6 1/2 inch unfinished for a 6 inch finished block
- 9 1/2 inch unfinished for a 9 inch finished block
- 12 1/2 inch unfinished for a 12 inch finished block
Accuracy tips
Seam allowance
A true quarter-inch seam is the difference between a block that fits and a block that slowly shrinks with every step. If your seams tend to run a thread or two wide, you will notice it most when you go to square up.
Press, do not stretch
Especially on HSTs, avoid dragging the iron. Lift, set, press, then lift again.
Trim your HSTs
Trimming feels fussy until you see how beautifully everything matches. Even trimming just the dog ears and squaring to size makes a big difference.
Square up at the end
If your block is slightly larger than expected, that is actually great news. Square it to the correct unfinished size and move on with confidence.
Easy variations
- Scrappy Churn Dash: mix fabrics for the HSTs and side units and let it sparkle.
- Two-color and bold: choose a high-contrast solid for a modern look.
- Chain effect: set multiple Churn Dash blocks on point or alternate with plain blocks to create movement.
The Churn Dash loves repetition. Make four and you have a table topper. Make sixteen and you have a quilt center that practically designs itself.
Troubleshooting
My HST points are chopped
This usually means either your seam allowance is a hair too wide, or your HSTs were trimmed a touch too small. Next time, try sewing a scant quarter-inch seam and trim HSTs carefully to the exact size.
My side units are the wrong size
For this block, the side units must finish as perfect squares in the grid. If yours are off, measure the strip set after pressing. For example, a 6 inch block side unit should be 2 1/2 inch unfinished once subcut. If your strip set is too narrow, your seam is too wide. If it is too wide, your seam is too scant.
My block looks wavy
Check pressing first. Over-pressing or tugging can distort edges. Also check that your grain direction is stable. Whenever possible, keep the outer edges of units on straight grain rather than bias.
Next step
If you enjoyed this block, try making a small set of Churn Dashes from your scraps. Pick one fabric to repeat as the background, then let the accents change. It is one of my favorite stash-busting habits because you get that satisfying “cohesive but lively” look without doing any fancy math.
And if your first block is a little wonky, welcome to the club. Every quilter I know has a first Churn Dash that taught them something. The only difference is that you are learning it now with a hot cup of tea and a rotary cutter that actually behaves.