A quilter’s honest guide to pre-washing: what it prevents, what it can complicate, and step-by-step instructions to wash quilting cotton with minimal fraying.
The Quilt Mark
October 22, 2026
Block and Wash a Quilt for the Perfect Crinkle
Learn how to wet-block a finished quilt, help it stay square, and wash it safely for a cozy, traditional crinkle. Simple steps, beginner-friendly tips, and fabric-safe troubleshooting.

Clara Jenkins
Clara Jenkins is an avid quilter and fabric enthusiast who has been designing and piecing together quilts for over twenty years. She shares her passion for color coordination, block design, and practical sewing techniques to help makers of all skill levels create beautiful, lasting heirlooms. Through Quiltmark, Clara aims to make the timeless art of quilting accessible, joyful, and deeply rewarding for everyone.
Updated October 22, 2026
That first real wash is one of my favorite moments in quilting. A quilt goes into the water looking crisp and a little stiff, then comes out soft, rumpled, and suddenly alive. The trick is getting there on purpose, not by accident. With a quick wet-block (wet it, gently reshape it square, then dry it flat) and a careful first wash, you can help your quilt stay true, protect your stitches, and still earn that classic crinkle we all secretly hope for.
Blocking vs washing
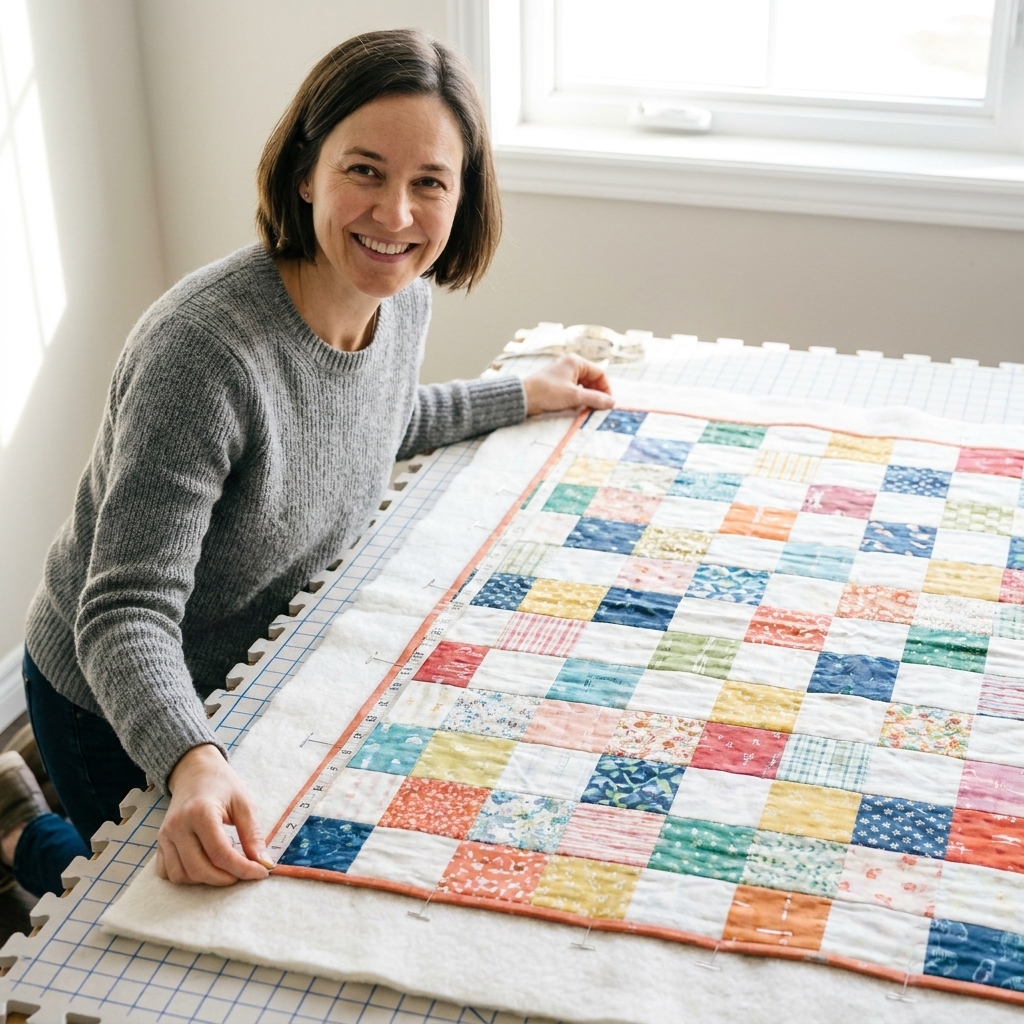
Blocking is about shape. It helps a quilt relax into a truer rectangle (or square), smooths minor waviness from quilting, and can make binding feel less like wrestling, especially if you block before you trim and bind.
Washing is about feel. It removes handling grime and some marking tools, lets fibers shrink a touch, and creates that cozy, puckery texture. The “perfect crinkle” is mostly a team effort between fabric shrink, batting shrink, quilting density, and how you dry it. Thread type and tension, backing fabric, sizing or starch, and the specific batting’s shrink rate all play a part too, so two quilts made from similar patterns can still crinkle differently.
You can block before binding (my preference for precision), or block a fully bound quilt (great when you realize things are a hair skewed at the end). I’ll walk you through both, then we’ll talk about washing.
Before you get anything wet
This little pause saves heartbreak.
- Check for loose threads and open seams. If you can pull a seam open with a gentle tug, restitch it now. Water and agitation love finding weak spots.
- Secure your quilting tails. If you bury threads, make sure tails are trimmed. If you knot, double-check knots.
- Test for color bleed. Dab a hidden dark fabric with a damp white cloth. If color transfers, plan a cold-water wash and consider using a color catcher sheet.
- Know your materials. Most quilting cotton and cotton batting are happy with cool to warm water. Wool, silk, or specialty battings may need different handling.
- Think about marking tools. Many marks wash out, but some air-erasable inks can reappear with cold or humidity, and some “washable” pens can set with heat. If you used a marker you do not fully trust, keep the first wash cool and avoid high heat drying until the marks are truly gone.
If your quilt includes prewashed fabrics mixed with unwashed fabrics, expect a bit more crinkle and a bit more shifting in the first wash. That is not wrong, just something to plan for.
How to wet-block a finished quilt
Wet-blocking sounds dramatic, but it is basically: soak, support, square, dry. Your goal is “true enough” and flat enough to bind and wash well, not a museum-perfect grid.
What you’ll need
- A clean bathtub, large basin, or washing machine set to soak only
- Cool to lukewarm water
- Mild detergent (optional)
- Large towels
- A tape measure or long ruler
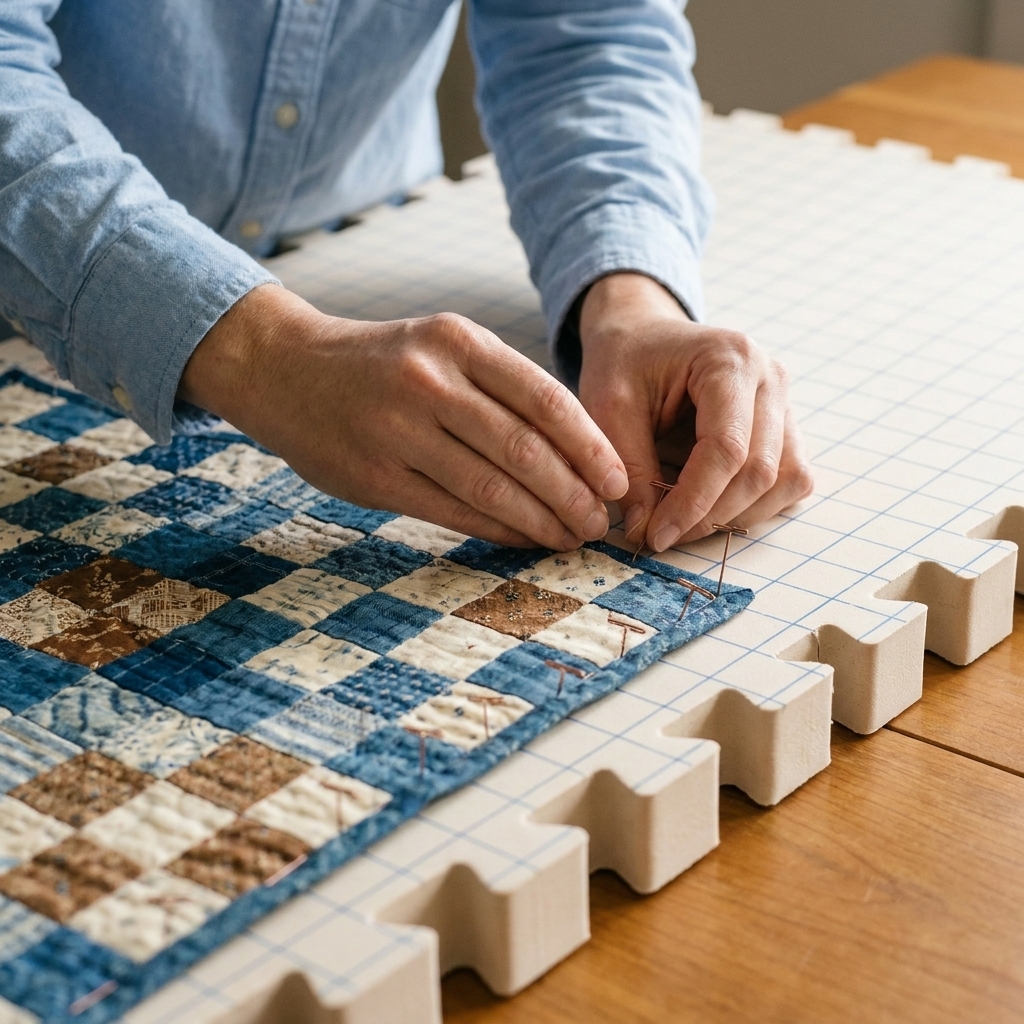
- Blocking surface: clean floor with towels, a bed, foam mats, or interlocking gym tiles
- Rustproof pins or blocking clips (optional but helpful)
Step 1: Soak gently
Fill your tub or basin with cool to lukewarm water. Submerge the quilt and press it down slowly so the whole sandwich gets wet. Let it soak for 15 to 30 minutes.
If your quilt is brand new and you mostly want to square it up, you can skip detergent here. If you want to remove marking residue or handling oils, add a small amount of gentle detergent. Less soap is easier to rinse out of batting.
Step 2: Lift with support (no wringing)
Wet quilts are heavy, and that weight can distort seams if you haul it up like a fishing net. Instead, gather the quilt from underneath in sections, supporting it with both arms, and let water drain briefly.
Lay it on a big towel and roll the towel up to press out excess water. You want it damp, not dripping.
Step 3: Square it up on your surface
Spread the damp quilt on your blocking surface. Smooth it with flat hands, working from the center out. Then measure:
- Measure the width at the top, middle, and bottom.
- Measure the length at the left, center, and right.
- Check both diagonals. If diagonals match, your quilt is square.
If one side is longer, nudge and ease the quilt into shape. Think “coax,” not “stretch.” If you are using pins, pin the corners first, then the midpoints, then fill in along the edges.
Quilter’s reality check: A difference of 1/4 inch across a throw-size quilt is not a crisis. A difference of 2 inches is worth coaxing and pinning.
Step 4: Dry it flat
Let the quilt air-dry flat with good airflow. If you are blocking before binding, I like it fully dry so the edges behave when I trim and bind. If you are blocking a finished quilt and plan to tumble dry for crinkle, you can take it to the dryer when it is just barely damp so it finishes quickly without baking in stubborn fold lines.
When not to wet-block
Wet-blocking is gentle, but it is not for every quilt. Skip it (or test a small area first) if you have:
- Heavy embellishment like beads, sequins, or glued elements
- Metallic trims or specialty foils that can tarnish or distort
- Unstable dyes you already know want to run
- Batting or fabrics with special care needs that dislike soaking or agitation
In those cases, a light misting and careful flat drying, or simply going straight to a very gentle wash, is often the safer route.
If you want crinkle
Here is my happy medium: block for shape, wash for crinkle.
- Block before binding if you want cleaner edges and less wrestling as you attach binding.
- Block after binding if your quilt looks slightly wavy and you want it to relax into a tidier rectangle before the first wash.
- Do not over-tension while wet-blocking. Over-stretching can flatten some areas and create uneven distortion later.
Crinkle comes from shrink and structure. Wet-blocking does not erase that. It simply helps your quilt start out supported and as square as it is willing to be.
How to wash a finished quilt safely
The first wash is where a quilt becomes a quilt. It is also where we protect all that work.
Step 1: Choose machine vs tub
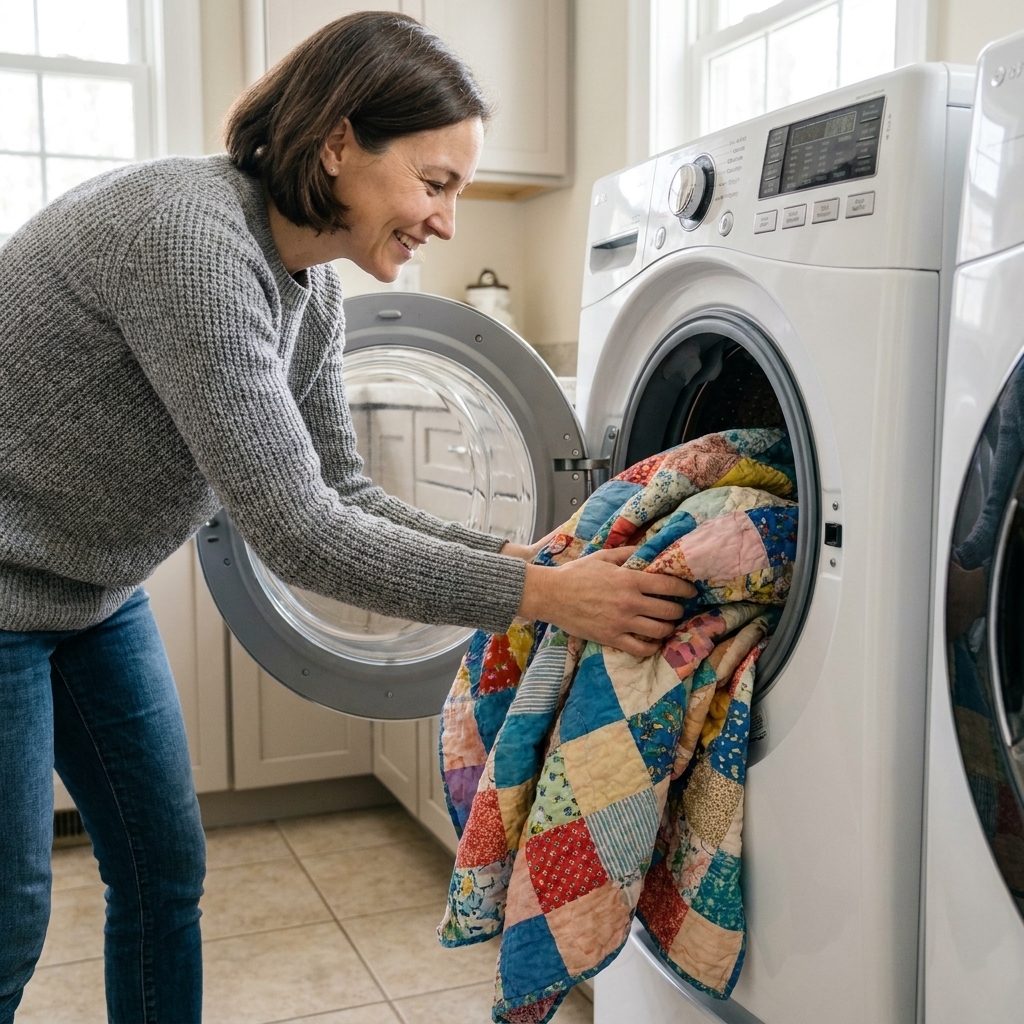
Machine washing is fine for most quilts made with quilting cotton and stable batting. Use it when your seams are secure and your quilt is a manageable size for your washer.
Tub washing is gentler and great for delicate piecing, heavy embellishment, very large quilts, or any quilt you do not fully trust yet.
A note on washers: Front-load and top-load high-efficiency machines (impeller style) are usually kinder to quilts than old-school top-loaders with a center agitator. Agitators can twist, stress seams, and tangle a heavy quilt. If an agitator is your only option, use the gentlest cycle, the coolest water you can, and consider washing in a large mesh laundry bag to reduce grabbing and stretching.
Step 2: Settings I actually use
- Water temperature: Cool or lukewarm (especially for the first wash).
- Cycle: Gentle or delicate.
- Detergent: Mild, unscented if you are sensitive. Use less than you think.
- Extras: One or two color catcher sheets if you used saturated reds, navies, or bright batiks.
Avoid bleach. Avoid fabric softener. Both can do odd things to cotton and batting, and softener can leave a coating that affects that clean, cuddly hand.
Step 3: The dryer decision
If you want maximum traditional crinkle, the dryer helps. Here are three safe options:
- Most crinkle: Tumble dry on low to medium until fully dry, then pull out and give it a good shake.
- Balanced: Dry on low until about 80 to 90 percent dry, then lay flat to finish. This reduces stress on seams and still gives a lovely rumple.
- Most gentle: Lay flat or line dry. You will still get crinkle, just a softer one, and it may take a wash or two to really bloom.
For the first dry, I avoid high heat. Many modern threads handle low and medium heat just fine, but high heat can accelerate wear over time and it tends to amplify the things we are trying to prevent, like stress on seams, abrasion, and uneven shrink surprises.
Wet-blocking a block or quilt top
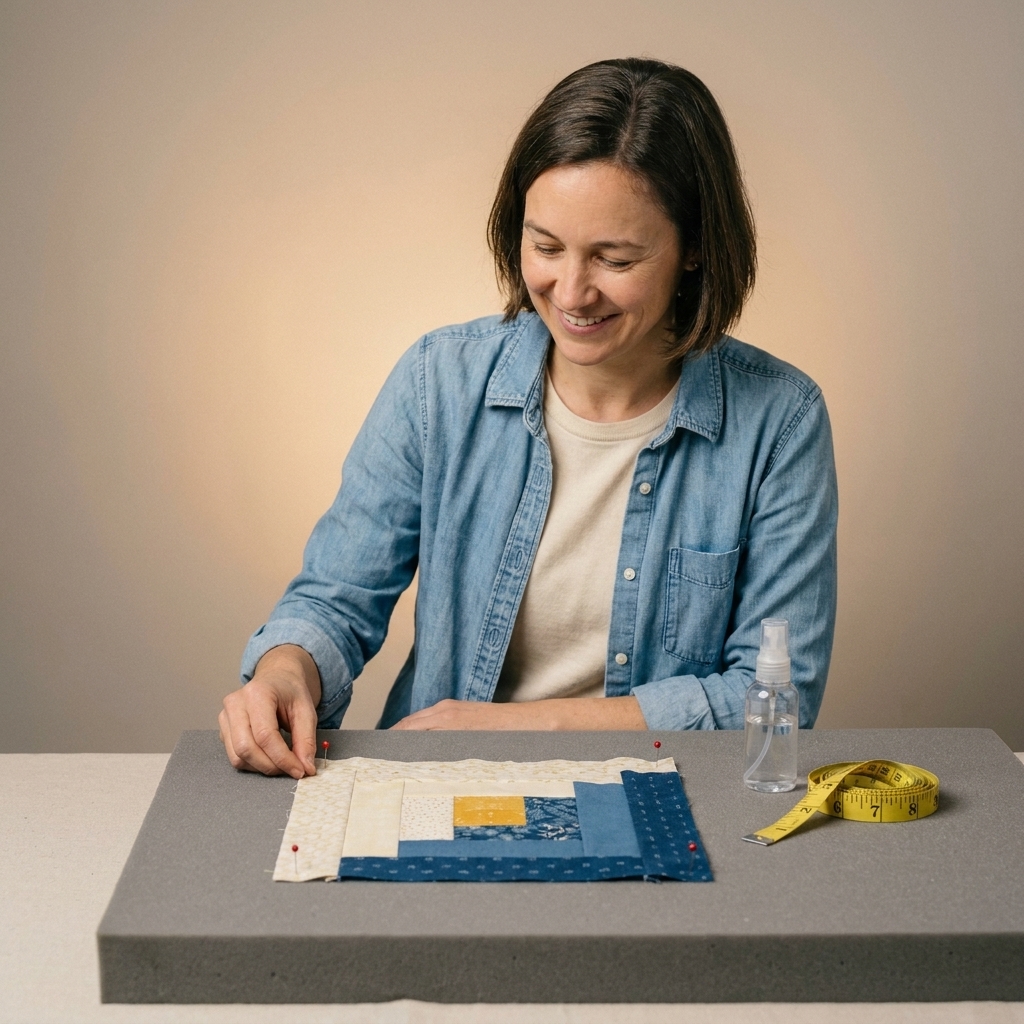
Sometimes you are not wet-blocking the whole finished quilt yet, you are trying to tame a stubborn block or a wavy quilt top. Wet-blocking can help here too, especially for blocks with bias edges or lots of triangles.
Quick method for a single block
- Mist the block with water or give it a brief dip.
- Press it between towels so it is damp, not wet.
- Pin to a square reference on a foam mat, easing corners into alignment.
- Let it dry completely before joining it to other blocks.
This is one of those quiet skills that makes piecing feel less like a fight.
Troubleshooting
My quilt has lots of lint balls and fuzz
Totally normal, especially with cotton batting. Clean the lint filter mid-dry if needed. It usually improves after the first wash. If the fuzz is excessive, check that your batting is suited for quilting and that your quilting density is appropriate.
The quilt looks wrinkly, not crinkly
Wrinkly often means it dried folded or compressed. Toss it back in the dryer for 10 minutes on low with a clean towel, then shake it out and lay it flat for a moment. Crinkle looks like little puckers around quilting lines, not hard creases.
Some seams look stressed after washing
This usually points to seam allowance that was a bit scant or a spot with heavy pull. Repair now rather than later: restitch the seam, reinforce if needed, and consider a slightly gentler cycle next time.
Color bled onto lighter fabrics
Do not dry it. Keep it wet and rewash immediately in cool water with a color catcher. Often you can lift a lot of loose dye before it sets, but it is not guaranteed, especially with very saturated dyes. If it is severe, repeat cool rinses or do a longer cool soak with a dye-trapping laundry product made for bleeding dyes. Drying is what makes many dye transfers permanent.
A routine I trust
- Wet-block (optional but helpful): quick soak, towel roll, square on the floor, air-dry flat.
- First wash: gentle cycle, cool water, mild detergent, color catcher if needed.
- Dry: low heat until mostly dry, then finish flat, or dry fully on low for extra crinkle.
The best part is what comes after. The quilt gets softer. The stitches settle in. Your careful piecing looks even better once it relaxes. And if it comes out a little more crinkly than you pictured, welcome to the club. That is the quilt telling you it is ready to be used.
Long-term care
- Wash only when it needs it. Quilts do not have to be washed on a schedule. Spot-clean small spills, and save full washes for when the quilt looks dingy or smells less than fresh.
- Keep it gentle. Cool water, mild detergent, and a gentle cycle go a long way toward preserving stitches and batting.
- Store it dry and breathable. Clean, dry cotton storage bags or a pillowcase beat plastic bins for long stretches. Avoid damp basements and hot attics.
Quick FAQ
Should I wash a quilt before gifting it?
I usually do, unless the recipient specifically wants a crisp, unwashed look. A washed quilt is softer, more stable, and ready for real life.
If you used specialty fabrics or delicate trims, adjust accordingly.
Can I wash a quilt with wool batting?
Many wool battings prefer cool water and gentle handling, and some are happiest with air-drying to avoid excessive shrink or agitation. Check the batting manufacturer’s care guidance if you still have the packaging.
How do I get more crinkle?
Use cotton fabrics and a higher-shrink batting, quilt with moderate density, and tumble dry on low. Crinkle increases over the first few washes as the fibers relax and settle.
How do I get less crinkle?
Prewash fabrics, choose a low-shrink batting, quilt a bit less densely, and air-dry or finish flat. You will still get softness, just less puckering.