A step-by-step, beginner-friendly method for backing quilts with minky or cuddle fabric, including basting tricks, needle choices, quilting plans, and how to...
The Quilt Mark
October 22, 2026
Quilt Backing Math: Widebacks vs. Standard Yardage
Learn how to calculate quilt backing yardage with confidence, decide when wideback fabric is worth it, and piece standard-width yardage for a smooth, professional-looking back.

Clara Jenkins
Clara Jenkins is an avid quilter and fabric enthusiast who has been designing and piecing together quilts for over twenty years. She shares her passion for color coordination, block design, and practical sewing techniques to help makers of all skill levels create beautiful, lasting heirlooms. Through Quiltmark, Clara aims to make the timeless art of quilting accessible, joyful, and deeply rewarding for everyone.
Updated October 22, 2026
Quilt backs have a funny way of stealing our confidence right at the finish line. The quilt top is pressed, the batting is cut, and suddenly we are staring at the backing bolt like it is a pop quiz. The good news is that backing math is mostly two things: adding enough extra for quilting and deciding where seams should land. Once you know the few numbers that matter, you can calculate backing yardage in minutes and piece it so it looks calm and intentional.
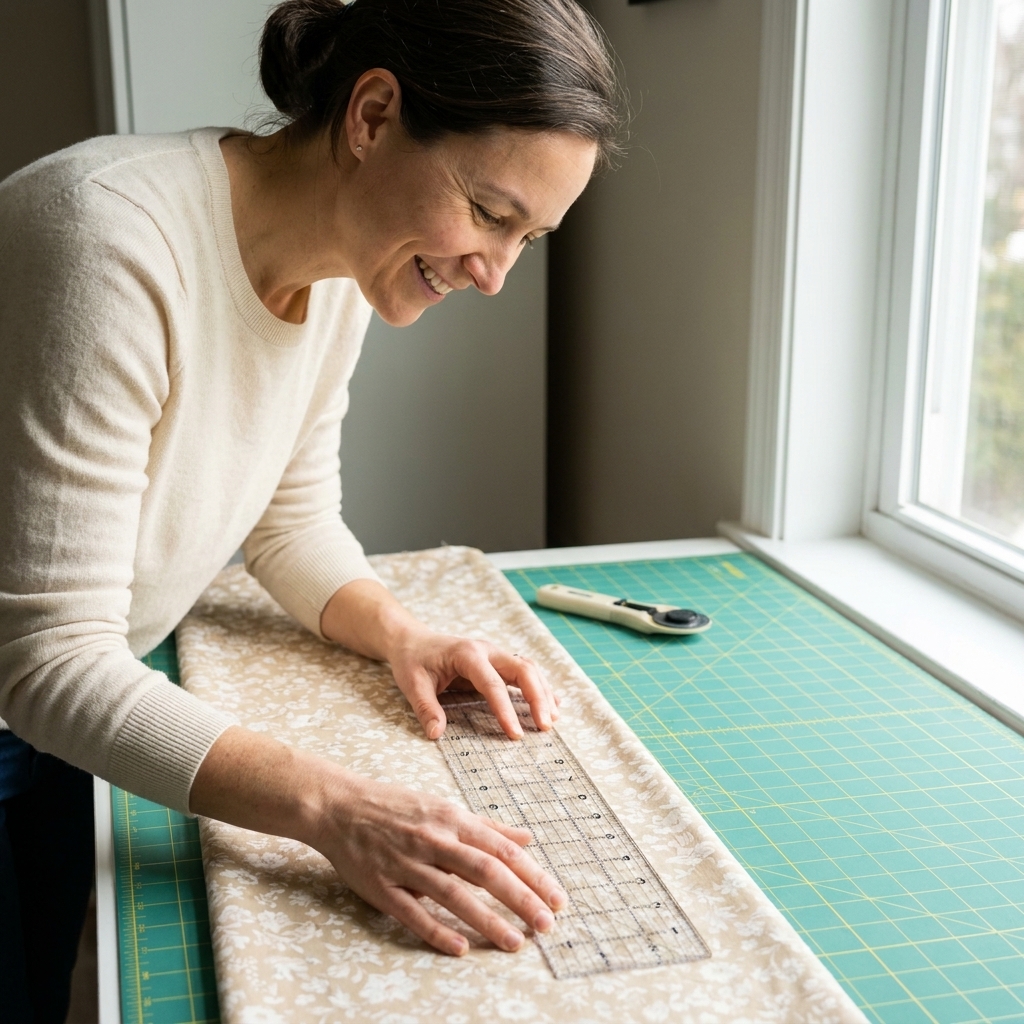
Backing basics you can trust
Before we talk widebacks versus standard yardage, lock in these three backing rules. They will save you from the dreaded too-small backing situation.
- Add extra beyond the quilt top. Many longarmers want backing that extends at least 3 to 4 inches past the quilt top on every side, and some ask for more (especially on the length). That means adding 6 to 8 inches to both the width and the length of your quilt top, minimum. When in doubt, I plan for 8 inches extra, and I always check the longarmer’s posted requirements if I am sending it out.
- Make the backing bigger than the batting, too. If you are adding extra to your top, add the same extra to your batting so everything stacks neatly. (Many longarmers want the backing and batting larger than the top by the same margin.)
- Square is your friend. A backing that is squared up (straight grain, corners roughly right angles) loads flatter and quilts nicer.
- Press seams open when possible. It helps the backing lie smoother and reduces a ridge that can show through on lighter quilts.
How to calculate backing size
Start with your quilt top measurements. Then add your extra margin for quilting.
The simple formula
- Backing width = quilt top width + 6 to 8 inches
- Backing length = quilt top length + 6 to 8 inches
Example: If your quilt top is 60 x 80 inches and you add 8 inches each direction, your backing target is 68 x 88 inches.
Now you choose the fabric strategy that gets you to that target: wideback or pieced standard yardage.
Widebacks: when they shine
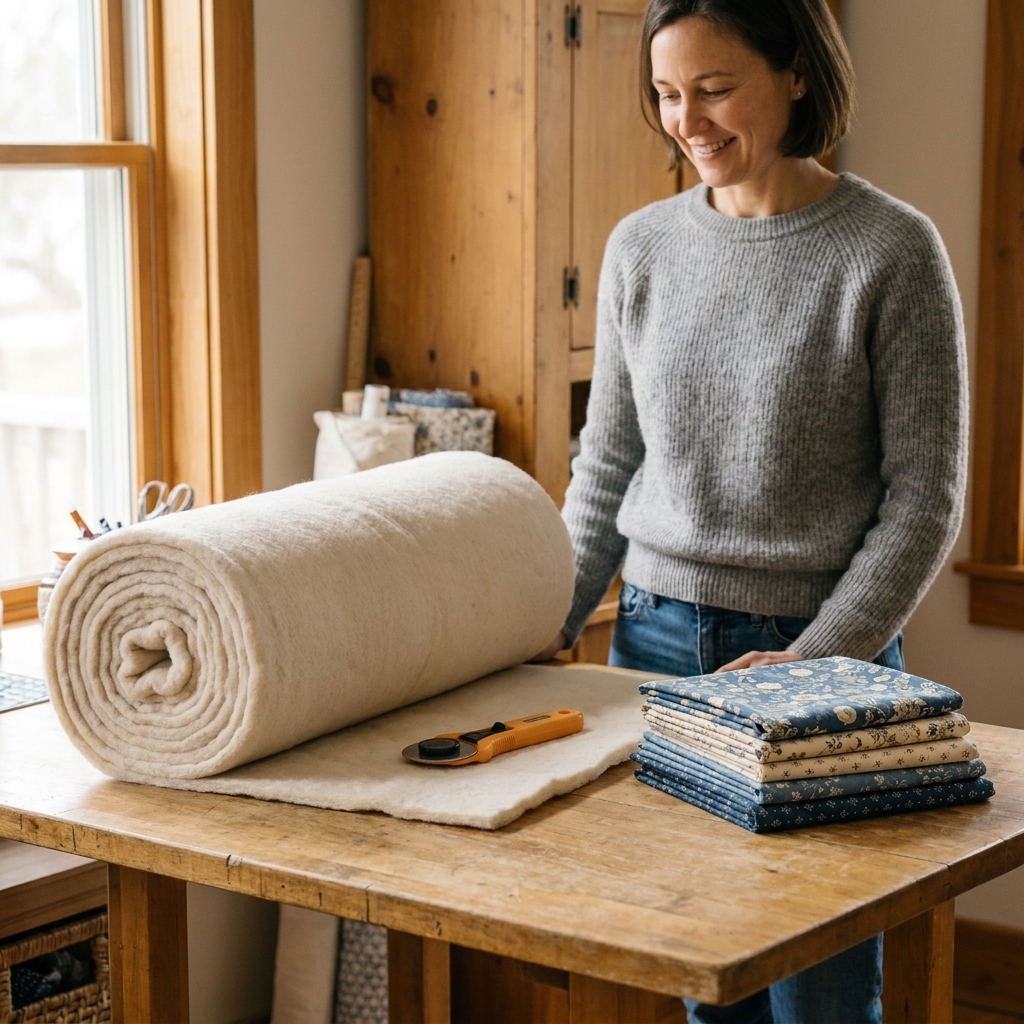
Wideback fabric is most commonly 108 inches wide (you will also see 118 inches, and occasional other widths). It is designed specifically for quilt backs, which means you can often get a single-piece backing with no seam running down the middle. That is a lovely luxury, especially for big quilts.
Wideback yardage math
With wideback, the width is usually already covered. You are mainly buying for length.
- If your required backing width is less than or equal to the usable wideback width, you need: yardage = required backing length ÷ 36, rounded up.
- Give yourself a little wiggle room for squaring up. I often add 2 to 4 inches to the length before converting to yards.
- When you round up, consider how your shop cuts. Many cut in 1/4-yard increments (some in 1/8). Rounding up to the next cut increment keeps it simple at the counter.
Example: Required backing size 68 x 88 inches.
- 68 inches is less than 108 inches, so one width works.
- 88 ÷ 36 = 2.44 yards. Round up to 2.5 yards (or the next cut increment your shop offers).
- If you want extra for squaring, you might buy 2.75 yards.
Pros of widebacks
- Fewer seams (often none)
- Faster prep, less piecing
- Less bulk under the quilt top
- Great for quilts with dense quilting where seam ridges might show
Cons of widebacks
- Higher cost per yard in many shops
- Fewer print options than standard quilting cotton
- Sometimes a softer drape or different feel depending on manufacturer and weave
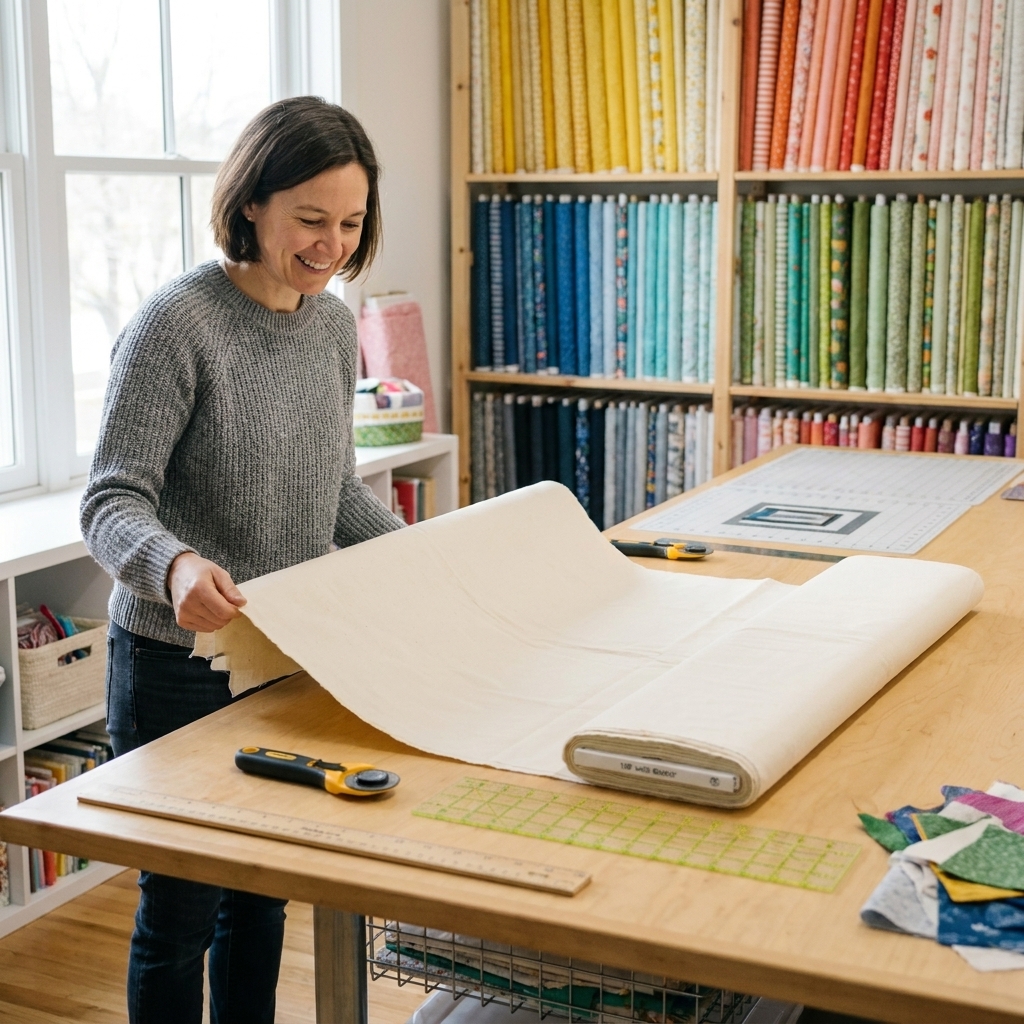
Standard yardage: how to piece it
Standard quilting cotton is often sold as about 44 to 45 inches wide, but the usable width is typically closer to 40 to 42 inches once you trim off selvedges. When your quilt needs a backing wider than that, you piece panels together.
Quick vocab: You will sometimes see quilters say WOF, which means width of fabric (the cut edge from selvedge to selvedge).
Step 1: Pick your panel direction
Most of the time, you will join panels along their long edges to create a wider backing. That keeps the fabric grain stable and gives you one long seam running top to bottom when the quilt is laid out in portrait orientation.
- For throw and bed quilts: An off-center seam is usually the least noticeable, and it keeps the seam away from the spot your eye naturally checks first.
- For directional prints: Plan so the print runs the way you want on the finished quilt. If it matters, unroll and look before cutting.
Step 2: Calculate how many panels you need
Estimate usable fabric width as 40 to 42 inches per panel after removing selvedges. If you know your fabric’s true usable width, use that number.
- Number of panels = required backing width ÷ usable width, rounded up
Example: Required backing width is 68 inches. If usable width is 42 inches:
- 68 ÷ 42 = 1.62, so you need 2 panels.
Step 3: Calculate yardage for those panels
Each panel must be at least as long as your required backing length. If you are using two panels, you typically cut two lengths of that measurement.
- Total inches needed = number of panels × required backing length
- Yardage = total inches needed ÷ 36, rounded up (ideally to the next 1/4 yard your shop will cut)
Example: Required backing length is 88 inches, two panels:
- Total inches = 2 × 88 = 176 inches
- 176 ÷ 36 = 4.89 yards, round up to 5 yards
This number can feel surprisingly large the first time you do it, but remember: you are buying length twice because you are creating width by sewing two long pieces together.
Two clean piecing layouts
1) Two panels with an off-center seam
This is my everyday method. Instead of cutting two equal widths and putting a seam right down the middle, cut one panel a little wider than the other so the seam lands off-center. It looks more intentional, and it is less likely to land exactly on the quilt’s center line.
- Trim off selvedges.
- Cut Panel A and Panel B so that together they exceed your required backing width by an inch or two (for squaring).
- Sew the long seam. I like a 1/2 inch seam allowance for backing seams because it feels sturdy, but 1/4 inch to 3/8 inch also works. Choose what you trust, then press it well.
- Press seam open.
2) Three panels with a feature stripe
If you love a “pretty back,” add a center (or off-center) strip in a coordinating fabric. This is also a brilliant stash-busting trick when you are short on your main backing fabric.
- Cut two side panels from your main backing fabric.
- Cut a feature strip 6 to 12 inches wide (or wider if you want drama).
- Sew side panel to feature strip, then add the second side panel.
- Press seams open and square the backing.
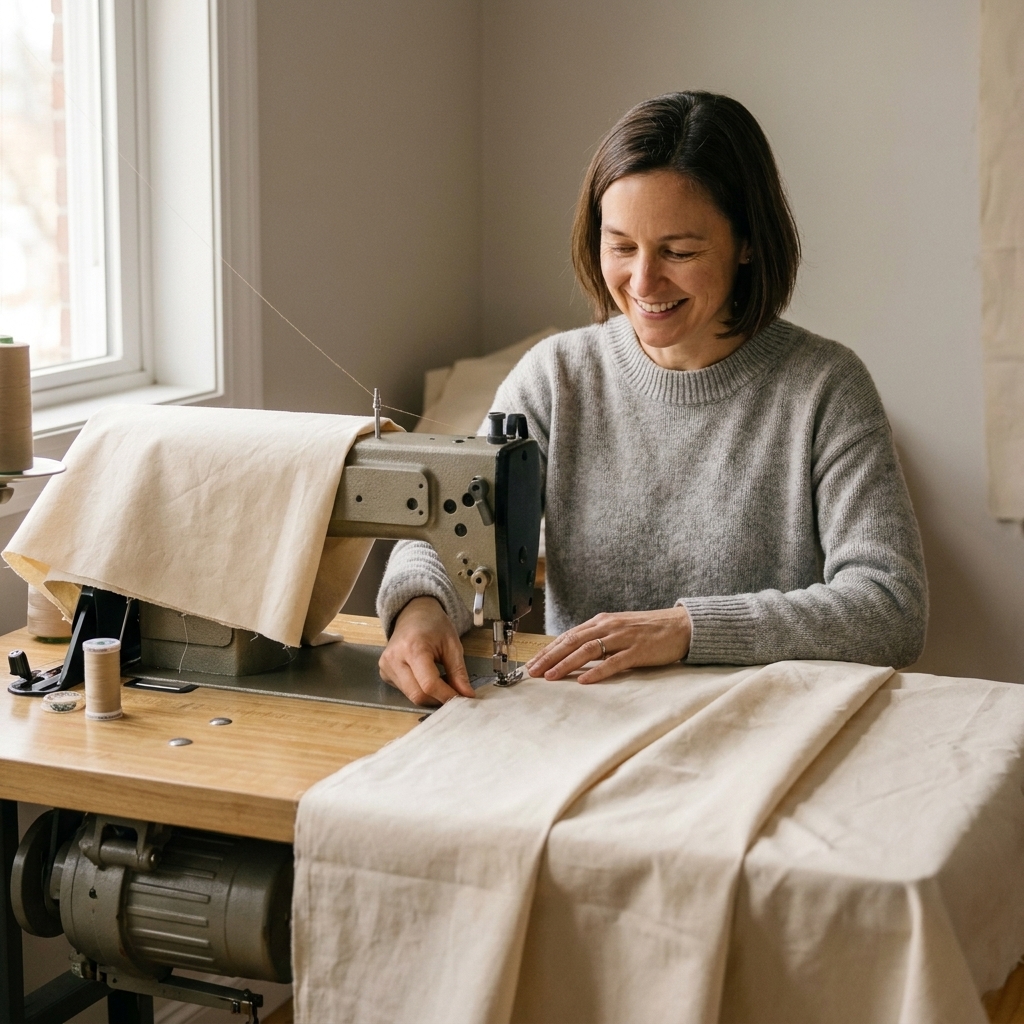
Make a backing lie flat
If you want your pieced backing to disappear (or at least look polished), these small habits make a big difference.
Trim selvedges first
Selvedges can shrink differently and sometimes pucker. I trim them off before piecing so the seam behaves like the rest of the fabric.
Use the grain on purpose
If you can choose, keep the lengthwise grain (parallel to the selvedge) running top to bottom on the quilt back. It tends to have less stretch, which helps the backing load smoothly on a frame and behave nicely under the needle.
Use a slightly longer stitch length
On big seams, a stitch length around 2.8 to 3.0 can help keep the seam smooth without perforating the fabric too much.
Press, then lightly starch if needed
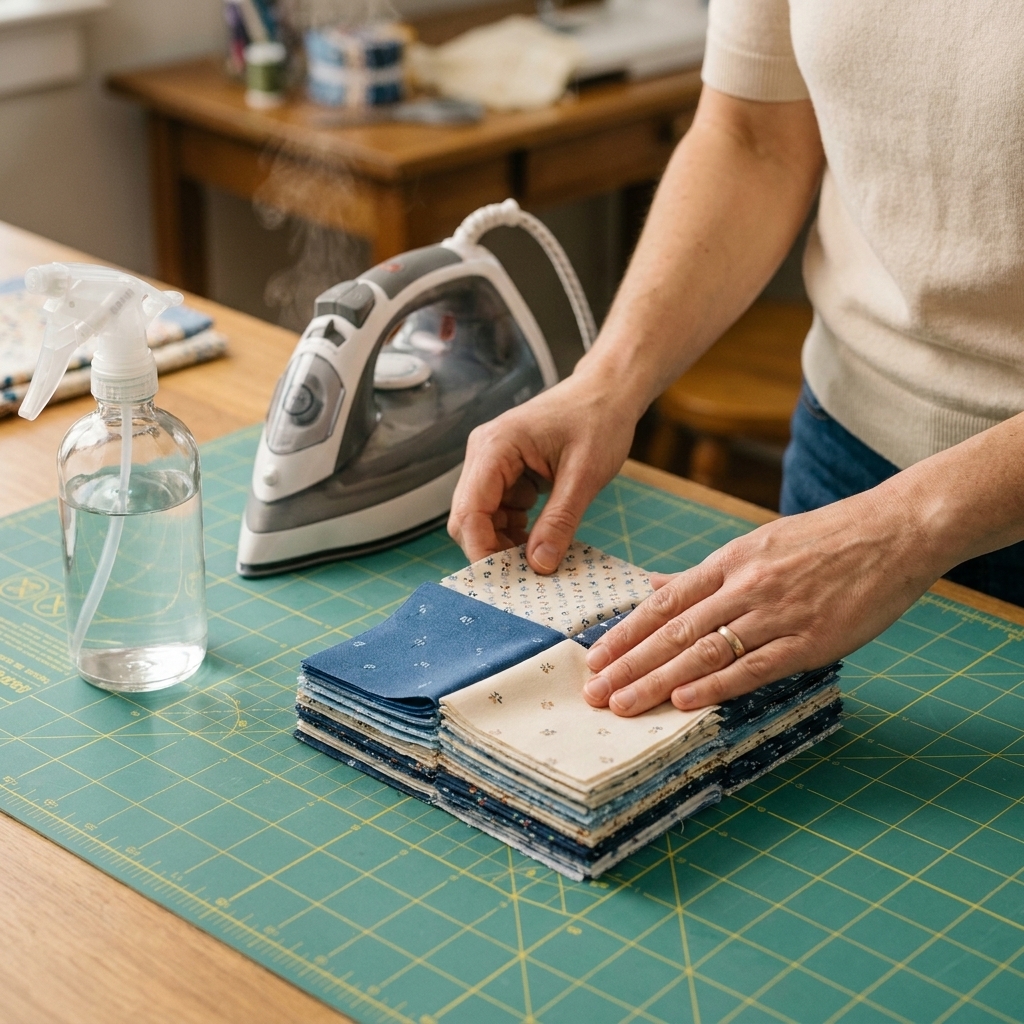
A light spritz of starch (or a flatter spray alternative) can help large pieces behave while you square up and load for quilting. Pressing is the key. Let the iron do the work, and try not to drag it.
Square the backing after piecing
Once your backing is pieced, fold it in half lengthwise and crosswise to find the center, then smooth it out and trim edges straight. You do not need perfection, but you do want “no surprise angles.”
Wideback vs. standard yardage
I decide based on quilt size, time, and how I want the back to feel.
- Choose wideback if you want speed, minimal bulk, and the simplest possible prep for a large quilt.
- Choose standard yardage if you want more print options, want to use stash fabric, or plan to design a backing with a feature stripe.
- Choose whichever lets you buy enough fabric comfortably. Stress is not a quilting supply.
Worked examples
Example 1: Baby quilt (40 x 50 top)
- Required backing: (40+8) x (50+8) = 48 x 58
- Wideback: buy 58 ÷ 36 = 1.62, round up to 1.75 yards (or the next cut increment your shop uses)
- Standard yardage: width 48 likely exceeds one usable WOF, so two panels. Total inches = 2 × 58 = 116. 116 ÷ 36 = 3.22, round up to 3.25 yards
Example 2: Throw quilt (60 x 80 top)
- Required backing: 68 x 88
- Wideback: 88 ÷ 36 = 2.44, buy 2.5 to 2.75 yards
- Standard yardage: two panels. Total inches 176. 176 ÷ 36 = 4.89, buy 5 yards
Example 3: Queen-ish quilt (90 x 98 top)
- Required backing: (90+8) x (98+8) = 98 x 106
- Wideback: 106 ÷ 36 = 2.94, buy 3 to 3.25 yards
- Standard yardage: 98 inches wide usually needs three panels if usable width is about 42 inches. Total inches = 3 × 106 = 318. 318 ÷ 36 = 8.83, buy 9 yards
That last example is exactly why widebacks are so popular for bed quilts.
Backing pitfalls
- “My backing is technically big enough, but the longarmer says no.” Policies vary. Some want 4 inches extra per side, some want 6, and some specify extra length for loading and clamping. If you are sending it out, follow their minimums. If you are quilting at home, still give yourself room to baste and maneuver.
- “My backing seam puckered.” Press seam allowances open, avoid stretching while sewing, and consider a walking foot for long seams.
- “Directional print ended up sideways.” Always do a quick floor test: lay the fabric out the way it will sit behind the quilt top, then decide which edge is your “top.”
- “I am short by an inch or two.” Add a border strip to the backing edge. It can be narrow and still look intentional, especially if it matches binding or a backing feature stripe.
Quick FAQ
Should I use 1/4 inch seams for backing?
You can. I often use 1/2 inch on backing seams because I like the sturdier feel, but 1/4 inch to 3/8 inch is common, too. Whatever seam allowance you choose, press it well (open if possible) so the backing stays smooth.
Do I need to prewash backing fabric?
It is optional. If your quilt top fabrics are unwashed and you like a little crinkle, skip prewashing. If you are mixing fabrics with very different shrink potential (like a flannel backing with a quilting cotton top), prewashing can help prevent surprises.
Is wideback always 108 inches?
108 inches is the most common, but you will also see 118 inches and other widths. Always check the bolt label and assume you may lose a bit of width when you square edges.
How much extra backing should I add for longarming?
A safe general target is 8 inches extra in both width and length (4 inches per side). Some longarmers want more, so confirm their preference if you are sending the quilt out.