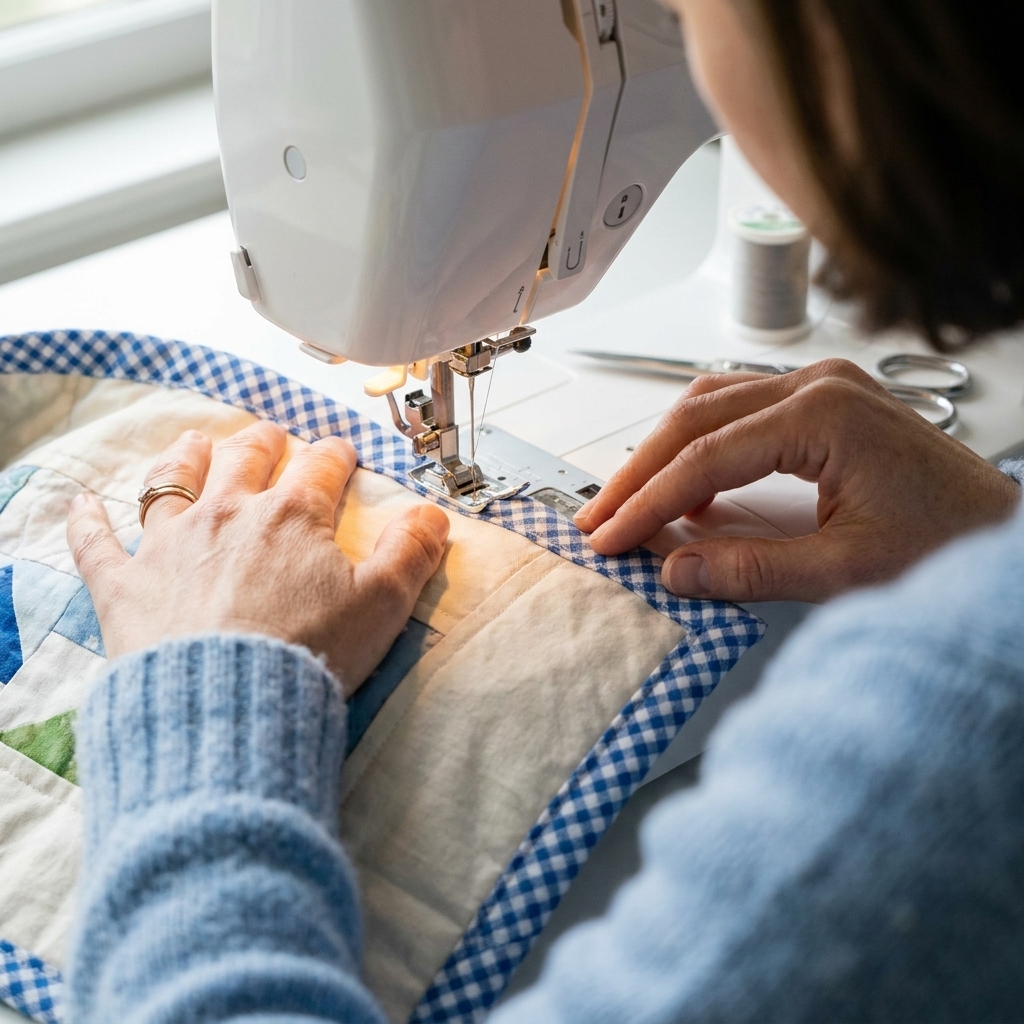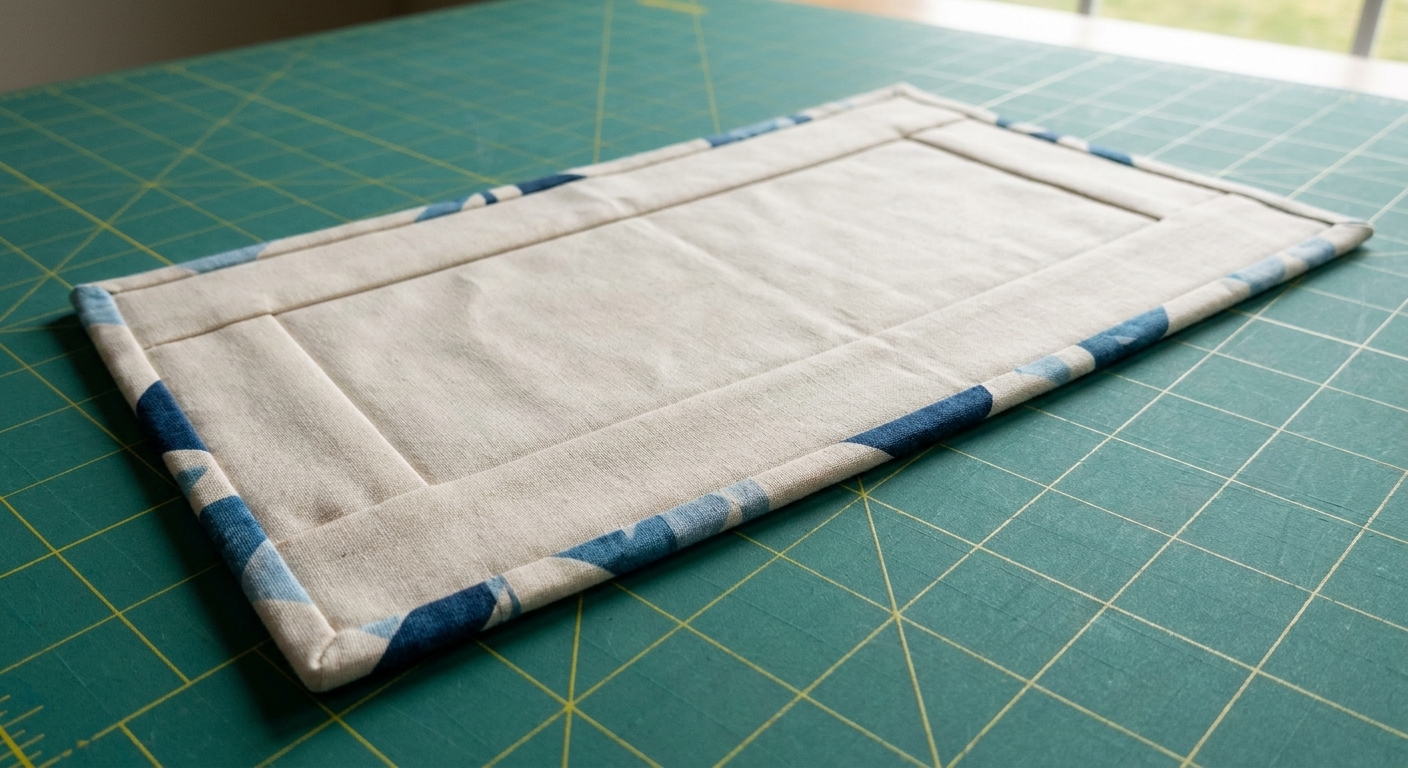
A friendly, step-by-step guide to quilt facing for modern mini quilts and wall hangings. Get crisp corners, smooth edges, and a fully hidden finish on the back.
The Quilt Mark
October 22, 2026
Prairie Point Quilt Finish (No Binding Needed)
Skip traditional binding on envelope-style quilts and finish with prairie points instead. Learn how to size, fold, and sew a crisp sawtooth edge, plus corner options, counting tips, and troubleshooting.

Clara Jenkins
Clara Jenkins is an avid quilter and fabric enthusiast who has been designing and piecing together quilts for over twenty years. She shares her passion for color coordination, block design, and practical sewing techniques to help makers of all skill levels create beautiful, lasting heirlooms. Through Quiltmark, Clara aims to make the timeless art of quilting accessible, joyful, and deeply rewarding for everyone.
Updated October 22, 2026
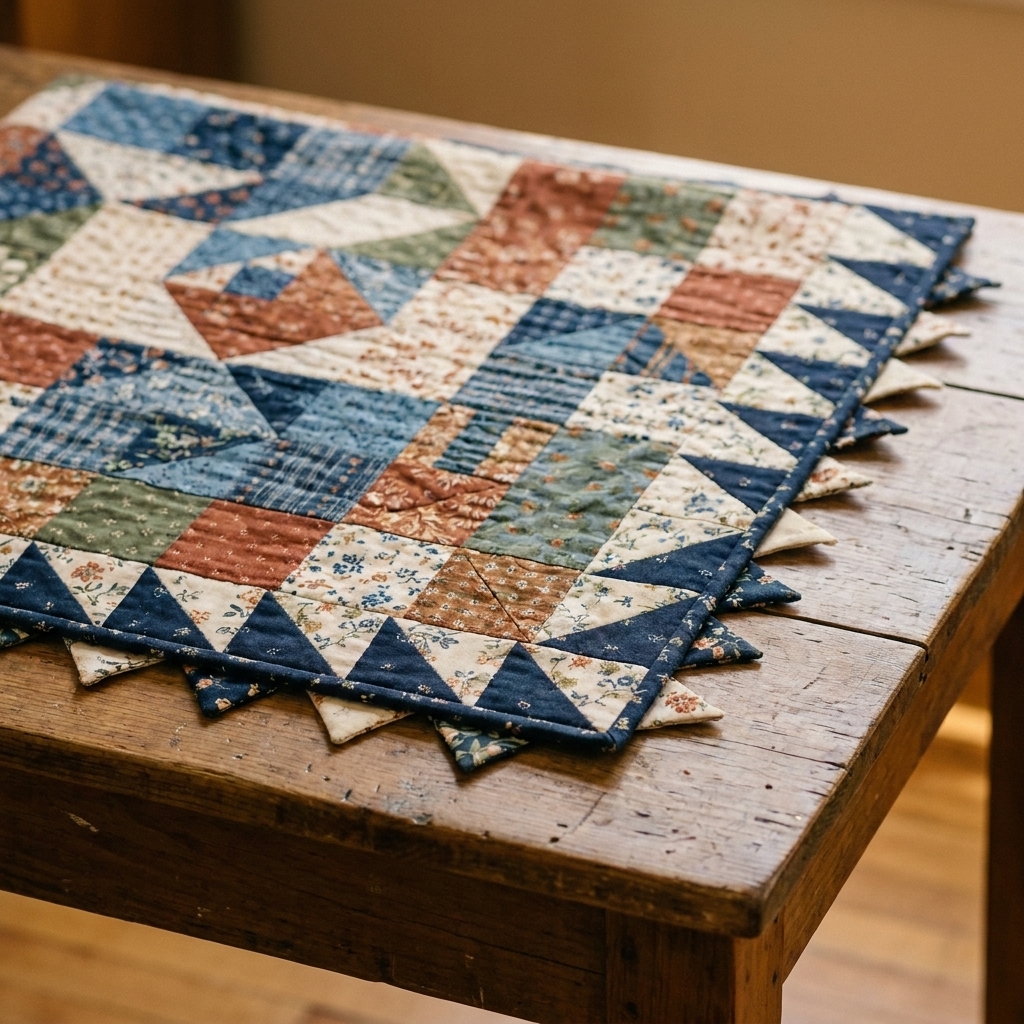
There is something delightfully old-school and a little bit mischievous about prairie points. They take a perfectly polite quilt edge and give it a playful, three-dimensional sawtooth frame, like a row of tiny fabric pennants cheering your stitches on.
They can be used two ways: as a trim tucked into a traditional binding seam, or as the finish itself on a turned, envelope-style quilt. This tutorial focuses on the no-binding, turn-and-topstitch method, where you sandwich a row of folded triangles into your quilt’s perimeter seam and then flip them out when you turn the quilt right side out. It looks fancy, but it is mostly folding, pressing, and a steady seam allowance.
What they are
Prairie points are folded fabric triangles, usually made from squares, that get caught in a seam so the triangle tips stick out beyond the quilt edge. When you use them instead of binding, the points are sewn into the quilt’s outer seam, the quilt is turned right side out, and you finish with topstitching. The result is a clean edge with points emerging from it.
This works best for envelope-style finishes (turned quilts, self-binding styles, some fleece-backed baby quilts). If you have a traditionally layered quilt sandwich that is already quilted through and you were planning to bind it, prairie points are more commonly added inside the binding seam as an accent rather than replacing binding altogether.
This finish is especially good for:
- Baby quilts and throws that want a soft, playful edge
- Holiday runners that look great with alternating colors
- Patchwork backs where you want the edging to feel integrated, not like an afterthought
- Panel quilts that need extra personality without adding a full border
One quick note from the voice of experience: prairie points love a good press. The more accurate your folds, the sharper and more uniform your finish will look.
Supplies
What you need
- Fabric for prairie points (scraps are perfect)
- Quilt top and backing
- Batting, or fleece if you like
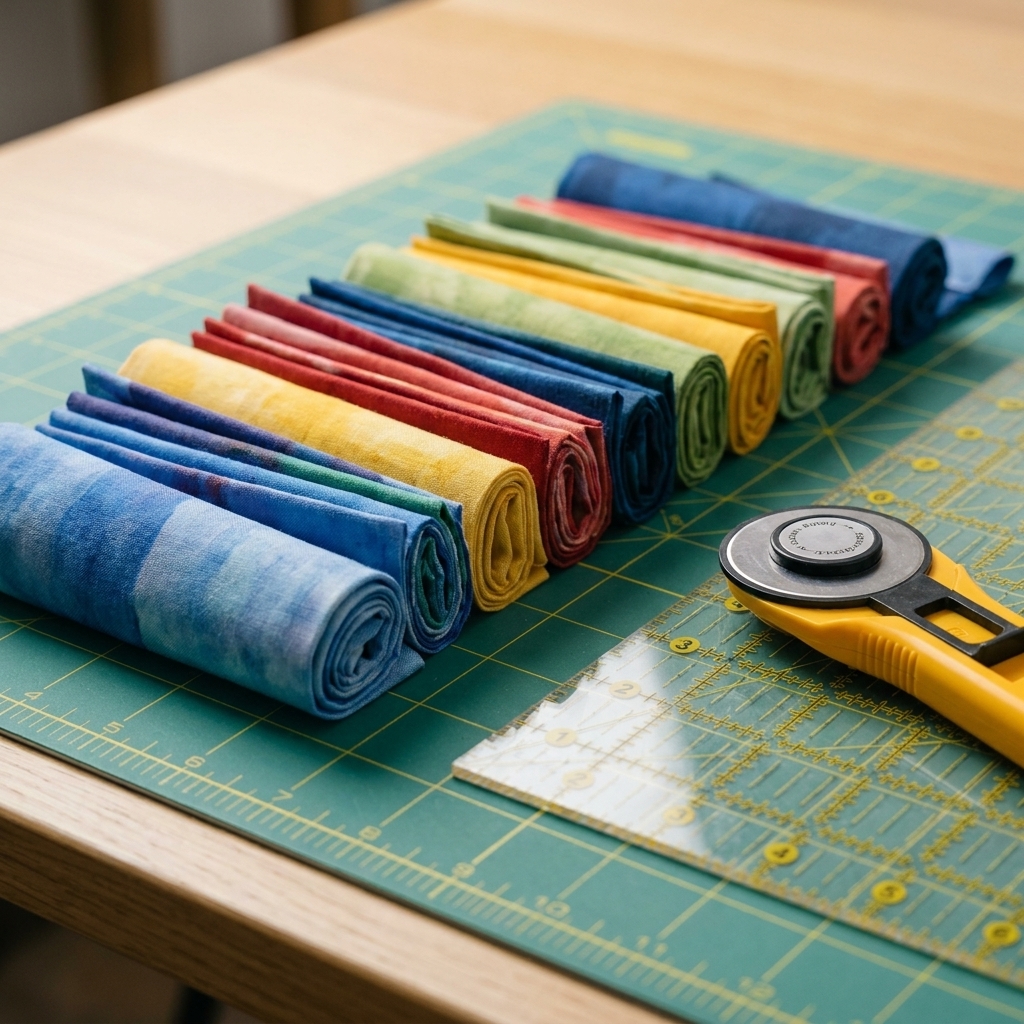
- Rotary cutter, ruler, and mat
- Iron and pressing surface
- Wonder clips or pins
- Walking foot (highly recommended)
- Marking pen or chalk (optional, helpful for corner planning)
Fabric tips
- Use quilting cotton for your first try. It presses sharply and behaves predictably.
- Avoid bulky fabrics at first (heavy flannel, denim). They can make corners feel crowded.
- Starch is your friend if your fabric is slippery or loosely woven.
- High contrast reads best. Prairie points are texture, but also a border design.
If you use fleece instead of batting, know that it can stretch and get a little wiggly under the presser foot. A walking foot helps a lot, a fresh needle is worth it, and slightly closer quilting (after turning) keeps things from shifting over time.
Point sizing
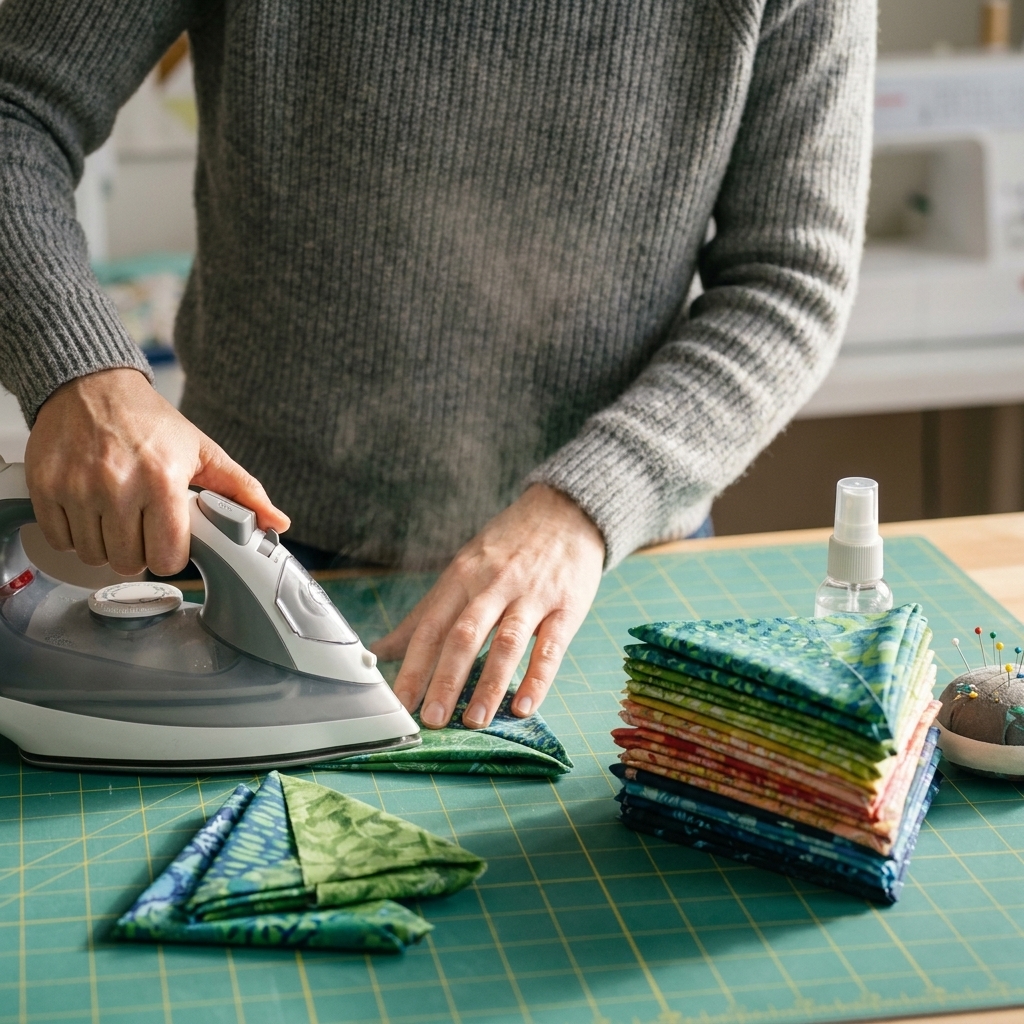
The simplest prairie points are made from squares folded twice. The size of your starting square controls how far the points can extend past the quilt edge.
Quick sizing rule
Maximum exposure (how far the point could stick out) is about:
- Starting square size ÷ 2
In real life, your actual exposure is usually a bit less, because it depends on your seam allowance and how deep you stitch the points into the seam (how much “bite” you take). If you start with 4 in squares, expect up to about 2 in of point, and plan for something slightly smaller if you use a deeper seam.
Common sizes
- 3 in squares → up to about 1 1/2 in points (sweet and subtle)
- 4 in squares → up to about 2 in points (classic, noticeable)
- 5 in squares → up to about 2 1/2 in points (dramatic, great for larger quilts)
If you are quilting for a baby or toddler, I tend to keep points in the 1 1/2 to 2 in range so they do not become tempting little chew toys. For wall hangings and runners, go as bold as your heart wants.
Step-by-step
This method is envelope style: you sew the quilt top and backing right sides together around the perimeter, then turn right side out through an opening. The prairie points get sewn into that perimeter seam.
When do you quilt it? Typically, you do most of your quilting after turning and pressing, so you are quilting through finished layers with the edge already set. For small projects, some people quilt the top to batting first, then add backing and points and turn. Either way can work. Choose the order that feels least like wrestling in your space.
1) Make prairie points
- Cut squares to your chosen size.
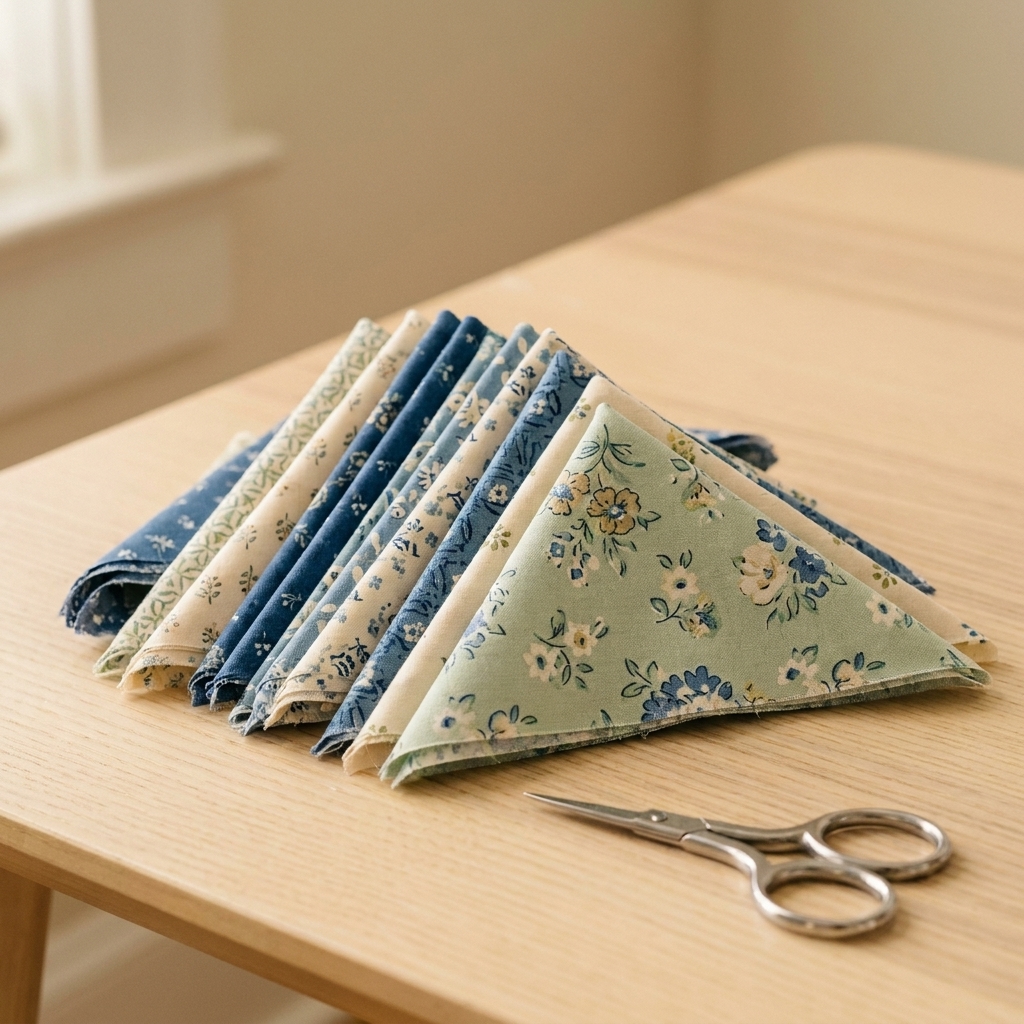
- Fold each square in half diagonally (wrong sides together) to make a triangle. Press.
- Fold the triangle in half again, bringing the two points together to form a smaller, thicker triangle with raw edges aligned. Press well.
You will end up with a triangle where:
- the folded edges form the point that will show
- the raw edges will be sewn into the quilt seam
2) Plan spacing and count
Prairie points can be placed edge-to-edge for a dense sawtooth look, or spaced apart to show more of the quilt edge between points.
- Edge-to-edge: points touch tip-to-tip with raw edges overlapped slightly.
- Spaced: leave a consistent gap between points for a lighter look.
Counting tip: The base width of a folded point is about half of your starting square (a 4 in square makes a base close to 2 in). For a rough estimate:
- Number of points per side ≈ side length ÷ point base width
Then adjust for your corner plan (more on that below). Do a quick dry lay on one side before you pin the whole perimeter. Your future self will thank you.
3) Baste points to the top
Lay your quilt top right side up. Place prairie points around the edge with:
- raw edges aligned with the quilt top raw edge
- points facing inward toward the quilt center (they will flip out when turned)
Pin or clip them in place. Then baste with a long stitch just inside your final seam line. For example, if your perimeter seam will be 1/2 in, baste at about 3/8 in. The goal is to keep points from doing interpretive dance under your presser foot, without stitching right on top of your final seam.
4) Add backing and sew the perimeter
- Place the backing right side down on top of the quilt top, making a fabric sandwich with prairie points tucked inside.
- Pin or clip around the perimeter.
- Sew around the quilt using a consistent seam allowance (many quilters use 1/4 in; I often use 1/2 in for envelope finishes because it gives the points a secure bite). The only rule is: be consistent, and make sure your seam fully catches the raw edge of every point.
- Leave a 6 to 10 in opening on one side for turning.
Walking foot recommendation: A walking foot helps feed the bulky point layers evenly, especially where points overlap.
5) Trim, clip, and turn
- Trim seam allowance slightly if it is bulky.
- Clip corners carefully (do not cut your stitching).
- Turn the quilt right side out through the opening, pushing corners gently with a blunt tool.
Now the prairie points will pop to the outside like they have been waiting for their big moment.
6) Close the opening and topstitch
- Press the turned quilt flat, rolling the seam so the edge is crisp.
- Fold the opening seam allowances inside and press.
- Topstitch around the entire perimeter, about 1/8 to 1/4 in from the edge, catching the opening closed as you go.
That topstitch line also strengthens the edge and helps the points sit neatly.
Corners
Prairie point corners can look intimidating, but you have a few solid options. Choose the one that matches your patience level that day.
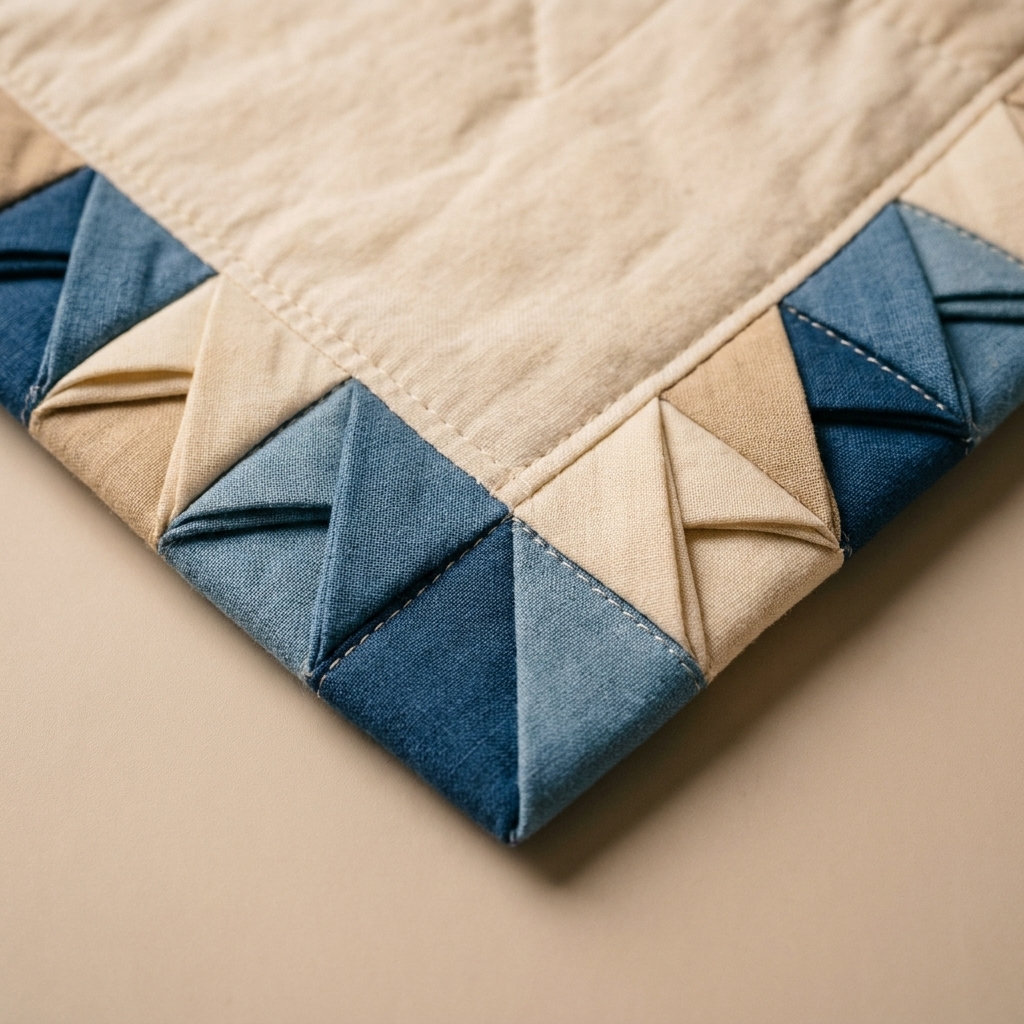
Option A: Mitered meet-up
This is the cleanest look, and it is mostly about testing before you stitch.
- As you get within a few inches of the corner, stop and dry-lay the last two or three points on that side.
- Decide where you want the final point to land so it does not crowd the corner seam. If things feel tight, slightly increase spacing for the last few points.
- Repeat for the next side so the two final points visually “aim” toward the corner without stacking raw edges into a lump.
- Clip firmly, then baste. When you sew the perimeter, go slowly over the corner area and keep the points folded flat inside the seam.
This takes a little fussing, but it gives a crisp, intentional corner.
Option B: One feature point
Instead of forcing perfect spacing, add a single special corner point that is slightly larger or simply centered on the corner seam. Run your side points up to it. It looks deliberate, and it saves you from corner math.
Option C: Skip the corner
Leave the last 1/2 to 1 in near each corner free of points. Sew, turn, press, and you will have a clean corner with points starting just after it. This is especially nice on quilts that will be washed a lot.
Keep them even
Alignment tricks
- Mark a seam guide: draw a line at your seam allowance on the quilt top edge, then align point raw edges to it.
- Chain-press your points: press all first folds, then all second folds. Consistency improves fast.
- Clip more than you think you need: points shift easily when you place the backing on top.
- Baste first: yes, I am saying it again. Basting is the secret handshake.
Make sure the seam catches
If your perimeter seam misses the raw edge of a point, that point will eventually pull out with use and washing. If you are unsure, sew your perimeter and then gently open the layers in one spot to peek before you turn the whole quilt. A quick fix now is much easier than repair later.
Design variations
1) Two-sided points
For a reversible, two-color peek, make points with two fabrics while still keeping raw edges at the base so they can be anchored in the seam.
Here is an easy, reliable method:
- Cut two squares the same size (Fabric A and Fabric B).
- Place them wrong sides together (so both right sides face out).
- Fold diagonally into a triangle and press.
- Fold in half again to form the prairie point, keeping all raw edges aligned at the base. Now you have a two-sided point with clean folded edges and a seam-free look on both faces.
It adds a touch of bulk, but the peekaboo effect is worth it on special quilts.
2) Alternating or scrappy
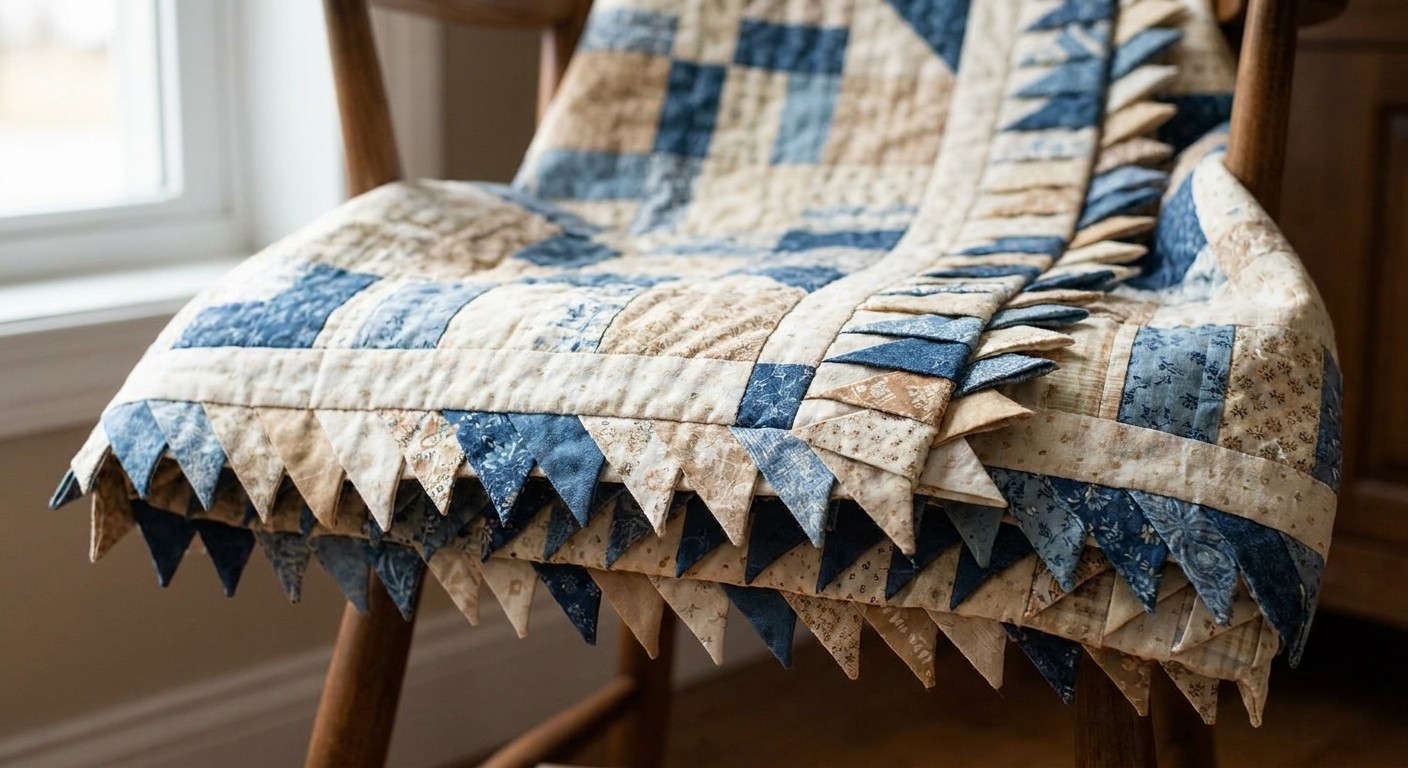
Alternate two fabrics for a bold graphic border, or go fully scrappy for a “vintage flea market basket” vibe. If you are using scraps, keep one unifying element, like all warm tones or all blues, so the edge reads intentional instead of chaotic.
Troubleshooting
My points look floppy
- Use a slightly heavier quilting cotton, or add starch before folding.
- Make points smaller (less fabric sticking out tends to stand up better).
- Topstitch closer to the edge to firm up the perimeter.
My points are uneven
- Double-check that your starting squares are truly square.
- Press with precision, not speed. Let the iron set the fold before you move it.
- Try a folding board or a simple cardboard square template to keep folds consistent.
My corners are bulky
- Skip points right at the corner, or use a single corner point.
- Trim seam allowances and clip corners a bit more (without snipping stitches).
- Avoid extra-thick point styles at the corners.
My points got caught the wrong way
This happens when a point flips outward while you sew. To prevent it, clip each point so the tip is anchored inward, then baste. If it already happened, unpick just that area and resew. It is annoying, but fixable, and you will be happier than if you leave it.
Care
Prairie points are sturdy when they are fully caught in the seam and reinforced with topstitching. For quilts that will be heavily washed (kids, pets, couch life), I recommend:
- Shorter points (about 1 1/2 in exposure)
- Strong thread and a slightly shorter stitch length for perimeter seams
- Edge topstitching all the way around
- Quilting close to the edge (within 1 to 2 in) to stabilize the perimeter
If you love the look but worry about little fingers tugging, you can also tack every fourth or fifth point down with a tiny hand stitch near the base. Invisible, quick, and surprisingly strong.
FAQ
Can I add points to an already bound quilt?
Yes, but it is a different method. You can insert points under the binding (by opening a section and stitching them into the binding seam), or stitch them along the edge as added trim. It will not look exactly like the envelope-style, no-binding finish, but it can still be charming.
Do points work on curves?
They can, but curves are fussy. Use smaller points, place them closer together, and ease the curve slowly. For a first prairie point project, straight edges will feel much more relaxing.
What seam allowance should I use?
Use what matches your project and keep it consistent. 1/4 in is common in quilting, and 1/2 in is common for turned finishes. The key is taking enough bite to securely catch the raw edges of the points.
Biggest beginner mistake?
Not basting, then watching points shift as you sew. The second biggest is forgetting that points must face inward before turning. We have all done it once.
Try it
If binding has been the part you dread, prairie points can feel like a little reset. It is still finishing, but it is playful finishing. Pick a small project first, a table runner or a baby quilt, and let yourself enjoy the rhythm of fold, press, clip, stitch. Your quilt will come out looking like it has a personality all its own.