A friendly, step-by-step tutorial for sewing quilt binding by machine from start to finish, including perfect mitered corners and a clean, durable finish.
The Quilt Mark
October 22, 2026
How to Face a Quilt
Learn how to finish mini quilts and wall hangings with a clean facing technique that hides the edge on the back. Step-by-step instructions, tips, and troubleshooting included.

Clara Jenkins
Clara Jenkins is an avid quilter and fabric enthusiast who has been designing and piecing together quilts for over twenty years. She shares her passion for color coordination, block design, and practical sewing techniques to help makers of all skill levels create beautiful, lasting heirlooms. Through Quiltmark, Clara aims to make the timeless art of quilting accessible, joyful, and deeply rewarding for everyone.
Updated October 22, 2026
If you love the look of a modern mini quilt or wall hanging but want the front to feel sleek and gallery-ready, facing is your best friend. Instead of wrapping binding around the edge, you sew fabric strips to the back and turn them in, so the front stays clean with no binding frame at all. It is tidy, professional, and surprisingly forgiving once you understand the rhythm.
I reach for facing when I want crisp negative space, when I am quilting right up to the edge, or when a design feels more like “art on the wall” than “blanket on the couch.” If binding feels like the part that slows you down, facing can be a delightful change of pace.
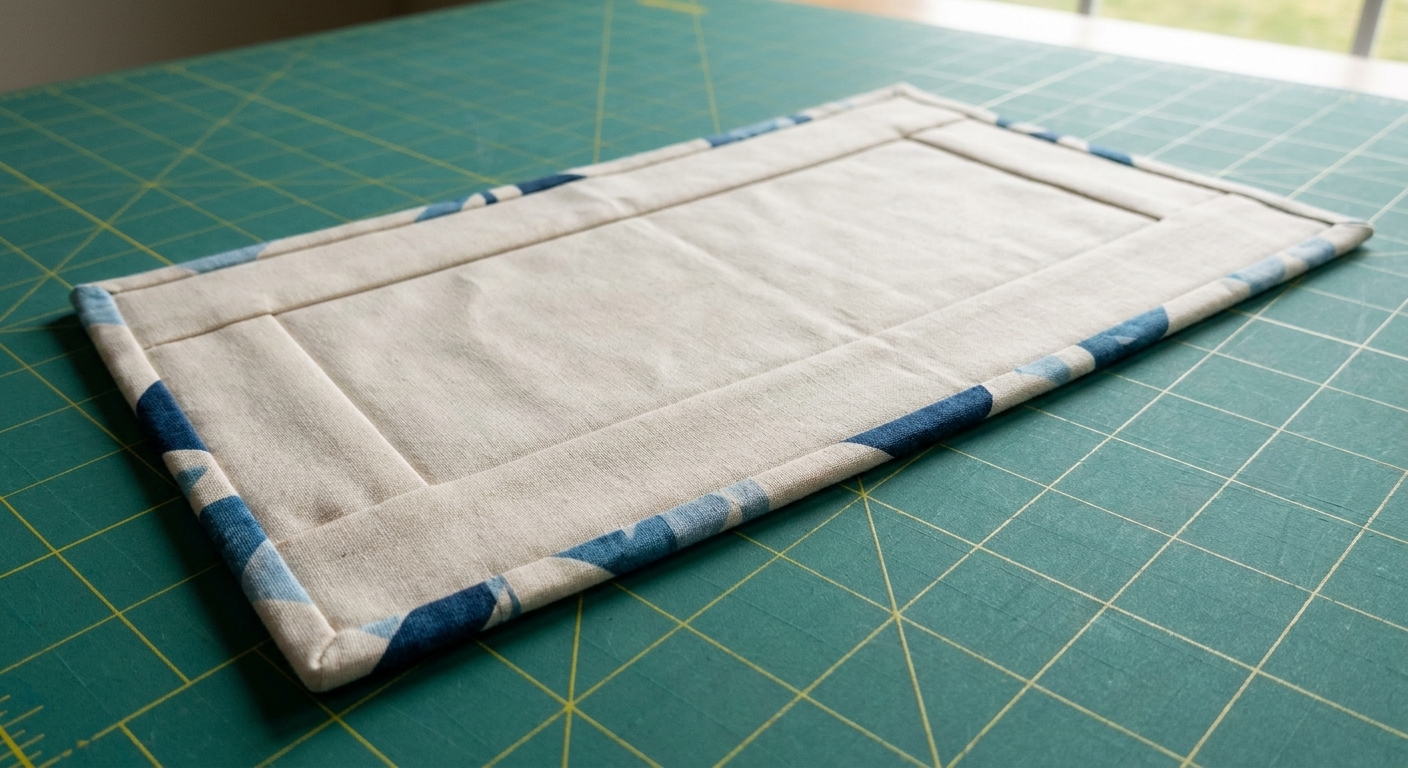
What is quilt facing?
Quilt facing is a finishing method where fabric strips are sewn to the quilt’s edges (or corners), turned to the back, and stitched down so the front edge looks like a clean, uninterrupted line of quilt top. From the front, you see only the quilt top. From the back, you see neat fabric bands around the perimeter.
Facing is especially popular for:
- Mini quilts and small wall hangings
- Modern quilts where you want the design to float without a border
- Heavily quilted pieces where facing can reduce bulk on the front edge
- Quilted art that will be hung or framed
It is not my first choice for bed quilts that will be washed hard and often. Binding is still the durability champion for everyday use.
Facing vs binding
- Choose facing if you want a clean edge with no visible binding on the front, and the piece is primarily decorative.
- Choose binding if the quilt will be used, laundered frequently, or tugged from every angle by real life.
One more honest note: facing looks simple, but it rewards careful pressing and tidy trimming. If your iron is already warm, you are halfway there.
What you need
You likely have everything already. I will give you my favorite options, plus the “use what you have” alternatives.
Supplies
- Quilted mini quilt or wall hanging, quilted and trimmed (squared up)
- Facing fabric (often your backing fabric, or a coordinating solid)
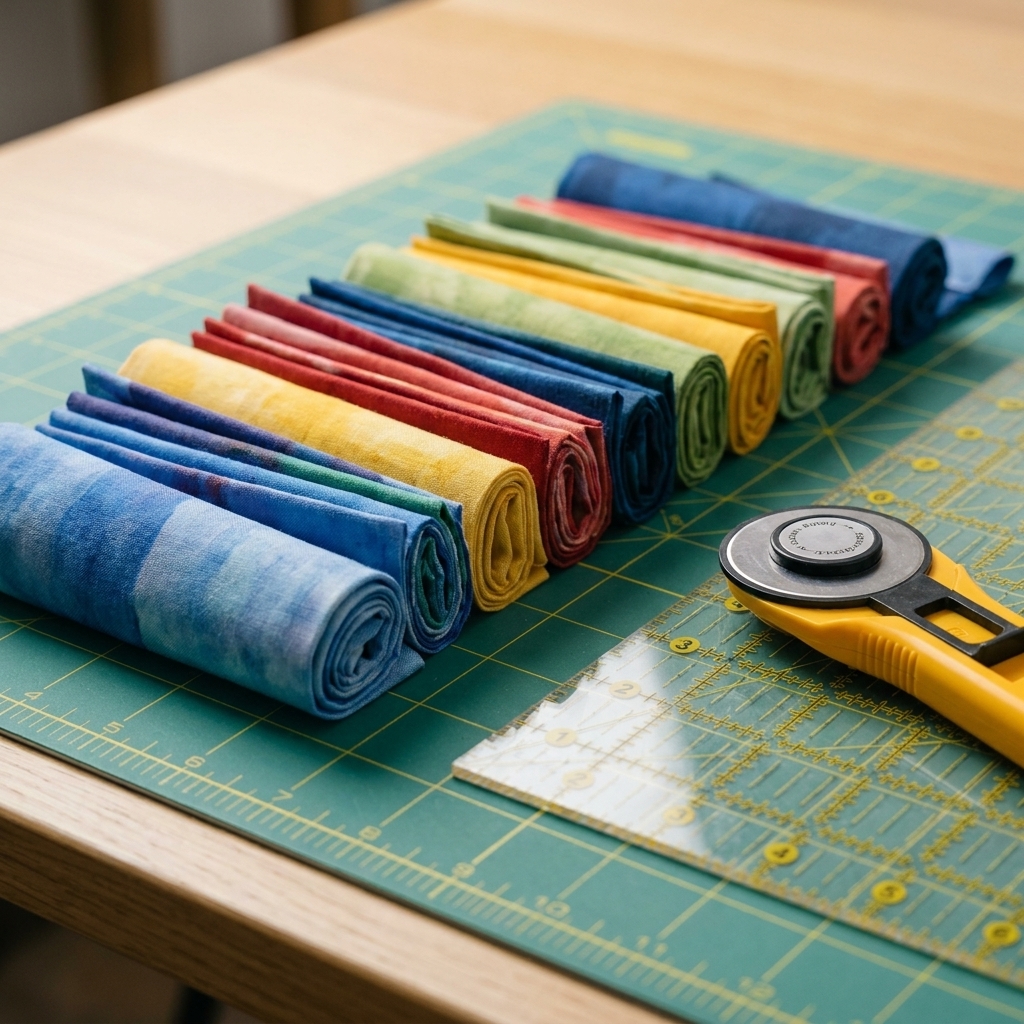
- Rotary cutter, ruler, cutting mat
- Iron and pressing surface
- Wonder clips or pins
- Sewing machine and thread
- Hand sewing needle (optional but helpful)
Facing strip width
For most minis, I cut facing strips 2 1/2 to 3 inches wide. After sewing and turning, you will typically end up with a facing band on the back about 1 to 1 1/4 inches wide, depending on thickness, seam allowance, and how much you roll the seam to the back. Wider strips are easier to handle and less likely to roll to the front.
If your quilt is thickly quilted or you used lofty batting, go a bit wider (3 inches) so the facing has enough fabric to wrap around the edge smoothly.
Best grain direction
If you can, cut facing strips on the straight grain (parallel to the selvage). Straight grain behaves better and helps prevent rippling along the edge.
Square it up first
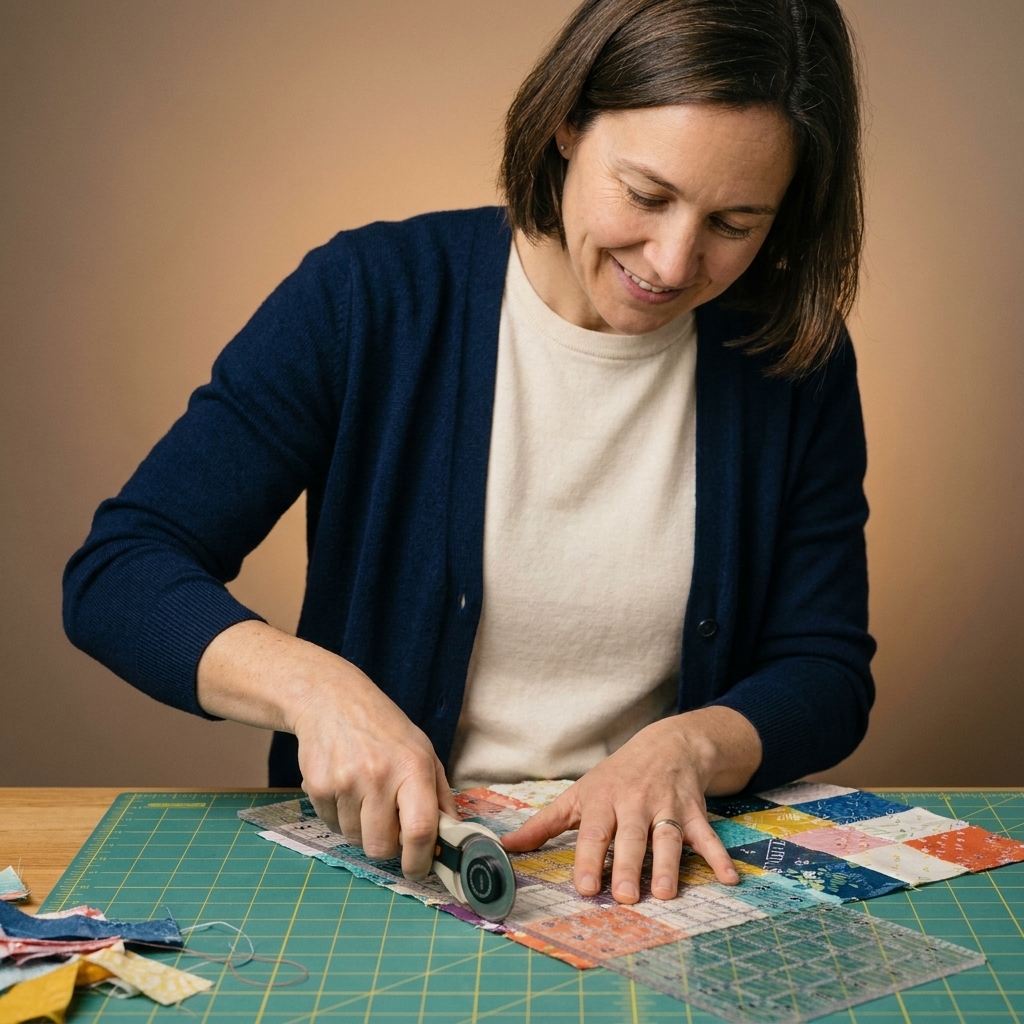
Facing shows off every wavy edge, so take a few minutes to trim and square your quilt sandwich first.
- Trim backing and batting flush with the quilt top.
- Square the corners using a ruler. Check that opposite sides match in length.
- Stabilize if needed: If your edges feel stretchy (hello, bias), a light mist of starch on the last inch of the edge can help.
Method 1: Full facing strips
This is the most common method and a great place to start. You will attach strips to all four sides, turn them to the back, and stitch them down.
Step 1: Cut your strips
Cut:
- 2 strips the length of the quilt’s top and bottom edges, by 2 1/2 to 3 inches wide
- 2 strips the length of the quilt’s side edges, by 2 1/2 to 3 inches wide
If your strips need to be pieced to get the length, press the seams open to keep bulk down.
Step 2: Press the strips in half
Press each strip wrong sides together, lengthwise. You are making long folded bands, similar to binding prep.
Step 3: Sew facing to the quilt edges
Work with the quilt right side up.
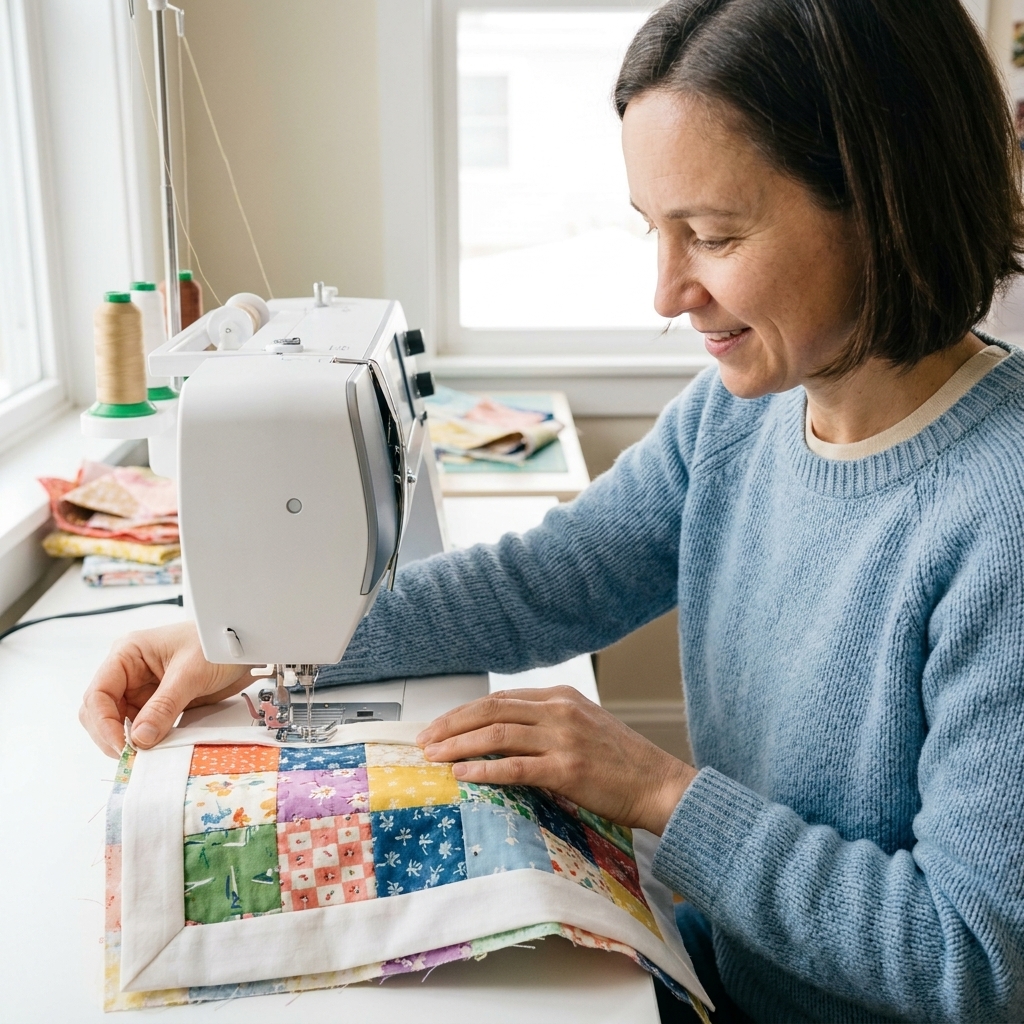
- Place a folded strip along the top edge with raw edges aligned, and make sure the strip is right sides together with the quilt top (the folded edge points toward the quilt center).
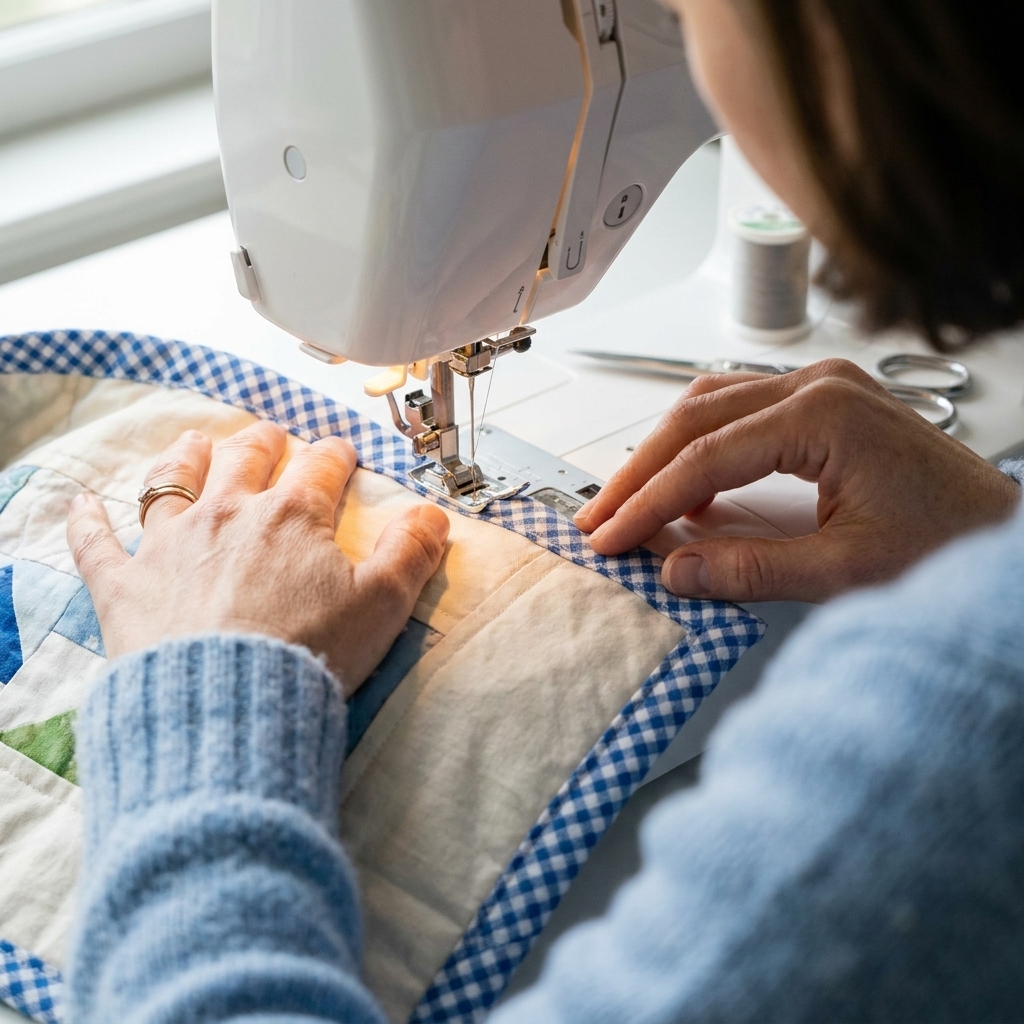
- Sew with a 1/4 inch seam allowance. Start and stop 1/4 inch from each corner.
- Repeat for the bottom edge.
- Add side strips next, again starting and stopping 1/4 inch from corners.
That little 1/4 inch gap at each corner is what lets the corners turn neatly instead of bunching.
Corners
Corners are where facing either looks crisp or looks like it fought you. The trick is reducing bulk and giving the fabric a clean path to turn.
Step 4: Grade and clip
- Trim seam allowances slightly if your quilt is bulky, especially the facing seam allowance.
- Clip the quilt corner diagonally (carefully), leaving about 1/8 inch before the stitching line. Do not cut your stitches.
Step 5: Turn, fold, and press
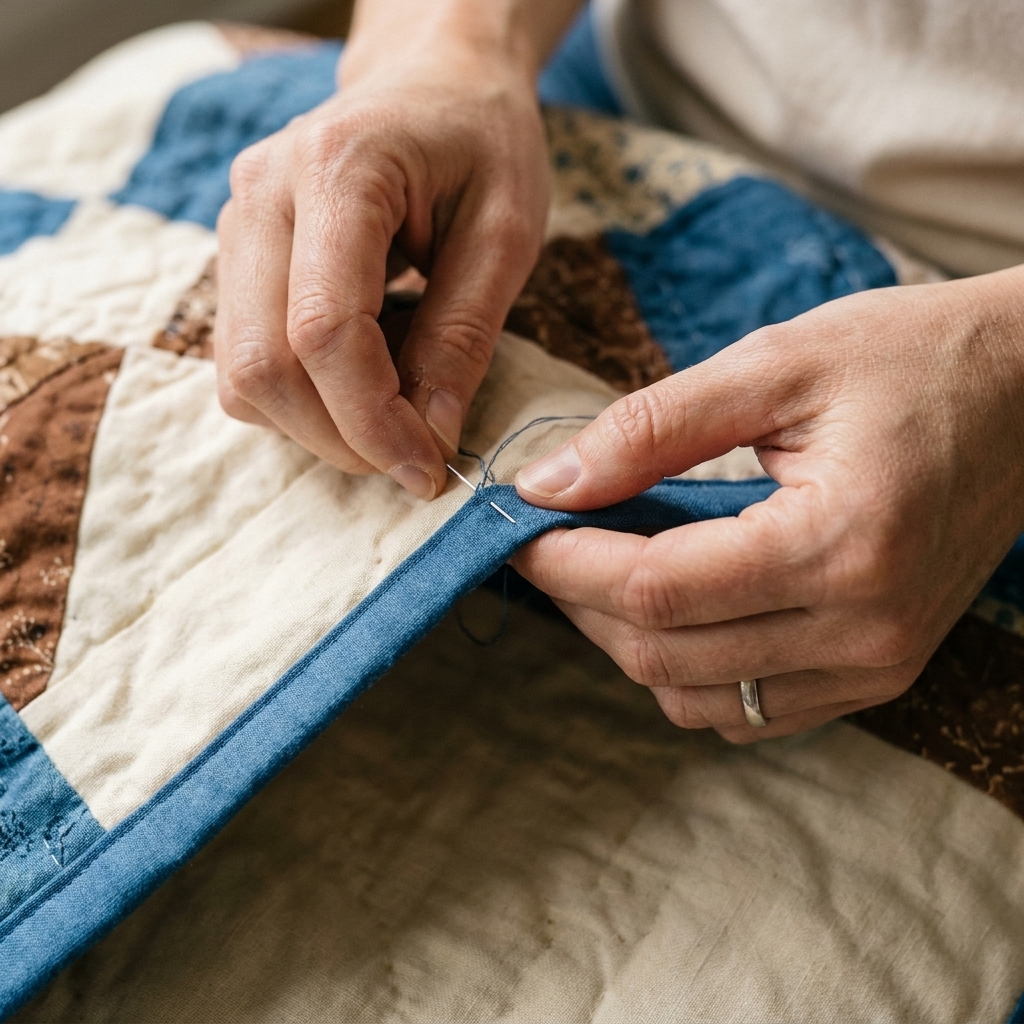
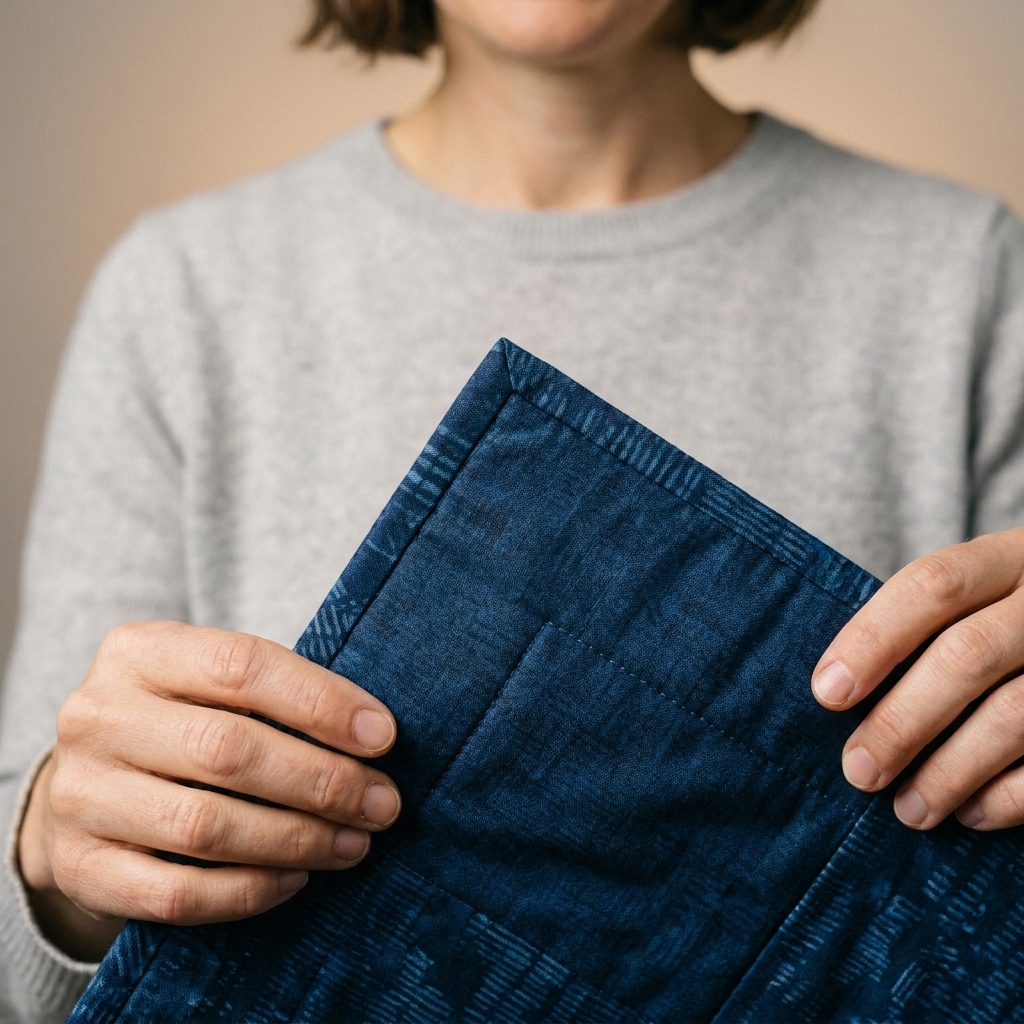
Flip the facing to the back of the quilt, wrapping it over the raw edge. Use your fingers to coax the corner into a neat 90-degree turn, then press firmly.
Here is the part beginners often want spelled out: when you turn the facings to the back, the strip ends meet at the corner. Fold one strip end at a 45-degree angle so its folded edge creates a tidy miter right at the corner, then lay the neighboring strip over it. If there is extra bulk, trim the under layer slightly before you press. You can hand tack that little miter to the backing with a couple tiny stitches so it never shifts.
Pressing tip: I like to press from the front first, just to make sure the seam rolls fully to the back and no facing peeks out. Then I flip to the back and press again to set everything.
Stitch the facing down
Now you just need to attach the facing to the back so it stays put and stays invisible from the front.
Option A: Hand stitch
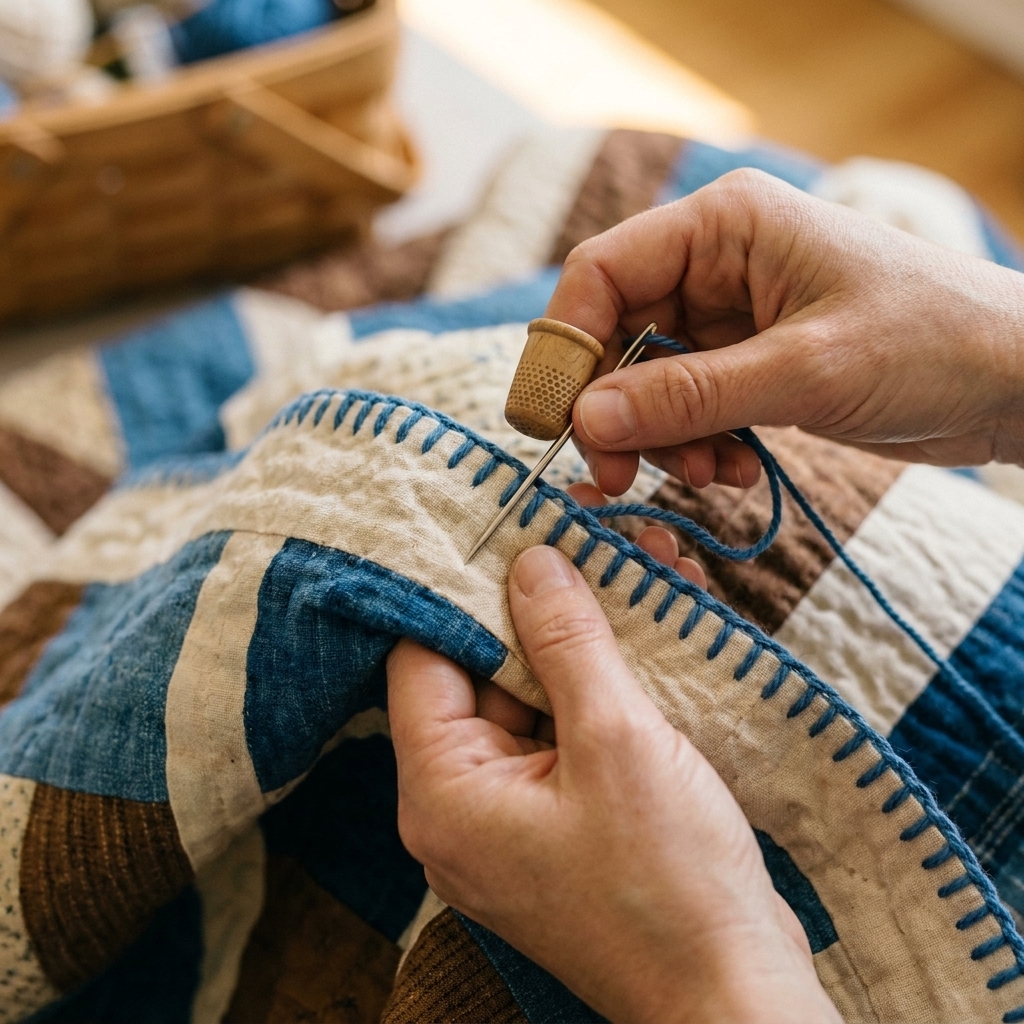
Using a small needle and matching thread, slip stitch the folded edge of the facing to the backing. Take tiny bites of the backing fabric only, avoiding the quilt top. This takes a little time, but it disappears beautifully.
Option B: Stitch in the ditch
From the front, stitch in the ditch along the seam line where facing meets the quilt. If your stitching is truly in the seam, it will be hard to spot on the front and it catches the facing on the back.
One caution: it only works if the facing is well pressed and heavily pinned or clipped so it cannot drift. If you are unsure, do a few inches, flip to the back, and confirm you are catching the facing before you commit to the whole side.
My advice: Use a slightly longer stitch length and go slowly, especially at corners.
Option C: Back edge stitch
If you do not mind a visible line on the back only, you can topstitch close to the folded facing edge on the back side. It is strong and very tidy.
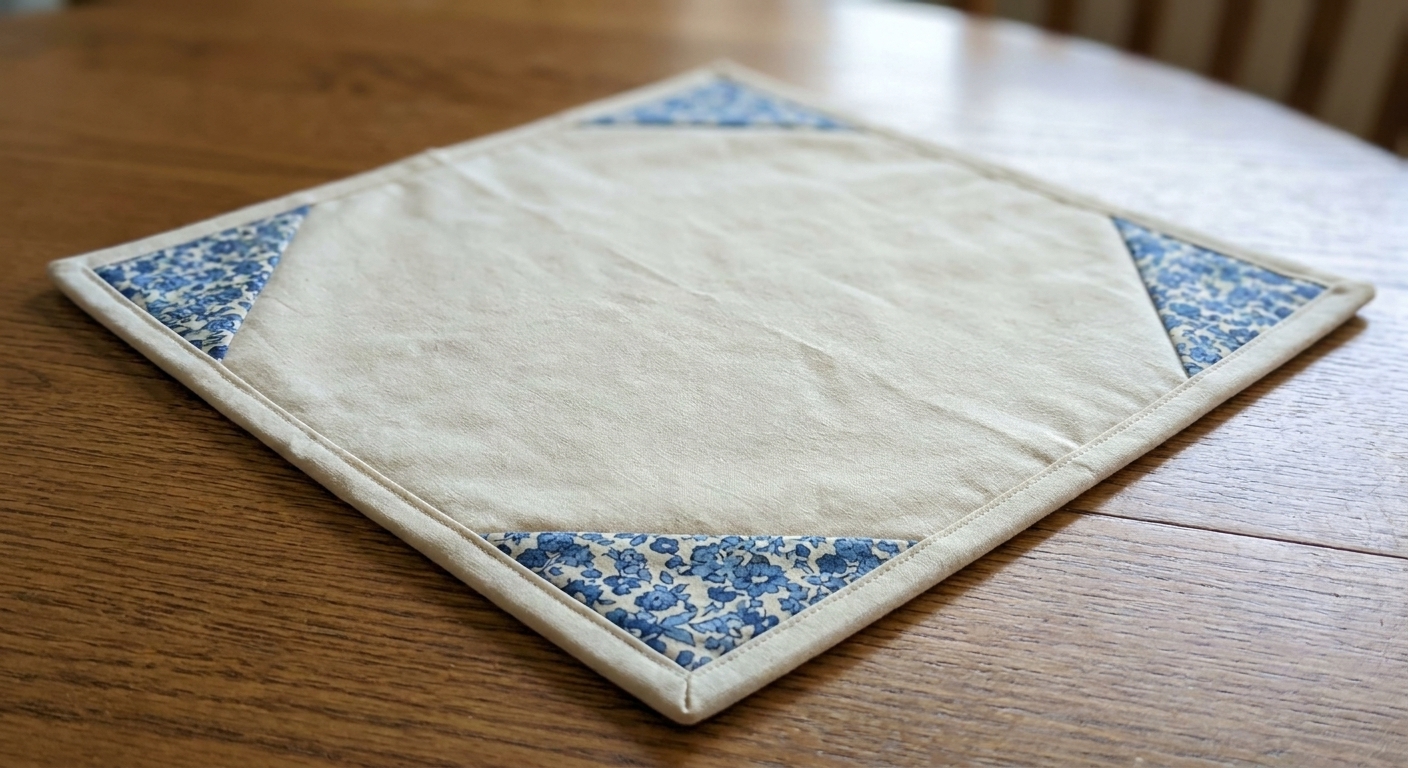
Method 2: Corner facings
Corner facings are small fabric triangles or L-shapes that only cover the corners, leaving most of the back open. This method can be gorgeous for tiny minis, especially if you plan to mount the quilt or if you want less fabric on the back.
The overview:
- Cut four squares large enough that, after turning, they extend about 2 to 3 inches along each edge.
- Fold each square diagonally to make a triangle.
- Sew each triangle to a corner with a 1/4 inch seam.
- Turn to the back, press, and stitch down.
This is also a nice option if you want to tuck a hanging sleeve into the top corners without extra layers all the way across.
Add a hanging sleeve
If your quilt is headed to the wall, add a sleeve to the back before you stitch the facing down. That way, the facing can help secure the sleeve’s top edge too.
Simple sleeve
- Cut a piece of fabric the width of your quilt and about 8 to 9 inches tall.
- Hem the short ends.
- Fold it so it finishes about 3 1/2 to 4 inches tall, then press.
- Make a small “bump” at the fold by pressing in a shallow tuck (or just shifting the layers slightly as you press) so the sleeve has slack for the rod.
- Baste the top raw edge of the sleeve to the back top edge of the quilt, raw edges aligned, before facing is stitched down.
Typically, the sleeve is secured along the top edge, and the bottom edge is left free, then hand tacked at the ends and once or twice in the middle. That little bit of freedom keeps the rod from pulling the quilt into a frown.
Common problems
Facing is peeking to the front
- Press again, rolling the seam slightly to the back.
- Check if your facing strips are too narrow. Wider facings behave better.
- Consider hand tacking the facing near each corner to keep it anchored.
Corners are bulky
- Trim and grade seam allowances more aggressively.
- Clip the corner closer to, but not through, the stitching line.
- Use a thinner facing fabric, like quilting cotton instead of canvas or linen blends.
Edge looks wavy
- Make sure the quilt was squared up before facing.
- Avoid stretching as you sew. Let the feed dogs do the work.
- If needed, staystitch 1/8 inch from the edge before attaching facing to stabilize.
- If you cut your facing on the straight grain, it will be less likely to ripple.
Facing will not lay flat
- Steam press and use lots of pins or clips before stitching down.
- Hand stitching can tame stubborn spots better than machine stitching.
Finishing touches
- Label it: Facing leaves a nice clean back area for a label. Add your name, date, and a little note. Future you will be so glad.
- Add a hidden weight: For wall hangings that curl, a slim dowel or curtain weight stitched into the bottom facing can help it hang straight.
- Final press: Press from the back first, then a quick, careful press from the front with a pressing cloth.
FAQ
Face before or after quilting?
After. Quilt your piece, square it up, then add facing as the final finish.
Use backing fabric as facing?
Absolutely, and it often looks very polished. Using the same fabric helps the facing blend in on the back.
Is facing washable?
Yes, but it is generally less rugged than binding over the long haul. For a piece that will be washed frequently and handled a lot, binding is the safer choice.
What seam allowance?
A standard 1/4 inch works well for most quilts. The real key is stopping 1/4 inch from the corners so the turn is clean.
Final note
If you try facing once and it feels a little fussy, do not take that as a sign you are “bad at finishing.” Facing is just a different kind of precision than binding. Give yourself permission to make one practice mini from scraps, even a simple patchwork square. By the second one, your fingers will know exactly how that corner wants to fold, and the whole process becomes oddly soothing.