A friendly, step-by-step tutorial for sewing quilt binding by machine from start to finish, including perfect mitered corners and a clean, durable finish.
The Quilt Mark
October 22, 2026
Machine Flange Binding Tutorial
Learn a quick, fully machine-sewn flange binding that creates a crisp two-tone faux-piping effect. Step-by-step cutting, pressing, attaching, and troubleshooting for neat corners and a clean finish.

Clara Jenkins
Clara Jenkins is an avid quilter and fabric enthusiast who has been designing and piecing together quilts for over twenty years. She shares her passion for color coordination, block design, and practical sewing techniques to help makers of all skill levels create beautiful, lasting heirlooms. Through Quiltmark, Clara aims to make the timeless art of quilting accessible, joyful, and deeply rewarding for everyone.
Updated October 22, 2026
There is something deeply satisfying about a binding that looks fancy but behaves like a workhorse. Machine flange binding gives you that sweet little pop of a contrasting edge, like piping, without actually making piping. It is crisp, graphic, and surprisingly forgiving once you know where the flange is supposed to sit.
This method is fully machine-sewn, start to finish. You will sew it on from the back, wrap to the front, and stitch in the ditch along the flange so the last line of stitching disappears. When it works, it looks like magic. When it does not, it is usually one tiny pressing or seam allowance issue, and we will fix that too.
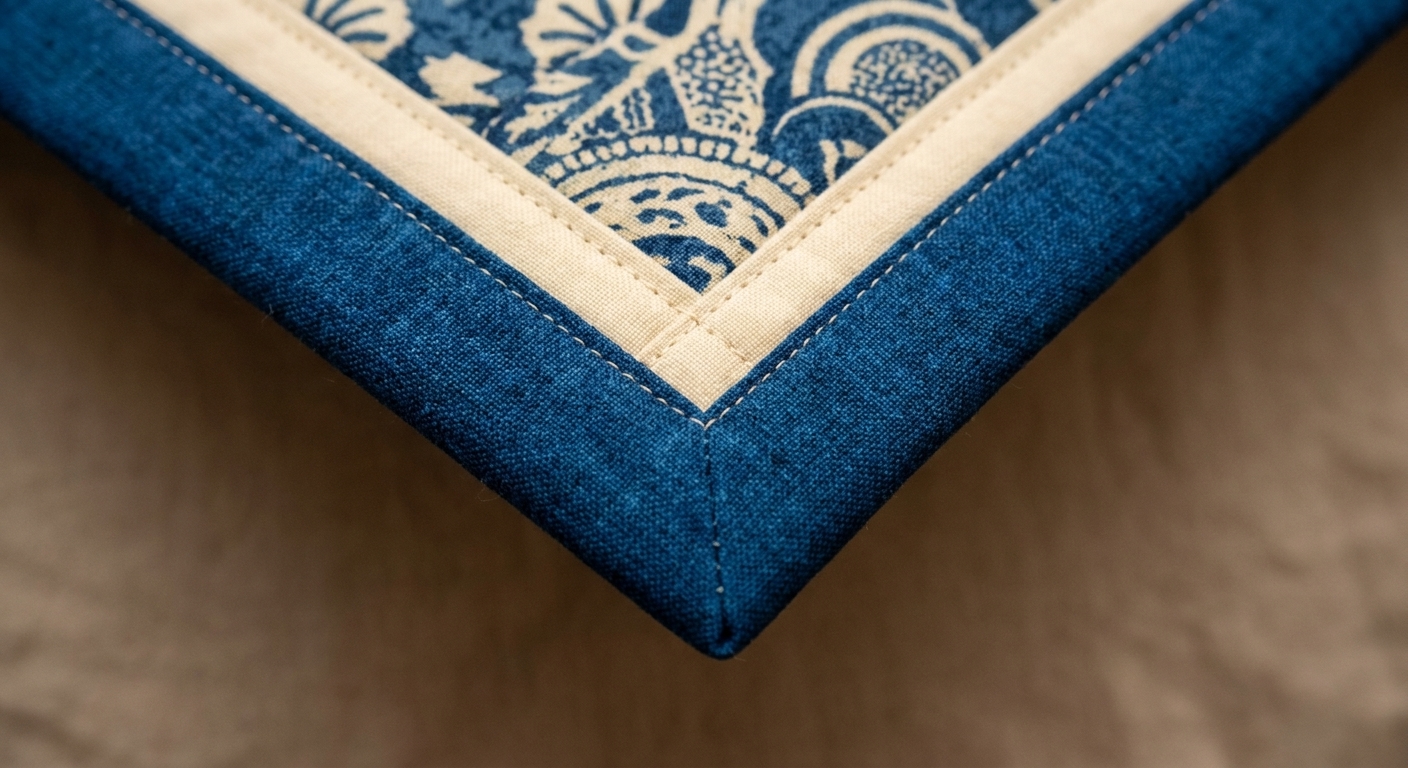
What is flange binding?
Flange binding is a two-fabric binding where a skinny strip (the flange) peeks out between your quilt and the main binding fabric. It creates a faux-piping effect and a clean frame around the quilt.
- The flange fabric is the skinny accent that shows on the front.
- The main binding fabric is the outer fabric that wraps to the front and becomes the visible binding.
Because you stitch in the ditch right next to the flange, the final seam sinks into that seam line and is hard to see from the front. That is the whole trick.
Before you start
Great for
- Modern quilts where you want a crisp graphic outline
- Busy prints where hand stitching would disappear anyway
- Kid quilts, picnic quilts, and anything that will be loved hard and washed often
- Quilts with lots of seams at the edge, where stitching in the ditch is easier to hide than topstitching
Fabric tips
- Choose a solid or small-scale print for the flange if you want that piping look. High contrast reads the most tailored.
- Use a slightly darker flange than the quilt top if you want the ditch to visually disappear.
- Use quilting cotton for both while you learn. Slippery batiks, lawn, or sateen can work, but save them for later.
And a gentle truth from my own first flange binding: pressing matters more here than almost anywhere else in quilting. You do not need perfection, but you do need consistency.
Materials
- Quilt, quilted and squared up
- Fabric for flange and main binding
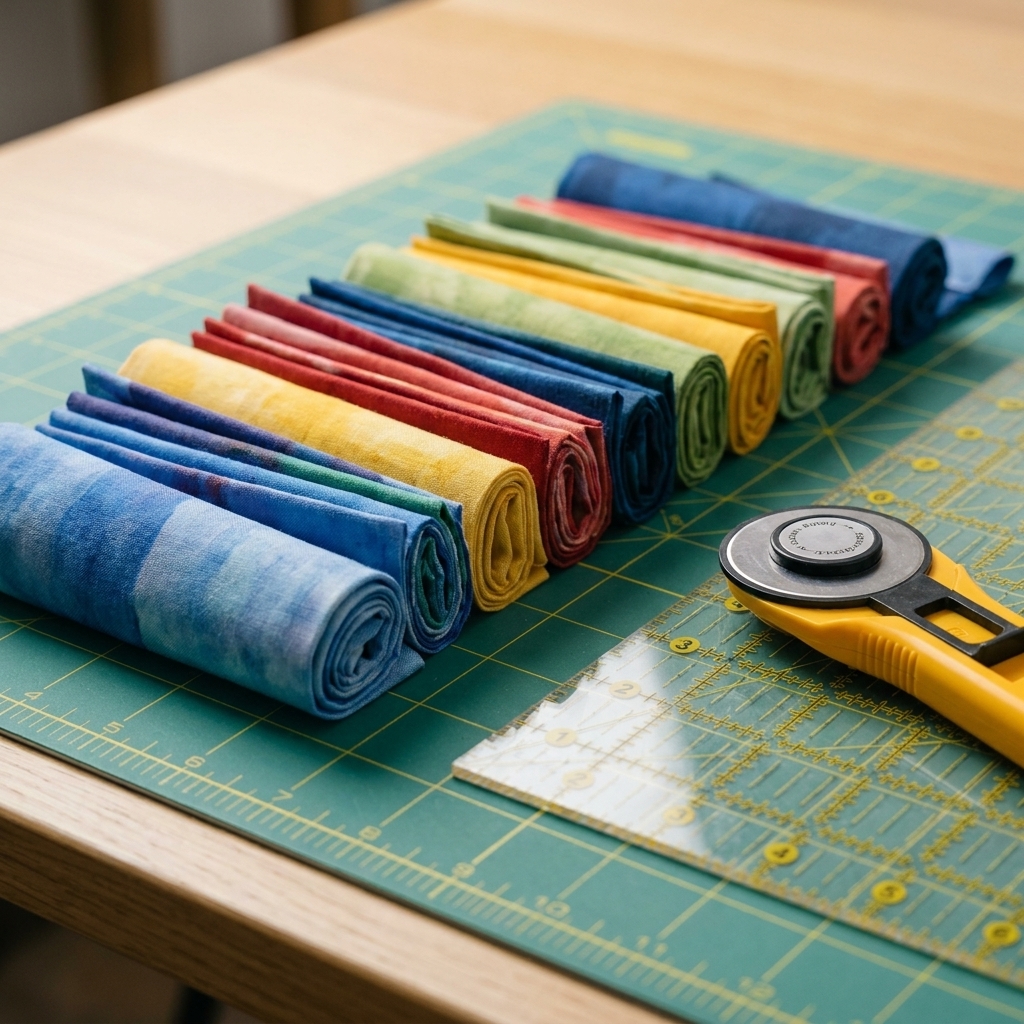
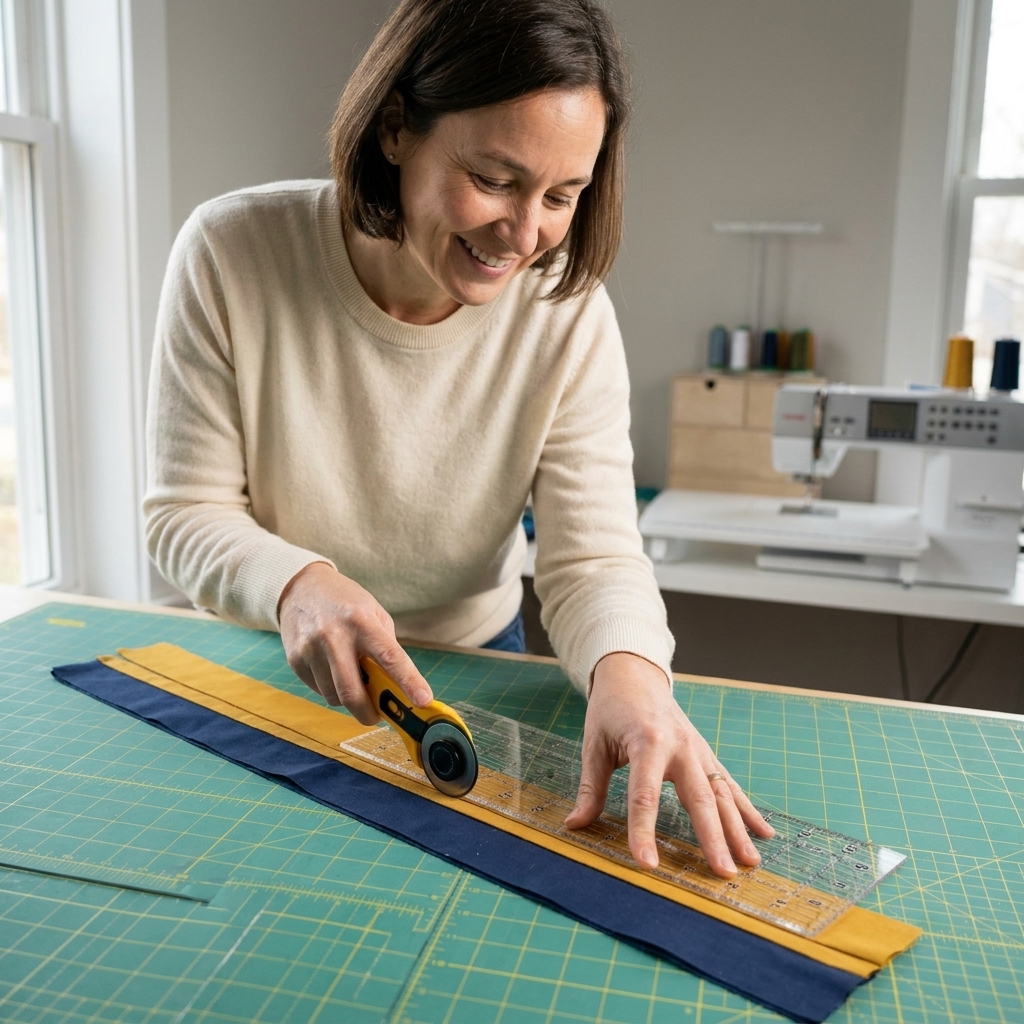
- Rotary cutter, ruler, cutting mat
- Iron and pressing surface
- Walking foot (highly recommended)
- Thread that blends with your flange (or with your quilt top, depending on your colors)
- Wonder Clips or pins
- Optional: binding clips for bulky quilts, glue stick or washable glue for control
Needles: A fresh 80/12 or 90/14 quilting needle is your friend. If your quilt is lofty, go up a size.
Binding math
This is the cutting plan that gives you a slim, visible flange and a tidy, not-too-wide binding. It is also the one that behaves most reliably when you stitch in the ditch.
Cut widths
- Flange strip: 1 3/4 inch wide
- Main binding strip: 1 1/2 inch wide
You will sew these strips together lengthwise, then fold the combined strip in half like normal binding. The flange becomes a little lip that naturally wants to peek out.
One important note: Quilt thickness, batting loft, and seam accuracy can change how much flange you see and whether your final ditch stitching catches the back edge. Before you commit, make a quick test sample on a small quilt sandwich using your exact seam allowances and give it a wrap to confirm the reveal.
Note: This combo makes a nicely proportioned binding for machine finishing. If you prefer a chunkier binding, you can cut the main binding a bit wider, but test on a scrap sandwich first so you still catch the back edge when you stitch in the ditch.
How many strips?
Measure the perimeter of your quilt (top + bottom + left + right) and add 20 inches for corners and joining.
Formula: (2 x width + 2 x height) + 20 inches
Divide that number by your usable fabric width to estimate how many strips. Most quilting cotton is about 40 to 42 inches usable.
Example: A 60 x 70 inch quilt: (2x60 + 2x70) + 20 = 280 inches. 280 ÷ 40 = 7 strips (round up).
Cut the same number of strips from the flange fabric and the main binding fabric.
Prep the binding
1) Join strips
Join the flange strips to each other, and the main binding strips to each other, using diagonal seams (the usual binding join). Press seams open to reduce bulk.
2) Sew flange to main
Place the flange strip and the main binding strip right sides together, matching raw edges. Sew along the long edge with a 1/4 inch seam allowance.
Tip: Use a walking foot if your strips are long and want to creep.
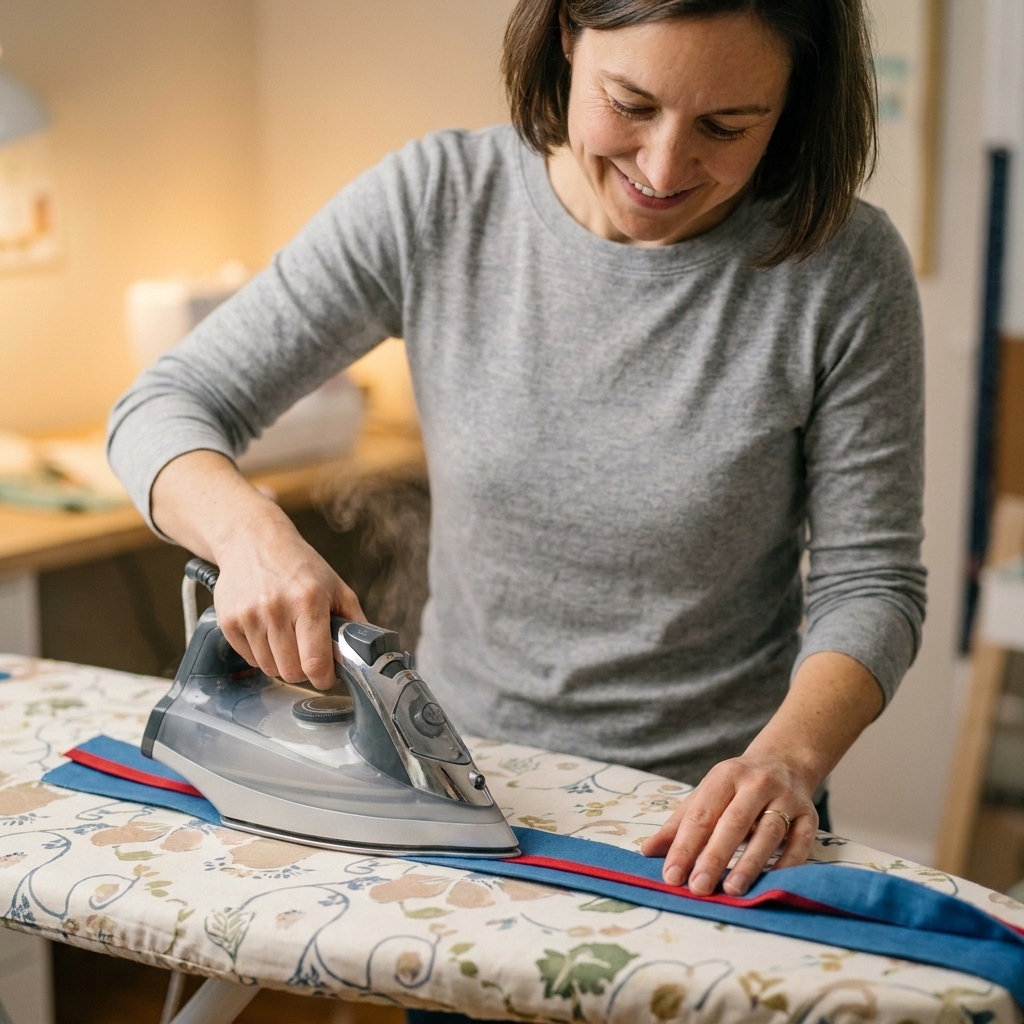
3) Press for a crisp flange
- Press the seam allowances toward the main binding fabric.
- Now fold the unit in half lengthwise, wrong sides together, matching raw edges.
- Press again, firmly. The flange should extend slightly beyond the main binding at the raw edge side. That offset is what makes the flange show.
If your flange is not peeking out evenly, go back to the ironing board and coax it. This is one of those times where you are allowed to be a little fussy.
Attach to the back
Yes, the back. For this method, we sew the binding to the back first so the final invisible stitch line happens on the front.
1) Line it up
With the quilt back side up, align the raw edges of the binding with the raw edge of the quilt.
Orientation cue: When you are sewing to the back, the main binding fabric should be the fabric touching the quilt back (right sides together). The flange fabric will be stacked on top of it, and later it will roll to the front and peek out.
Clip or pin generously. If your quilt sandwich is thick, clips are easier on your wrists and keep layers from shifting.
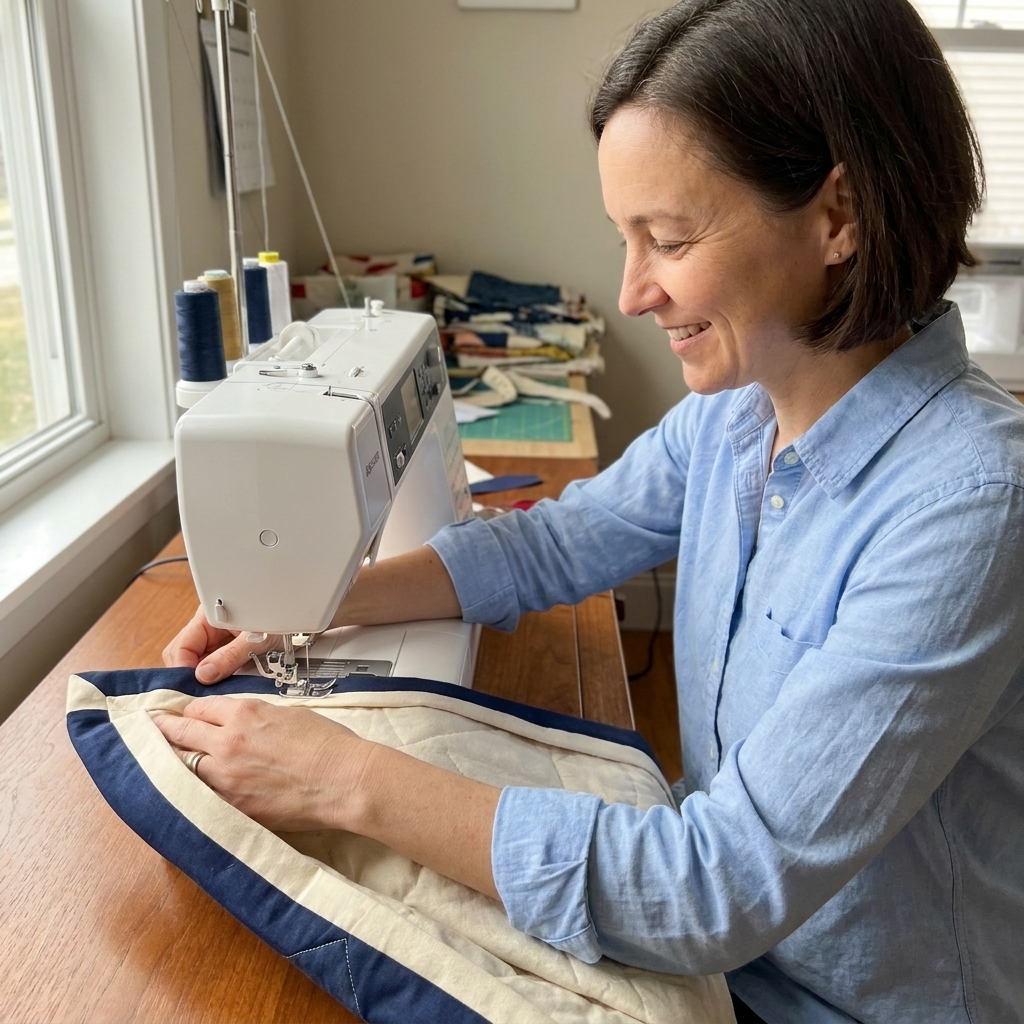
2) Sew with a slightly larger seam
Sew the binding to the back using a 3/8 inch seam allowance. This often works especially well for machine-finished flange binding because it helps the binding wrap fully to the front and gives you a clean ditch to stitch into.
If your quilt is very thin or very thick, you may prefer something between 5/16 inch and 3/8 inch. This is where that little test sandwich can save your sanity.
Use a walking foot if you have one, and keep your stitching steady rather than fast. This is finishing work, so slow is speedy.
Mitered corners
Flange binding corners look so sharp when the fold is clean. Take your time here, and you will feel like a wizard at the end.
Sew to the corner
Stitch until you are 3/8 inch from the edge (matching your seam allowance). Backstitch, then remove the quilt.
Fold sequence
- Fold the binding up and away from the quilt, forming a 45-degree angle at the corner.
- Fold it back down so the raw edges align with the next side of the quilt. The folded edge at the top should line up with the quilt edge.
- Clip in place and start sewing at the top edge, continuing down the next side with the same seam allowance.
If this is your first time: do one corner, then stop and peek at the front before you commit to all four. It is much easier to adjust early.
Join the ends
Join the binding ends the same way you would for regular binding: leave an 8 to 10 inch unsewn gap, overlap ends, and sew a diagonal seam so the join is smooth.
Because this binding has two fabrics, you have two choices:
- Best-looking join: Join the flange ends to each other and the main binding ends to each other, then sew the two long lengths together. This keeps the flange continuous.
- Fast and fine: Treat the flange+main as one unit at the final join and stitch a diagonal seam through all layers. The flange may blink at the seam, but on most quilts no one will notice but you.
Trim seam allowance, press, then stitch the last gap closed to the quilt back.
Wrap and stitch
1) Wrap and clip
Flip the quilt right side up. Wrap the binding to the front, making sure the flange shows evenly between the quilt and the main binding.
Clip from the front. Your goal is to hold the binding in place so it cannot creep while you sew.
2) Stitch in the ditch
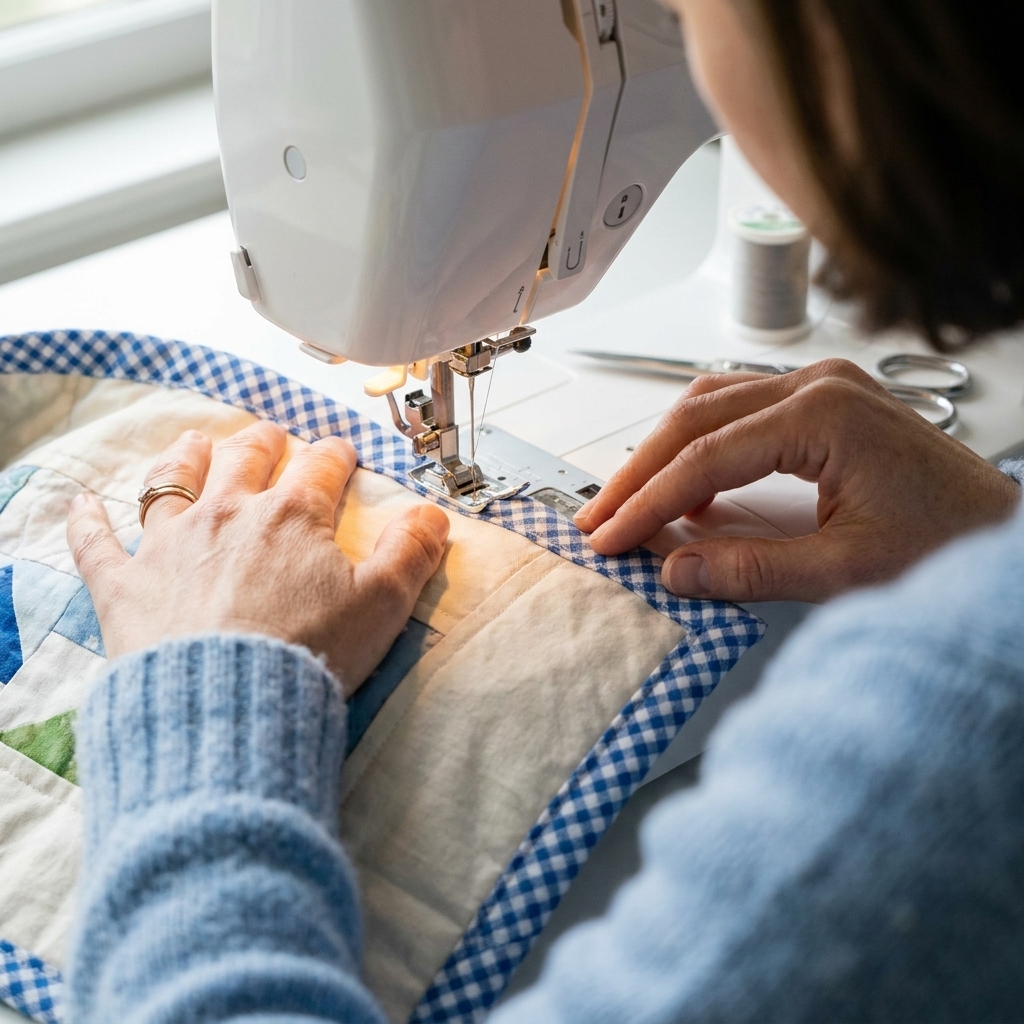
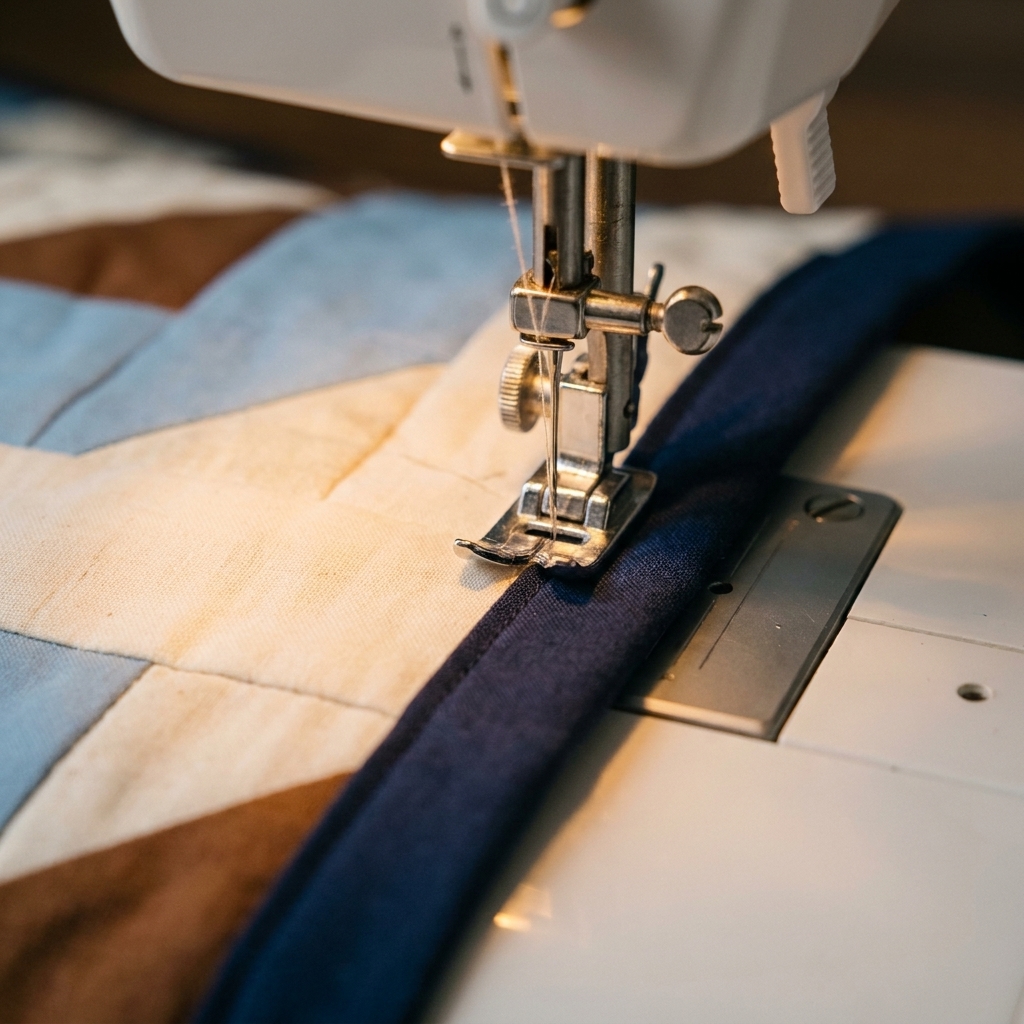
From the front, stitch directly in the seam line between the flange and the main binding. This hides the stitches. A stitch-in-the-ditch foot is helpful, but not required.
- Thread: If you want the stitches to vanish, use thread that blends with the flange or with the ditch area.
- Speed: Slow down, especially at seams and corners.
- Control: Keep gentle tension on the binding with your hands, but do not stretch it.
When you are done, check the back. You should see a tidy line of stitching catching the folded edge of the binding all the way around.
My settings
- Stitch length: 2.8 to 3.2 mm. Slightly longer stitches look calmer on binding.
- Foot: Walking foot for attaching to the back; ditch foot or regular foot for the final pass.
- Needle position: Nudge your needle one or two clicks toward the flange side so the stitches sink into the seam line.
- Pressing: Press the binding away from the quilt after attaching to the back, then again after wrapping to the front. Steam is fine if your fabrics tolerate it.
Troubleshooting
Flange barely shows
- Make sure you pressed seam allowances toward the main binding fabric before folding.
- Check that your initial seam was a true 1/4 inch.
- Next time, cut the flange strip a hair wider (try 1 7/8 inch) if you like a bolder look.
Missed the back edge
- Try a slightly larger seam allowance when attaching to the back. For many quilts, 3/8 inch is the sweet spot, but thickness can nudge that number.
- Clip more frequently, especially near seams and corners.
- If it is just a small section, you can stitch that area again from the front, staying in the ditch.
Ditch stitches show
- Lengthen the stitch slightly and blend your thread color more closely to the flange or ditch area.
- Move the needle position closer into the seam line.
- At bulky intersections, hand-walk the machine (turn the wheel by hand) for control.
Puffy corners
- Trim bulk at the corner: after wrapping, you can carefully reduce extra batting right at the tip (do not cut through the quilt top).
- Press corners with a clapper or a firm object to set the fold.
- Make sure your corner folds are crisp before you stitch in the ditch.
Variations
- Bold flange: Cut the flange 2 inch wide for a more dramatic accent.
- Skinny binding: Keep the flange at 1 3/4 inch, but cut the main binding at 1 3/8 inch for a narrower finish (test on a scrap sandwich first).
- Coordinated look: Use the quilt backing as the main binding fabric and a pop color as the flange for a planned look that is actually stash-friendly.
Quick FAQ
Bias cuts?
No. Straight-grain binding works beautifully for most quilts. If your quilt has scallops or tight curves, that is when bias binding earns its keep, but flange binding is most common on straight edges.
Quilt to the edge?
It helps. Dense quilting near the edge stabilizes the layers and reduces shifting while you attach the binding. If your edge is puffy, a walking foot becomes extra helpful.
Wavy edge?
Square up as best you can, then use plenty of clips and avoid stretching the binding as you sew. Let the quilt feed naturally. A slightly wavy quilt can still have a beautifully even flange if you keep your seam allowance consistent.
Final note
Flange binding is one of those finishes that looks like you meant to do everything. It frames your quilt, hides a multitude of tiny edge sins, and adds that designer wink of contrast.
If your first attempt is a little wobbly, welcome to the club. Mine was, too. The good news is that the next one is always better, and by the third, you will be looking around your sewing room for things to bind just for fun.