A friendly, foolproof tutorial for the 8-at-a-time HST magic method, including a starting-size cheat sheet and trimming guidance for crisp, accurate units.
The Quilt Mark
October 22, 2026
Hourglass Quilt Block Tutorial: Two Ways to Make Quarter Square Triangles
Learn two reliable ways to sew Hourglass quilt blocks (quarter square triangles), plus seam-taming tricks for crisp, bulk-free centers that line up every time.

Clara Jenkins
Clara Jenkins is an avid quilter and fabric enthusiast who has been designing and piecing together quilts for over twenty years. She shares her passion for color coordination, block design, and practical sewing techniques to help makers of all skill levels create beautiful, lasting heirlooms. Through Quiltmark, Clara aims to make the timeless art of quilting accessible, joyful, and deeply rewarding for everyone.
Updated October 22, 2026
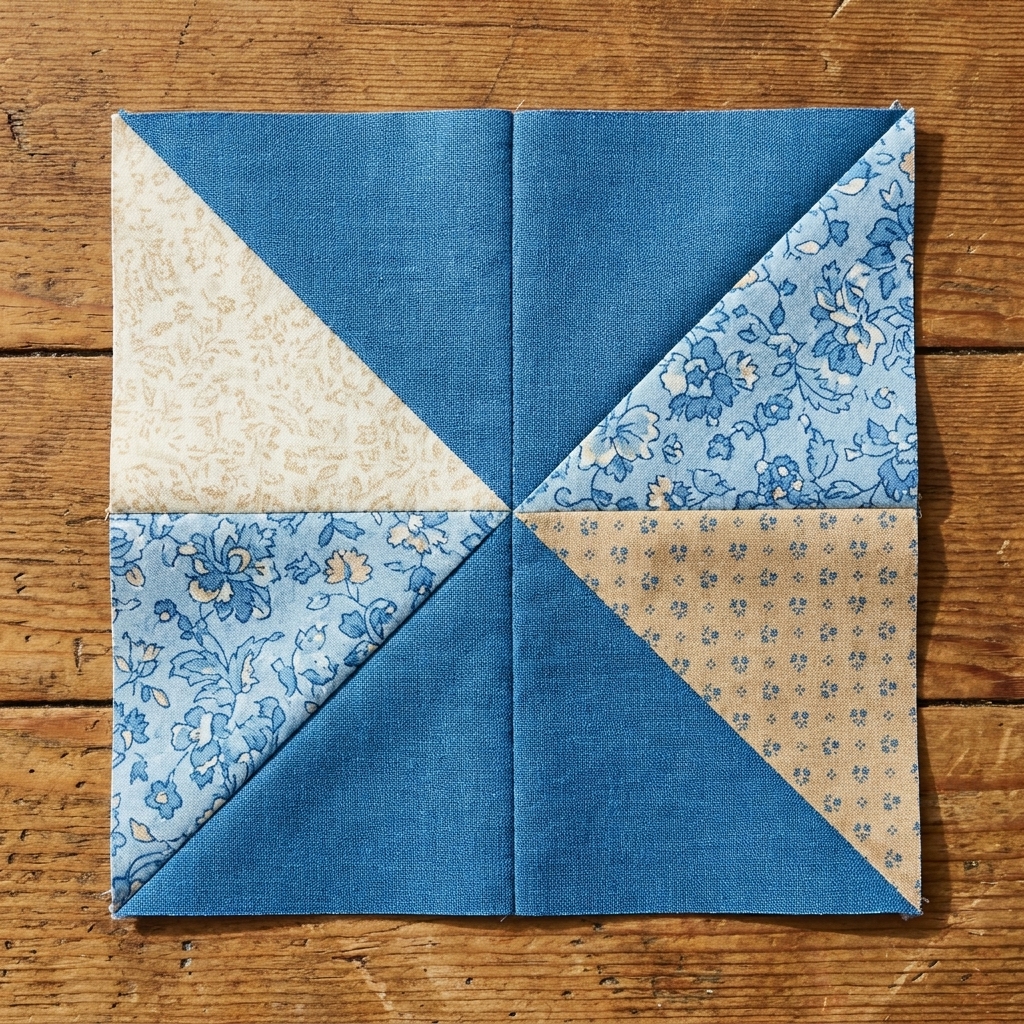
The Hourglass block is one of those quilting classics that looks a little fancy, but behaves beautifully once you know the rhythm. It is made from quarter square triangles (QSTs), and you will see it called both “Hourglass” and “Quarter Square Triangle” in patterns.
One quick note on names: QST is the general unit (four triangles meeting in the center). Hourglass usually refers to the classic layout of that unit, often with a specific color placement. Same construction, different emphasis.
Below are two reliable methods I use all the time, plus the seam-taming trick that gives you a flat, tidy center instead of a lumpy little fabric volcano. Choose the method that matches your project and your patience level that day.
Before you start
What an Hourglass block is
An Hourglass block is a quarter square triangle unit: four triangles meeting at the center, created (in the methods below) by sewing a second set of seams across a half square triangle unit. There are other ways to make QSTs too, including sewing individual triangles or using specialty rulers, but the HST-based approach is accurate and beginner-friendly.
The grain matters here because QSTs introduce bias edges, so a steady hand and a little starch can make everything feel calmer.
Tools that make this easier
- Quarter inch presser foot or a clearly marked seam guide
- Rotary cutter, fresh blade, and a square ruler (a 6.5 inch or 8.5 inch ruler is perfect for most blocks)
- Marking tool (pencil, Frixion, or a hera marker)
- Starch or fabric sizing if your fabric feels shifty
- Thread you trust, not the bargain spool that snaps when you look at it
Seam allowance and pressing plan
In this tutorial, assume a scant quarter inch seam. That tiny “scant” makes a real difference when multiple seams meet at the center.
Pressing is where Hourglass blocks are won or lost. The goal is simple: center points meet and the block lies flat. I will show you two approaches:
- Press to one side so you can nest seams (my default for piecing blocks into rows).
- Spin the seam at the center for an extra-flat intersection (especially nice for dense quilting later).
Plenty of excellent quilters press seams open to reduce bulk, so if that is your preference, go for it. I tend to press to one side because nesting makes my points behave.
Method 1: HSTs first
This is the most controlled method, especially if you like to trim as you go. You make HST units, then use them to make QSTs by sewing on both sides of a new diagonal line.
Step 1: Cut your fabric
Start with two fabric pairs: A and B for the first pair, C and D for the second pair. Each pair of squares makes two HSTs (using the sew-on-both-sides method), and those HSTs can then be paired to make QSTs.
If you want a simple two-color hourglass, just use the same two fabrics for both pairs.
Size note: The most accurate way is to follow your pattern’s cutting. If you are drafting and plan to trim, cut your starting squares a little generous so you can square up cleanly at the end.
Step 2: Sew your HSTs
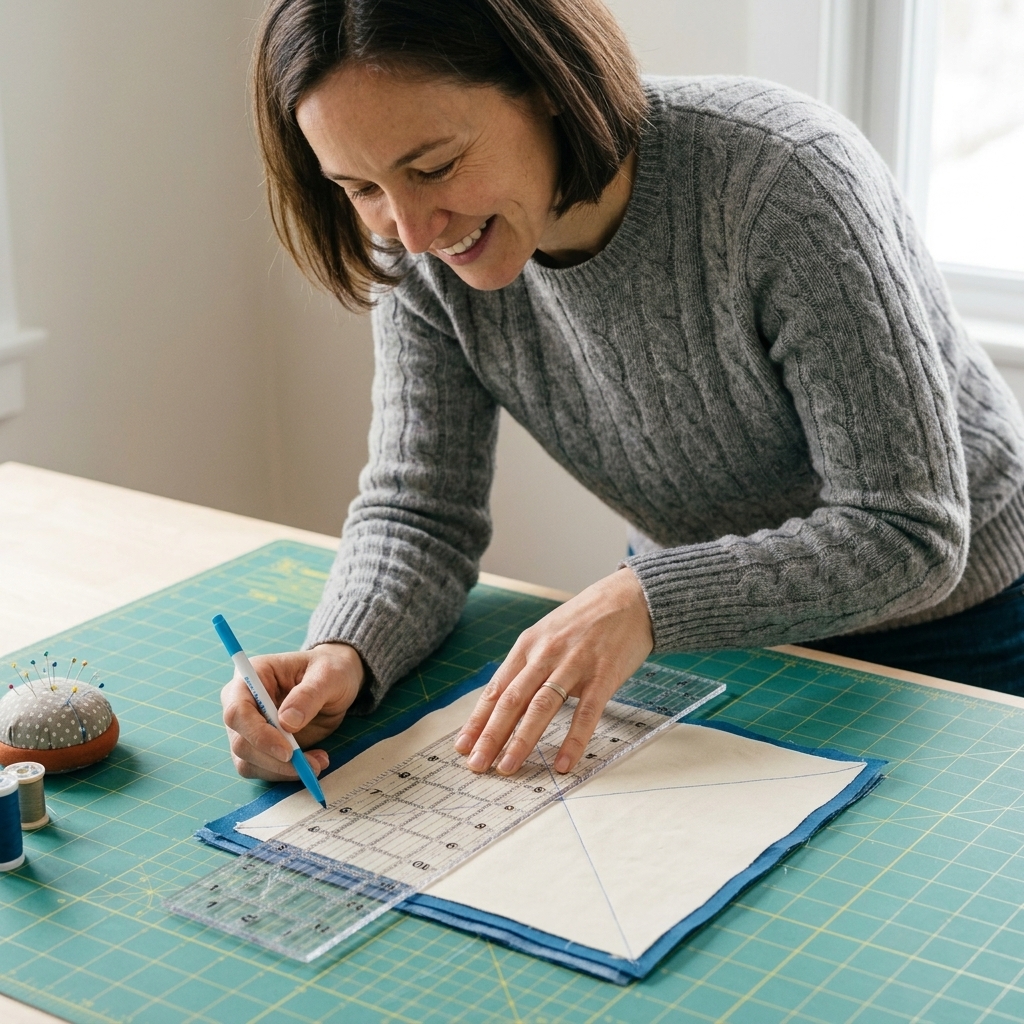
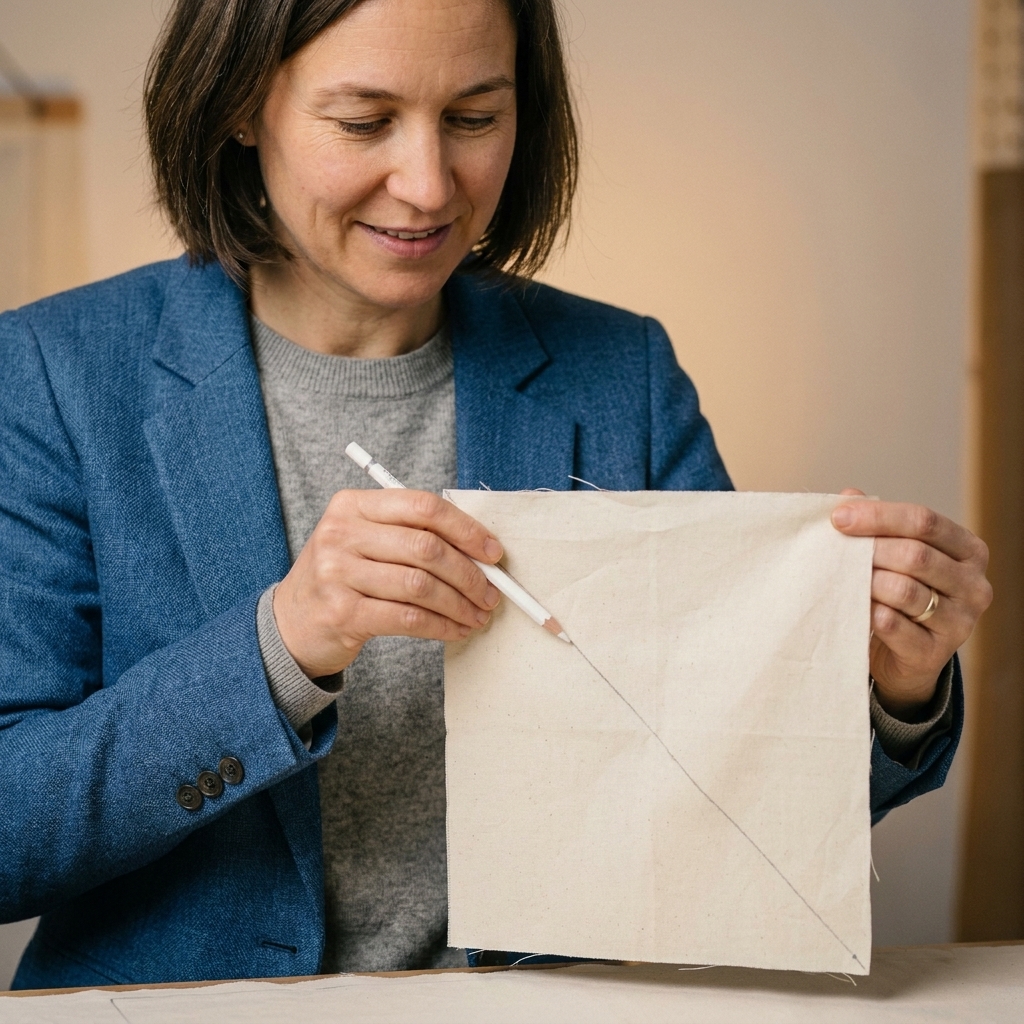
On the wrong side of one square in each pair, draw a diagonal line corner to corner.
Place squares right sides together.
Sew a seam 1/4 inch on both sides of the drawn line.
Cut on the drawn line to create two HSTs per pair (so four HSTs total if you made two pairs).
Press seams. For this method, I recommend pressing each HST seam to one side.
Trim the HSTs if your pattern calls for it, or just tidy them so they are consistent. Accuracy here pays you back at the center.
Step 3: Pair two HSTs
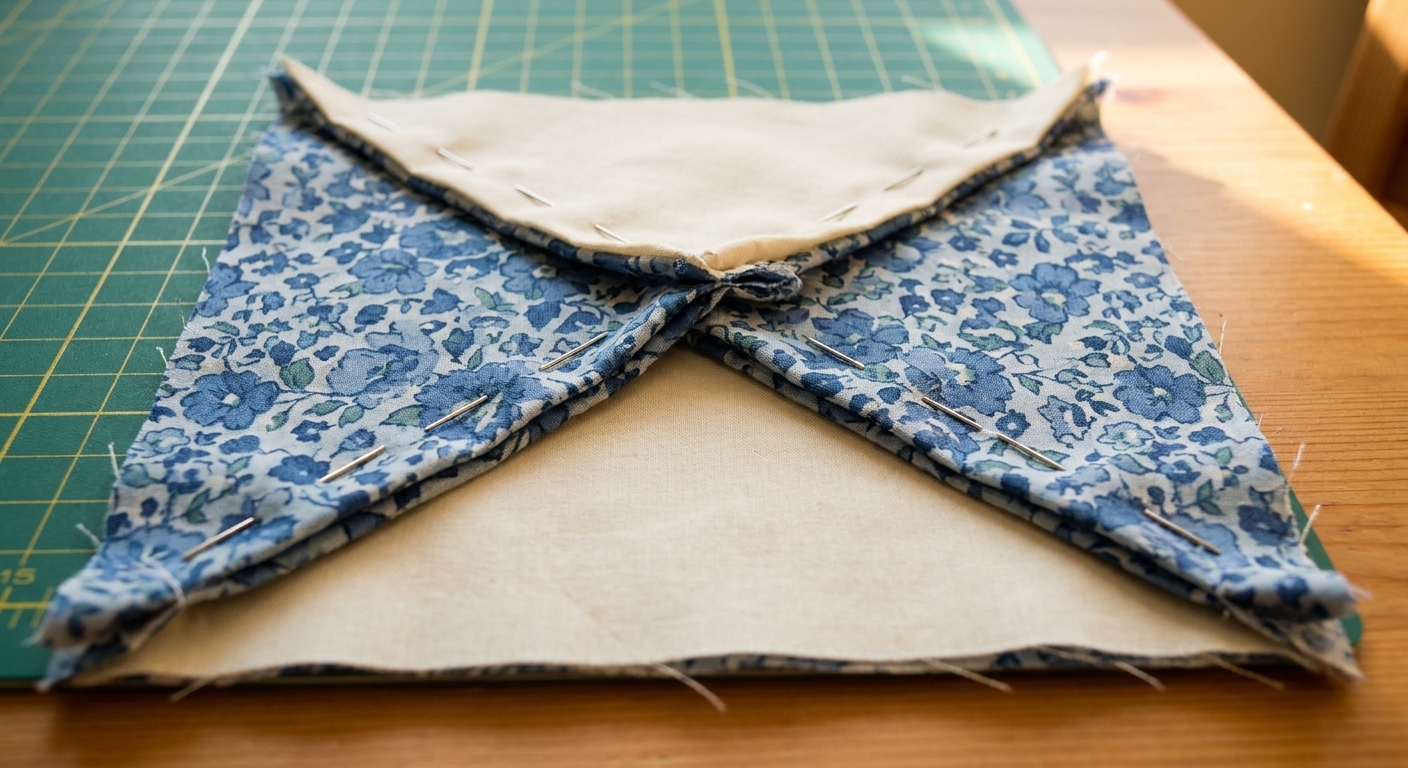
To make a QST, you will stack two HSTs right sides together with the diagonal seams running in opposite directions. This gives you nesting, and it also sets you up for the correct second seam.
- Lay two HSTs right sides together.
- Match the seam intersections at the center and let the seam allowances butt together (nest).
- Pin at the seam intersection.
- Do a quick layout check: the two seams should form an X, and the fabrics should be in the order you want around the center. If it looks like a windmill (or just not the vibe), rotate one HST 180 degrees and check again.
Step 4: Mark the second diagonal
This is the step that turns “two HSTs” into “real QSTs.”
With the two HSTs still pinned right sides together, draw a diagonal line corner to corner on the back that is the other diagonal of the square. It should cross the seam you nested at a right angle in the middle.
If you do not love marking, you can press a crease corner to corner and sew beside the crease, but a drawn line is wonderfully bossy and keeps everything honest.
Step 5: Sew, cut, press, and trim
Sew a scant 1/4 inch seam on both sides of the new drawn line.
Cut on the drawn line to create two QST units.
Press the seam. You can press to one side (my default) or spin the seam at the center for extra flatness.
Square up your QST to the required unfinished size. Use the ruler’s 45-degree line to align with a diagonal seam, then trim carefully.
Clara tip: When trimming, focus on putting the center point where it belongs, not on saving every sliver of fabric at the edges. A perfect center is what makes Hourglass blocks sparkle.
Method 2: Two squares
This is the quick batch method when you want hourglass units and you do not feel like handling separate triangles. You will still make HSTs first, then turn those into QSTs with a second set of seams.
From two squares, you will get two QST units.
Step 1: Cut two squares
You will need two squares of fabric (A and B). They must be larger than your final QST size because you will trim. Many patterns specify the exact starting size, so use the pattern if you have it.
No pattern? A handy rule of thumb is: start with squares that are about 1 1/4 inch larger than the unfinished size you want, then trim down after pressing. If you prefer extra wiggle room (especially for small units), go 1 1/2 inch larger.
Step 2: Make two HSTs
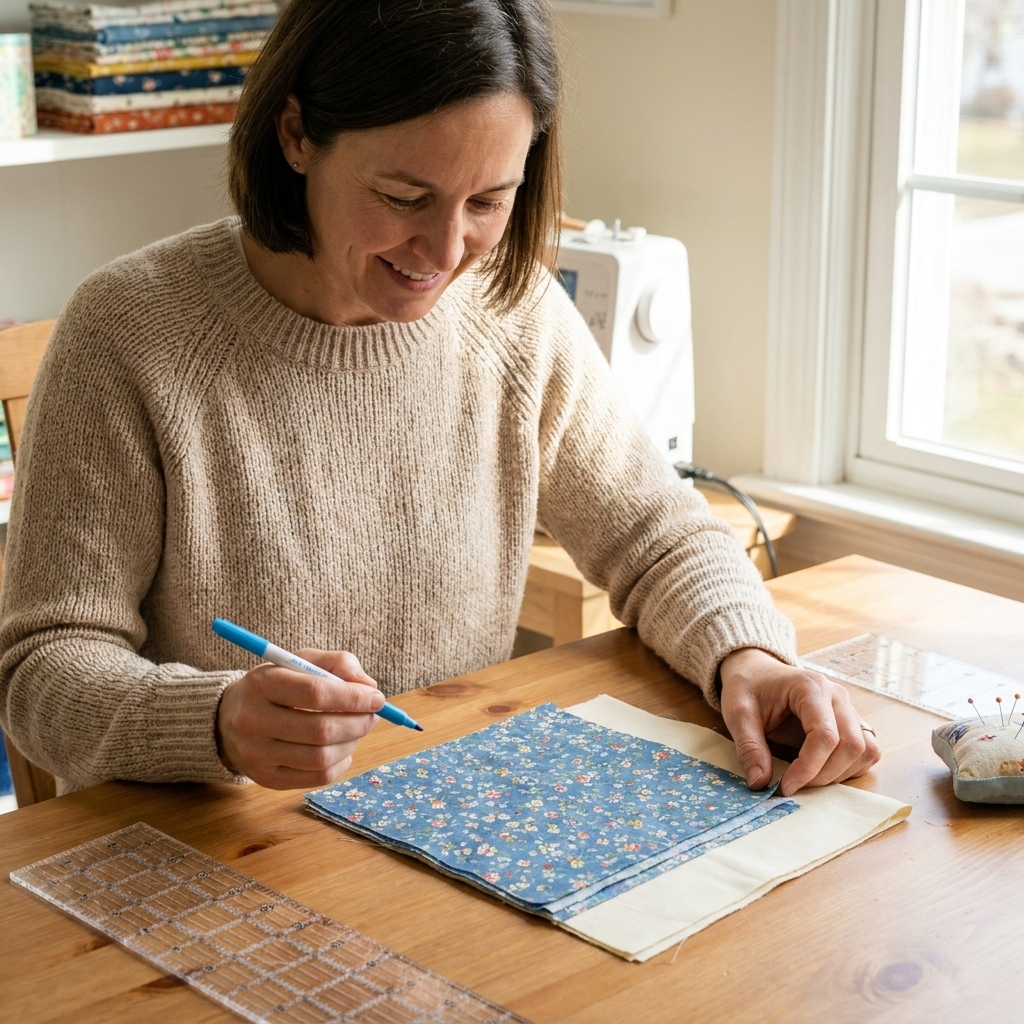
On the wrong side of one square, draw one diagonal line corner to corner.
Place squares right sides together.
Sew a scant 1/4 inch seam on both sides of the drawn line.
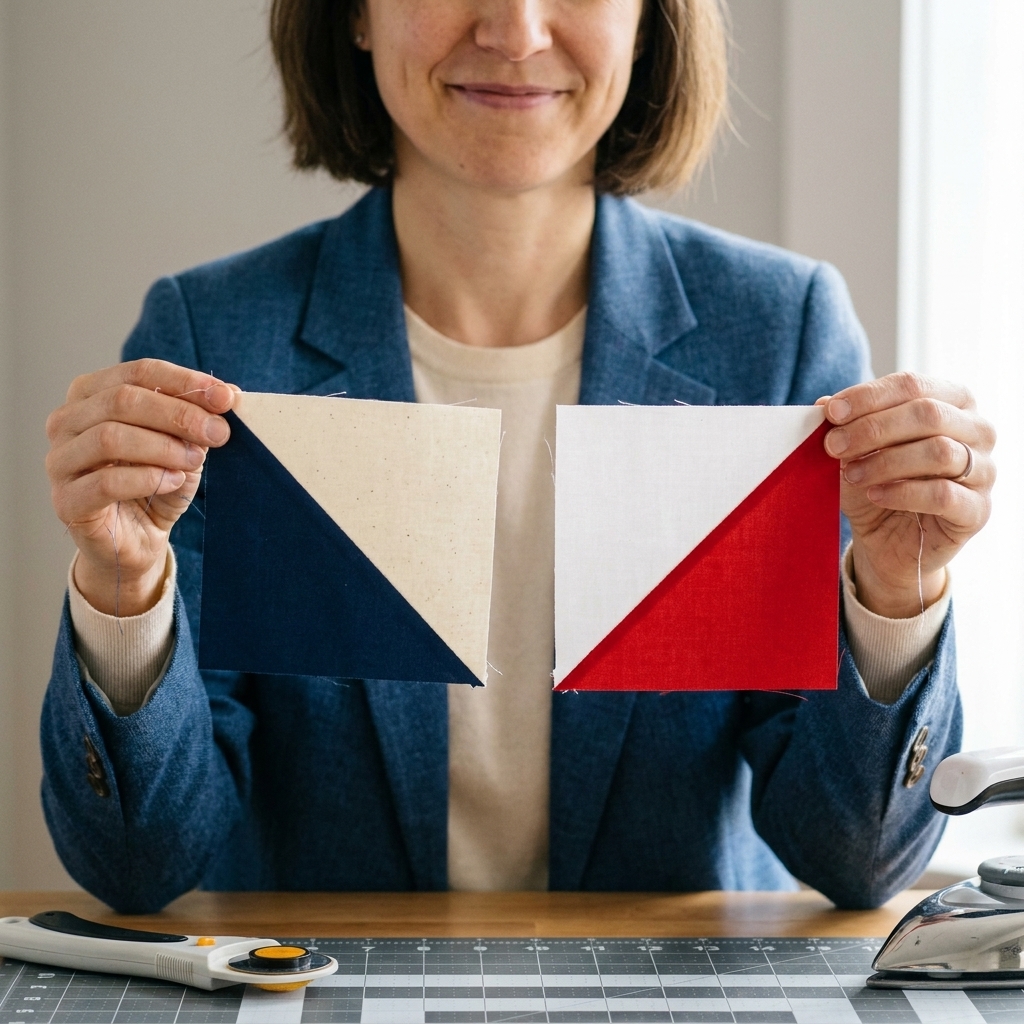
Cut on the drawn line to yield two HST units.
Press both HSTs to one side. If you can, press the seams in opposite directions on the two units. That little detail helps them nest in the next step.
Step 3: Turn the HSTs into QSTs
Place the two HSTs right sides together, with the diagonal seams running in opposite directions so they nest.
Do a fast orientation check: the seams should make an X, and your fabrics should alternate around the center the way you want. If the layout looks wrong, rotate one HST 180 degrees and check again.
Draw a diagonal line corner to corner that is the other diagonal of the square. It should cross the seam inside the stack at a right angle.
Sew a scant 1/4 inch seam on both sides of that marked line.
Cut on the marked line. You now have two QST units.
Press, then trim each QST to your required unfinished size.
Clara tip: Handle these units like they are a little dramatic, because they are. QSTs have bias edges. A light starch, minimal tugging, and a lift-and-set press keeps everything polite until it is sewn into the quilt.
How to get a flat center
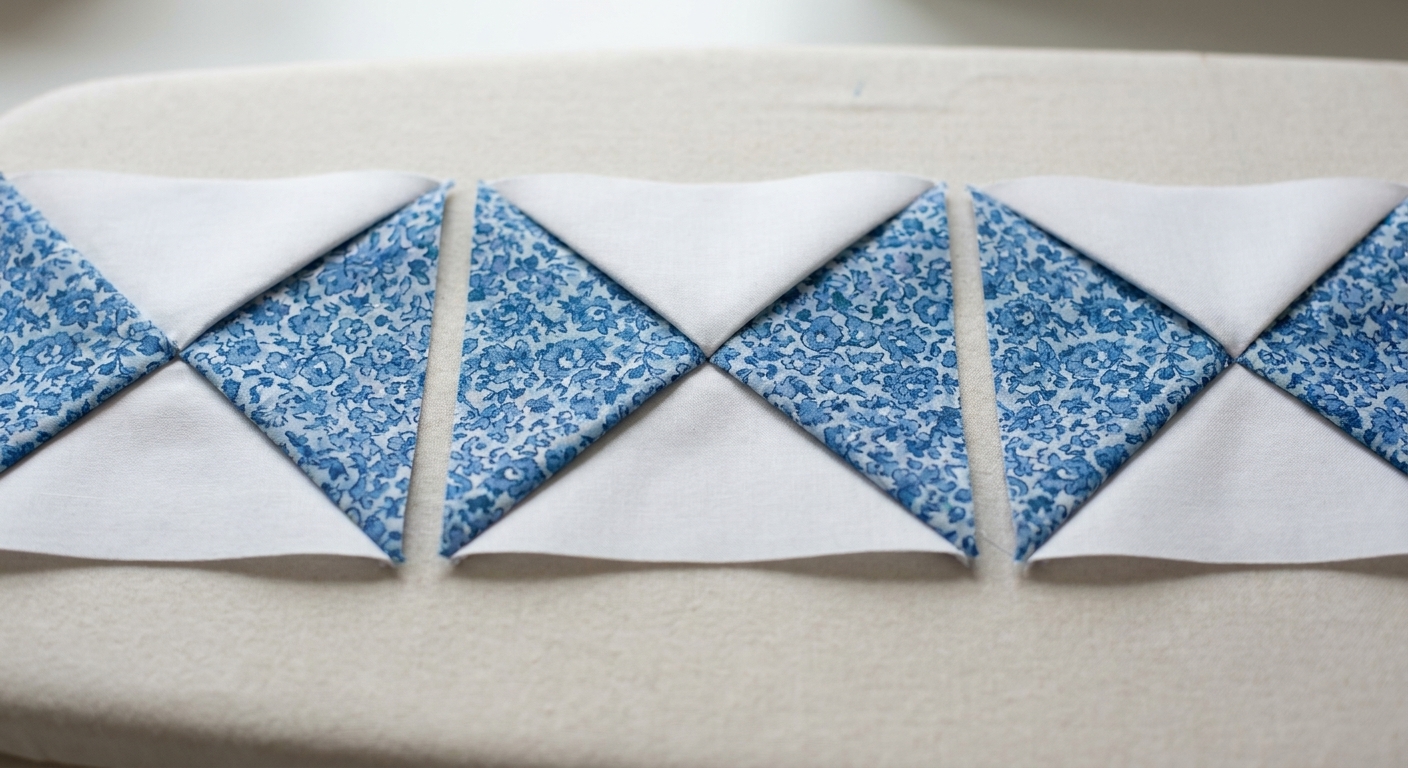
The center of an Hourglass block is where seams want to meet, argue, and form a tiny mountain. A good pressing plan is the simplest peace treaty.
Nesting basics
When you can, press seams to one side instead of open.
When joining units, aim for seam allowances that run in opposite directions so they lock together.
Pin at the seam intersection, not just at the corners.
Sew steadily through that intersection without yanking or stretching.
Optional: Spin the seam
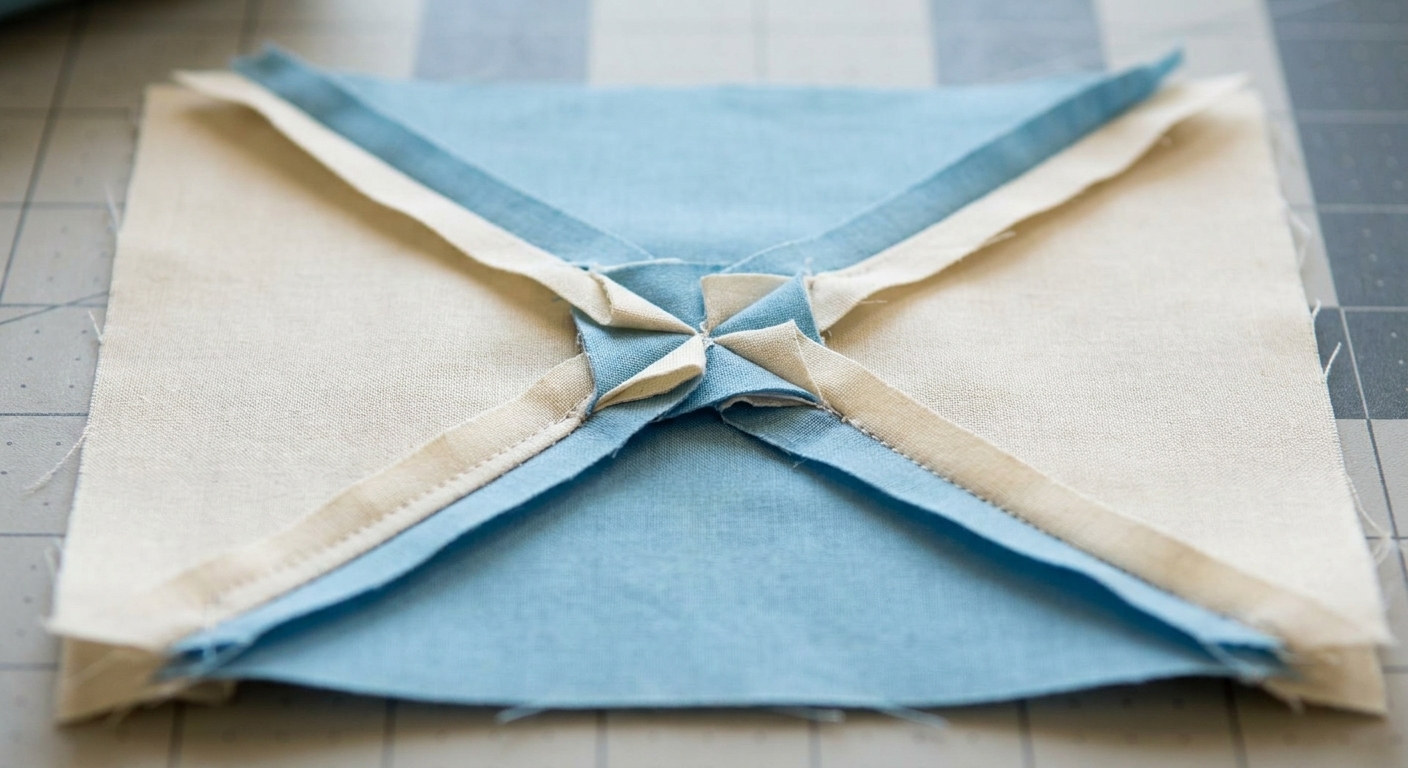
If you love an extra-flat block, you can “spin” the seam allowance at the very center:
After pressing to one side, flip the block over to the back.
Gently open the seam allowances right at the center.
Use your seam ripper tip to release just a few stitches in the seam allowance area (not through your seam line).
Swirl the seam allowances into a tiny pinwheel so they distribute in four directions.
This is not required, but it can reduce bulk and make your quilting lines glide later.
Trimming
Quarter square triangles are happiest when trimmed. Even if your sewing is consistent, fabric and pressing can introduce tiny shifts.
How to square up a QST
Choose the diagonal seam you want to align first.
Align a 45-degree line on your ruler with that seam.
Position the ruler so the center intersection lands where it should for your unfinished size.
Trim two sides, rotate the block, and trim the remaining sides.
If your center is slightly off: Nudge the ruler so the center intersection sits where it should, then accept that you may trim away a whisper more on one side. A centered hourglass reads cleaner in the final quilt than perfect outer margins.
Which method to use
| Method | Best for | Watch out for |
|---|---|---|
| HST first | Maximum control, easy seam nesting, predictable results | More steps, but very dependable |
| Two squares | Speed, making two matching hourglass units from one fabric pair | Bias edges, trim and handle gently |
Troubleshooting
My center points do not match
- Cause: seams not nested, layout/orientation flipped, or seam allowance inconsistent.
- Fix: press in opposite directions where possible, pin at the intersection, and sew with a scant quarter inch. Before sewing the second diagonal, check that your HST seams form an X and your fabrics are placed the way you want. Trim to reset the edges.
My block is the wrong size
- Cause: seam allowance drift, skipping trimming, or starting squares cut too small for the method.
- Fix: cut slightly oversized and square up. If you are consistently small, your scant quarter inch may not be scant enough.
My block feels wavy or stretched
- Cause: bias edges getting pulled during pressing or handling.
- Fix: starch lightly, reduce handling, and press (lift and set) instead of ironing back and forth.
The center is bulky
- Cause: seam allowances stacked without a plan.
- Fix: press to one side and spin the seam at the center, or trim dog-ears and keep your seam allowance tidy.
Practice plan
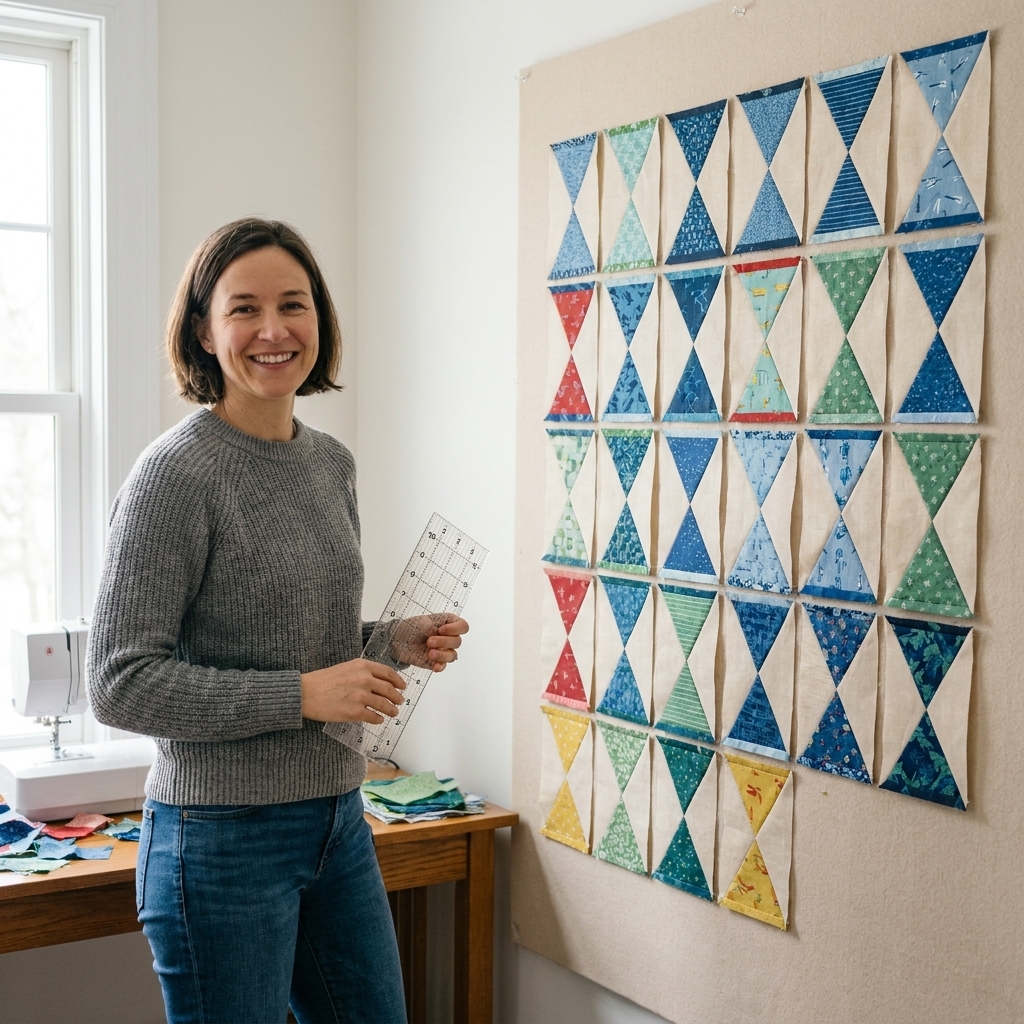
If you are new to QSTs, make four Hourglass blocks as a mini sampler.
- Make two blocks using the HST-first method.
- Make two blocks using the two squares method.
- Trim them all to the same unfinished size and sew them into a four-patch.
You will feel the difference in handling and accuracy immediately, and you will end up with a sweet little mug rug top or pillow front.
Quick FAQ
Are Hourglass blocks and quarter square triangles the same thing?
Mostly, yes. A quarter square triangle is the unit. An Hourglass block is the classic, recognizable QST arrangement you see in so many quilts. Some patterns use the words interchangeably, and some use “hourglass” to imply a specific color placement.
Should I press seams open?
You can, especially if you hate bulk. I usually press to one side so I can nest seams when joining blocks. For the flattest center, spin the seam after pressing to one side.
Do I really need a scant quarter inch?
For QSTs, it helps a lot. Those tiny differences add up right at the center point. If your blocks keep finishing small, a scant quarter inch is often the quiet culprit.