A friendly, practical guide to precut fabric sizes and how they translate to yardage, plus tips for estimating, substituting, and avoiding common cutting sur...
The Quilt Mark
October 22, 2026
Fabric Stash Organization: 7 Smart Storage Ideas
Tame your quilt fabric stash with simple, space-smart storage for yardage, precuts, and scraps. Learn how to fold on comic boards, sort by size, and keep everything easy to see and use.

Clara Jenkins
Clara Jenkins is an avid quilter and fabric enthusiast who has been designing and piecing together quilts for over twenty years. She shares her passion for color coordination, block design, and practical sewing techniques to help makers of all skill levels create beautiful, lasting heirlooms. Through Quiltmark, Clara aims to make the timeless art of quilting accessible, joyful, and deeply rewarding for everyone.
Updated October 22, 2026
If your sewing room has ever looked like a fabric tornado touched down and then politely left the mess for you to deal with, you are in good company. My stash has lived through several eras: the “I can remember what’s in that pile” era, the “I’ll organize after this quilt” era, and finally the “I deserve to be able to find my navy blender in under 30 seconds” era.
The secret is not perfection. It is creating a storage system that matches how you actually sew: what you reach for most, what you buy most, and what tends to multiply when you are not looking (hello, scraps).

Below are seven efficient, beginner-friendly ways to store yardage, precuts, and scraps so your stash is easier to see, easier to use, and much harder to re-mess.
1) Fold yardage on comic boards
Comic boards are the unsung heroes of stash organization. They turn floppy yardage into tidy little “fabric books” that stand upright on a shelf. When you can see your fabrics, you use them. When you use them, the stash stops feeling like it is judging you.
What you need
- Comic boards or mini bolt boards (if you are storing fabric for years, look for acid-free and lignin-free)
- Open shelving or cube storage
- A small clip or rubber band (optional)
How I do it
- Press yardage if it is heavily creased, but do not chase perfection.
- Wrap the fabric around the board like you are making a mini bolt.
- Tuck the raw edge under a fold so it looks tidy and does not fray.
- Stand boards upright so you can flip through them like books.
Clara tip: If your boards are full-size and your shelves are shallow, trim boards down to fit. Consistent board size makes everything look calm, even when your life is not.
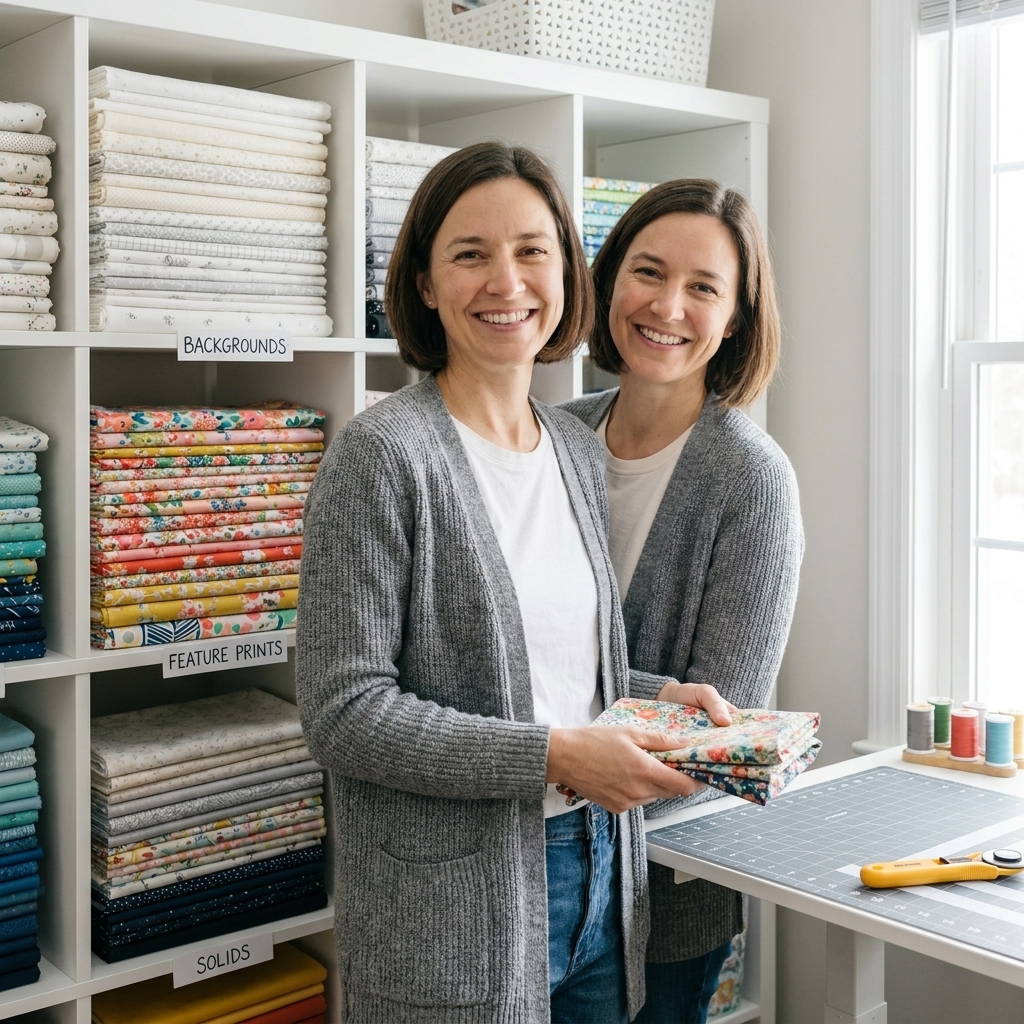
2) Sort yardage by role
Color sorting looks beautiful, but it can slow you down when you are planning a quilt. I like a hybrid approach: sort by how you use the fabric, then optionally by color within that group.
- Backgrounds: whites, creams, low-volume, muslin
- Blenders: tone-on-tone, small prints, near-solids
- Feature prints: big florals, novelty, statement designs
- Backings: 3 yard cuts, widebacks, pieced-backing candidates
This “role-first” method makes pulling a quilt palette much faster because you are not hunting through every teal you own to find one that behaves like a background.
3) Store precuts upright in clear bins
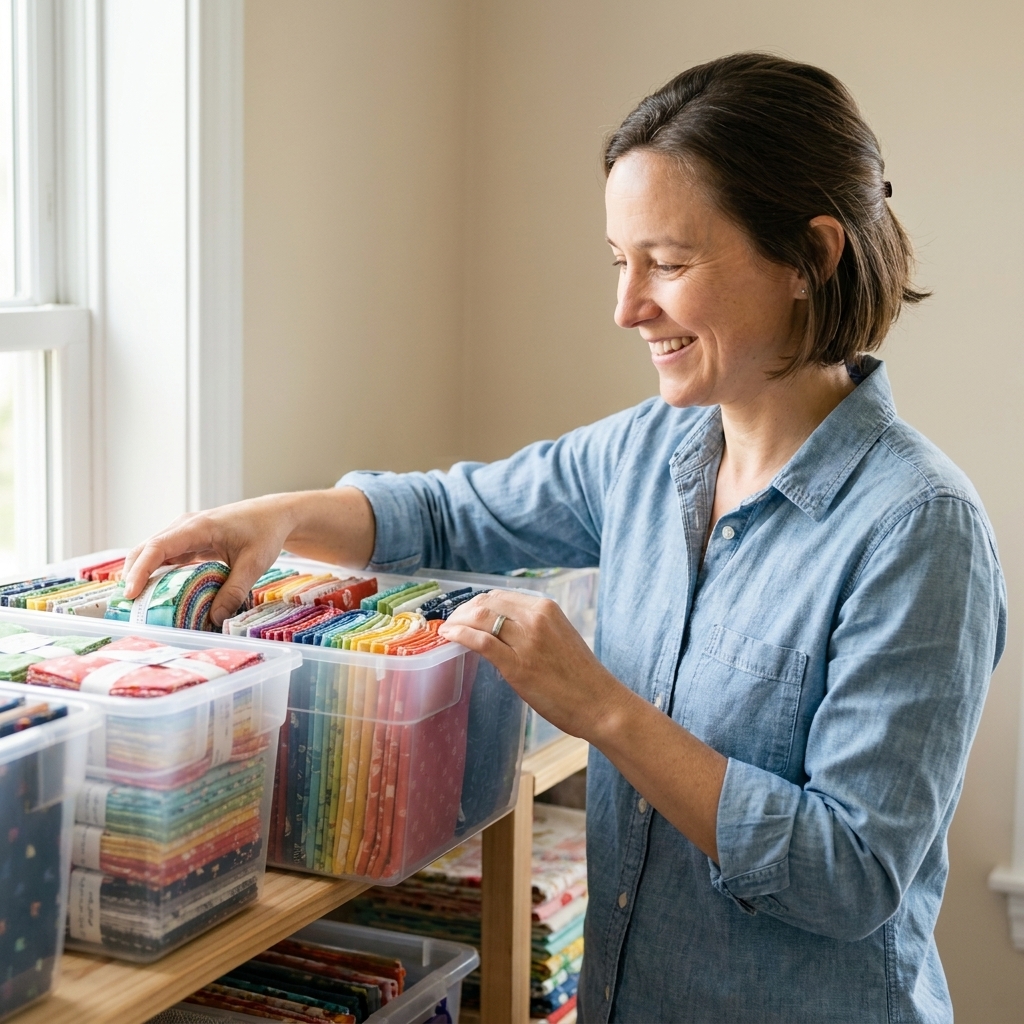
Precuts are easy to buy and oddly easy to lose. The best trick I have found is to store them upright, not stacked. Stacks hide what is underneath and invite you to topple the whole thing like a Jenga tower made of temptation.
Best containers for precuts
- Clear shoebox bins: great for charm squares, layer cakes, mini charm packs (measure first because some layer cakes fit snugly)
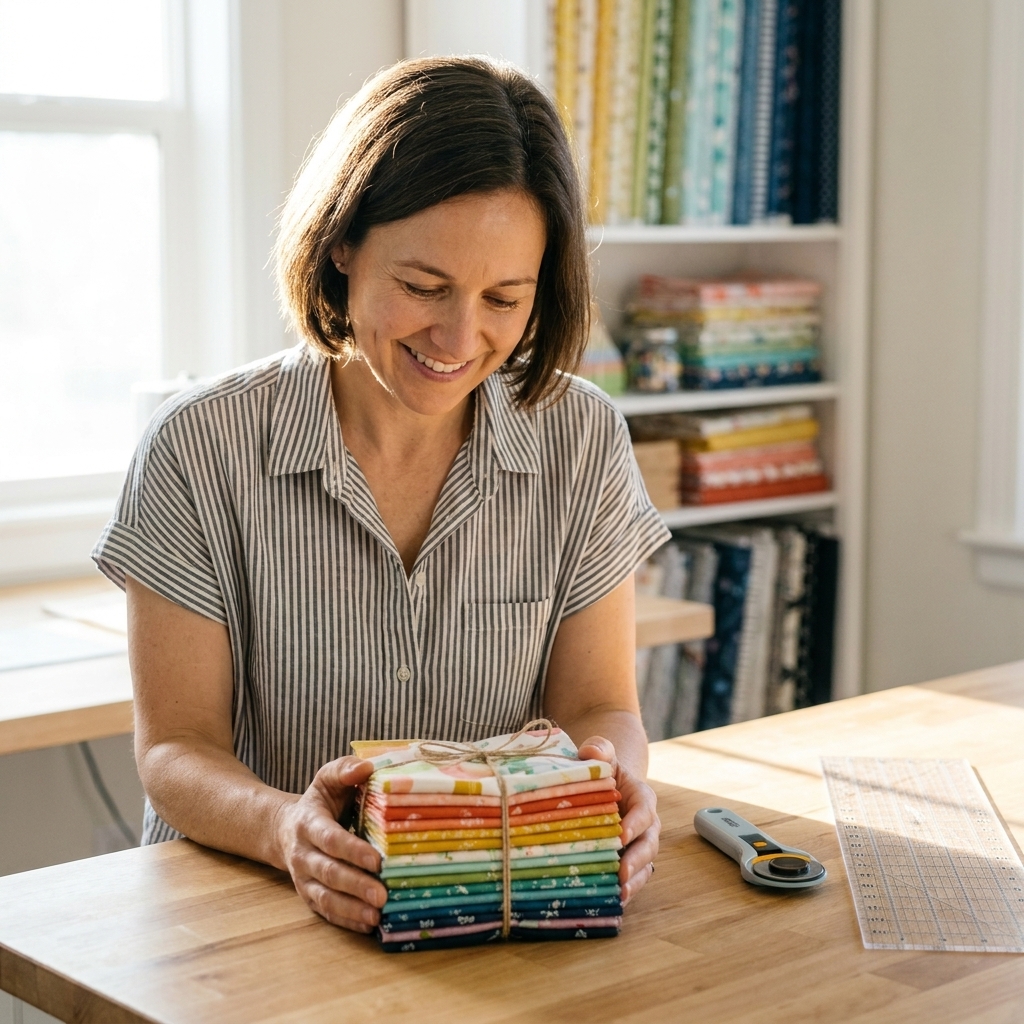
- Magazine files: surprisingly perfect for jelly rolls and bundled fat quarters
- Small lidded bins: keeps dust off and bundles together collections you want to keep intact
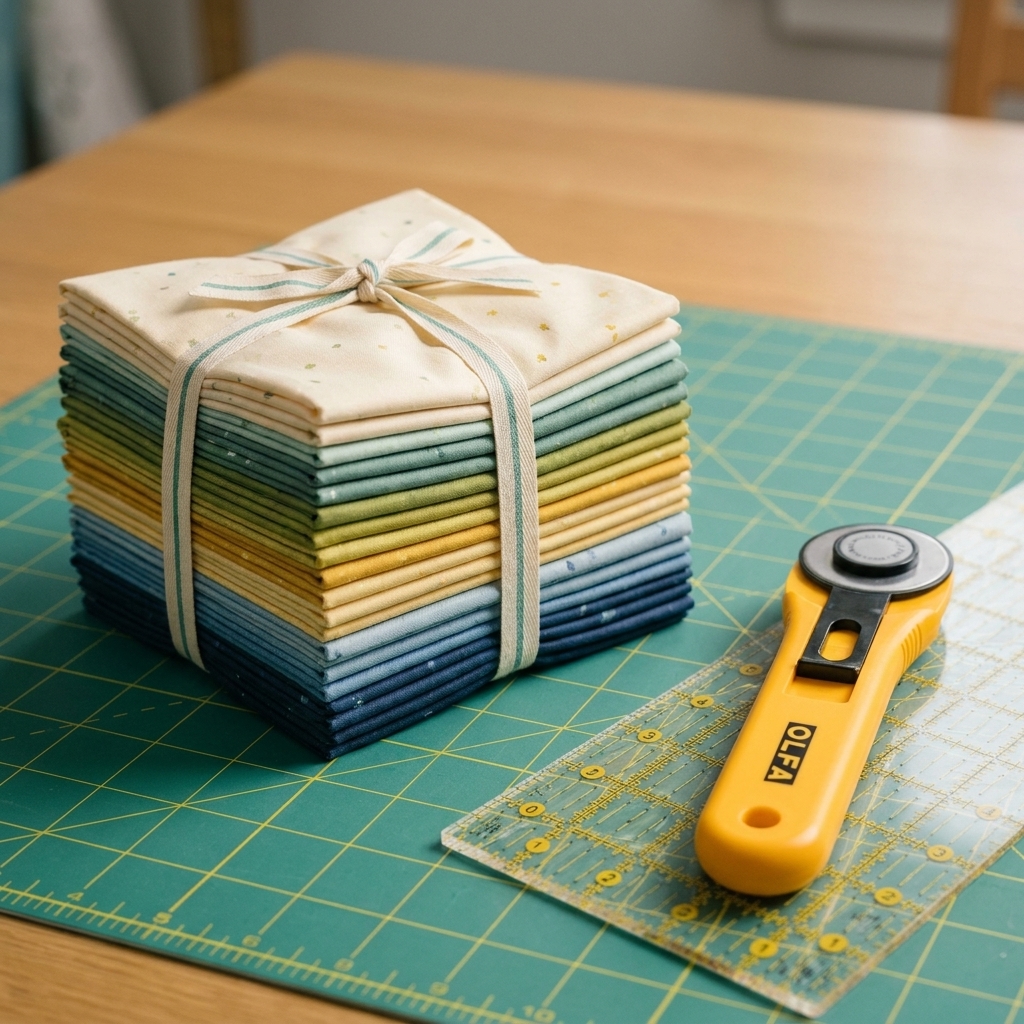
Grouping idea: If you buy collections, keep the bundle together until you are ready to cut. If you buy “orphan” precuts, group by size (all charm packs together, all jelly rolls together) so you can grab-and-go for a last-minute project.
4) File-fold fat quarters
Fat quarters behave beautifully with a simple file-fold system. Think of them like T-shirts in a drawer: folded to the same size, stored upright, and easy to flip through.
Where this works best
- Deep drawers
- Cube shelves with bins
- Bookcases with magazine holders
Clara tip: If you have a mix of fat quarters and half-yards, pick one folding size and stick to it. Consistency is the whole game. A slightly messy fold that matches the system beats a perfect fold that does not.
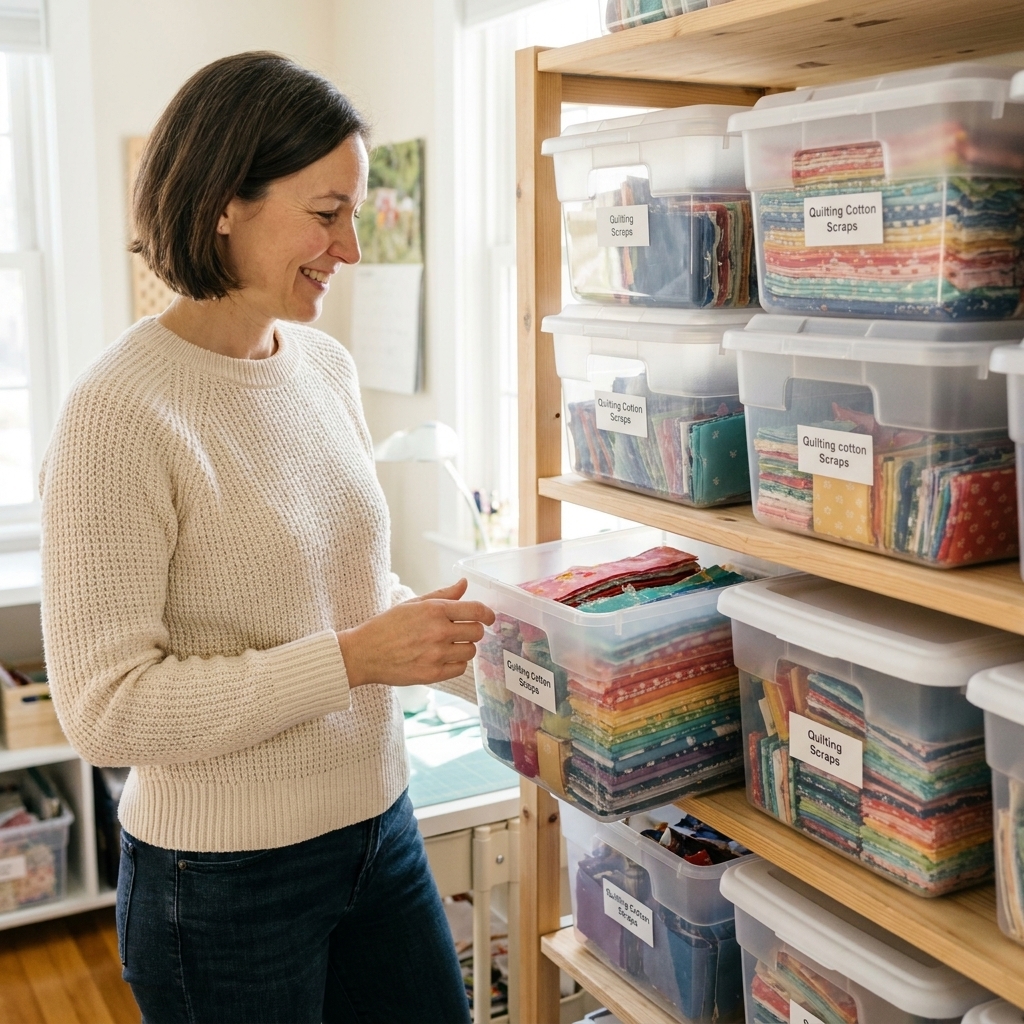
5) Sort scraps by size first
Scraps are where organization goes to die, unless you make a clear decision about what counts as a “keep.” My rule is simple: if I can realistically use it in a quilt block without cursing, I keep it. If it is too tiny for my patience level, it becomes stuffing, pet bed filler, or it goes.
A scrap system that stays manageable
These are my cutoffs because they match how I sew. Feel free to adjust up or down for your own projects.
- Crumbs: under 1.5 inches (keep only if you truly do crumb quilting)
- Small scraps: 1.5 to 3.5 inches (great for postage stamps, pixel quilts)
- Chunks: 3.5 inches up to roughly fat-quarter size (or any larger pieces you can still fold)
- Strips: anything long and strip-friendly, sorted by width (2.5-inch strips get their own home in my room)
Store each category in its own bin. When you finish a project, you can toss scraps into the right bin in under a minute. That one-minute habit is what keeps the system alive.
6) Keep a cutting-ready bin
This is the stash-busting trick I wish I learned sooner: keep a small, curated set of fabrics that are always ready to cut. Mine includes backgrounds, go-to low-volume prints, and a few neutral blenders that play nicely with almost anything.
Why it works: when inspiration hits, you can start immediately without pulling half your shelves apart. It also helps you notice when you are low on the basics that make your quilt tops look polished.
What to put in it
- White and cream backgrounds you trust
- Favorite low-volume prints
- Neutral grays, tans, navies, and black solids or near-solids
- Binding go-tos (I keep a small stack of “binding-friendly” prints)
Clara tip: If you tend to start three quilts at once (no judgment), give each one a project basket or a lidded bin. It keeps your “system” from collapsing into one giant WIP pile.
7) Label lightly and reset fast
Organization falls apart when it becomes a big production. I like light labeling and high visibility.
Simple labeling that does not steal your sewing time
- Use a small tag on bins: “2.5-inch strips,” “backgrounds,” “fat quarters.”
- If you track yardage, jot rough amounts on a sticky note inside the bin, not on every piece.
- Keep the labels big enough to read at a glance.
Keep fabric protected: Store cotton out of direct sunlight to prevent fading. If dust is an issue, use lidded bins. If you live somewhere humid, avoid packing fabric too tightly and consider a small dehumidifier or moisture absorber near your storage. And if pests are a concern, keep fabric off the floor and check it once in a while, especially anything stored long term.
Then, once a week or whenever you finish a project, do a 10-minute reset: refold the two fabrics that escaped, toss scraps into their bins, and return precuts to their home. Tiny resets beat big cleanouts.
Small-space layout
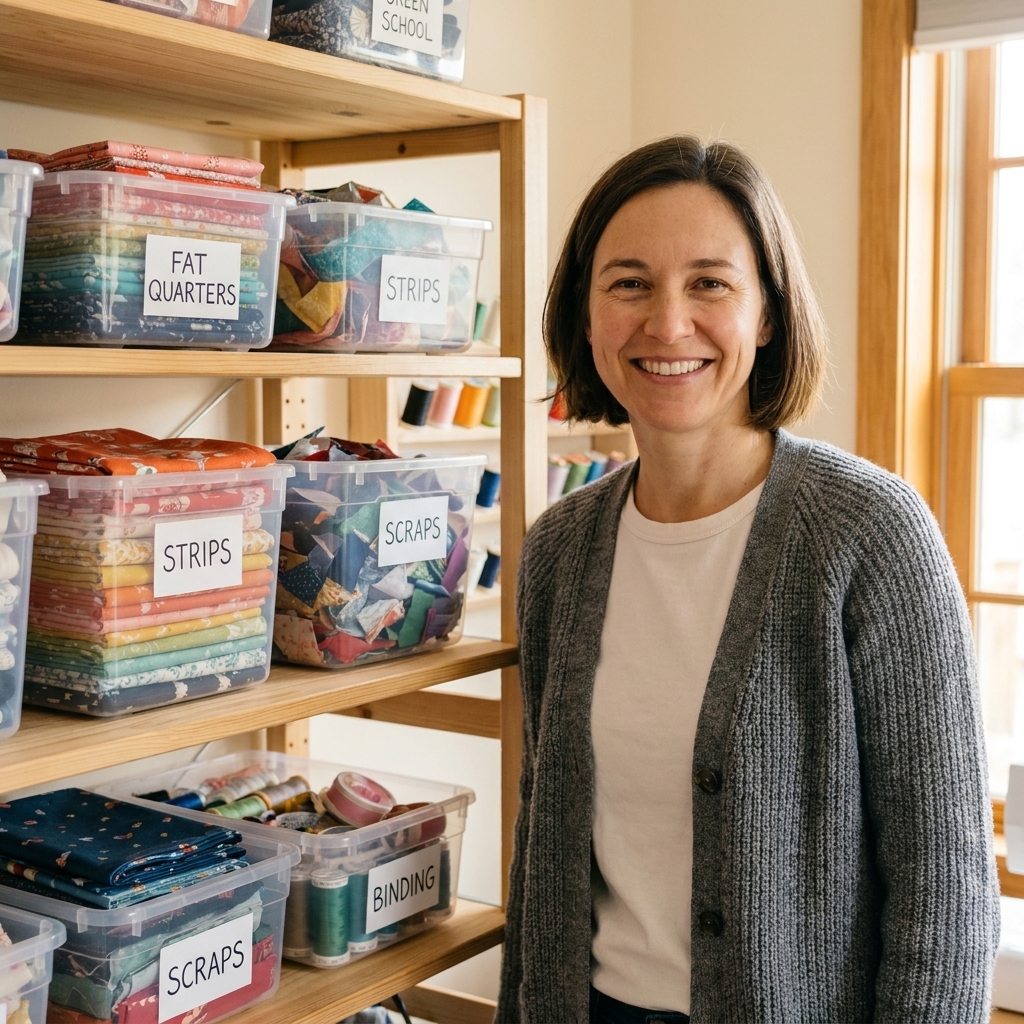
If you are working with limited room, here is a setup that gives you the most function per square foot:
- One shelf: comic-board yardage stored upright
- One row of bins: precuts stored upright in clear containers
- Two scrap bins: strips (sorted by width) and chunks (everything else usable)
- One small “cutting ready” bin: backgrounds and neutrals
This keeps the categories from blending together, which is usually where the chaos begins.
Quick FAQ
How many scraps should I keep?
Keep what you will realistically use in the next year or two. If you love scrap quilts, keep more. If scraps stress you out, keep only strips and chunks that can become blocks without fussy piecing.
Should I wash fabric before storing it?
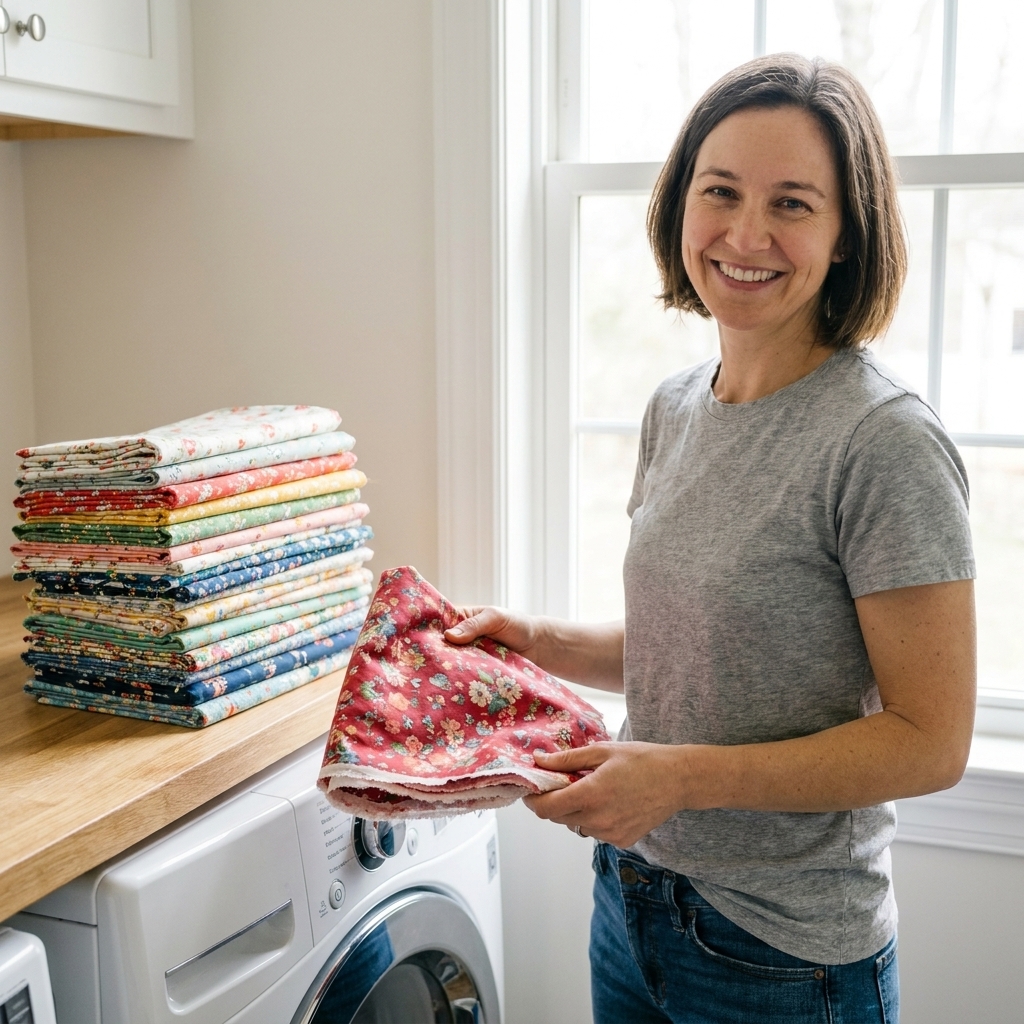
If you prewash everything, prewash before it joins the stash so it is consistent. If you do not prewash, it is usually fine to store unwashed quilting cotton. I make exceptions for thrifted fabric, anything with smoke or pet odors, and very dark or saturated prints that might crock or bleed. Either way, keep fabric dry, out of direct sunlight, and away from pets who think your fat quarters are bedding.
What is the fastest way to start?
Pick one category today. I recommend scraps, because once scraps have a home, your whole room feels calmer. Set a timer for 20 minutes and just sort by size. Folding can come later.
If you take nothing else from this: make it easy to put fabric away. The best stash system is the one you can maintain when you are tired, mid-project, and holding a cup of tea in your non-dominant hand.
And if your first attempt looks a little wonky? Congratulations. You are quilting already.