Compare liquid starch, sizing, and pressing sprays, then follow an easy, low-stress process for crisp fabric and more accurate quilt blocks.
The Quilt Mark
October 22, 2026
Dresden Plate Block: Perfect Wedges and Flat Centers
Learn how to cut accurate Dresden wedges, stitch smooth blades, and finish a center circle that lies perfectly flat. Beginner-friendly tips for crisp points and no puckers.

Clara Jenkins
Clara Jenkins is an avid quilter and fabric enthusiast who has been designing and piecing together quilts for over twenty years. She shares her passion for color coordination, block design, and practical sewing techniques to help makers of all skill levels create beautiful, lasting heirlooms. Through Quiltmark, Clara aims to make the timeless art of quilting accessible, joyful, and deeply rewarding for everyone.
Updated October 22, 2026
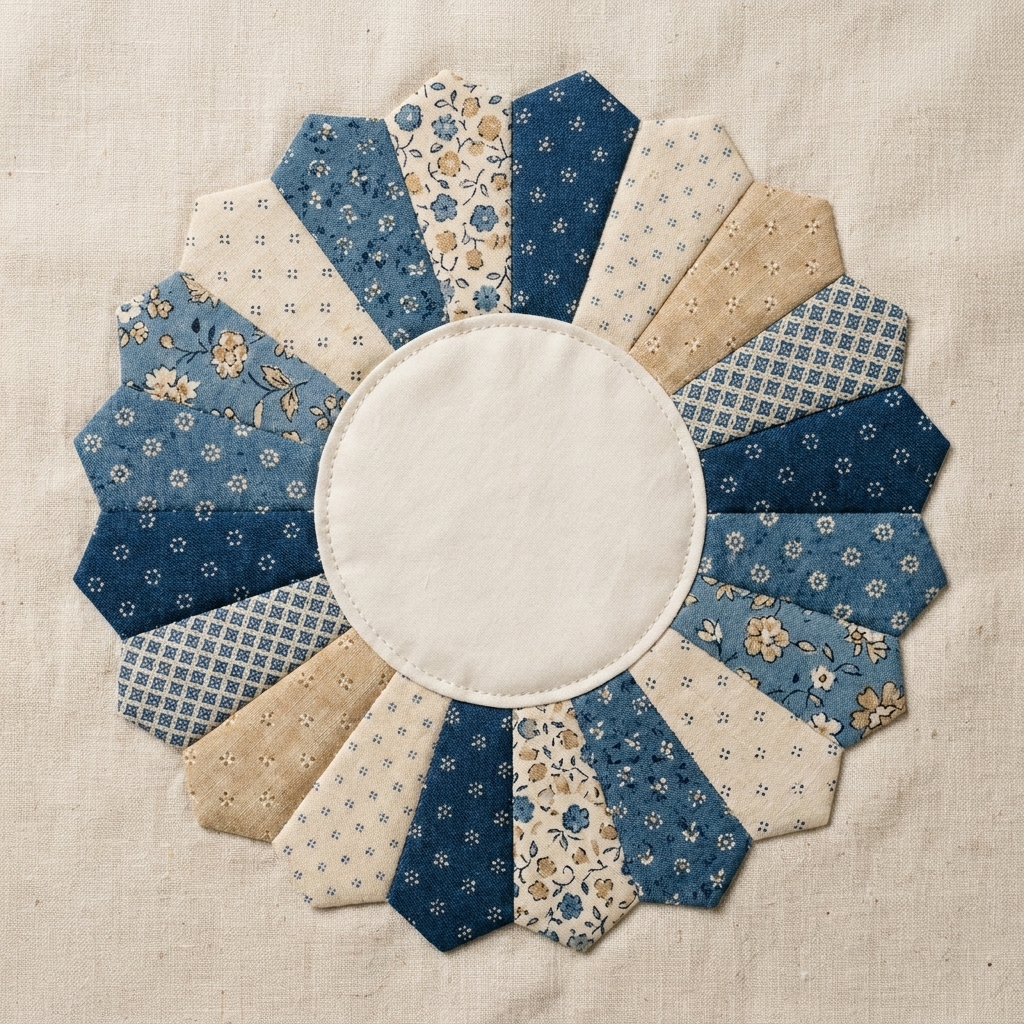
There is a reason the Dresden Plate never goes out of style. It is cheerful, scrap-friendly, and a little bit magical when those wedges spin into a perfect circle. The only catch is that a Dresden shows everything: a wedge that is a hair off, a seam that got stretched, or a center circle that wants to bubble instead of behaving.
In this tutorial, I am going to walk you through the two places that matter most for a Dresden that lies flat: cutting accurate wedges and finishing the center neatly. If your past Dresdens have looked more like a ruffled pie crust than a crisp plate, you are in the right place.
Quick note before we start: I am assuming a scant 1/4 inch seam allowance unless your pattern or ruler chart says otherwise. If your tool calls for a different seam allowance, follow that and stay consistent.
What makes a Dresden lie flat
A flat Dresden Plate is mostly about controlling two things: accuracy and stretch.
- Accuracy: Every wedge must be the same size. If a few are wider, the plate has extra circumference and it will ripple.
- Stretch: Depending on how you place your template, your wedge edges can include bias. If you tug while stitching or pressing, you literally grow the outer edge.
And then there is the center. A center circle is basically an itty-bitty curve situation. Too much fabric or too little ease and you get puckers. The goal is a center that looks like a calm pond, not a pebble tossed in.
Tools and supplies
You do not need fancy gadgets, but the right basics make this so much easier.
- Quilting cotton scraps for wedges
- Background fabric square or rectangle (big enough for your plate plus a margin)
- Wedge template or ruler (acrylic is ideal)
- Rotary cutter, mat, and a fresh blade
- Fine pins or clips
- Starch or pressing spray (optional but very helpful)
- Iron and pressing surface
- Thread that blends for piecing and center stitching
- Hand sewing needle (if you prefer hand appliqué)
- Circle template for the center (plastic template, cup, or circle cutter)
- Point turner, chopstick, or point presser (optional, but great for crisp tips)
Step 1: Pick wedge count
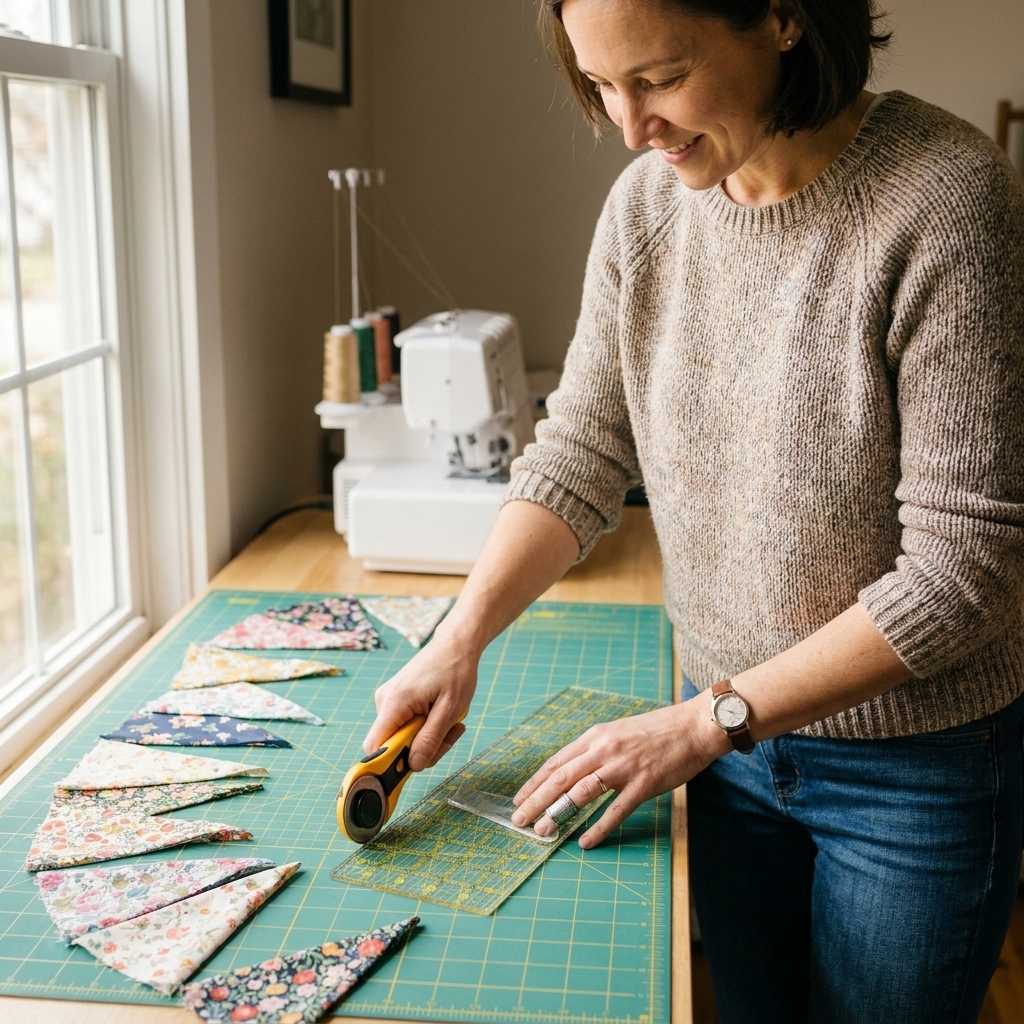
Dresdens are commonly made with 12, 16, 18, 20, 24, and other wedge counts depending on the ruler or pattern. More wedges means a more delicate, frillier look. Fewer wedges reads bold and graphic.
- 16 wedges: classic, easy to handle, great for beginners
- 18 to 20 wedges: fuller plate, a little more sensitive to cutting accuracy
- 12 wedges: modern, chunky petals
Whatever you choose, commit to that count and keep your wedge template consistent from the first cut to the last. Mixing templates, even ones that look similar, is a sneaky way to get ripples.
Step 2: Cut matching wedges
Prep your fabric
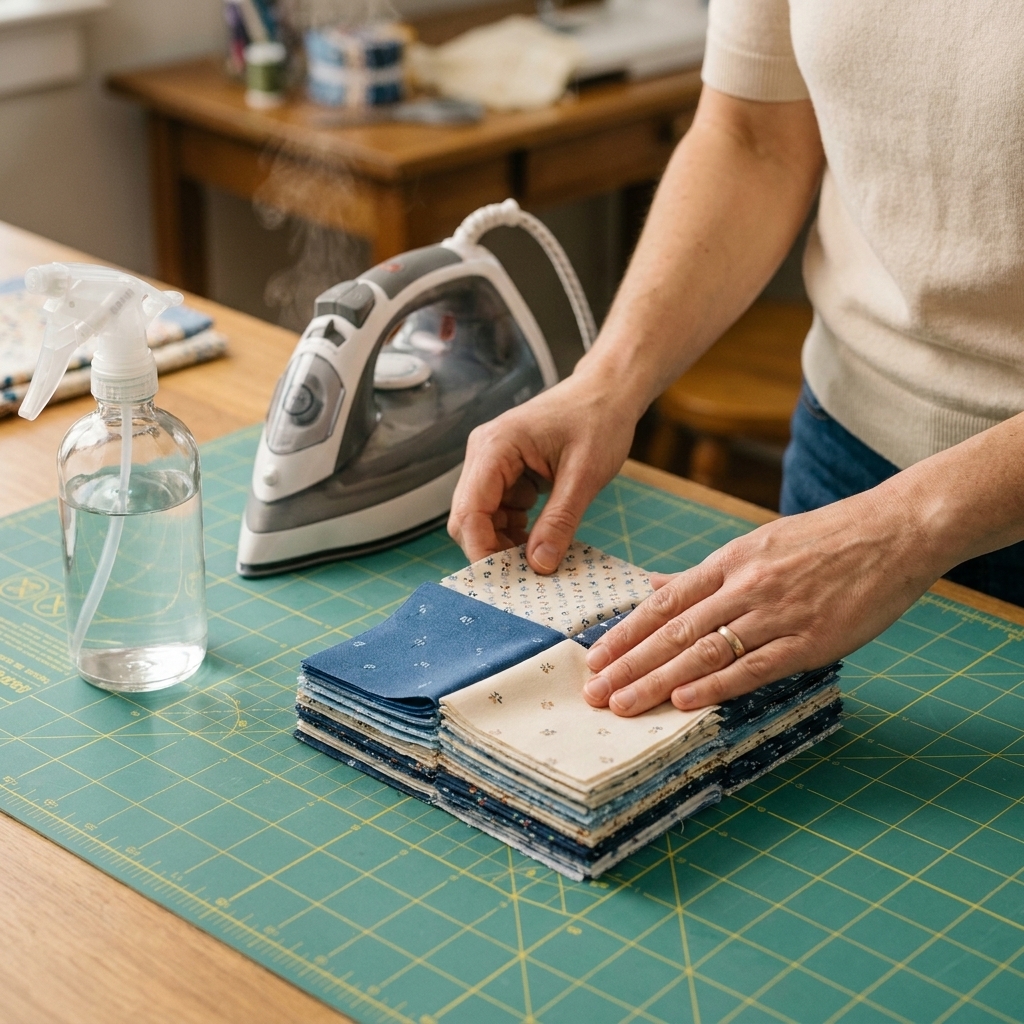
If your fabric is soft and shifty, starch it lightly and press it flat. I know starch can feel like an extra step, but it turns wiggly scraps into obedient little soldiers.
Use a template the right way
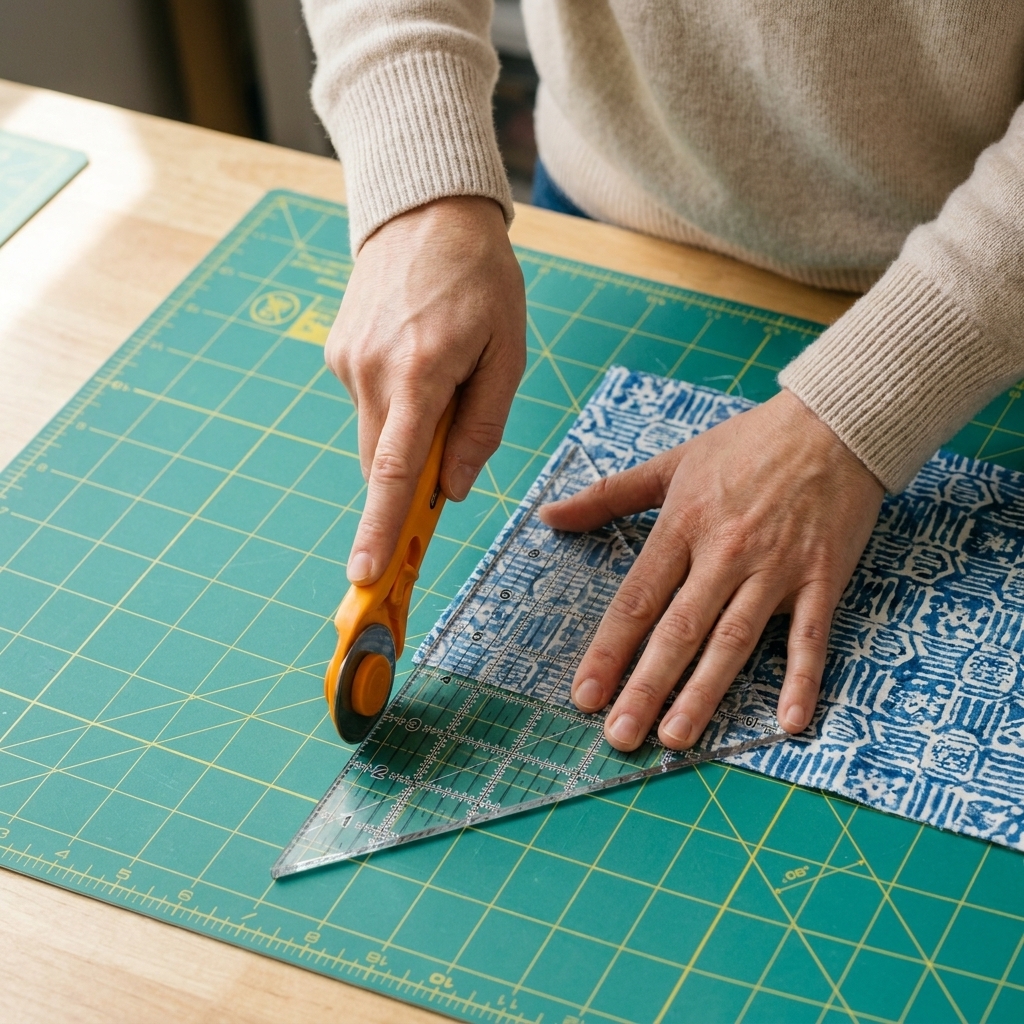
Whether you are using a printed template, an acrylic ruler, or a specialty Dresden tool, the secret is the same: do not let the template creep.
- Press the template down firmly with your non-cutting hand.
- Cut with a fresh blade. A dull blade pulls fabric and changes the size.
- Make sure your fabric is smooth, not stretched, on the mat.
Cutting habits that prevent ripples
- Stay consistent with placement: If your ruler or pattern shows grain placement, follow it. Random placement can create more bias edges than you expect.
- Stack cutting is fine, within reason: Two layers is usually accurate. Four layers is where I start seeing wedges drift.
- Count and check: After cutting 4 to 6 wedges, stack them and tap the bottoms and sides into alignment. If one looks wider, fix the issue now, not after you sew 20 of them.
Step 3: Sew wedge tops
Most Dresden templates are either pointed blades or rounded petals. Either way, neat wedge tops make the whole block look polished.
Pointed wedges
- Fold the wedge in half lengthwise, right sides together, matching the long edges.
- Sew across the top edge with a scant 1/4 inch seam.
- If your template calls for it, trim the tip and any little dog-ears (a tiny trim reduces bulk and helps the point turn nicely).
- Turn right side out and use a blunt point turner, chopstick, or point presser to gently shape the point.
- Press the top seam so it is centered at the point (you are not trying to push it to one side).
Rounded wedges
- Fold the wedge in half lengthwise, right sides together.
- Sew across the curved top edge.
- Clip tiny notches into the seam allowance along the curve (do not cut through stitches).
- Turn right side out and press smooth.
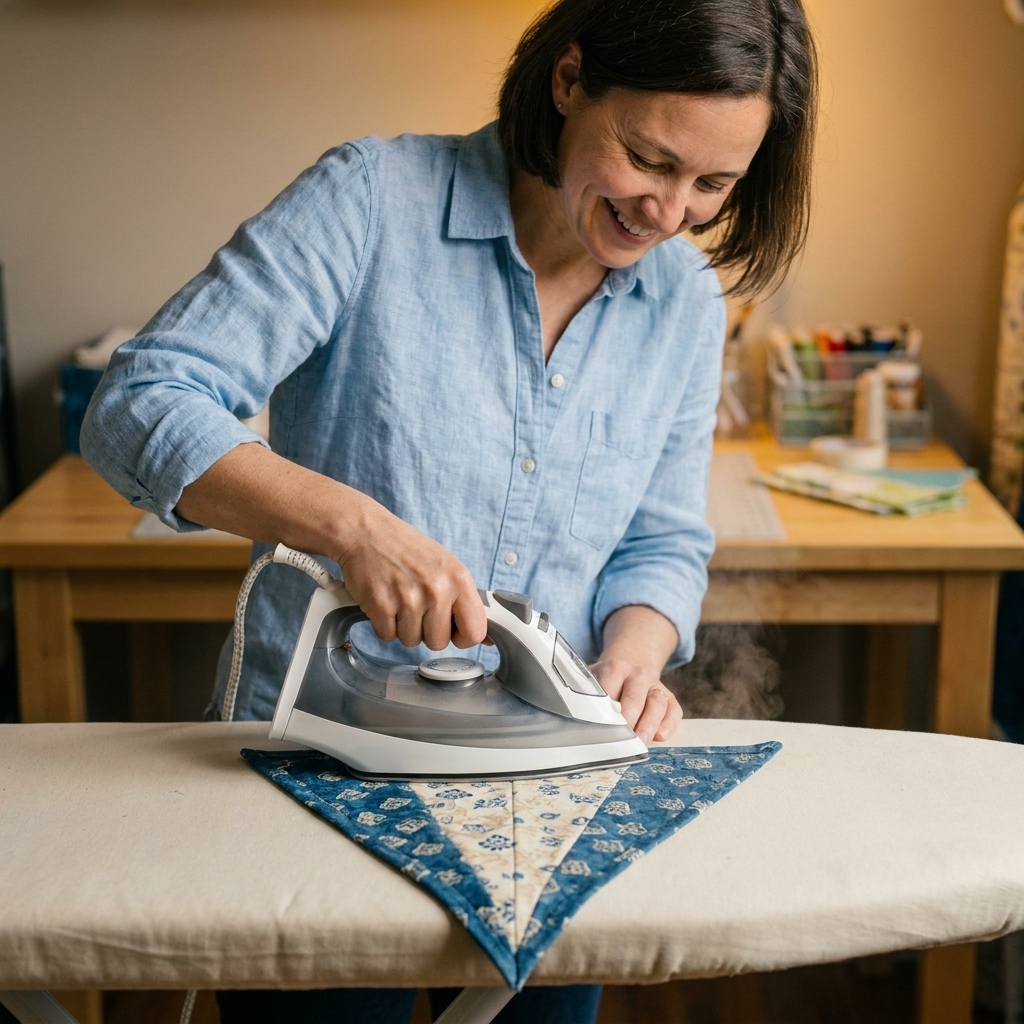
My tip: Press, do not iron. If you slide the iron back and forth, you can stretch the wedge and your outer edge grows.
Step 4: Join wedges evenly
This is where most “why is it wavy?” problems start. If your wedge edges include bias, that outer curve loves to stretch.
Stitching order
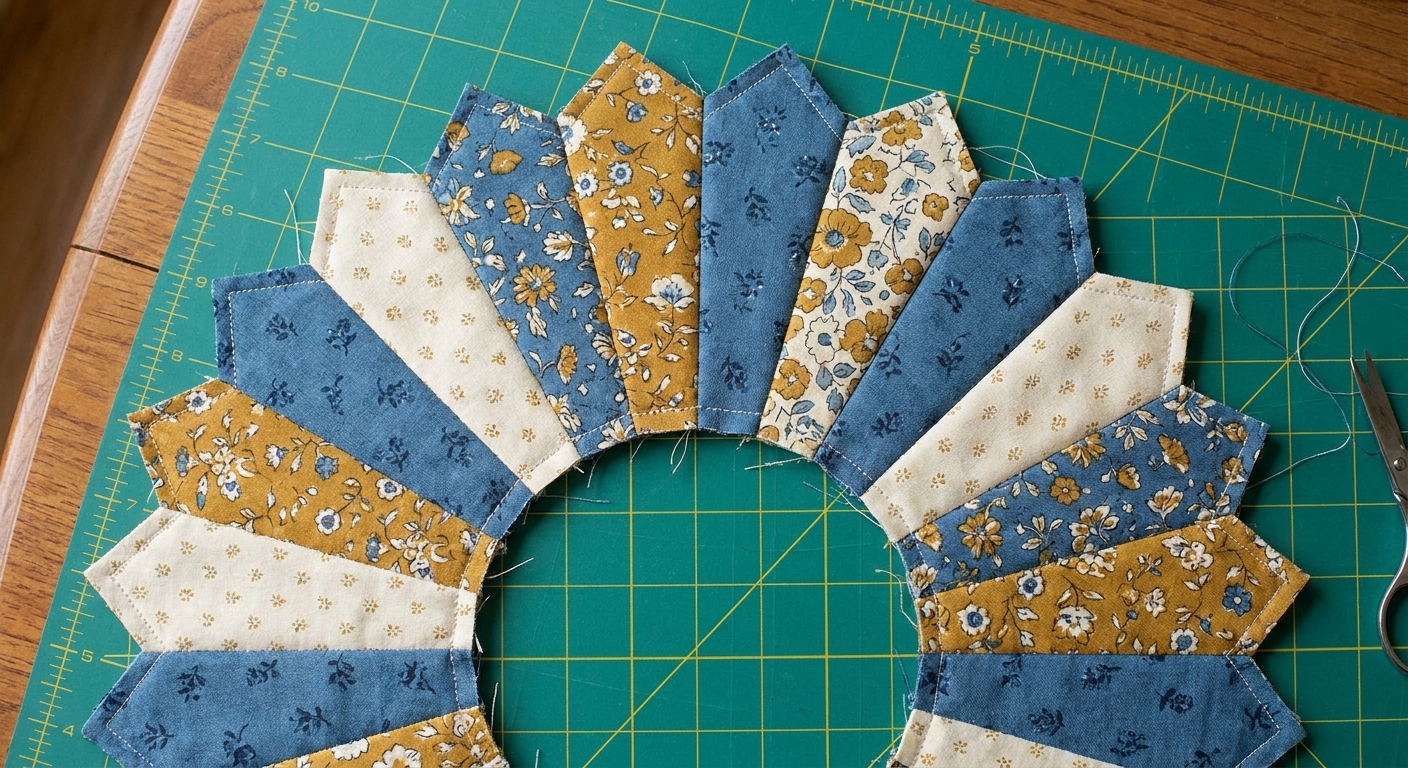
- Pair wedges and sew into twos.
- Sew twos into fours.
- Keep combining until you have one full ring.
This chain-piecing approach keeps everything manageable and reduces handling.
Seam allowance and feeding
- Use a consistent scant 1/4 inch seam allowance (or the one your tool specifies). If you drift narrower or wider, the circle will not close cleanly.
- Feed wedges gently. Do not pull from behind the presser foot.
- If you have a walking foot, you can use it, but it is not required. The key is “no tugging.”
Pressing the ring
Press seams open or to one side, your preference. Pressing open reduces bulk and helps the ring lie smoothly for appliqué. Pressing to one side can add a bit of strength and can be faster. Either works as long as you press straight down, not back and forth.
Quick flatness check: Lay the ring on your cutting mat. If it already wants to ripple, stop and measure a few wedges. One or two oversized wedges can throw the whole thing.
Step 5: Appliqué the ring
Once your ring is complete, you will attach it to a background square or block. This step can also affect flatness.
Center it neatly
- Fold your background in half and in half again to find the center. Finger press the folds.
- Fold the Dresden ring in half and in half to mark quarters.
- Match centers and quarters, then pin around the ring so it sits relaxed and even.
What to stitch first
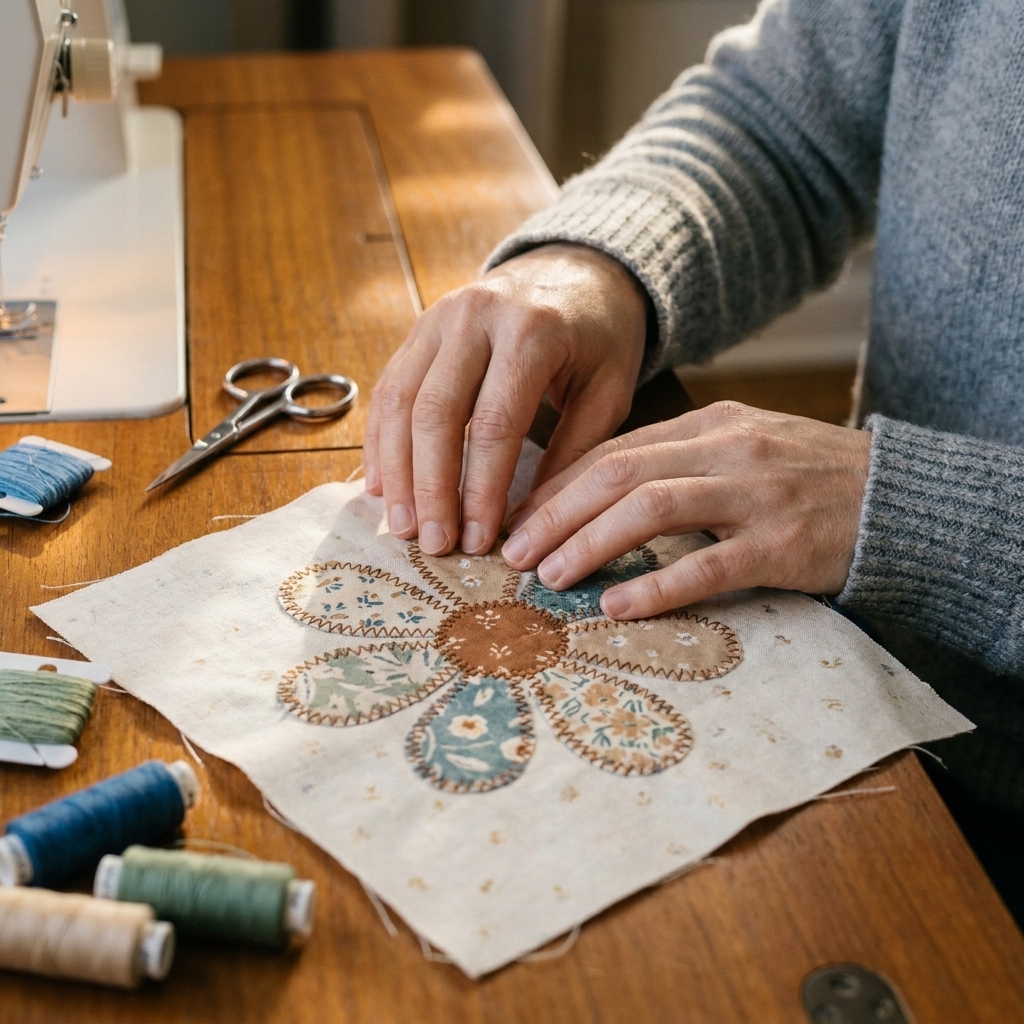
Most quilters stitch down the outer edge of the ring first. The inner edge is usually covered by the center circle, so it is often left alone until the center is added. If your center circle is small, or you want extra security, you can stitch the inner edge too. The right answer is the one that matches your chosen center method and the look you want.
Stitch choices
- Machine blanket stitch or narrow zigzag: sturdy and decorative
- Machine straight stitch close to the edge: simple and modern
- Hand appliqué: my favorite for a soft, heirloom look
Whatever stitch you choose, keep the ring relaxed. If you stretch it to fit the background, it will not forgive you later.
Step 6: Make a flat center
The center circle hides raw inner edges and gives the Dresden its plate look. This is also where puckers like to set up camp. Here are three methods I trust, from most common to most forgiving.
Method A: Needle-turn (hand appliqué)
This is slow and soothing, and it produces a beautifully flat circle when done with a light hand.
- Cut a circle with at least 1/4 inch seam allowance beyond the finished size.
- Finger press a scant turning allowance to the wrong side all the way around, working in small sections.
- Pin the circle in place over the center opening.
- Use tiny appliqué stitches, turning the edge under as you go.
Method B: Turned-edge circle with a running stitch (my go-to)
If you want a smooth circle without fuss, this method is pure gold.
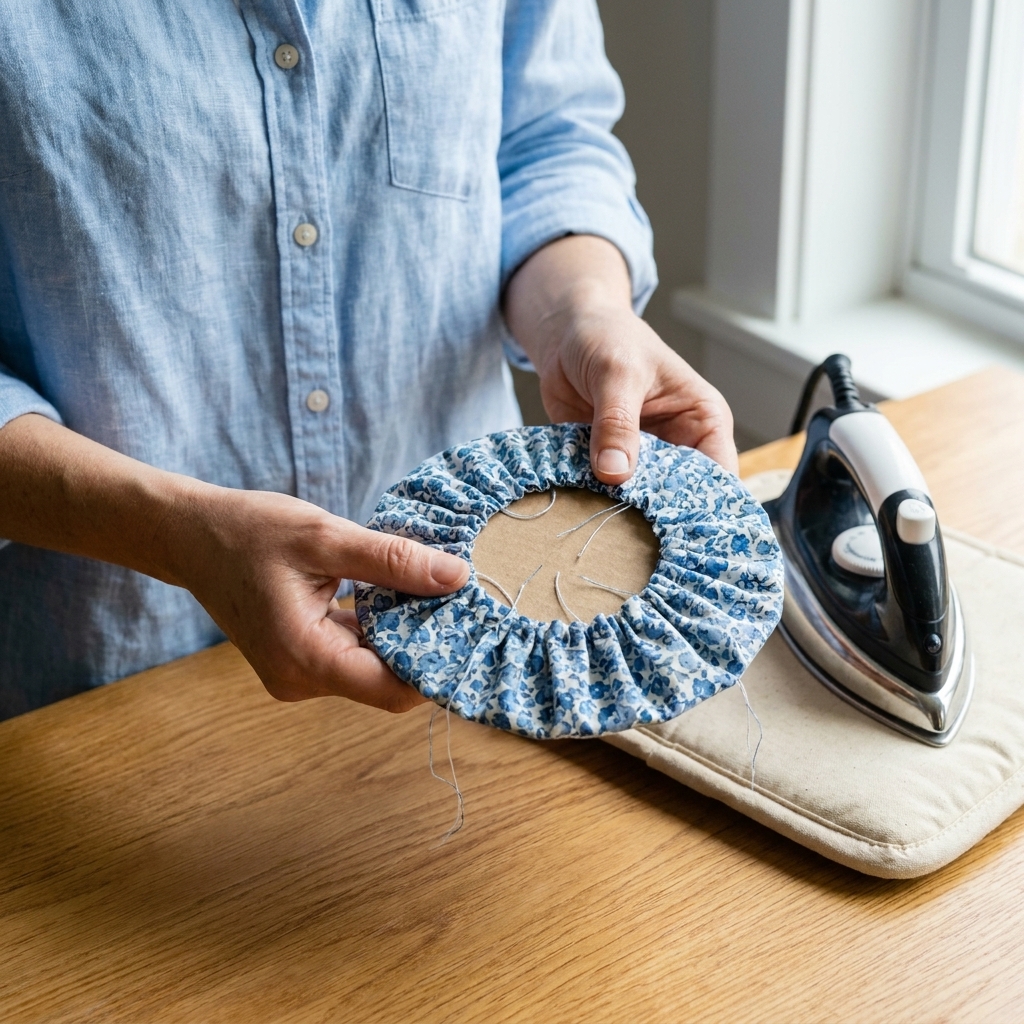
- Cut your circle with a generous seam allowance, about 3/8 inch is comfortable.
- Sew a hand running stitch around the edge, 1/8 inch from the raw edge. Do not knot yet.
- Place a circle template (the finished size) on the wrong side, centered.
- Pull the thread gently to gather the edge around the template.
- Press from the wrong side, then let it cool before removing the template.
- Appliqué the circle to the block by hand or machine.
Template safety tip: Use a heat-resistant template (Mylar, metal, cardstock, or a template made for this purpose). Some plastics can warp if you hit them with a steamy iron.
Why it stays flat: You are shaping the circle before it ever meets the block, so you are not fighting bulk and gathers while stitching it down.
Method C: Fused raw-edge circle
If you prefer speed, fusible web can give you a crisp center with minimal drama. The key is cutting a truly round circle and stitching it down securely.
- Fuse lightweight fusible web to the back of your center fabric.
- Cut a clean circle with sharp scissors or a rotary circle cutter.
- Fuse it to the center of the Dresden.
- Stitch around the circle edge using a straight stitch, blanket stitch, or zigzag.
Keep it flat: Do not stretch the circle as you fuse it. Set it down gently, then press and hold the iron in place rather than sliding.
Timing note: I like to stitch fused edges before quilting, or at least before laundering, so everything stays put for the long haul.
Center circle size
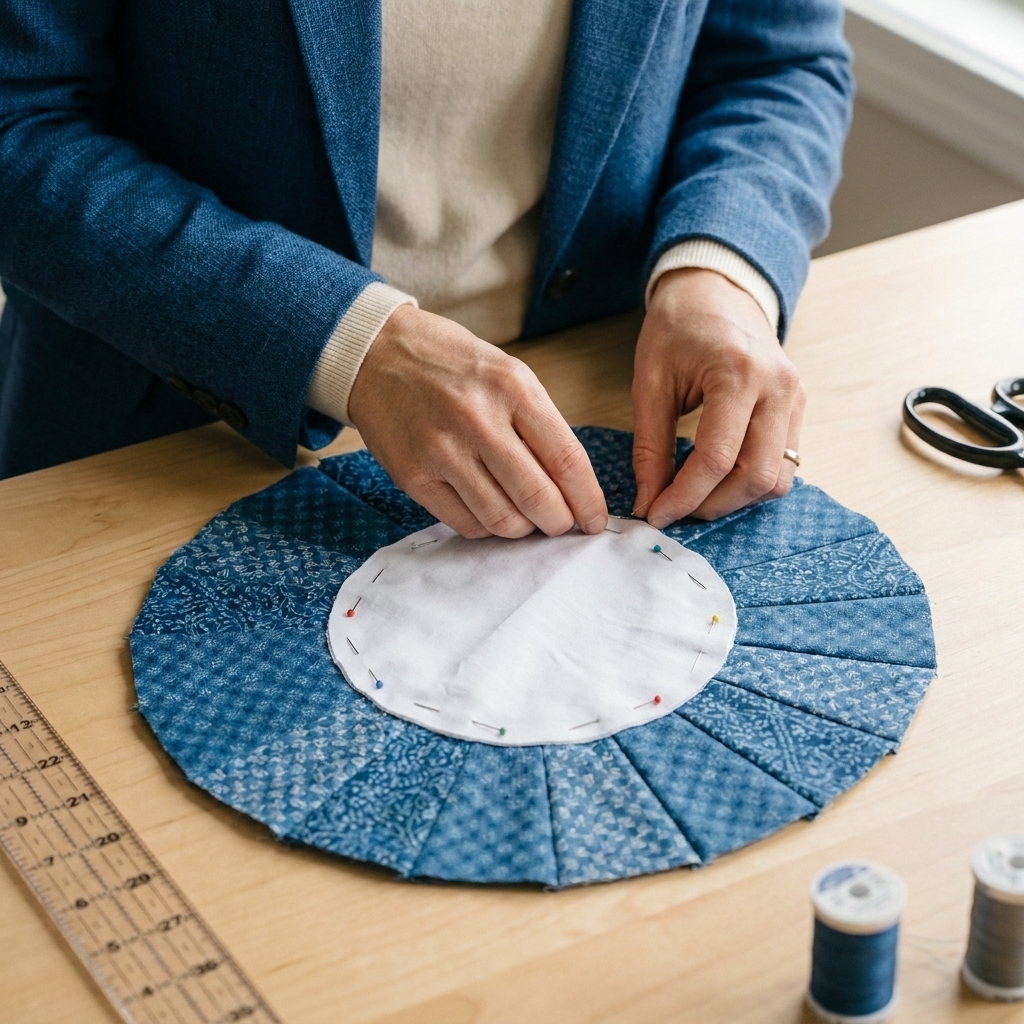
This depends on your wedge template and the look you like. Most center circles cover the inner raw edges fully and extend a little beyond them. As a general rule, choose a circle that covers the inner opening plus at least 1/4 inch all around.
If your ruler came with a size chart, use it. If you are unsure, audition a few paper circles first. Place them on the center and step back. A slightly larger circle often looks more balanced than one that barely covers the raw edges.
Troubleshooting
My plate is wavy
- Cause: Wedges are not identical, or the outer edge stretched during sewing or pressing.
- Fix: Measure a few wedges. If one is wider, recut and replace it. If the ring stretched, try a light spray of starch and press it back into shape, pressing straight down.
The ring will not close
- Cause: Seam allowance drifted wider or narrower over the course of sewing.
- Fix: Unpick the last few seams and resew with a consistent seam allowance. Sometimes you can ease a tiny mismatch, but a bigger mismatch usually needs a redo for a truly flat result.
My center circle puckers
- Cause: Too much fabric in the turning allowance, not enough clipping (for turned curves), or pushing the circle into place rather than laying it down gently.
- Fix: For turned-edge circles, use a comfortable seam allowance and pre-shape with a template and press. For needle-turn, turn smaller sections at a time and use more pins.
My center circle looks lumpy
- Cause: Bulky turning allowance, or the circle edge was not turned under evenly.
- Fix: Use a thinner fabric for the center, trim the seam allowance slightly after shaping (a little at a time), and press the turned edge firmly before stitching it down.
Pro habits
- Use the same thread color for all wedge seams. It keeps things calm visually, especially with busy scraps.
- Square up your background last. After appliqué, trim the block to size. Let the Dresden dictate the final squaring, not the other way around.
- Keep the plate relaxed. If you find yourself making it fit, pause and re-pin. Forcing curves is the fast track to ripples.
Quick FAQ
Can I machine wash a quilt with a Dresden Plate?
Yes, with sensible construction. Stitch your appliqué securely, quilt through the block as desired, and use a durable binding. If you used fusible web, stitching around the circle and wedge edges helps everything hold up beautifully.
Do I need to hand appliqué the center?
No. Hand stitching is lovely, but machine stitching is sturdy and beginner-friendly. A narrow zigzag, blanket stitch, or straight stitch close to the edge all work.
What is the easiest Dresden for a beginner?
A 16-wedge Dresden with a turned-edge center circle is a sweet spot. It is manageable, forgiving, and it teaches the core skills without feeling fussy.
One last word
If your first Dresden is not perfectly flat, welcome to the club. Mine looked like a charming little sea anemone. The good news is that Dresden Plates reward practice quickly. Cut carefully, press gently, and pre-shape that center circle. You will be amazed how fast your blocks go from almost to wow.