A calm, step-by-step guide to hand-stitching quilt binding to the back with a tidy, nearly invisible blind stitch, plus corner tricks and troubleshooting.
The Quilt Mark
October 22, 2026
Adding a Hanging Sleeve to Your Quilt
Learn a quilt-show-friendly way to add a hanging sleeve to the back of your quilt. Includes sleeve sizing, step-by-step sewing, and tips for smooth, secure wall display.

Clara Jenkins
Clara Jenkins is an avid quilter and fabric enthusiast who has been designing and piecing together quilts for over twenty years. She shares her passion for color coordination, block design, and practical sewing techniques to help makers of all skill levels create beautiful, lasting heirlooms. Through Quiltmark, Clara aims to make the timeless art of quilting accessible, joyful, and deeply rewarding for everyone.
Updated October 22, 2026
The first time I hung a quilt on a wall, I used a handful of safety pins and a whole lot of hope. It stayed up for about an hour, then slumped like a tired houseplant. A proper hanging sleeve fixes all that. It gives your quilt a clean, professional way to slide onto a rod or slat, it spreads the weight evenly, and it keeps the top edge from stretching over time.
This guide walks you through a common, quilt-show-friendly method for adding a fabric tube (the sleeve) to the back of your quilt. It is secure, tidy, and very doable, even if binding still makes you a little sweaty.
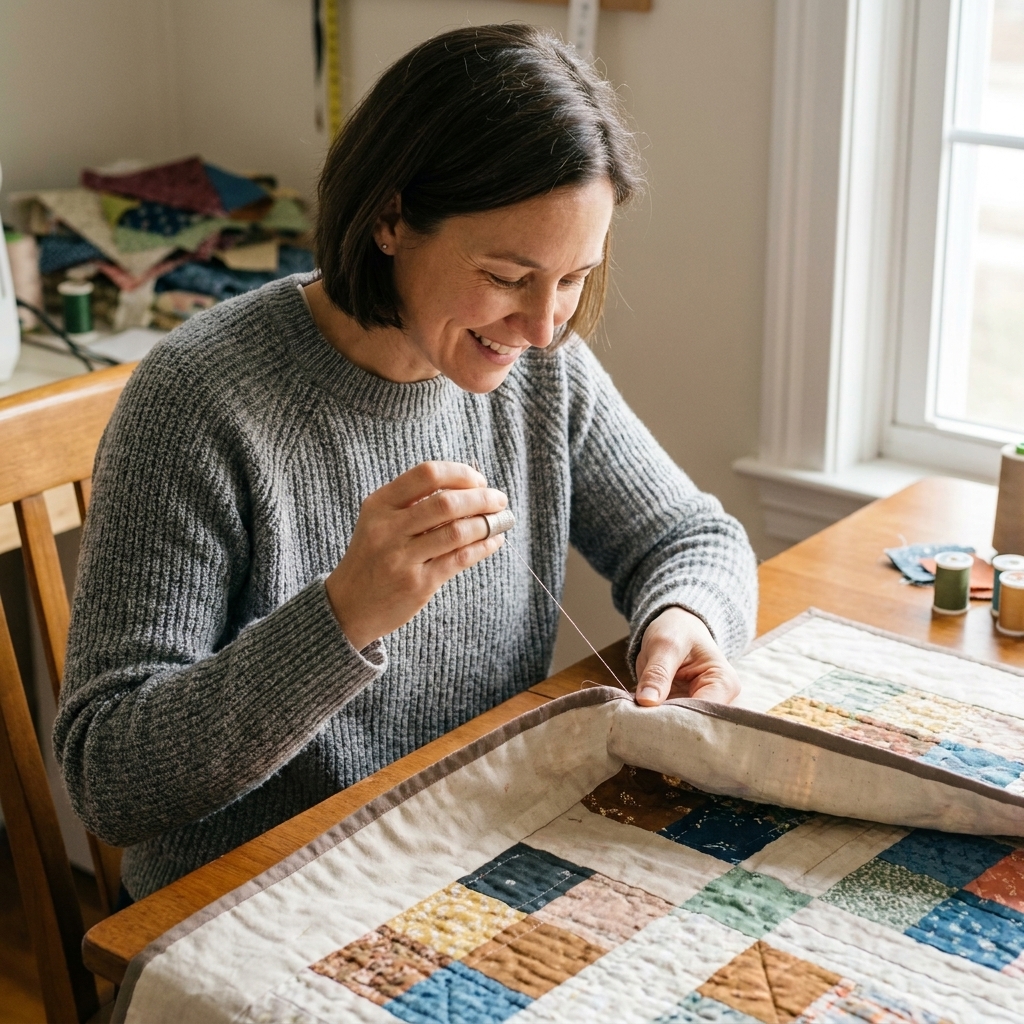
What a hanging sleeve is
A hanging sleeve is a fabric tube sewn to the back of your quilt, usually along the top edge. A display rod or wooden slat slides through the tube so the quilt can be hung flat against a wall.
- It protects your quilt. Weight is distributed across the top instead of tugging at a couple of points.
- It looks clean. No visible clips, grommets, or hardware from the front.
- It is show friendly. Many quilt shows request a sleeve, and some require it for anything intended to hang.
Quick note: Shows and guilds sometimes specify sleeve depth, placement, or even the type of slat system they use. If your quilt is heading to an exhibit, check the entry requirements before you cut fabric.
Tools and materials
You do not need anything fancy, just the same calm, careful tools you already use for binding.
- Fabric for the sleeve (quilting cotton is perfect, prewashed if your quilt is prewashed)
- Thread that blends with your backing
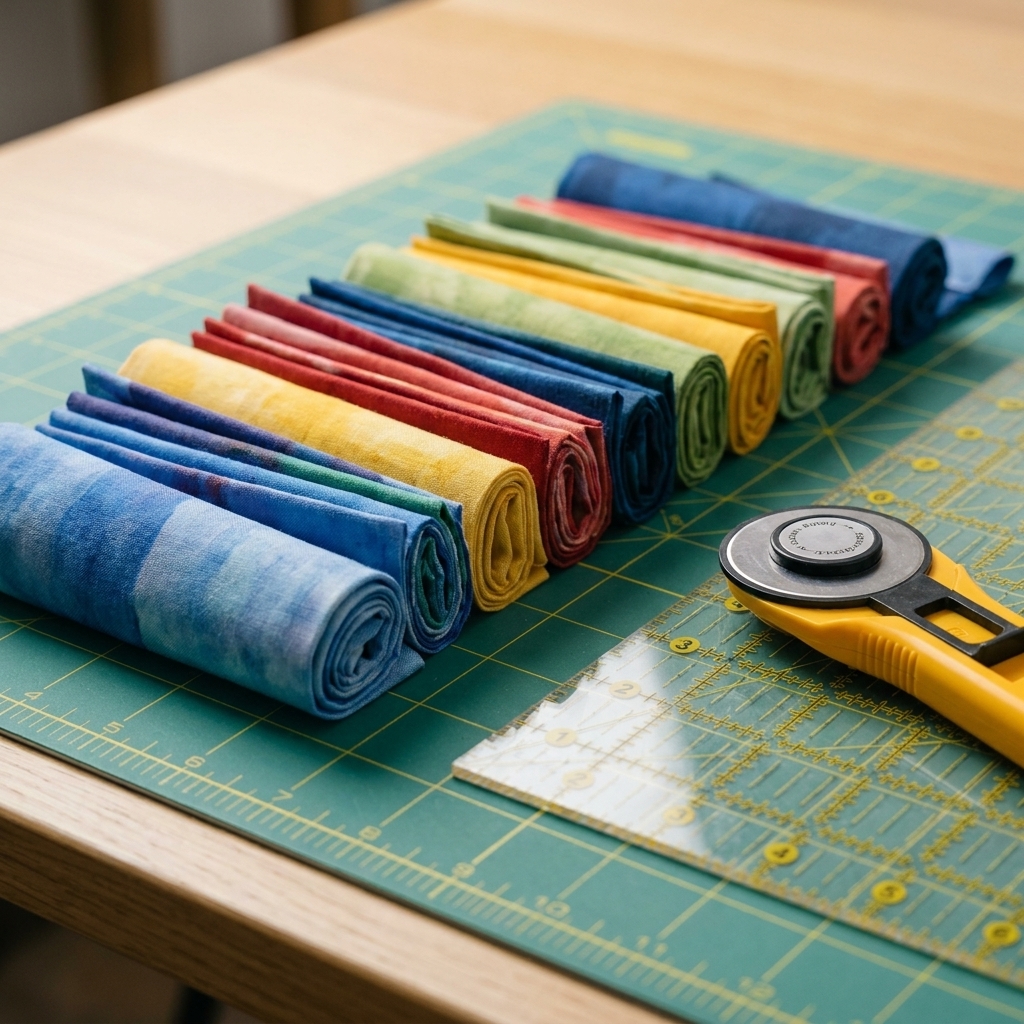
- Ruler, rotary cutter, and mat
- Iron and pressing surface
- Pins or clips
- Hand sewing needle
- Sewing machine (helpful for making the sleeve tube)
Fabric tip: I like using backing leftovers or a solid that blends in. Busy prints can show faintly as a shadow on lighter quilts when hung in bright light.
Common sleeve size
A widely used sleeve for shows and guild displays starts with a 9 inch tall strip of fabric and finishes into a tube about 4 inches deep. That depth works with many hanging rods and wooden slats.
How wide should it be?
A common guideline is to cut the sleeve strip to match the finished width of your quilt minus 1 inch. That leaves about 1/2 inch clearance at each side, which helps keep the sleeve ends out of the binding and reduces corner bulk. If your show specifies a different clearance, follow their rules.
- If your quilt is 60 inches wide, cut the sleeve 59 inches wide.
- If your quilt is 90 inches wide, cut the sleeve 89 inches wide.
Quick cutting formula
- Sleeve cut size: 9 inches tall by (quilt width minus 1 inch) wide
When to adjust: If you know your hanging rod is unusually thick, you can increase the cut height to 10 inches for a roomier tube. Some shows prefer a slightly shallower sleeve (for example, around 3 1/2 to 4 inches finished), so it is worth double checking if you have a rule sheet.
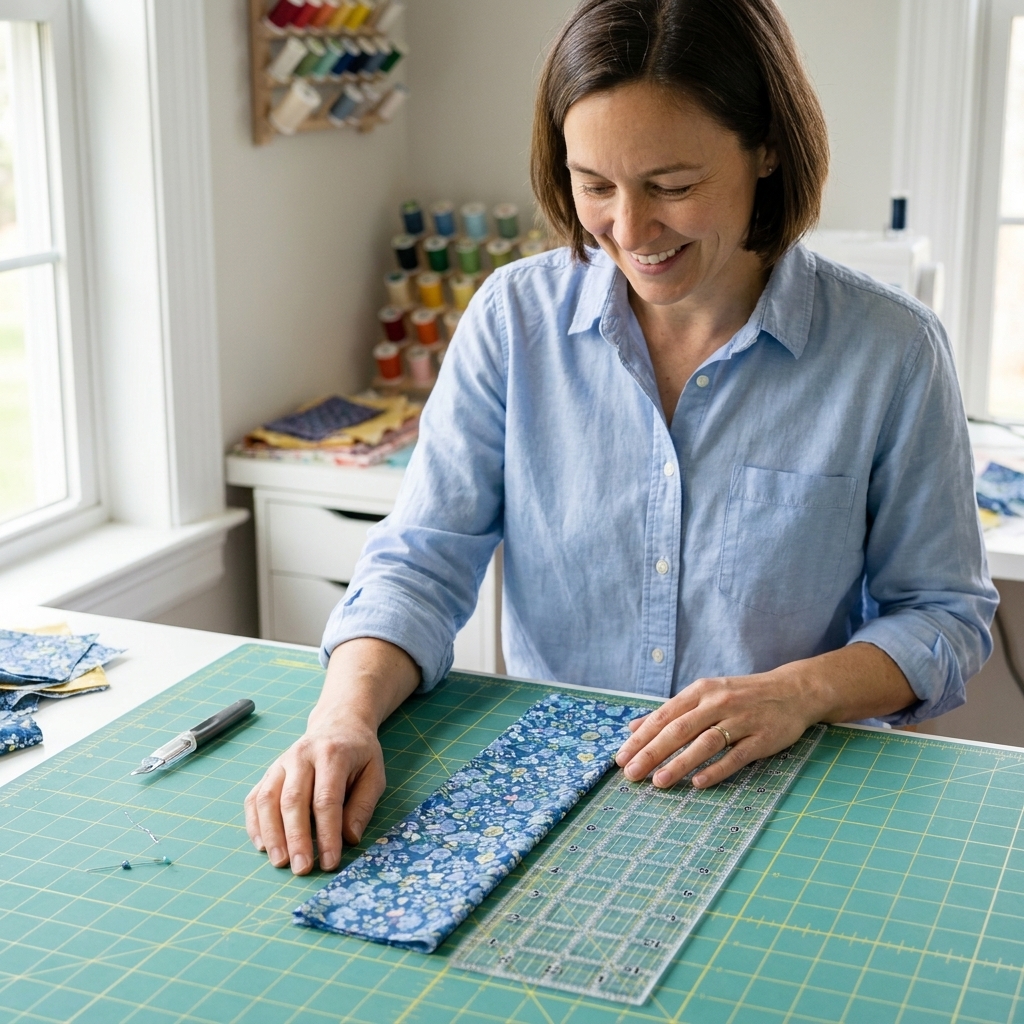
Step by step
Step 1: Cut and hem the ends
Cut one strip: 9 inches tall by (quilt width minus 1 inch).
On each short end:
- Press under 1/2 inch to the wrong side.
- Press under another 1/2 inch to hide the raw edge.
- Stitch close to the inner fold to hem.
This little hem is what makes the sleeve look finished and prevents fraying inside the tube.
Step 2: Sew the sleeve tube
Fold the strip in half lengthwise, right sides together (so the wrong side is facing out). Press lightly.
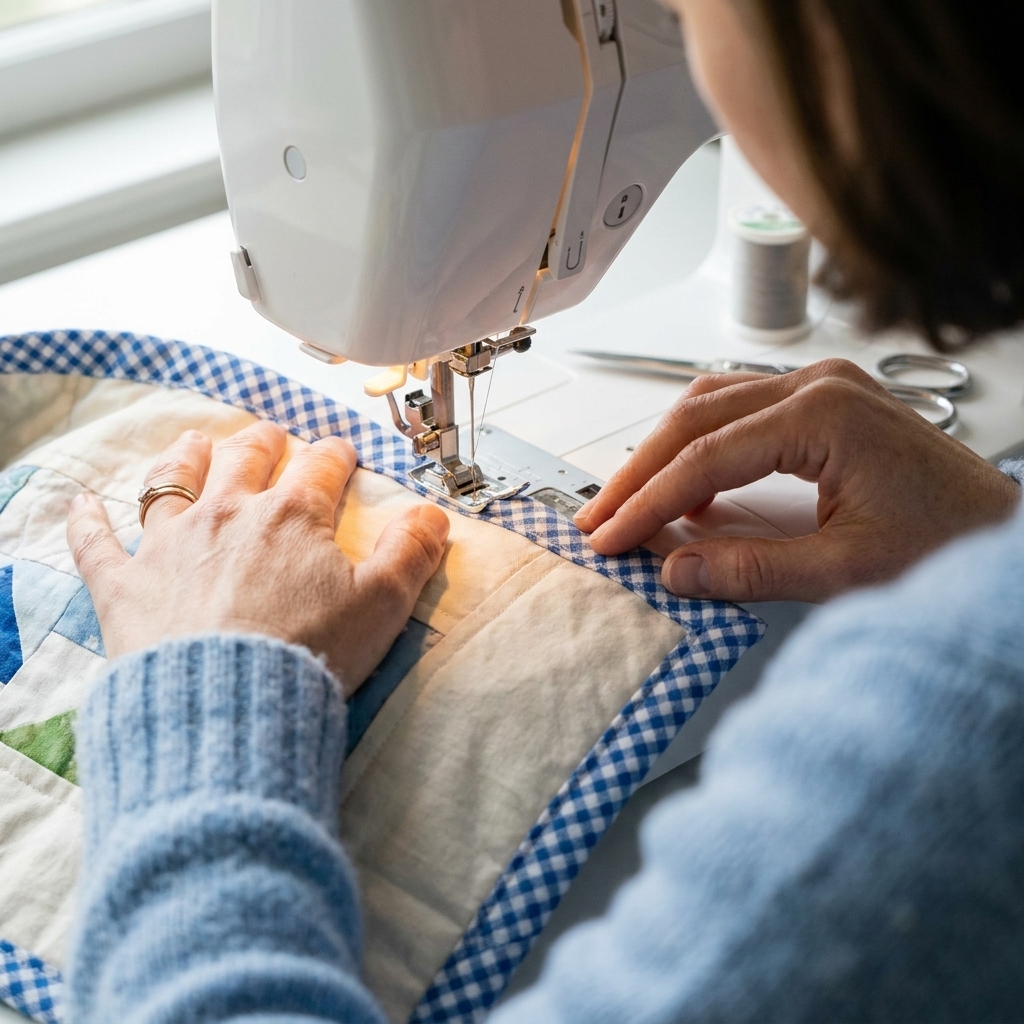
Stitch along the long raw edge with a 1/4 inch seam allowance to form a tube. Backstitch at the beginning and end.
Press the seam open as best you can, then turn the tube right side out.
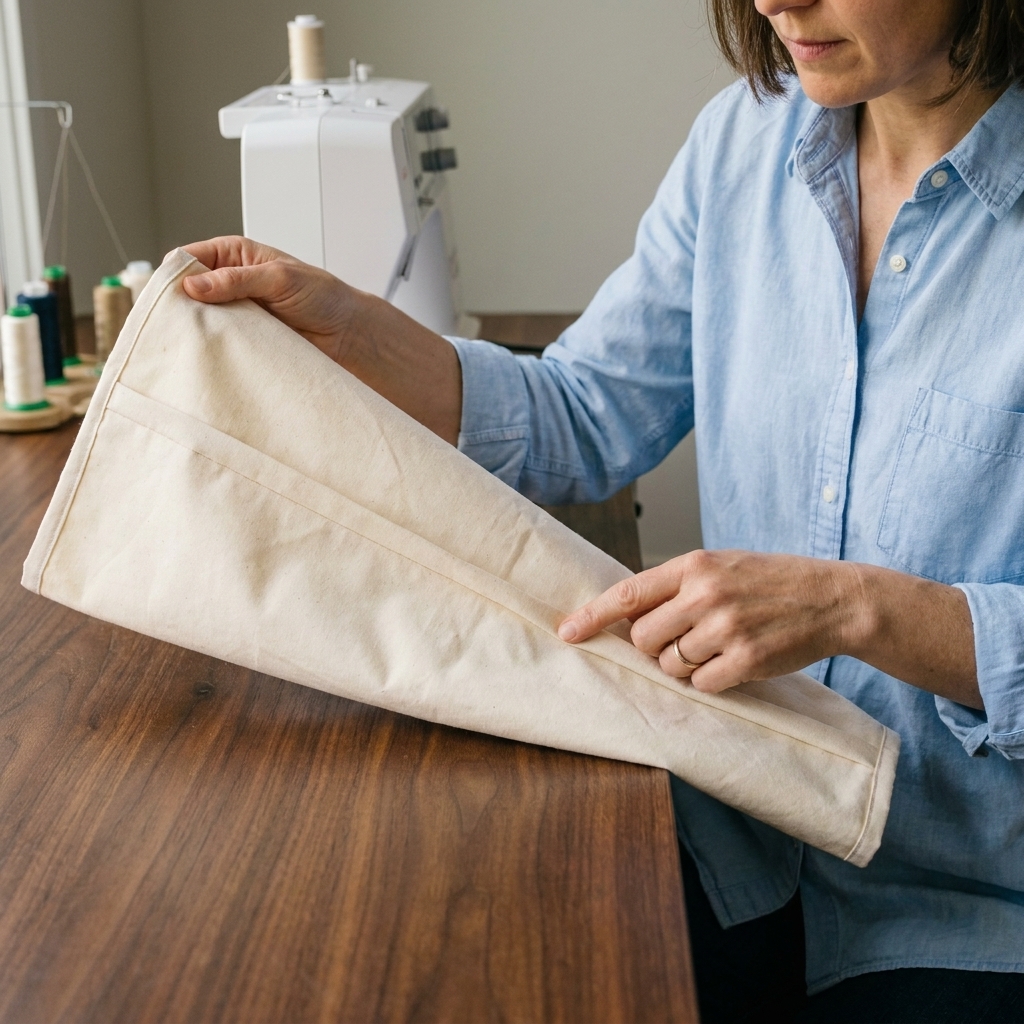
Step 3: Press in the slack
This is the step that makes your sleeve behave beautifully on the wall. You want a little extra room on the back so the hanging rod does not create a ridge visible from the front.
- Lay the tube flat with the seam running down the back.
- Press the tube so the seam sits about 1/2 inch above the bottom fold instead of perfectly centered.
That offset creates a small bubble of ease behind the sleeve once it is sewn on.
Step 4: Place the sleeve
Place your quilt back side up on a flat surface.
- Align the sleeve along the top edge of the quilt, about 1/2 inch below the binding stitching line on the back.
- Center it so there is about 1/2 inch to 1 inch of space from each side edge.
- Pin or clip in place.
Corner bulk tip: If your binding corners are thick, scoot the sleeve in slightly more so you are not stitching through the lumpiest part.
Step 5: Sew the top edge
This step depends on when you are adding the sleeve.
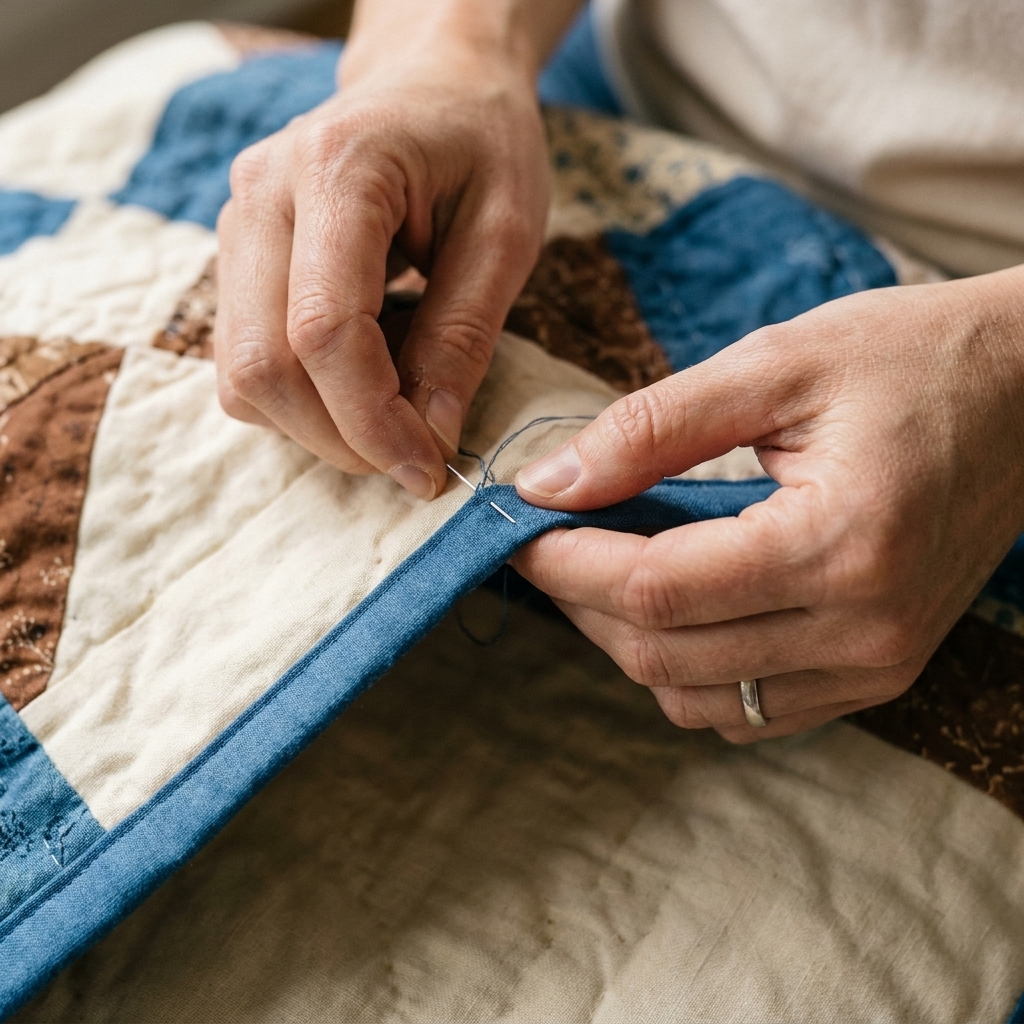
If you are adding the sleeve after binding (a common show finish): Hand stitch the top edge of the sleeve to the backing only, using a small slip stitch or ladder stitch. Take tiny bites of backing fabric, and if you like, a whisper of batting, but avoid going through to the quilt front. A sewing machine stitch here will almost always show as a line across the front because it goes through all layers.
If you are adding the sleeve before binding: You can machine baste the sleeve along the raw top edge of the quilt (within the seam allowance). When you apply the binding, those stitches get hidden inside the binding seam, so nothing shows from the front. This is fast and strong, but it can add a bit of bulk at the top edge.
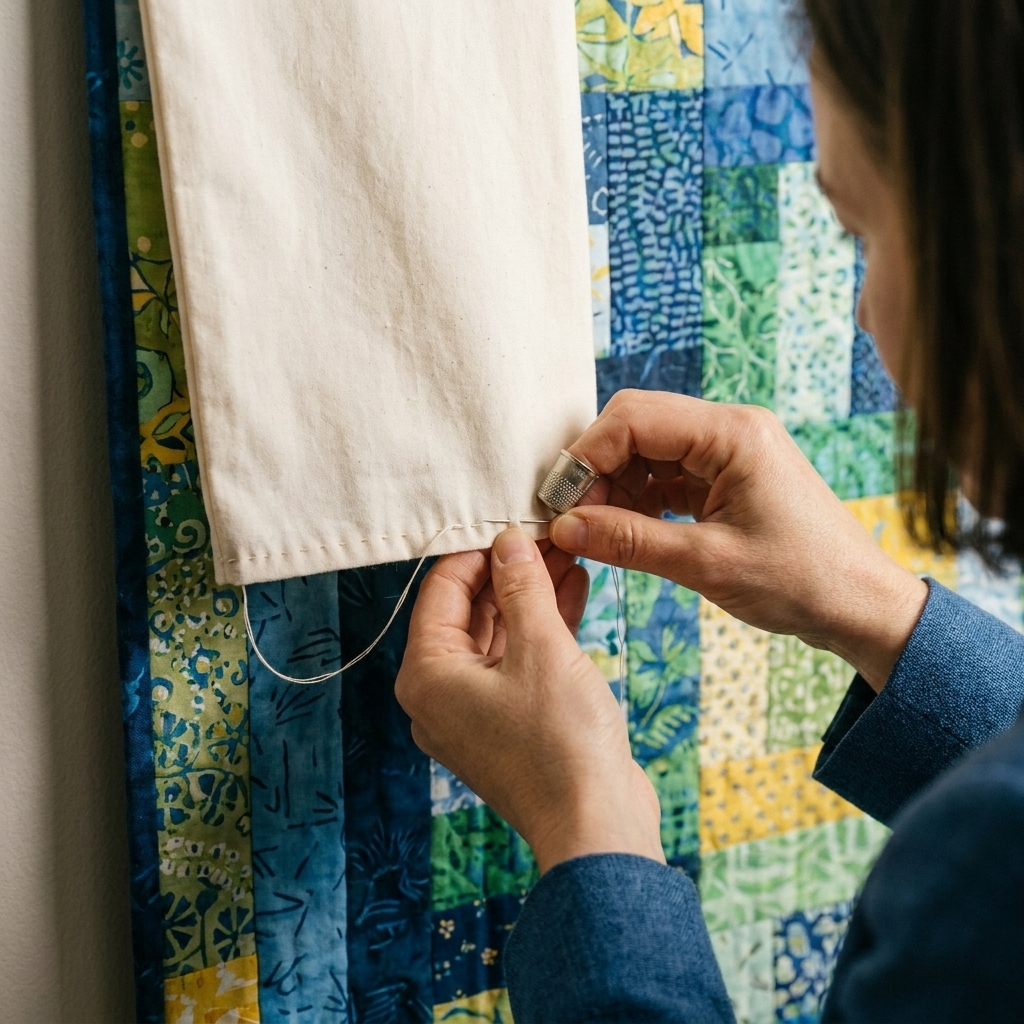
Step 6: Sew the bottom edge
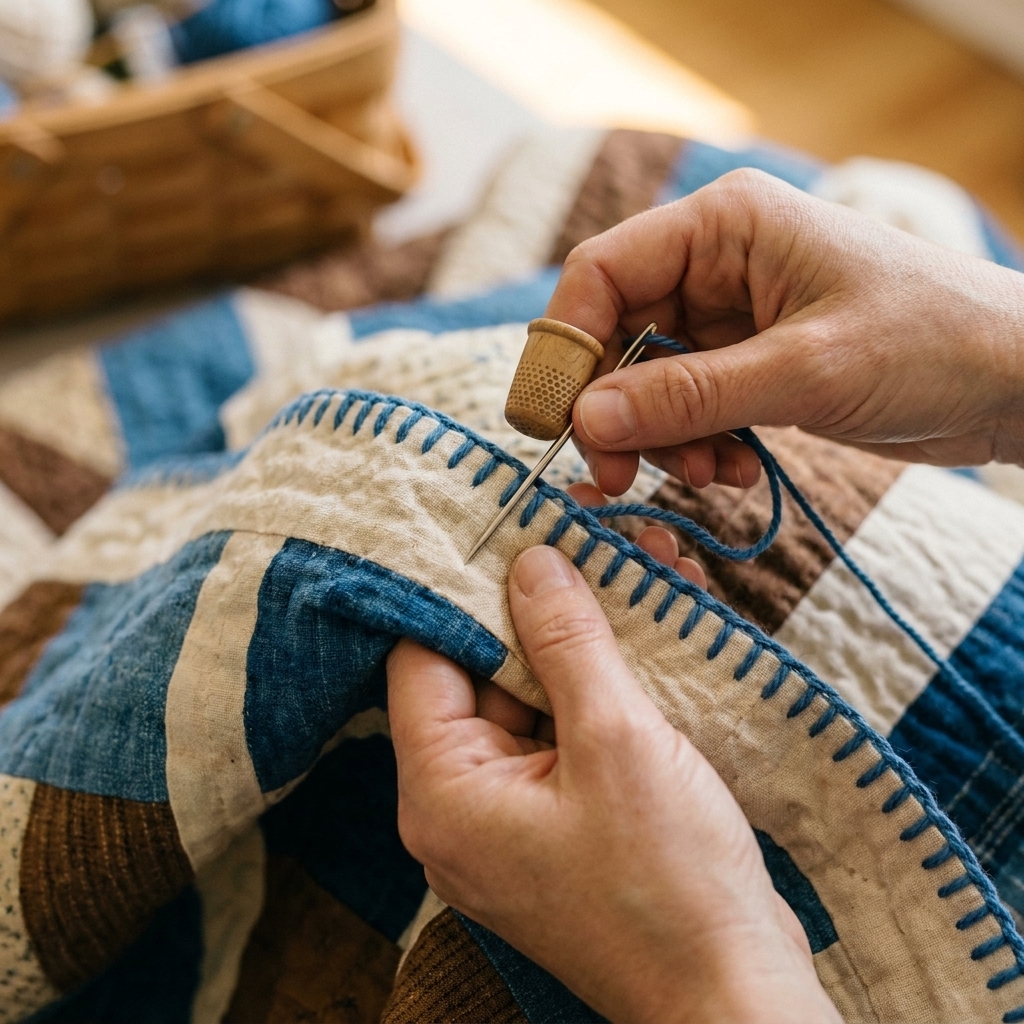
Fold the bottom edge of the sleeve down so it lies flat against the quilt back. Thread a hand needle and use a small, tidy slip stitch or ladder stitch.
- Catch only a few threads of the quilt backing at a time (and optionally a tiny bite of batting), not the front of the quilt.
- Stitch all the way across, keeping the sleeve smooth but not stretched tight.
For sleeves added after binding, this means the sleeve is hand sewn at both the top and bottom edges for a clean, invisible finish from the front.
When to add it
You can do it either way, and quilters do both. Here is the honest, practical breakdown.
Option A: Before binding
- Machine baste the sleeve to the quilt top edge, within the seam allowance.
- The binding seam hides those stitches, so the front stays clean.
- It is very secure and very fast.
Watch out: This can add bulk under the binding, especially on smaller quilts or heavily quilted edges.
Option B: After binding
- No extra bulk inside the binding.
- You can place the sleeve exactly where you want it.
- Easy to add to older quilts.
- Show-standard finish is typically hand stitching so nothing shows on the front.
Watch out: You will hand sew more, and you need to be careful not to stitch through to the front.
If you are making a quilt for a show, I lean toward after binding because the finish is controlled and the binding stays crisp.
Special situations
Large or heavy quilts
For bed-sized quilts, add a little extra support.
- Consider a double sleeve or a wider sleeve (10 inches cut height) if you are using a thicker hanging rod.
- Use strong thread and anchor the sleeve ends well with a few extra hand stitches.
- Pair the sleeve with a sturdy slat (wood or metal) so the quilt does not bow in the middle.
Small wall hangings
On mini quilts, a full 4 inch deep sleeve can feel oversized. You can scale it down.
- Try a 6 inch tall strip to finish at about 2 1/2 to 3 inches deep.
- Keep the same idea: hem ends, tube, add slack fold, stitch on.
Tight top borders
If your design runs right to the edge and you are worried about the hanging hardware casting a shadow, sew the sleeve slightly lower on the back so the rod sits a touch farther from the top edge. The front will still look flat and you will often avoid a visible ridge.
Vintage quilts
Be gentle and choose a lightweight sleeve fabric. Hand stitching is your best friend here.
- Use fine, sharp needles and small stitches.
- Avoid tugging on older fabrics that may be fragile.
- If the quilt is very delicate, consider consulting a textile conservator before hanging long term.
Quilts with a clear top
If your quilt has an obvious top (a directional print, a skyline, a phrase you want read correctly), mark the top edge on the back with a tiny safety pin or a small piece of painter's tape before you attach the sleeve. It is a small step that can save a large sigh later.
Troubleshooting
Bump on the front
This usually means the sleeve is pressed flat without slack. Unpick the bottom edge stitches, press the seam slightly off center (creating that extra fold), then stitch the bottom down again.
Rod will not fit
Two likely causes: the sleeve is too shallow, or the seam allowances ate up more space than expected. You can:
- Open one end and trim seam allowances narrower, then resew.
- Replace the sleeve using a 10 inch tall strip for a roomier tube.
Bulky corners
Leave a little more space from the quilt sides (closer to 1 inch each side) and keep your end hems neat and well pressed. If needed, angle the sleeve ends slightly so they do not stack right on the binding corner folds.
Stitched through to the front
We have all done it. Snip the offending stitch carefully from the back, then rub the thread tail with a fingernail to coax it back into the quilt. If it left a tiny hole, a whisper of steam and a gentle pat will often help the fabric relax.
Show ready details
- Label plus sleeve: Many shows like a label on the back, and it is usually placed in the lower corner. Sleeve goes at the top.
- Open ends: Leave the sleeve ends open so the rod can slide through easily.
- Strong ends: Add a few extra hand stitches where the sleeve ends meet the quilt back. Those areas take the most strain.
- Keep it level: Measure from the top edge at several points so the sleeve is straight. A quilt can be perfectly sewn and still hang crooked if the sleeve is slightly tilted.
- Slat and hardware fit: If your quilt will hang on a show provided slat, make sure the sleeve is wide enough for it. If you are hanging at home, leave enough rod length at both ends for brackets and a little breathing room.
FAQ
Do I need a sleeve for every quilt?
No. Bed quilts that will live on a bed do not need sleeves. Wall quilts, show quilts, and gifts meant to be displayed do.
Can I use a dowel?
Absolutely. A smooth wooden dowel works well. If the quilt is heavy, a sturdier slat (like a flat piece of finished wood) helps prevent sagging in the middle.
What about corner tabs?
You can add a sleeve even if the quilt has corner tabs, and many shows prefer a sleeve over tabs. If you keep the tabs, make sure they do not interfere with sliding the rod through the sleeve.
What thread should I use?
A good quality 50 wt cotton or polyester thread that blends with the backing is perfect. The sleeve is not a high abrasion area, but it does carry weight, so avoid old, brittle thread.
A calming tip
If finishing steps make you nervous, you are in very good company. I still have to remind myself that a sleeve is just another seam, another fold, another small kindness you stitch into the back of your quilt so it can live its best life out in the world. Go slowly, press as you go, and give yourself permission to unpick one line if it makes the final hang smoother. Your future self, and your quilt, will thank you.